
DIY: Gauge on the A pillar
 05-14-2005, 03:22 PM
#1
Ex- member.
Thread Starter

DIY: Gauge on the A pillar
Decided to install my defi gauge to my A pillar since the velcro on the dash method wasn't stable.
Bought an attachment that Defi sells ($10) that allows the gauge to be installed onto the A pillar.
Installing an A pillar pod is similiar, except you'll have to secure the pod onto the pillar.
Several people were concerened that gauges would interfere with the side airbag when it deploys. It won't since the airbag is at the very top and it's not the inflatable portion just the connection point.
STEPS:
1. Do a test fit of where you want the gauge to be.
2. Peel away the rubber seal along the edge. Pull the pillar out and up.
3. Drill the 2 holes you marked and also another one for the wire to go through.
 05-14-2005, 03:28 PM
#2
Ex- member.
Thread Starter
STEPS:
4. Run the wire through the hole
5. Reattach onto the a pillar and make sure it snaps in.
6. Put on gauge and tighten (careful not to drop the screw or bit in the A/C vent)
All done.
Overall impressions, it's much more stable and doesn't shake like it did on the dash. Plus it looks good.
The red led on the side is a warning led whenever the boost goes above my preset limit to warn me. It'll also flash whenever any of the other gauges go past the warning limit (still need to buy and install those.)
 Getting about 17-18mpg. Light on at 220 and fill up around 240 (14gal).
05-14-2005, 03:51 PM
Getting about 17-18mpg. Light on at 220 and fill up around 240 (14gal).
05-14-2005, 03:51 PM
#4
Ex- member.
Thread Starter
I'm also in the process of getting a 3 gauge pod installed on the dash. I'll update this thread with DIY steps and also instructions on how to hookup the gauges.
It may take some time, since the gauges will not be in for about 1 month.
Also, the pod is for 52mm gauges and will have to sit at a slant, won't fit parrallel.
It may take some time, since the gauges will not be in for about 1 month.
Also, the pod is for 52mm gauges and will have to sit at a slant, won't fit parrallel.
05-28-2005, 11:28 AM
#7
Registered

Join Date: Oct 2001
Location: Boulder County, Colorado
Posts: 7,966
Likes: 0
Received 4 Likes
on
3 Posts
Originally Posted by adrian-1
I'm also in the process of getting a 3 gauge pod installed on the dash. I'll update this thread with DIY steps and also instructions on how to hookup the gauges.
It may take some time, since the gauges will not be in for about 1 month.
Also, the pod is for 52mm gauges and will have to sit at a slant, won't fit parrallel.
It may take some time, since the gauges will not be in for about 1 month.
Also, the pod is for 52mm gauges and will have to sit at a slant, won't fit parrallel.
05-28-2005, 11:38 AM
#8
X-Sapper

Join Date: Jan 2004
Location: where angle's fear to tread
Posts: 2,392
Likes: 0
Received 0 Likes
on
0 Posts
i like you guage on your a-pillar more than mine....haha but ouly b/c it's for boost :p
that's the warning light by defi isn't it (their first gen one)?
that's the warning light by defi isn't it (their first gen one)?
05-28-2005, 12:32 PM
#9
Ex- member.
Thread Starter
Originally Posted by Omicron
Which 3 gauge pos are you using, and where did you get it? Thanks...
Originally Posted by army_rx8
i like you guage on your a-pillar more than mine....haha but ouly b/c it's for boost :p
that's the warning light by defi isn't it (their first gen one)?
that's the warning light by defi isn't it (their first gen one)?
05-28-2005, 12:34 PM
#10
X-Sapper
Join Date: Jan 2004
Location: where angle's fear to tread
Posts: 2,392
Likes: 0
Received 0 Likes
on
0 Posts
^cool that wha ti though...have never seen a warning light in person so i didn't get one incase it looked stupid..but that looks prety bad a$$...hmm now to deciede to get jsut one and use it as a master warning..or to get 3....oooo decisions decisions.
any thoughts?
any thoughts?
 09-23-2005, 09:36 AM
#13
beyond the ultraworld

Join Date: Oct 2003
Location: Southampton, UK
Posts: 479
Likes: 0
Received 0 Likes
on
0 Posts
OK, so I know there have been discussion about the air-bag, and yes its not got the inflation point behind the gauges, but remember there is an explosive charge that forces the cover off upon inflation. The cover will swing towards the front window, and could (depending on how the gauges are postioned) shatter the windscreen.
I guess in the event of a side impact strong enough to set them off, thats the least of your worries. Wouldn't pass the MOT test we have in the UK.
I guess in the event of a side impact strong enough to set them off, thats the least of your worries. Wouldn't pass the MOT test we have in the UK.
09-23-2005, 10:31 AM
#14
Ex- member.
Thread Starter
Explosive charge that forces the cover off????
The attachment point is at the VERY top and there's no EXPLOSIVE charge there! Just a screw!
Take a look at the picture of this deployed SIDE AIRBAG and tell me if you see the A-pillar cover? Still on there? YES! (I know it's the psg side but it's the exact same on the drivers side.)
No idea what MOT is, nor do I care.
 03-18-2006, 11:06 AM
#17
Bubblicious? DEF.

Join Date: Mar 2004
Posts: 4,062
Likes: 0
Received 0 Likes
on
0 Posts
did that cover over the gauge come with the gauge or did you purchase it seperately?
by anychance does anyone know where i can get a CF a pillar for 3 gauges? ive only seen the ones with 2...
by anychance does anyone know where i can get a CF a pillar for 3 gauges? ive only seen the ones with 2...


 11-20-2008, 05:55 AM
#24
Yeay Boosted!

Join Date: Oct 2007
Location: New Hampshire
Posts: 271
Likes: 0
Received 0 Likes
on
0 Posts
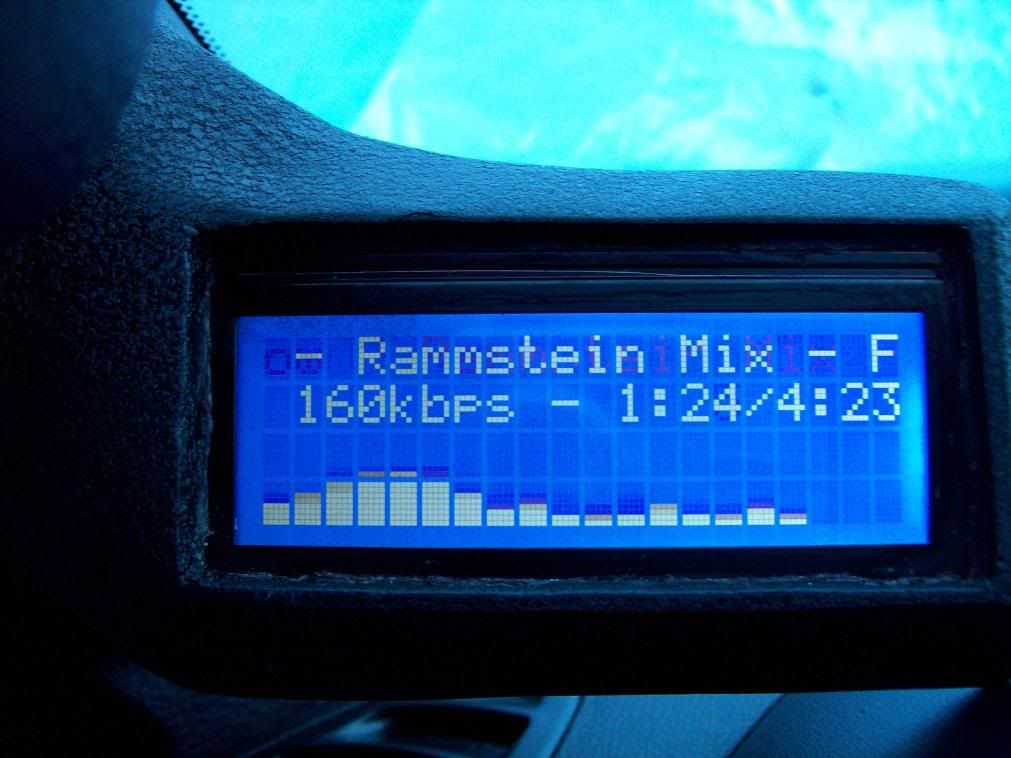
Sure thing, it's actually pretty easy, I just cut off the last pod of the pillar pod and protected the lcd with some tape over it , then embedded the lcd with plasticweld first. then used some body fillar and sand shaped the pod. after I sprayed the whole thing with texturizer and painted it. let it dry, and removed the tape. came out really good. that's a 20x4 lcd module that I run off my carputer in the dash (that I also fabbed), but I'm sure I can do the same thing with a scanguage 
here is some of the original stuff I modded..
https://www.rx8club.com/rx-8-multimedia-photo-gallery-6/rx8-project-nothing-like-youve-ever-seen-too-much-spare-time-lol-139984/
here is some of the original stuff I modded..
https://www.rx8club.com/rx-8-multimedia-photo-gallery-6/rx8-project-nothing-like-youve-ever-seen-too-much-spare-time-lol-139984/
Last edited by marcux; 11-20-2008 at 05:57 AM.