Scuba Steve's Build Thread!
#1
Scuba Steve's Build Thread!
I had some reservations about creating a build thread when I started this project last year since I really wasn't able to do anything too crazy with the car as per the rules of the class I was running in this past season (GT3 in Ontario Time Attack). However, I will be moving up a class or 2 (not sure yet) for next season so things are about to get a little more exciting! SO....without further delay, heres the story of how my RX8 got to where it is today:
I've babied the car since the day I got it in April of '05 and have always taken so much pride in how clean my car has been kept
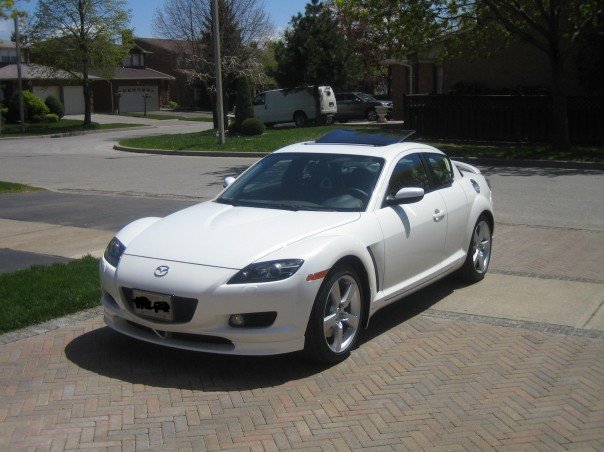
I always made a point to enjoy the car in its natural habitat. I got my feet wet in auto cross when the car was pretty new, then did a high performance driving school with Apex Driver Training which pretty much changed my life. From then on I did open lapping and a few time attack events each year, until I decided in 2011 that I wanted to get a dedicated track car. I was tired of a car that was too harsh for the road, and not perfect for the track...I learned that compromise sucks!! So I returned the car to stock, and was ready to sell it...or so I thought. As we all know, our resale value sucks so my rocket scientist plan to sell my car and buy a dedicated track car really didn't leave me with a lot of nice options. You see, you can't buy a very nice rear wheel drive track car for $10-15k that would be faster than the RX8...let alone in anywhere near the condition of my current car. So I said f*ck it....I'll keep it and turn it into my track toy. Instead of renewing my insurance, I bought a used trailer and was off on my adventure to build a dedicated track car!
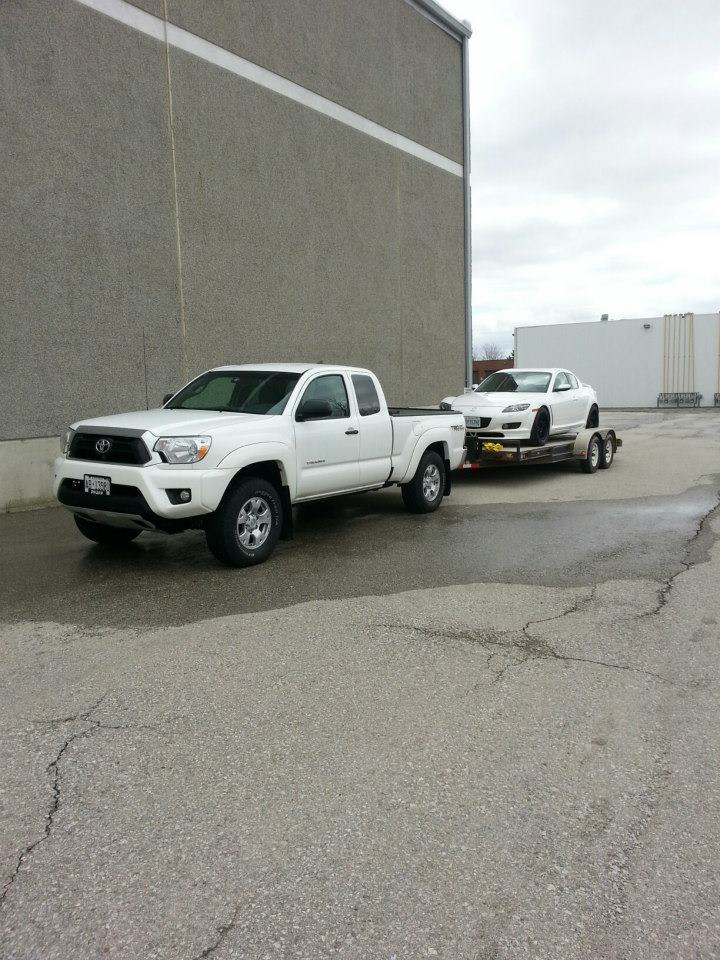
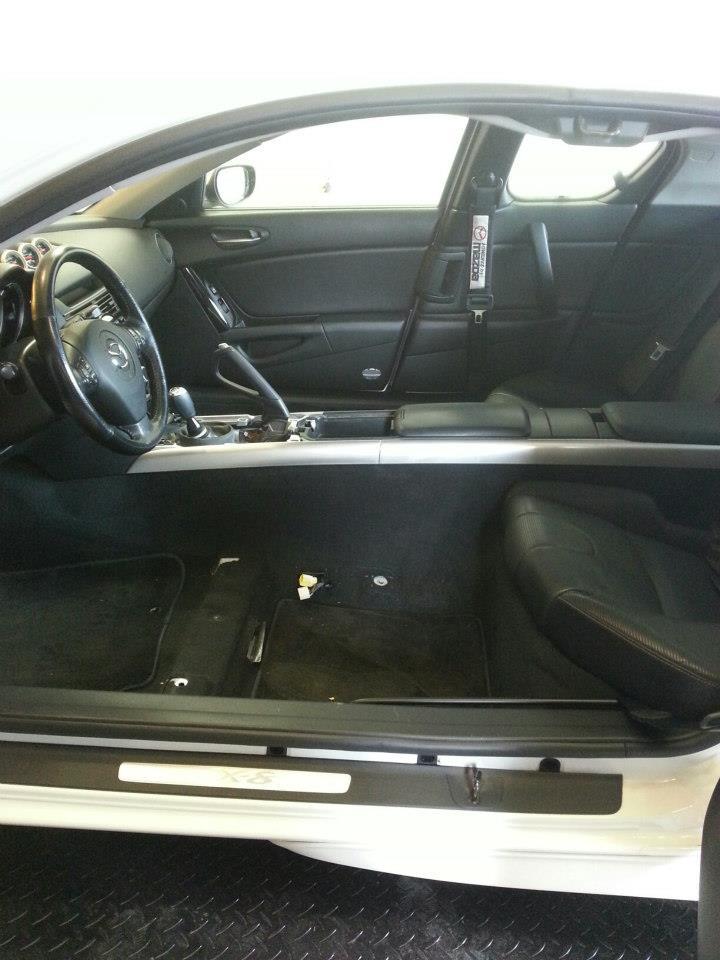
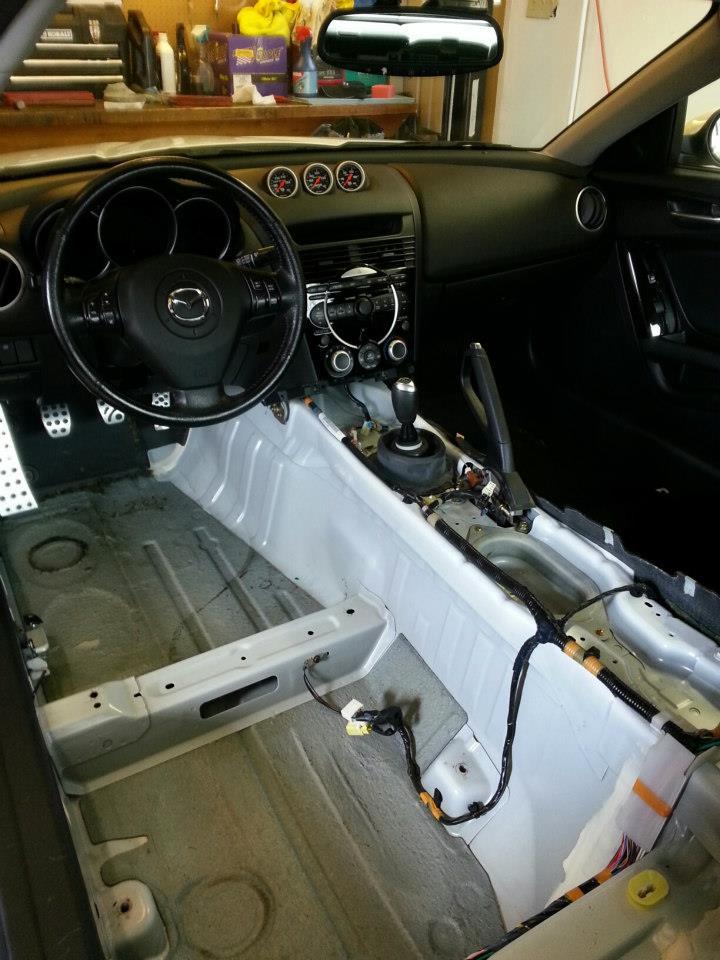
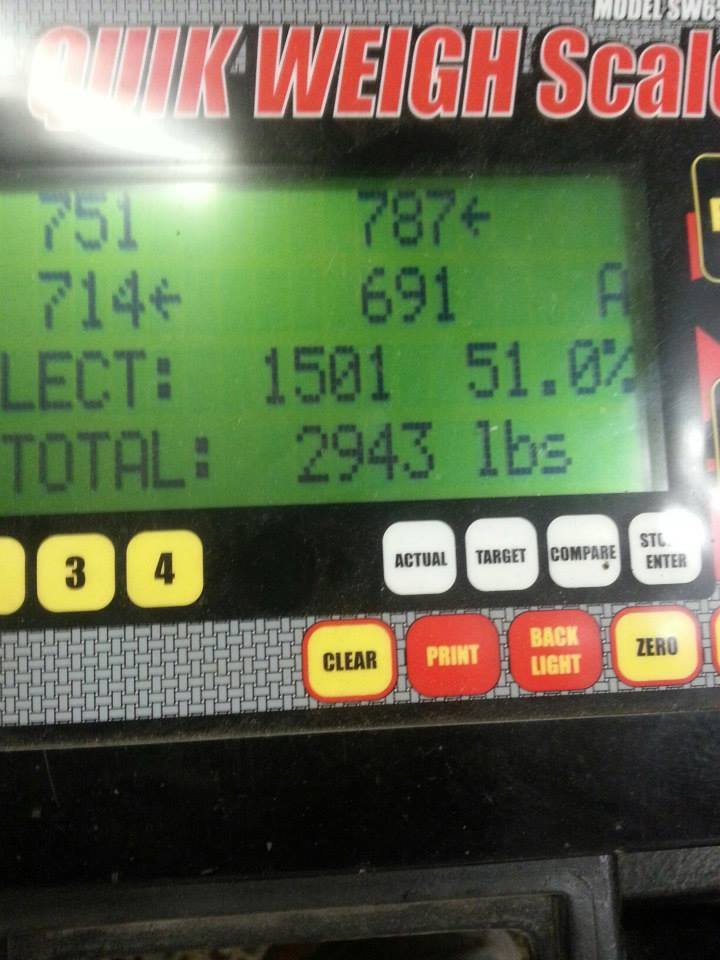
I had my eye on competing in the GT3 class of Ontario Time Attack, so this past season's car wasn't far from stock. I removed the interior to make way for a roll bar, and installed a proper racing seat with 6pt harness to aid in keeping me safe. Funny enough, the car weighed 2940lbs the day I took it off the road, and I had to weigh 2940lbs to stay within the GT3 class last summer!! The only modifications I was allowed to do on the car to stay in the class were:
-upgraded brake pads/rotors/lines
-Ohlins DFV coilovers
-catalytic converter removal
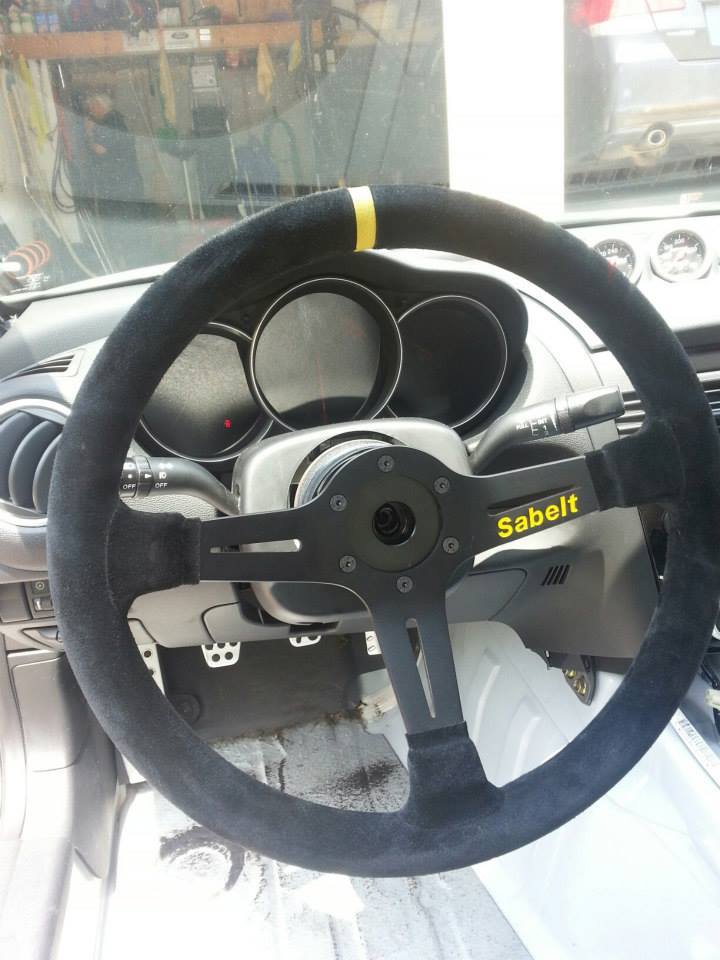
-safety items such as seat, harnesses, and steering wheel
-17" wheels with street tires
starting weight:

Interior removal to make way for roll bar:
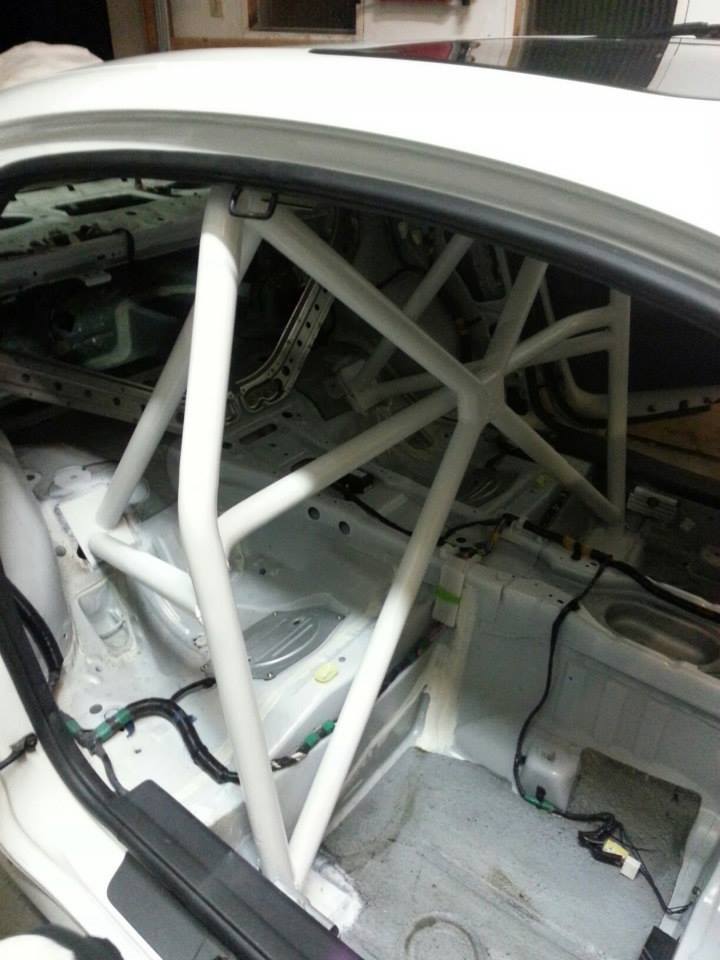
Ohlins goodness:
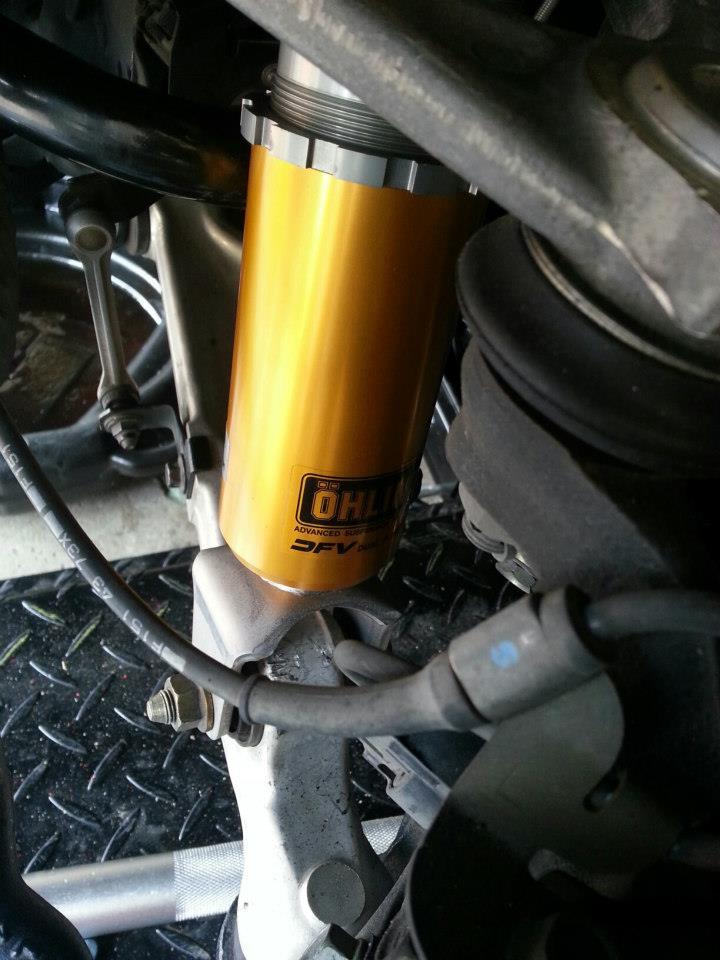
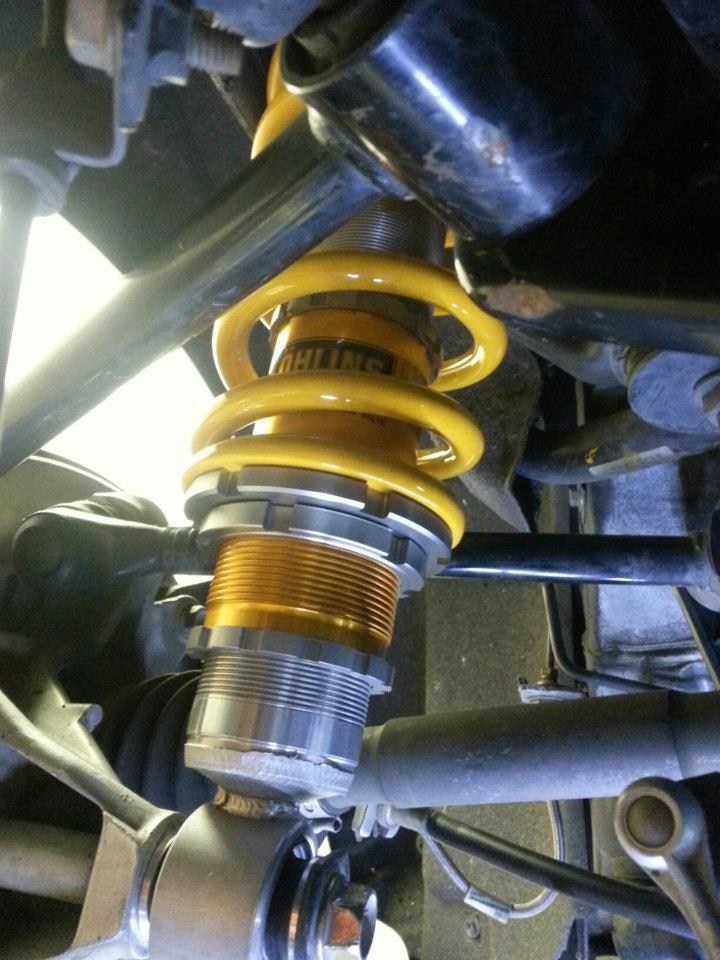
Wheel & Seat
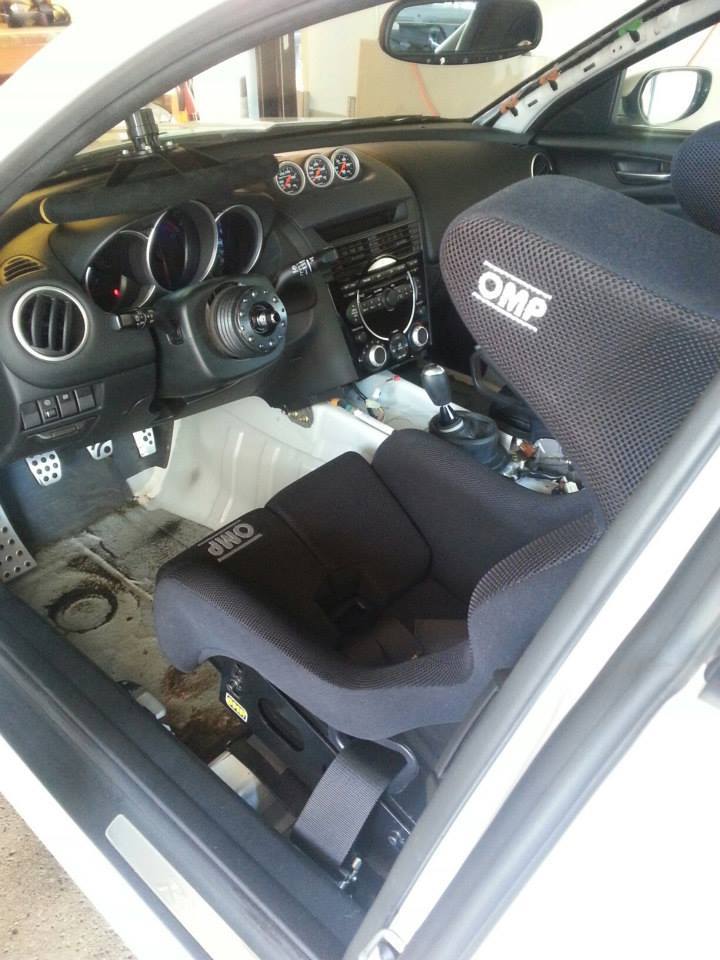
Ending weight and ready to hit the track:
The car ran more/less flawlessly last season. The only real issue that plagued me all season was fuel starvation. I ran the car with 3/4 of a tank to solve the issue, and aside from locking my keys in the car while it was running on the trailer one time, my year was pretty drama-free. I recorded best times of the following at each track I went to, and if you care to watch in car videos, my YouTube channel is here: http://www.youtube.com/user/Scuba8Steve/videos
Canadian Tire Motorsport Park DDT CCW 0-kink: 58.6 (BFG Rival)
Canadian Tire Motorsport Park GP Track: 1:41.2 (BFG Rival)
TMP: 1:22.7 (BFG Rivals)
Grand Bend Technical Track CW: 1:13.7 (Hankook RS3)
Grand Bend Technical Track CCW: 1:14.4 (Hankook RS3)
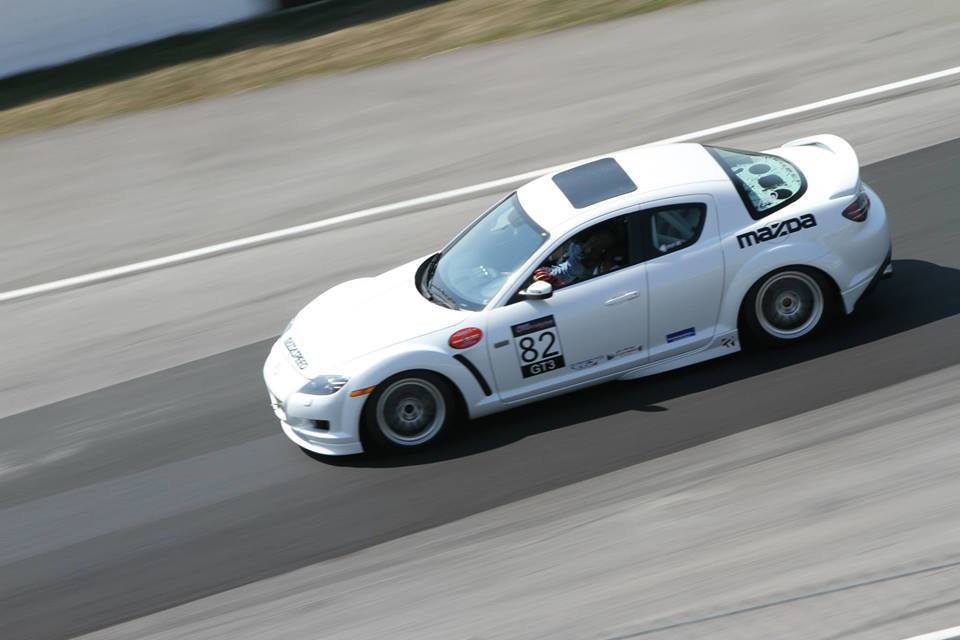
The plan for this winter in moving the car up to either GT2 or GT1 is to get it on a serious diet, install aftermarket sway bars, as well as solve my fuel starvation issue. My game plan for the diet is to strip the door panels, remove all unnecessary wiring from the vehicle, install lexan windows, remove sunroof, lightweight flywheel, lightweight race exhaust, lightweight battery, etc. etc. If I run GT2, I will be running on street tires again, if I move up to GT1 I will be running on r-comps.
This winter's progress to follow...
I've babied the car since the day I got it in April of '05 and have always taken so much pride in how clean my car has been kept

I always made a point to enjoy the car in its natural habitat. I got my feet wet in auto cross when the car was pretty new, then did a high performance driving school with Apex Driver Training which pretty much changed my life. From then on I did open lapping and a few time attack events each year, until I decided in 2011 that I wanted to get a dedicated track car. I was tired of a car that was too harsh for the road, and not perfect for the track...I learned that compromise sucks!! So I returned the car to stock, and was ready to sell it...or so I thought. As we all know, our resale value sucks so my rocket scientist plan to sell my car and buy a dedicated track car really didn't leave me with a lot of nice options. You see, you can't buy a very nice rear wheel drive track car for $10-15k that would be faster than the RX8...let alone in anywhere near the condition of my current car. So I said f*ck it....I'll keep it and turn it into my track toy. Instead of renewing my insurance, I bought a used trailer and was off on my adventure to build a dedicated track car!

I had my eye on competing in the GT3 class of Ontario Time Attack, so this past season's car wasn't far from stock. I removed the interior to make way for a roll bar, and installed a proper racing seat with 6pt harness to aid in keeping me safe. Funny enough, the car weighed 2940lbs the day I took it off the road, and I had to weigh 2940lbs to stay within the GT3 class last summer!! The only modifications I was allowed to do on the car to stay in the class were:
-upgraded brake pads/rotors/lines
-Ohlins DFV coilovers
-catalytic converter removal
-safety items such as seat, harnesses, and steering wheel
-17" wheels with street tires
starting weight:

Interior removal to make way for roll bar:


Ohlins goodness:


Wheel & Seat


Ending weight and ready to hit the track:

The car ran more/less flawlessly last season. The only real issue that plagued me all season was fuel starvation. I ran the car with 3/4 of a tank to solve the issue, and aside from locking my keys in the car while it was running on the trailer one time, my year was pretty drama-free. I recorded best times of the following at each track I went to, and if you care to watch in car videos, my YouTube channel is here: http://www.youtube.com/user/Scuba8Steve/videos
Canadian Tire Motorsport Park DDT CCW 0-kink: 58.6 (BFG Rival)
Canadian Tire Motorsport Park GP Track: 1:41.2 (BFG Rival)
TMP: 1:22.7 (BFG Rivals)
Grand Bend Technical Track CW: 1:13.7 (Hankook RS3)
Grand Bend Technical Track CCW: 1:14.4 (Hankook RS3)

The plan for this winter in moving the car up to either GT2 or GT1 is to get it on a serious diet, install aftermarket sway bars, as well as solve my fuel starvation issue. My game plan for the diet is to strip the door panels, remove all unnecessary wiring from the vehicle, install lexan windows, remove sunroof, lightweight flywheel, lightweight race exhaust, lightweight battery, etc. etc. If I run GT2, I will be running on street tires again, if I move up to GT1 I will be running on r-comps.
This winter's progress to follow...
Last edited by ScubaSteve8; 11-01-2015 at 02:52 PM.
#2
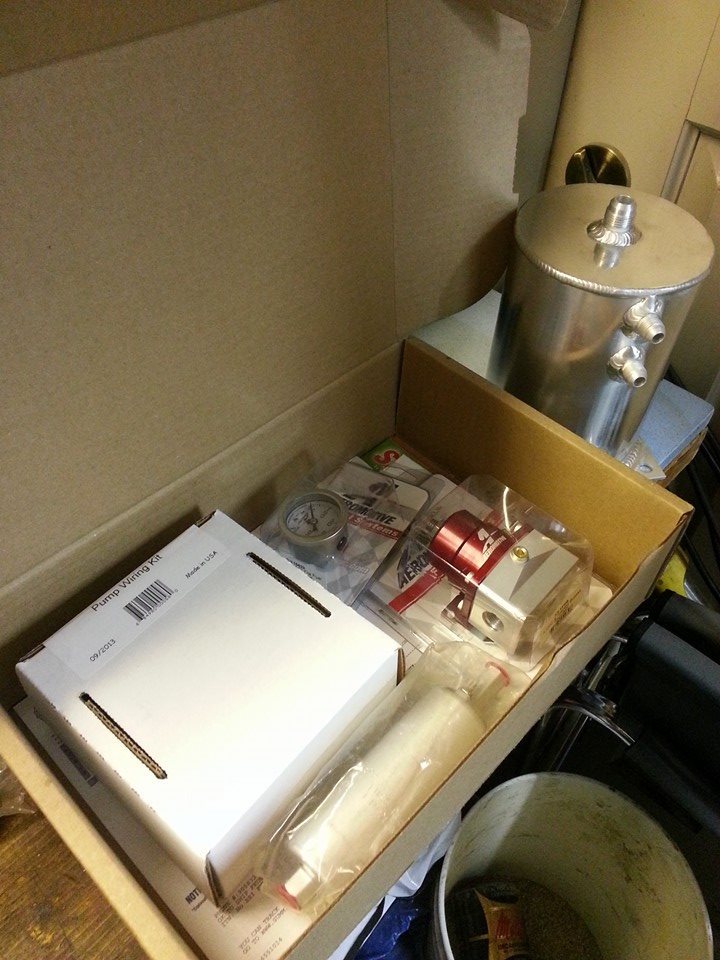
First things first: fix fuel starvation!
Began reducing the weight of the car by removing the rest of the audio system from the doors, radio head unit, etc.
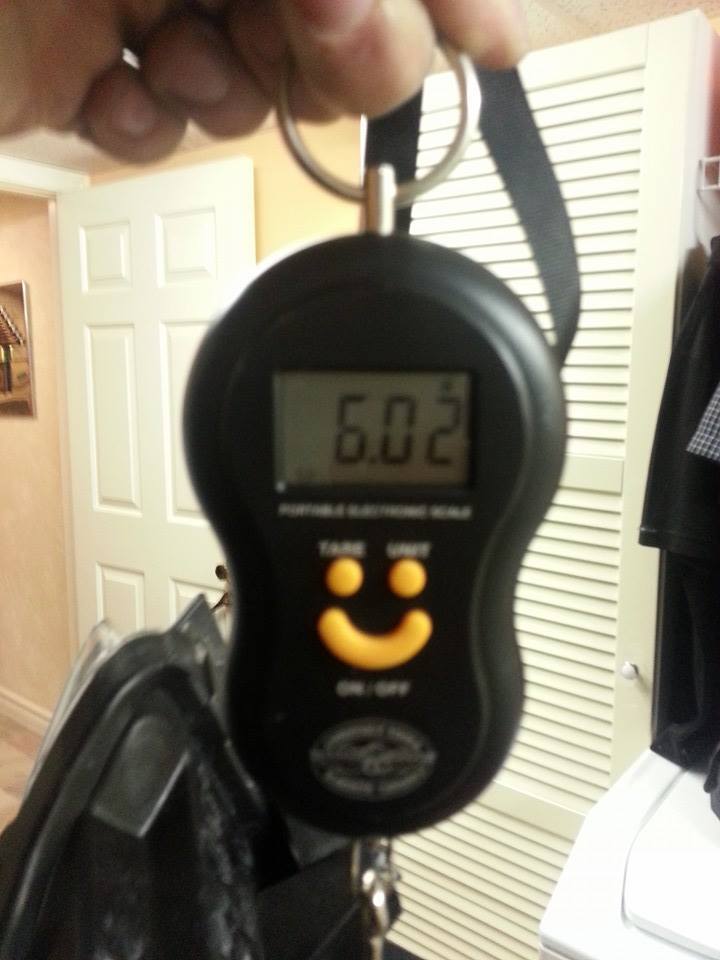
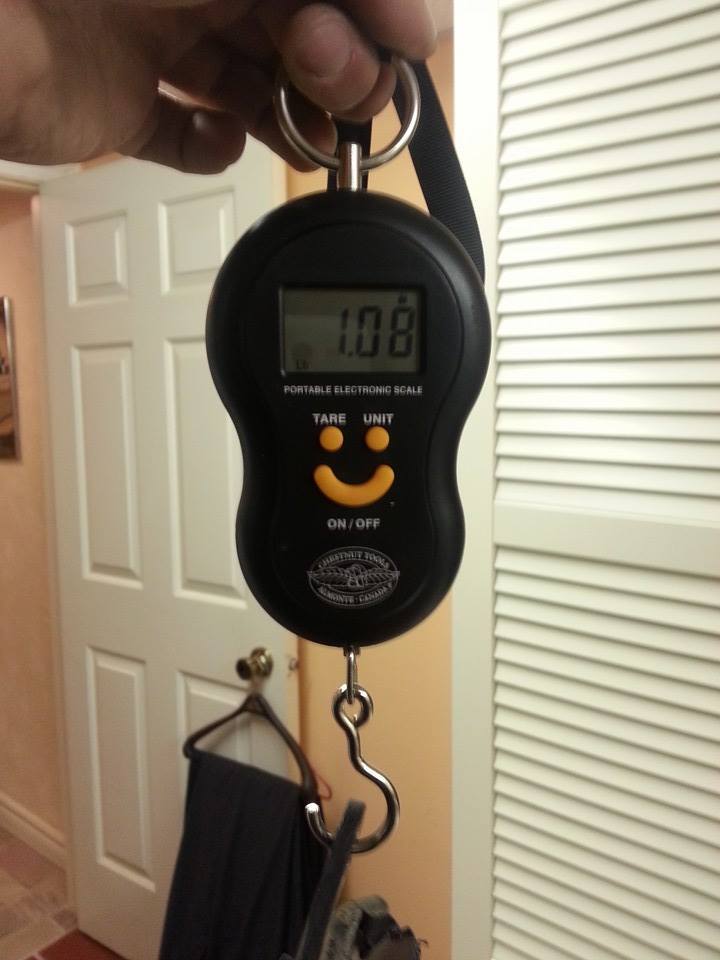
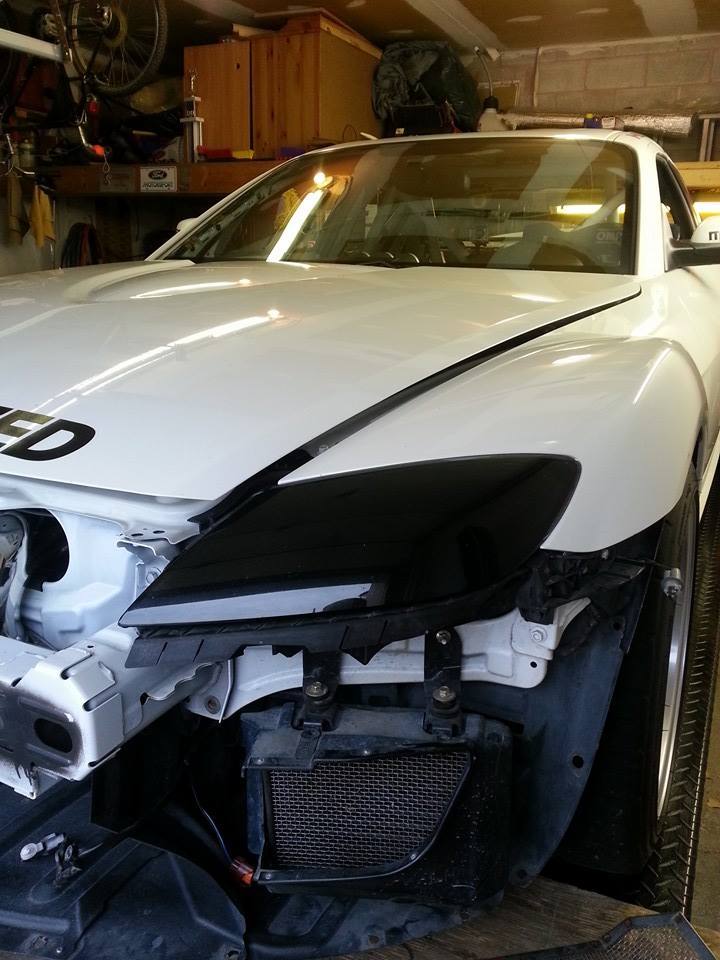
Then came the fun stuff. Headlights aren't required so I cut them up to save weight. Each headlight is 5lbs lighter and I painted them black from the inside to help give it a better look.
Starting weight:
Ending weight:
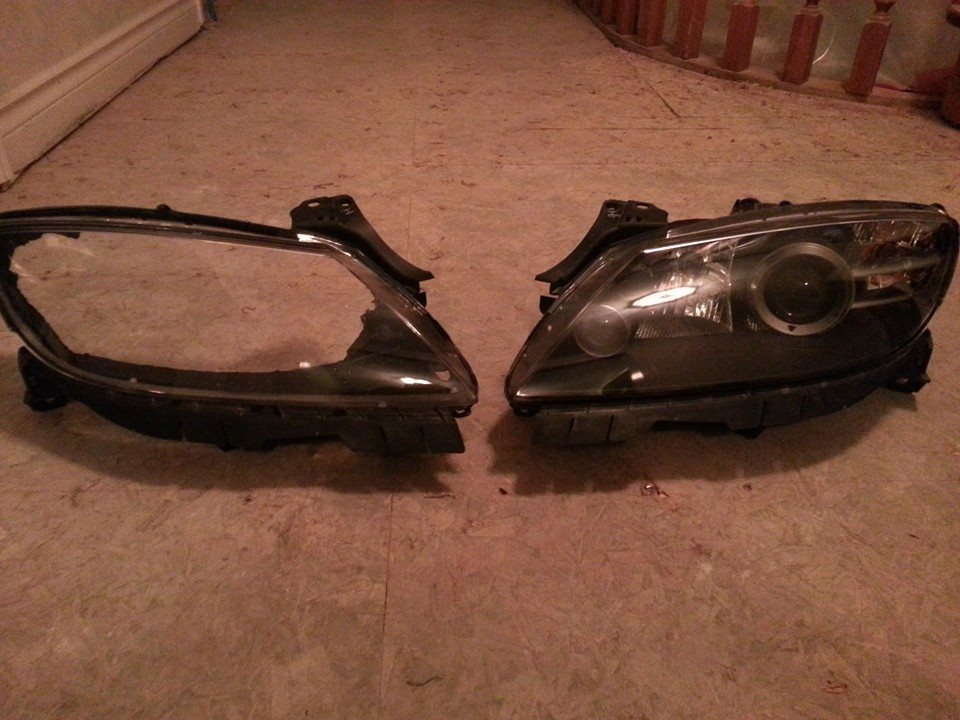
Finished product:
Next it was on to the windows. While there isn't too much weight to be saved by switching to lexan, I had promised myself there would be no cutting corners in this build because its only a couple pounds. If its lighter, and affordable, I will do it as it all adds up!!
Tried my best for an OEM style fit, I'm happy with how it turned out:
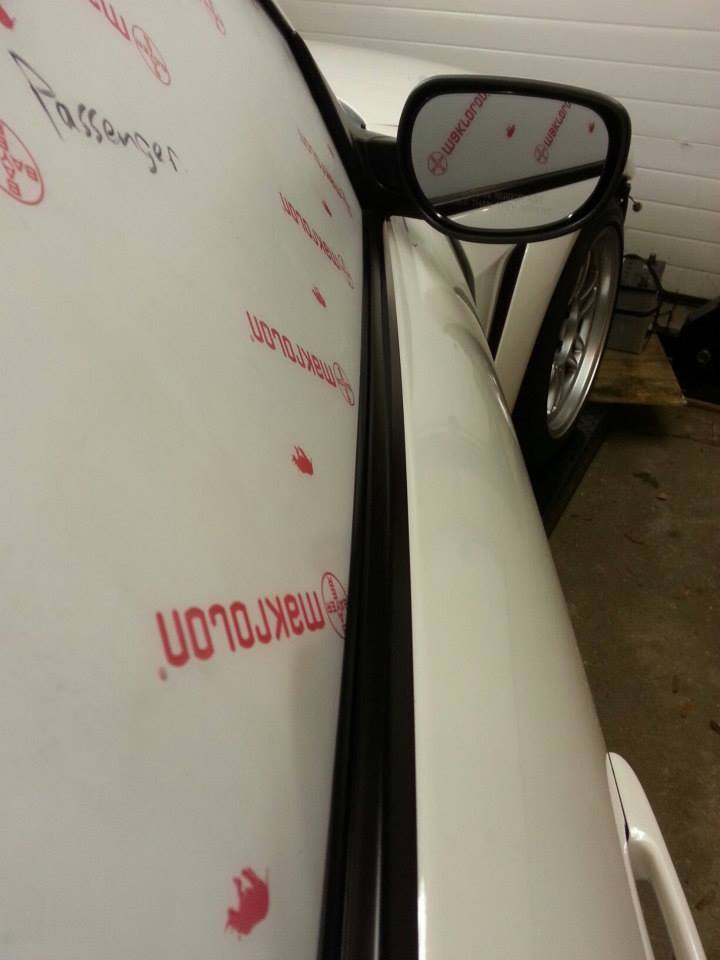
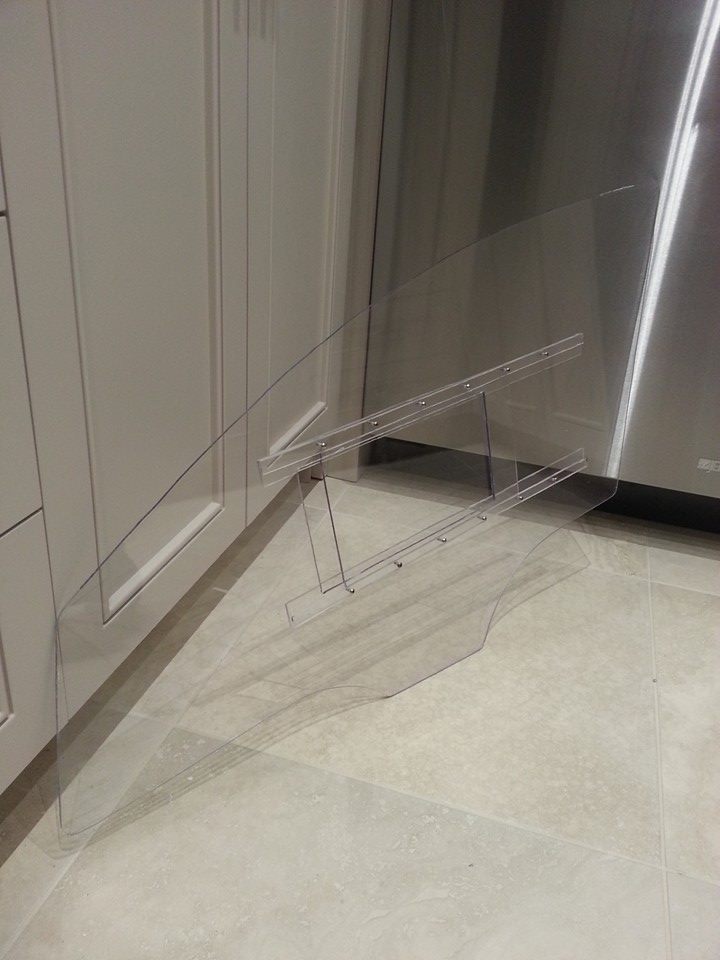
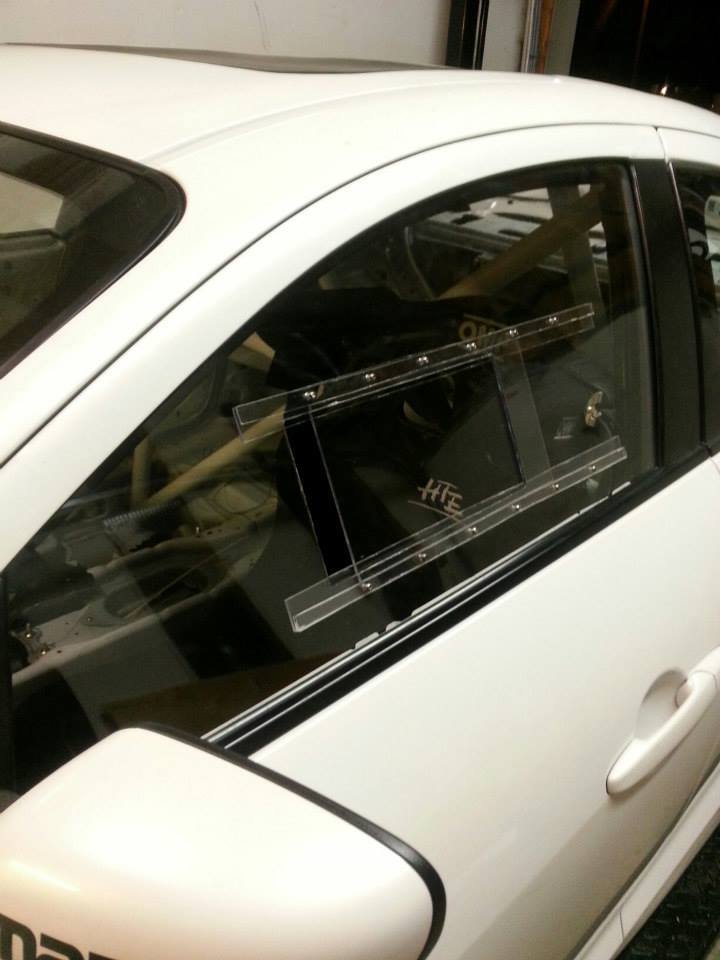
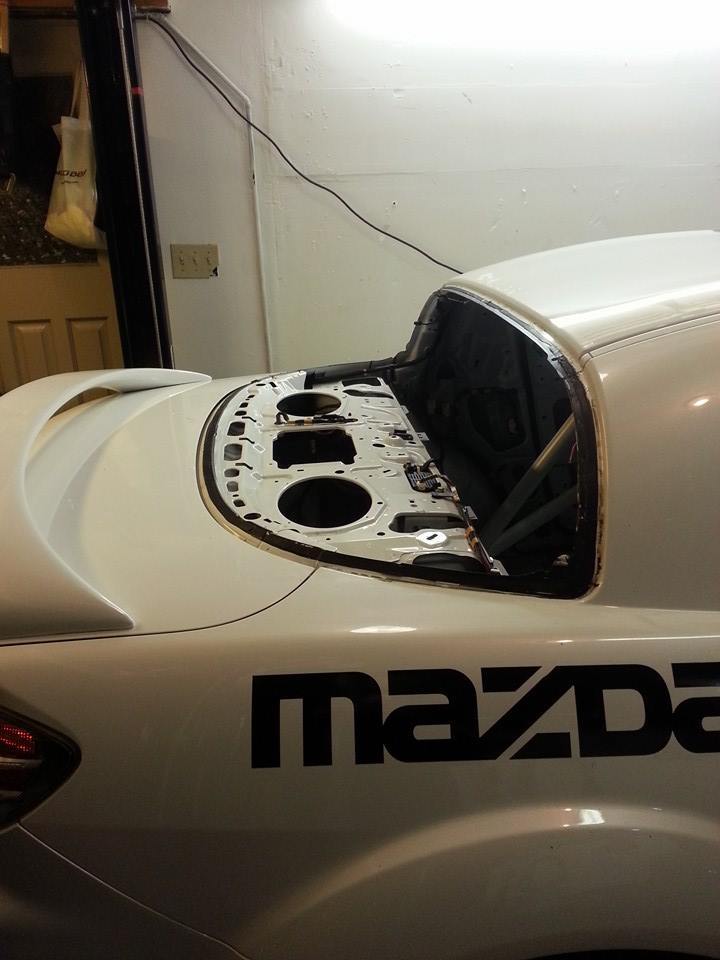
Rear glass out, but I haven't installed that yet. Sunroof is next
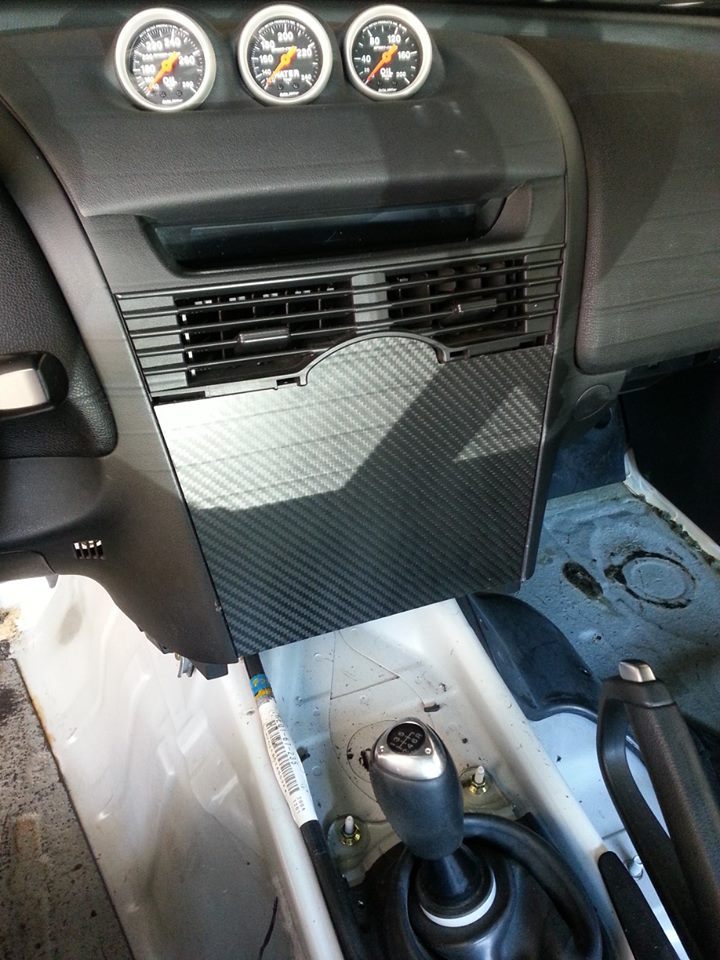
Carbon dash plug to cover hole from radio head unit:
So thats where I'm at for now. I'll get into more detail with each item as the thread progresses....but thats a start for now! Enjoy.

Began reducing the weight of the car by removing the rest of the audio system from the doors, radio head unit, etc.
Then came the fun stuff. Headlights aren't required so I cut them up to save weight. Each headlight is 5lbs lighter and I painted them black from the inside to help give it a better look.
Starting weight:

Ending weight:


Finished product:

Next it was on to the windows. While there isn't too much weight to be saved by switching to lexan, I had promised myself there would be no cutting corners in this build because its only a couple pounds. If its lighter, and affordable, I will do it as it all adds up!!
Tried my best for an OEM style fit, I'm happy with how it turned out:


Rear glass out, but I haven't installed that yet. Sunroof is next

Carbon dash plug to cover hole from radio head unit:

So thats where I'm at for now. I'll get into more detail with each item as the thread progresses....but thats a start for now! Enjoy.
Last edited by ScubaSteve8; 11-01-2015 at 03:15 PM.
#5
Sweet, another track build. Also good job on picking the fastest color, will definitely help with lap times. 
All the sound deadening in the car is another 20lbs as well. Crush up some dry ice until it almost looks like snow, throw it on and it'll pop off in huge sheets.
And while you have the rear window out are you planning on cutting out that rear speaker deck? I've seen a couple cars with that whole thing cut out and was thinking of doing it myself as well, no idea how much it weighs though.
Last edited by Arca_ex; 12-09-2013 at 12:02 AM.
#8
Sweet, another track build. Also good job on picking the fastest color, will definitely help with lap times. 
All the sound deadening in the car is another 20lbs as well. Crush up some dry ice until it almost looks like snow, throw it on and it'll pop off in huge sheets.
And while you have the rear window out are you planning on cutting out that rear speaker deck? I've seen a couple cars with that whole thing cut out and was thinking of doing it myself as well, no idea how much it weighs though.

All the sound deadening in the car is another 20lbs as well. Crush up some dry ice until it almost looks like snow, throw it on and it'll pop off in huge sheets.
And while you have the rear window out are you planning on cutting out that rear speaker deck? I've seen a couple cars with that whole thing cut out and was thinking of doing it myself as well, no idea how much it weighs though.

I was planning on removing the sound deadening this winter so I'm looking forward to that chunk of weight saving as well. Never thought to use dry ice, so thanks for that suggestion! Helped remove the tar on a friend's 328i race car and we used a blow torch with a putty knife but the fumes were brutal and I wasn't looking forward to doing that on my car....luckily the dry ice method will save me from that!!
I debated cutting out that rear deck but haven't decided if I will actually do it yet (I don't believe its glued). Its one of those things where if I cut it out, I'd still need to reinforce that area which will likely offset the weight savings anyway so I'm on the fence still about it...
I have an idea for a DIY sunroof plug that I will be working on this week. Hopefully my idea works out as it should look virtually OEM.
#9
Thanks for the positive feedback everyone! I think if you love Japanese cars, the only colour to make a race car is white 
I was planning on removing the sound deadening this winter so I'm looking forward to that chunk of weight saving as well. Never thought to use dry ice, so thanks for that suggestion! Helped remove the tar on a friend's 328i race car and we used a blow torch with a putty knife but the fumes were brutal and I wasn't looking forward to doing that on my car....luckily the dry ice method will save me from that!!
I debated cutting out that rear deck but haven't decided if I will actually do it yet (I don't believe its glued). Its one of those things where if I cut it out, I'd still need to reinforce that area which will likely offset the weight savings anyway so I'm on the fence still about it...
I have an idea for a DIY sunroof plug that I will be working on this week. Hopefully my idea works out as it should look virtually OEM.
I think I'm going to cut that rear deck out. My cage is tied into the rear coilover mounting points and should provide more than enough chassis rigidity. I don't think taking it out at this point will do anything and I've seen some RX-8's with them cut out with no reinforcements added.
I have some pictures of what I did for the sunroof hole in my build thread, just some lexan, aluminum 90deg angle stock and some countersunk machine screws. I'm going to do some filler on it later to smooth it all out, primer over the filler and then do a vinyl wrap for the Hood/Roof/Trunk.
#10
Nice build thread...I like what you've done with the car!
I did some work on my sunroof panel tonight. I took the piece of rubber stripping off the glass window, and cut a piece of lexan the exact size of the glass. I plan to have the lexan sit in the groove of the rubber as pictured below (obviously glued in there) and then secure it into the hole in the roof. Right now it weighs 3.2lbs
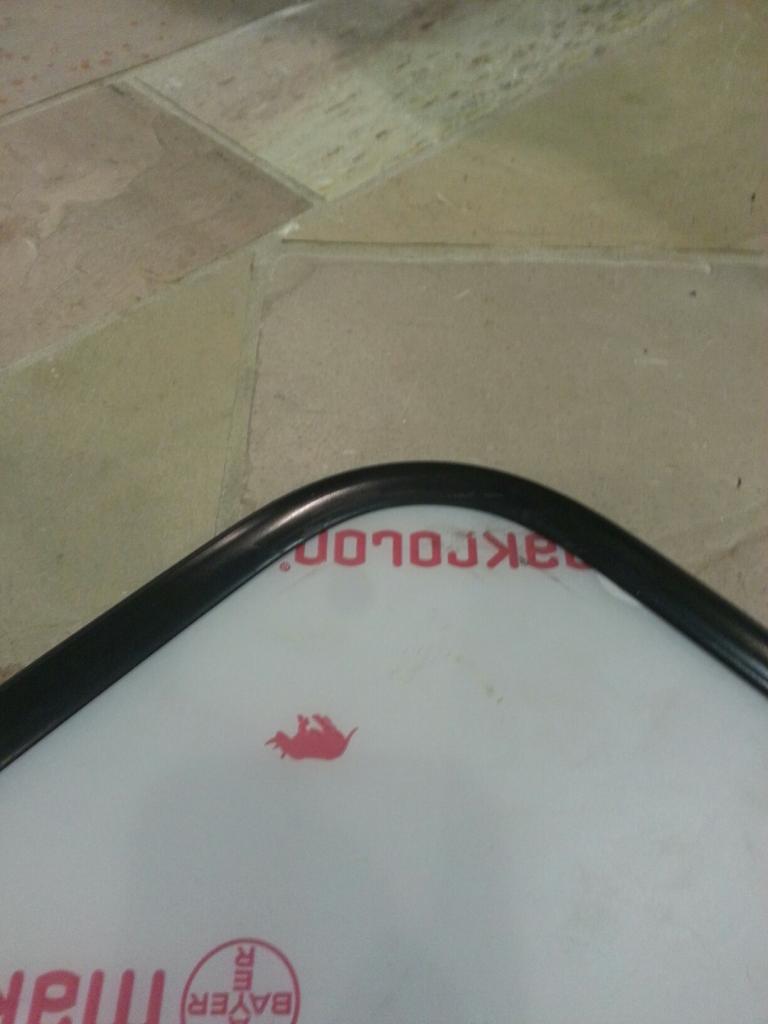
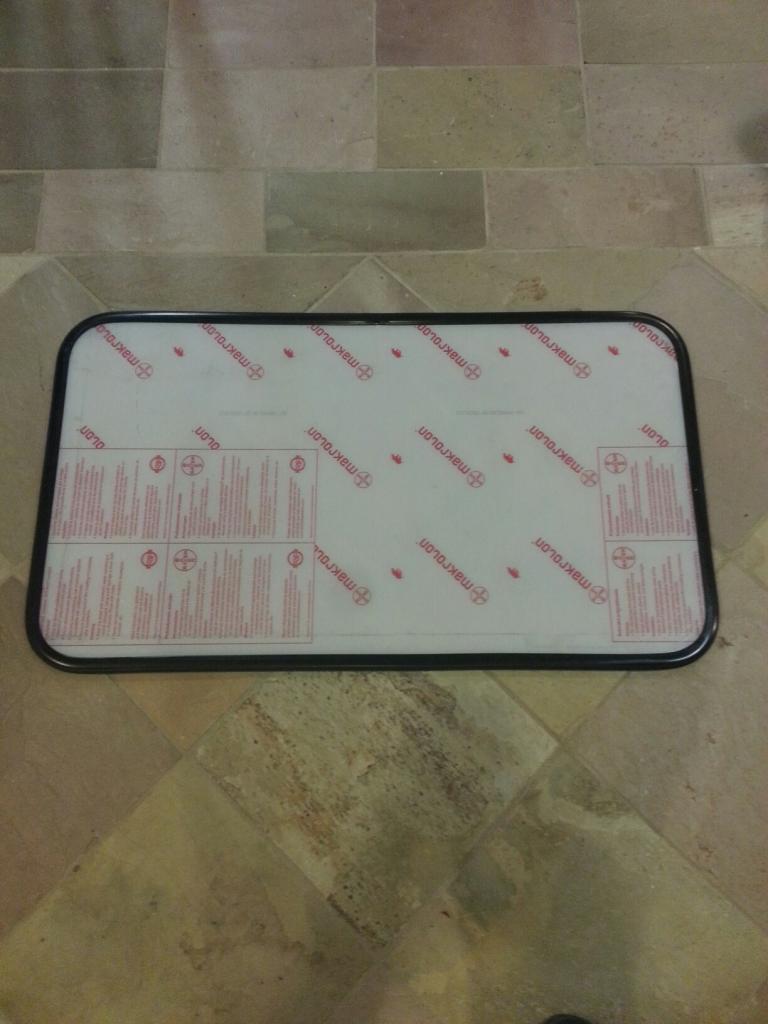
I did some work on my sunroof panel tonight. I took the piece of rubber stripping off the glass window, and cut a piece of lexan the exact size of the glass. I plan to have the lexan sit in the groove of the rubber as pictured below (obviously glued in there) and then secure it into the hole in the roof. Right now it weighs 3.2lbs


#13
Quick update:
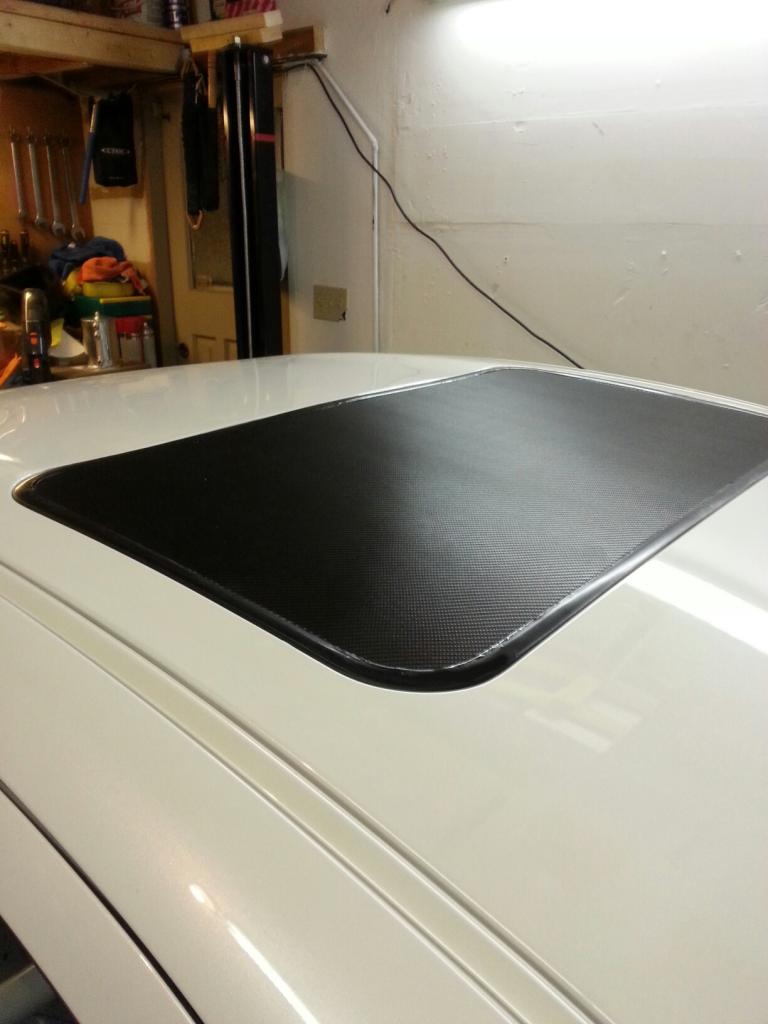
With Christmas just around the corner, I haven't had too much time to work on the car. The sunroof plug is done, and worked out great. Its water tight, but just wasn't as strong in the centre as I originally planned so I added a couple strips of aluminum bar to it to prevent any flopping around. Final product weighs 4.3lbs...
I'm back to stripping unnecessary wiring out of the car which is beyond tedious (and not overly picture worthy either). Once the wiring is done I'll be moving on to removing the sound deadening tar, and installing the rear lexan window.

#16
Just made it myself. I went to a hobby store that sells small pieces of carbon fibre for airplane hobbyists to make their own cool little parts with, and just made the plug from that. Cost about $70 for the piece of carbon, and took about 2-3hrs to make.
Last edited by ScubaSteve8; 12-22-2013 at 09:31 AM.
#17

#18
It was on the sidelines at the August big track events; I would've put it on track if the Nissan had issues. That, however, would have caused issues at home as I'd promised my wife that the RX8 would never go on the track (except for alligator lapping). One track car is my family limit!
#20
Awesome build Steve! In my unexperienced racing career your car seemed wicked fast for fairly stock, in the few laps I got to ride with you this year. Can't wait to see it next year. Hopefully I'll have one to go along with it too! 

#21
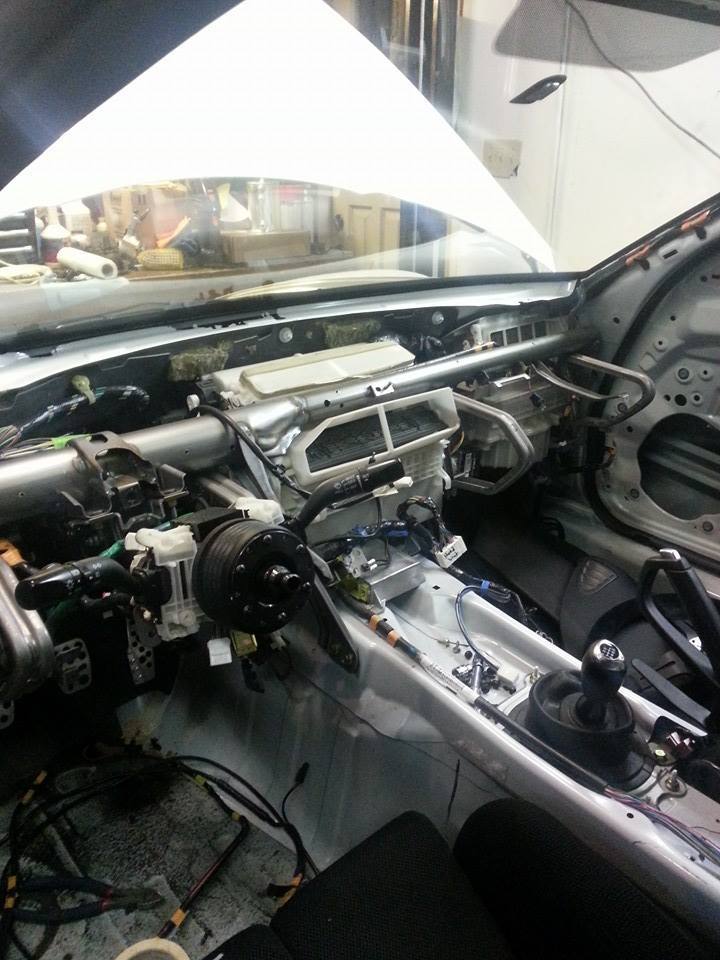
Now the fun begins behind the dash...
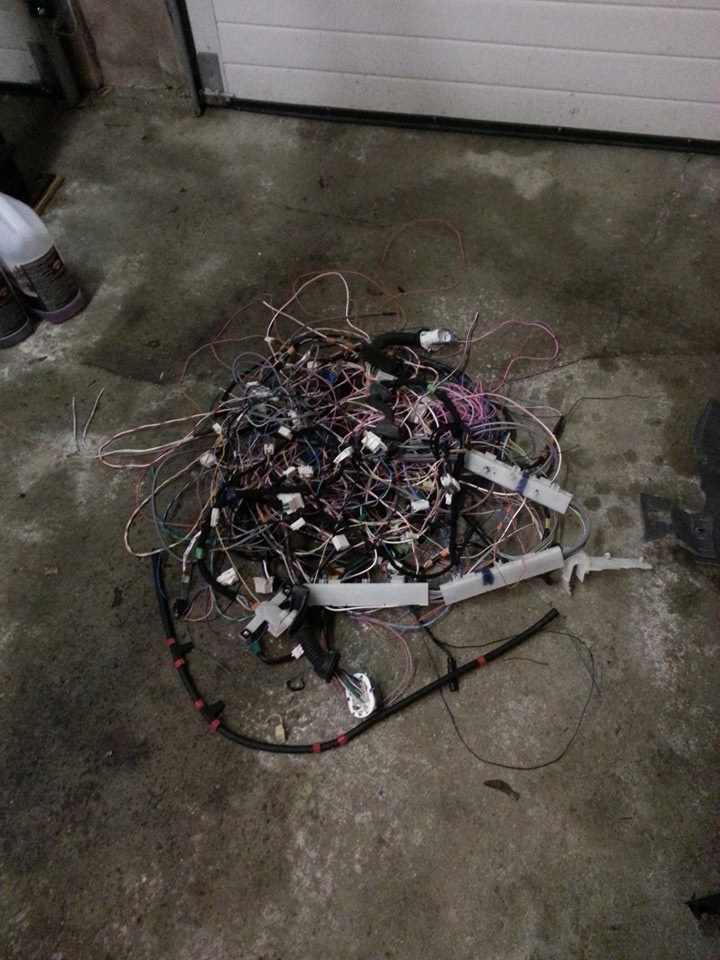
Here is a pile of all the audio system wiring, and air bag wiring...
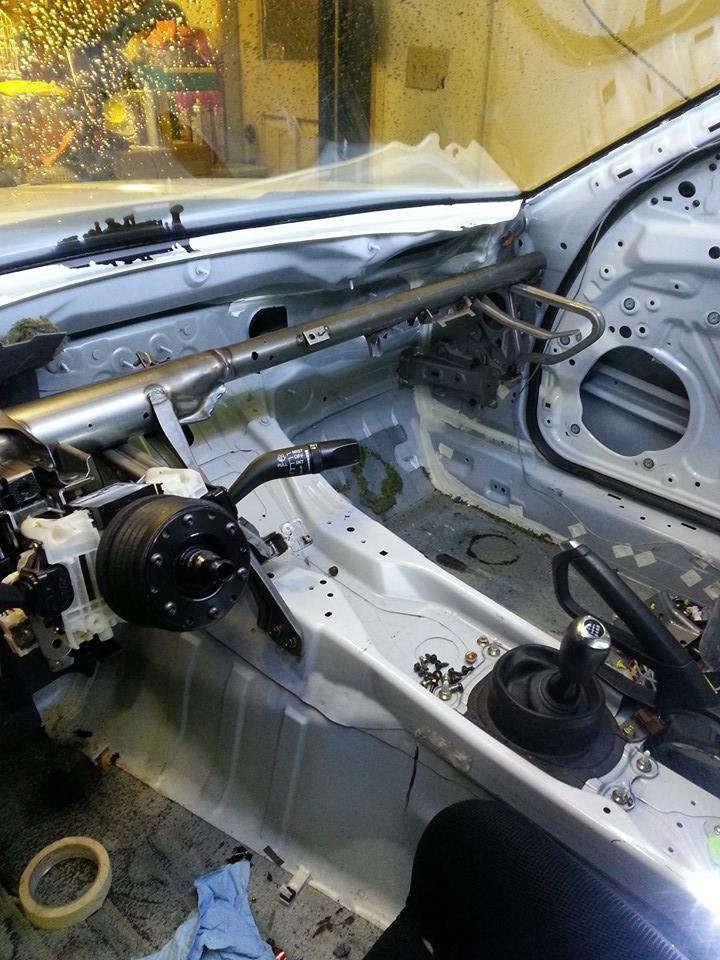
Heater core and blower fan has been removed. Also removed the dash board wiring harness to begin removing some of the unneeded wires from that. I plan to try firing up the car tonight to make sure it will still run. Once this is confirmed, I will remove the sound deadening tar and give the interior a shot of paint, and move on to the engine bay!

Here is a pile of all the audio system wiring, and air bag wiring...

Heater core and blower fan has been removed. Also removed the dash board wiring harness to begin removing some of the unneeded wires from that. I plan to try firing up the car tonight to make sure it will still run. Once this is confirmed, I will remove the sound deadening tar and give the interior a shot of paint, and move on to the engine bay!

Last edited by ScubaSteve8; 11-01-2015 at 03:26 PM.
#24
Thanks for the positive feedback everyone! Its been a pretty stressful last week or so with the car which has tested my patience quite considerably.
After removing a lot of extra wire from behind the dash, my car wouldn't start! It wouldn't turn over at first so I got very nervous that I triggered the ignition immobilizer. I thought maybe my battery was dead so I put a booster pack on and it turned over but very, very, slow. Its not easy to find information on what an ignition immobilizer does on our car, and my assumption was that it would allow the car to turn over, but not allow the ignition to fire. I immediately went on a search for a new dash harness and got lucky enough that a fellow RX8 club member that had a shell, was kind enough to sell me the harness I originally thought I had screwed up. Once I installed his unmolested harness, the car still turned over very, very, slow and so with my frustration levels were undoubtedly through the roof.
Luckily, another member in the race section was kind enough to tell me that if the immobilizer was triggered, the car wouldn't turn over at all which led me to believe my starter was shot. Sure enough, I had one of the N3H1 starters in my car still and it finally decided to die. A quick call to my local Mazda store and I had one of the N3Z1 starters, so I swapped starters when I got home from work, deflooded the car, and now she runs again!!
Hell of a time for the starter to finally crap out, eh?
Anyway, so my original "lightweight" wiring harness works after all. Most stressful 4.6lbs I've ever removed from a car. Off on a business trip this week so I won't be working on the car for a bit. Next up is removing the sound deadening tar & painting the interior...
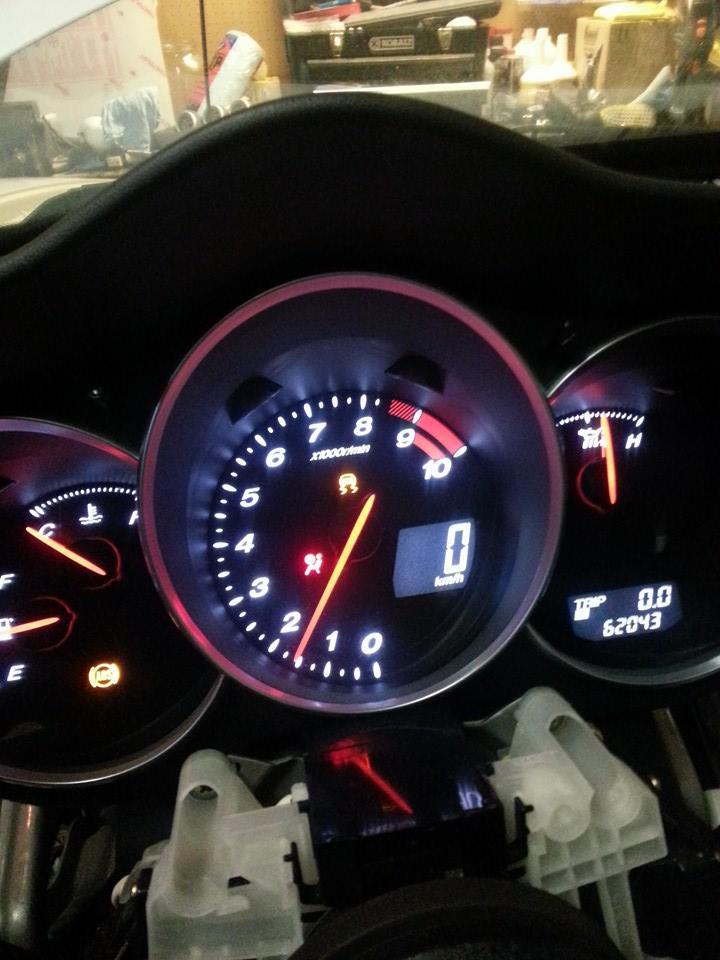
After removing a lot of extra wire from behind the dash, my car wouldn't start! It wouldn't turn over at first so I got very nervous that I triggered the ignition immobilizer. I thought maybe my battery was dead so I put a booster pack on and it turned over but very, very, slow. Its not easy to find information on what an ignition immobilizer does on our car, and my assumption was that it would allow the car to turn over, but not allow the ignition to fire. I immediately went on a search for a new dash harness and got lucky enough that a fellow RX8 club member that had a shell, was kind enough to sell me the harness I originally thought I had screwed up. Once I installed his unmolested harness, the car still turned over very, very, slow and so with my frustration levels were undoubtedly through the roof.
Luckily, another member in the race section was kind enough to tell me that if the immobilizer was triggered, the car wouldn't turn over at all which led me to believe my starter was shot. Sure enough, I had one of the N3H1 starters in my car still and it finally decided to die. A quick call to my local Mazda store and I had one of the N3Z1 starters, so I swapped starters when I got home from work, deflooded the car, and now she runs again!!
Hell of a time for the starter to finally crap out, eh?

Anyway, so my original "lightweight" wiring harness works after all. Most stressful 4.6lbs I've ever removed from a car. Off on a business trip this week so I won't be working on the car for a bit. Next up is removing the sound deadening tar & painting the interior...

Last edited by ScubaSteve8; 11-01-2015 at 03:29 PM.


