When you click on links to various merchants on this site and make a purchase, this can result in this site earning a commission. Affiliate programs and affiliations include, but are not limited to, the eBay Partner Network.
I have found lots of useful information here at rx8club and I appreciate the willingness to share knowledge and the effort to post DIY's, trouble shooting guides etc. Though I'm not the most computer savvy, I'll attempt to give somthing back to the forum in the form of observations and ideas I've had thus far in my newby experiences. There's no guarantee what I'm about to post hasn't been elsewhere covered in one way or another...but I haven't seen them yet so I'm fairly confident this may be helpful to others as well.
If someone feels this would be better located in another subforum or string..go for it,
I'm Easy.
The first and most archaic mutalation of my rig (performed in a rage)
The air box is a huge pain to remove.
Dunno how it is supposed to be done but based on the deep and lasting scrapes, gouges and scratches on the duct 'horns' appearantly no previous owner or shop knew either. Throttle body was plenty beat up too.
Self guided removal FAIL!
1. Loosen the hose clamp nearest the air box
2. Disconnect the mass air sensor
3. From the front of the car simultaneously push the air box in, compressing the pleated rubber tube connecting the air box to the throttle body (aka the air intake boot), and at the same time lift.
Once the locating pegs on the front edge of the air box are uncorked form the grommets you should be able to lift the assembly up.
4. Now, the only thing stopping the box from lifting out is a stupid stub of plastic that catches on the air box intake 'horn' in the photo yo can see I already broke mine, but perhaps you won't.
5. Cut that SOB off!!! Along with this I put a little bulb grease on the lip of the pleated rubber boot and on the grommets now I can slip off and on my air box with ease. Entire air box comes out buy only loosening the single hose clamp and disconnecting the MAF. No screw driver pry bars required ever again!!
Just thought - the bulb grease I used was silicone based, hope I don't fry the Air sensor. Oops you
NOTE:The bottom half of the airbox also has alignment pegs that look to also engage with rubber grommets in the tray/radiator air dam. If true, mine were missing but if they WERE installed it would likely make this box even harder to remove. If these are installed on yours, I would remove them. If you think you need the lower support stack some padding on the bottom.
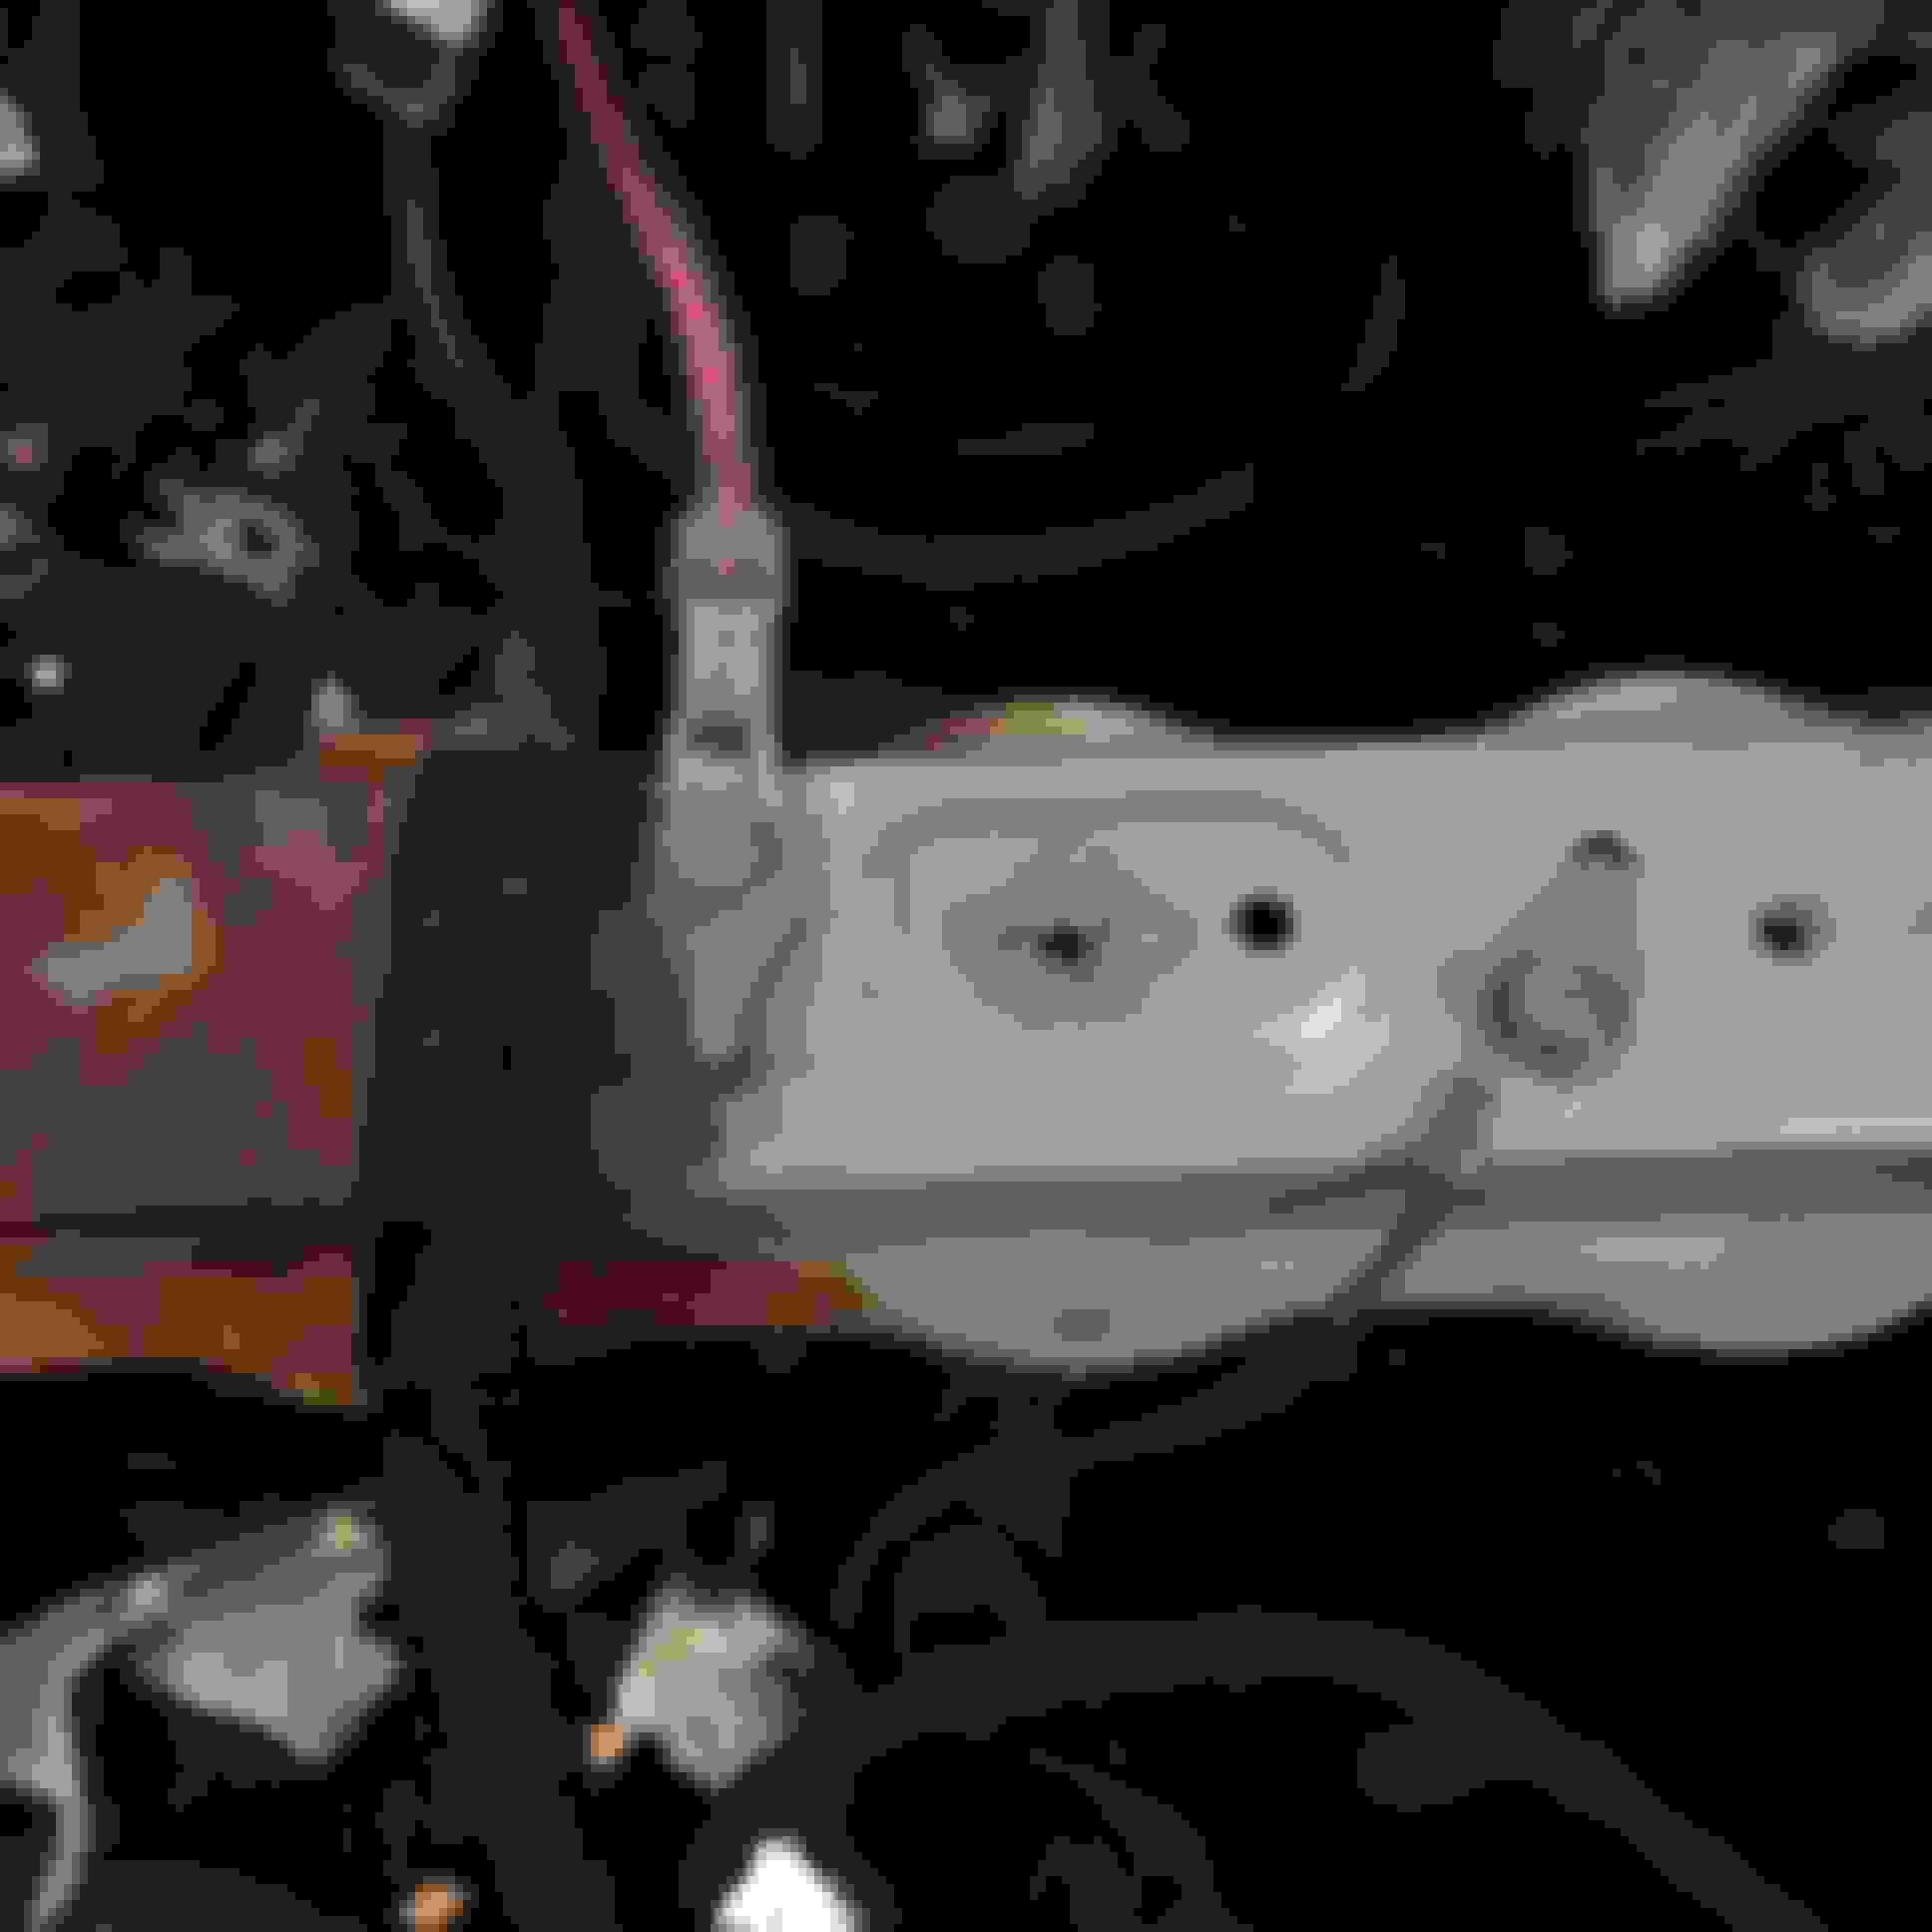
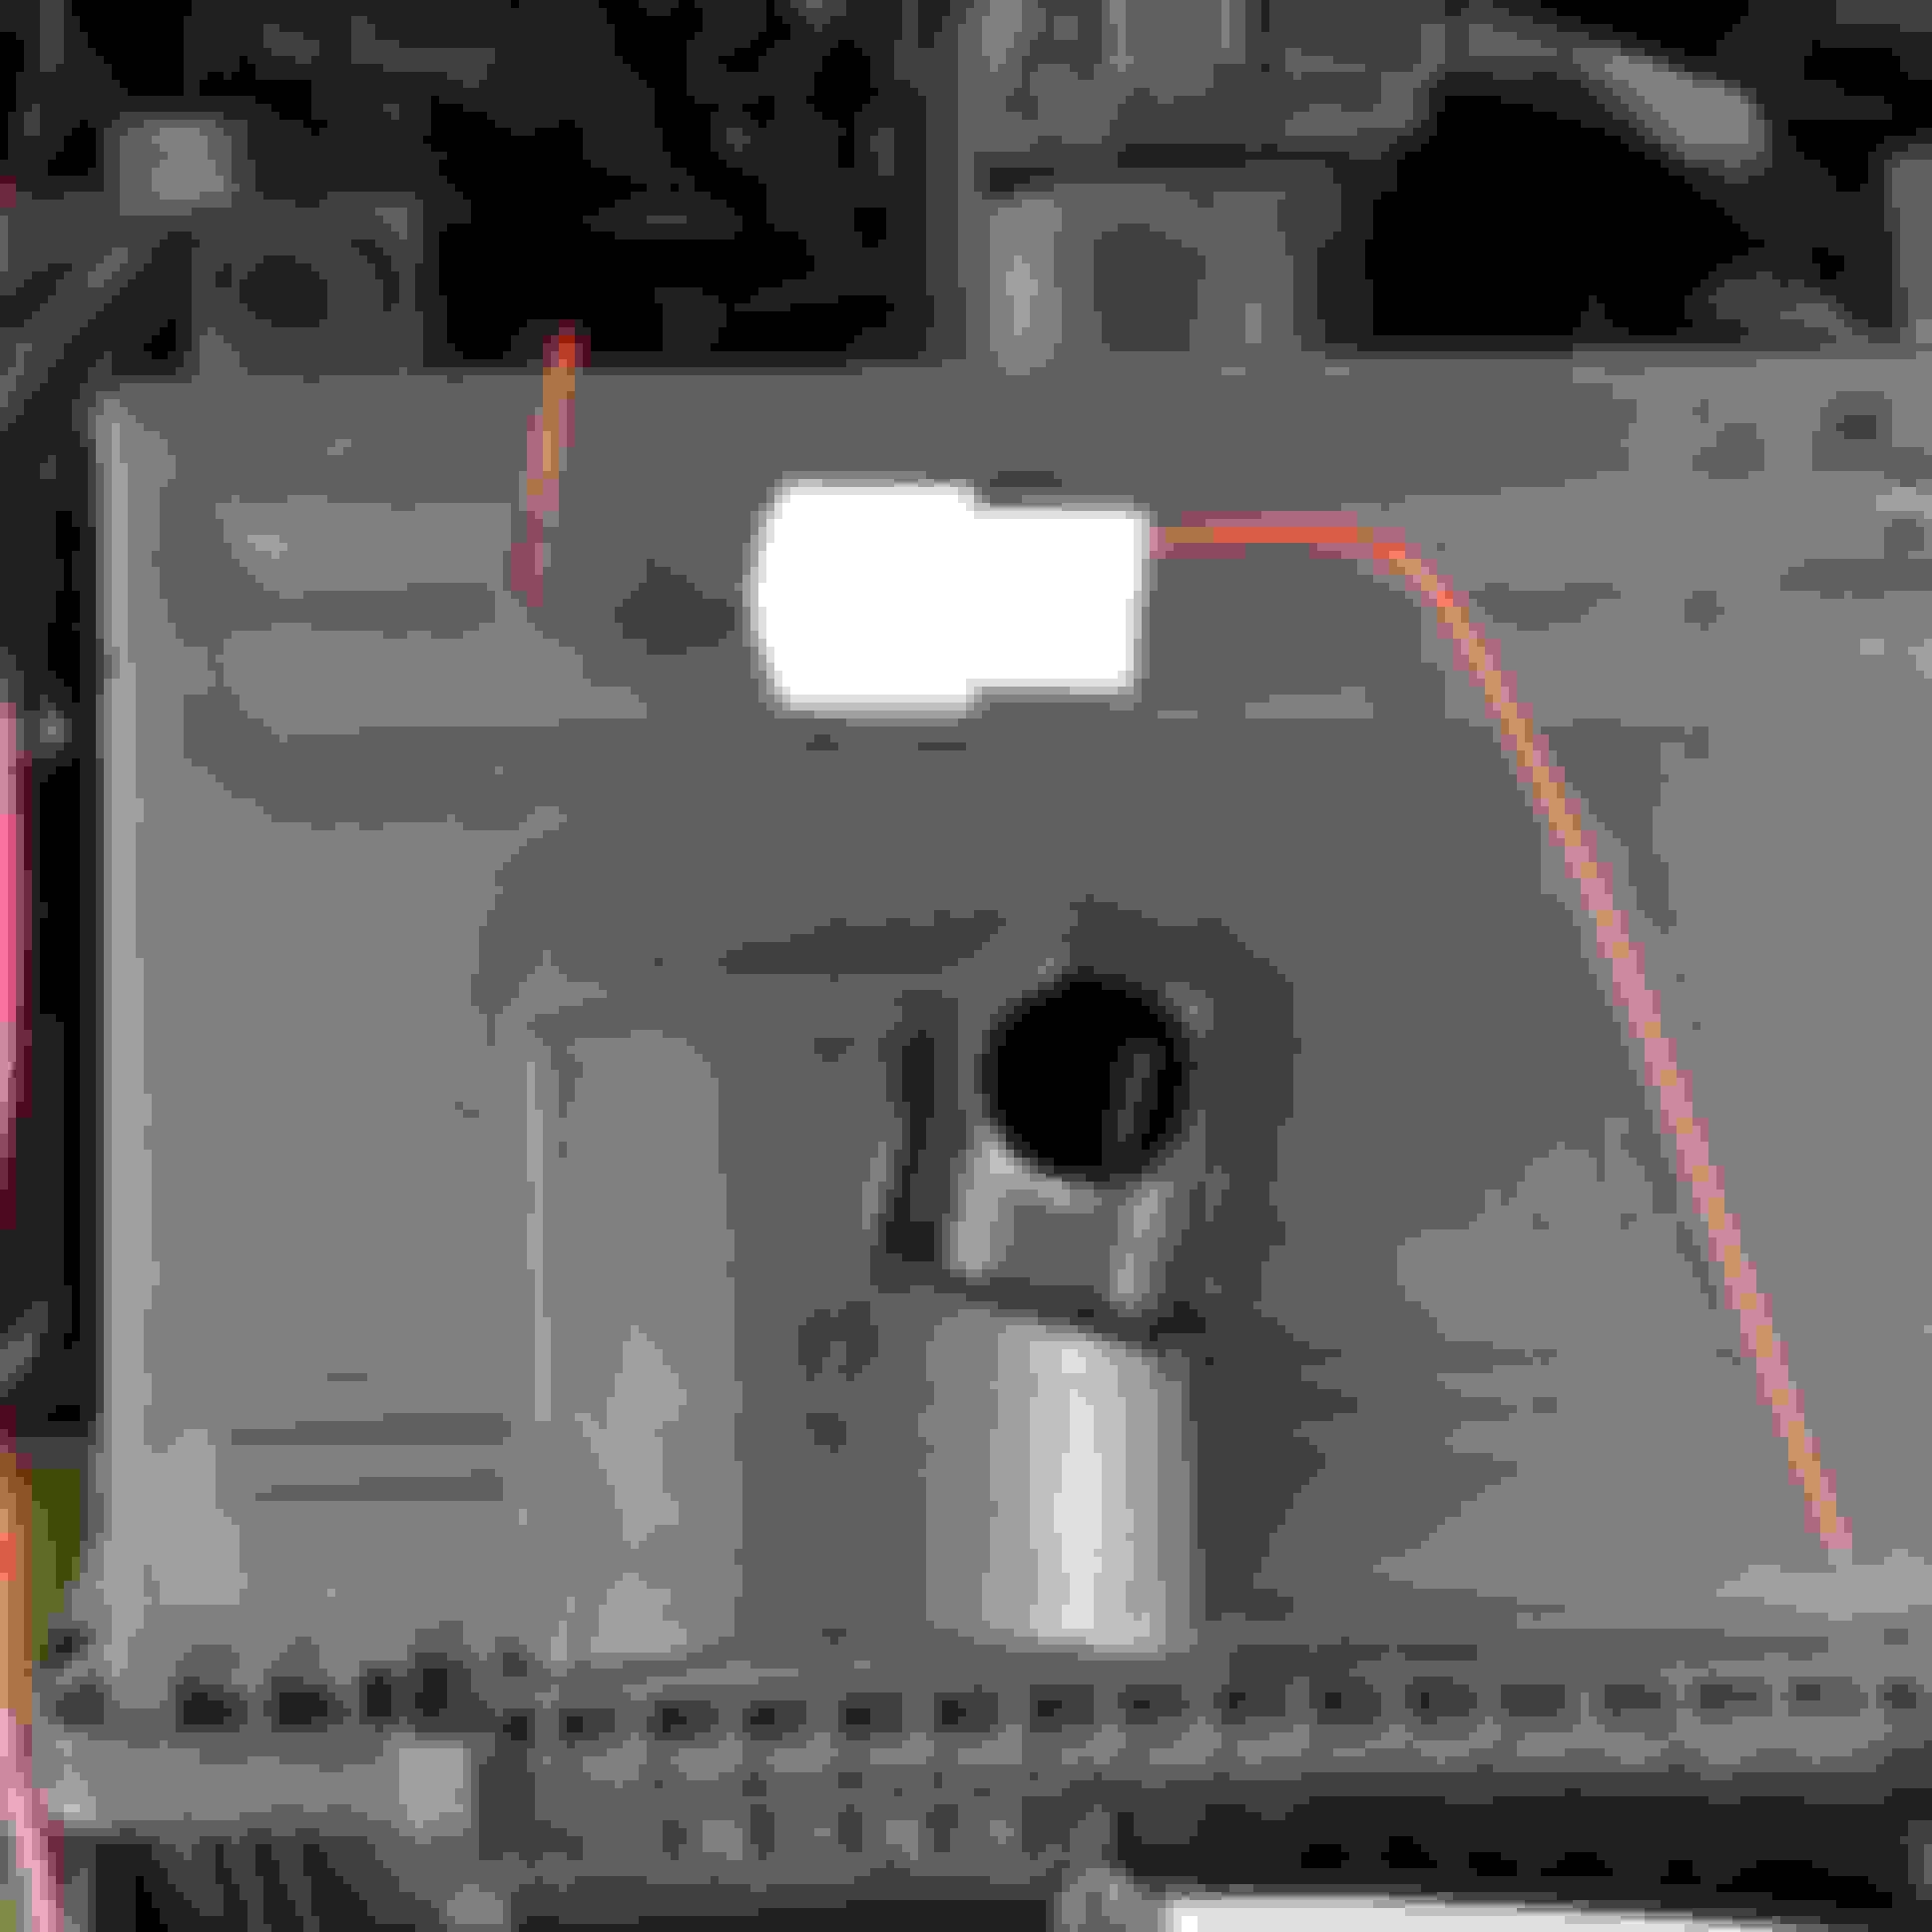
Quick ground check.
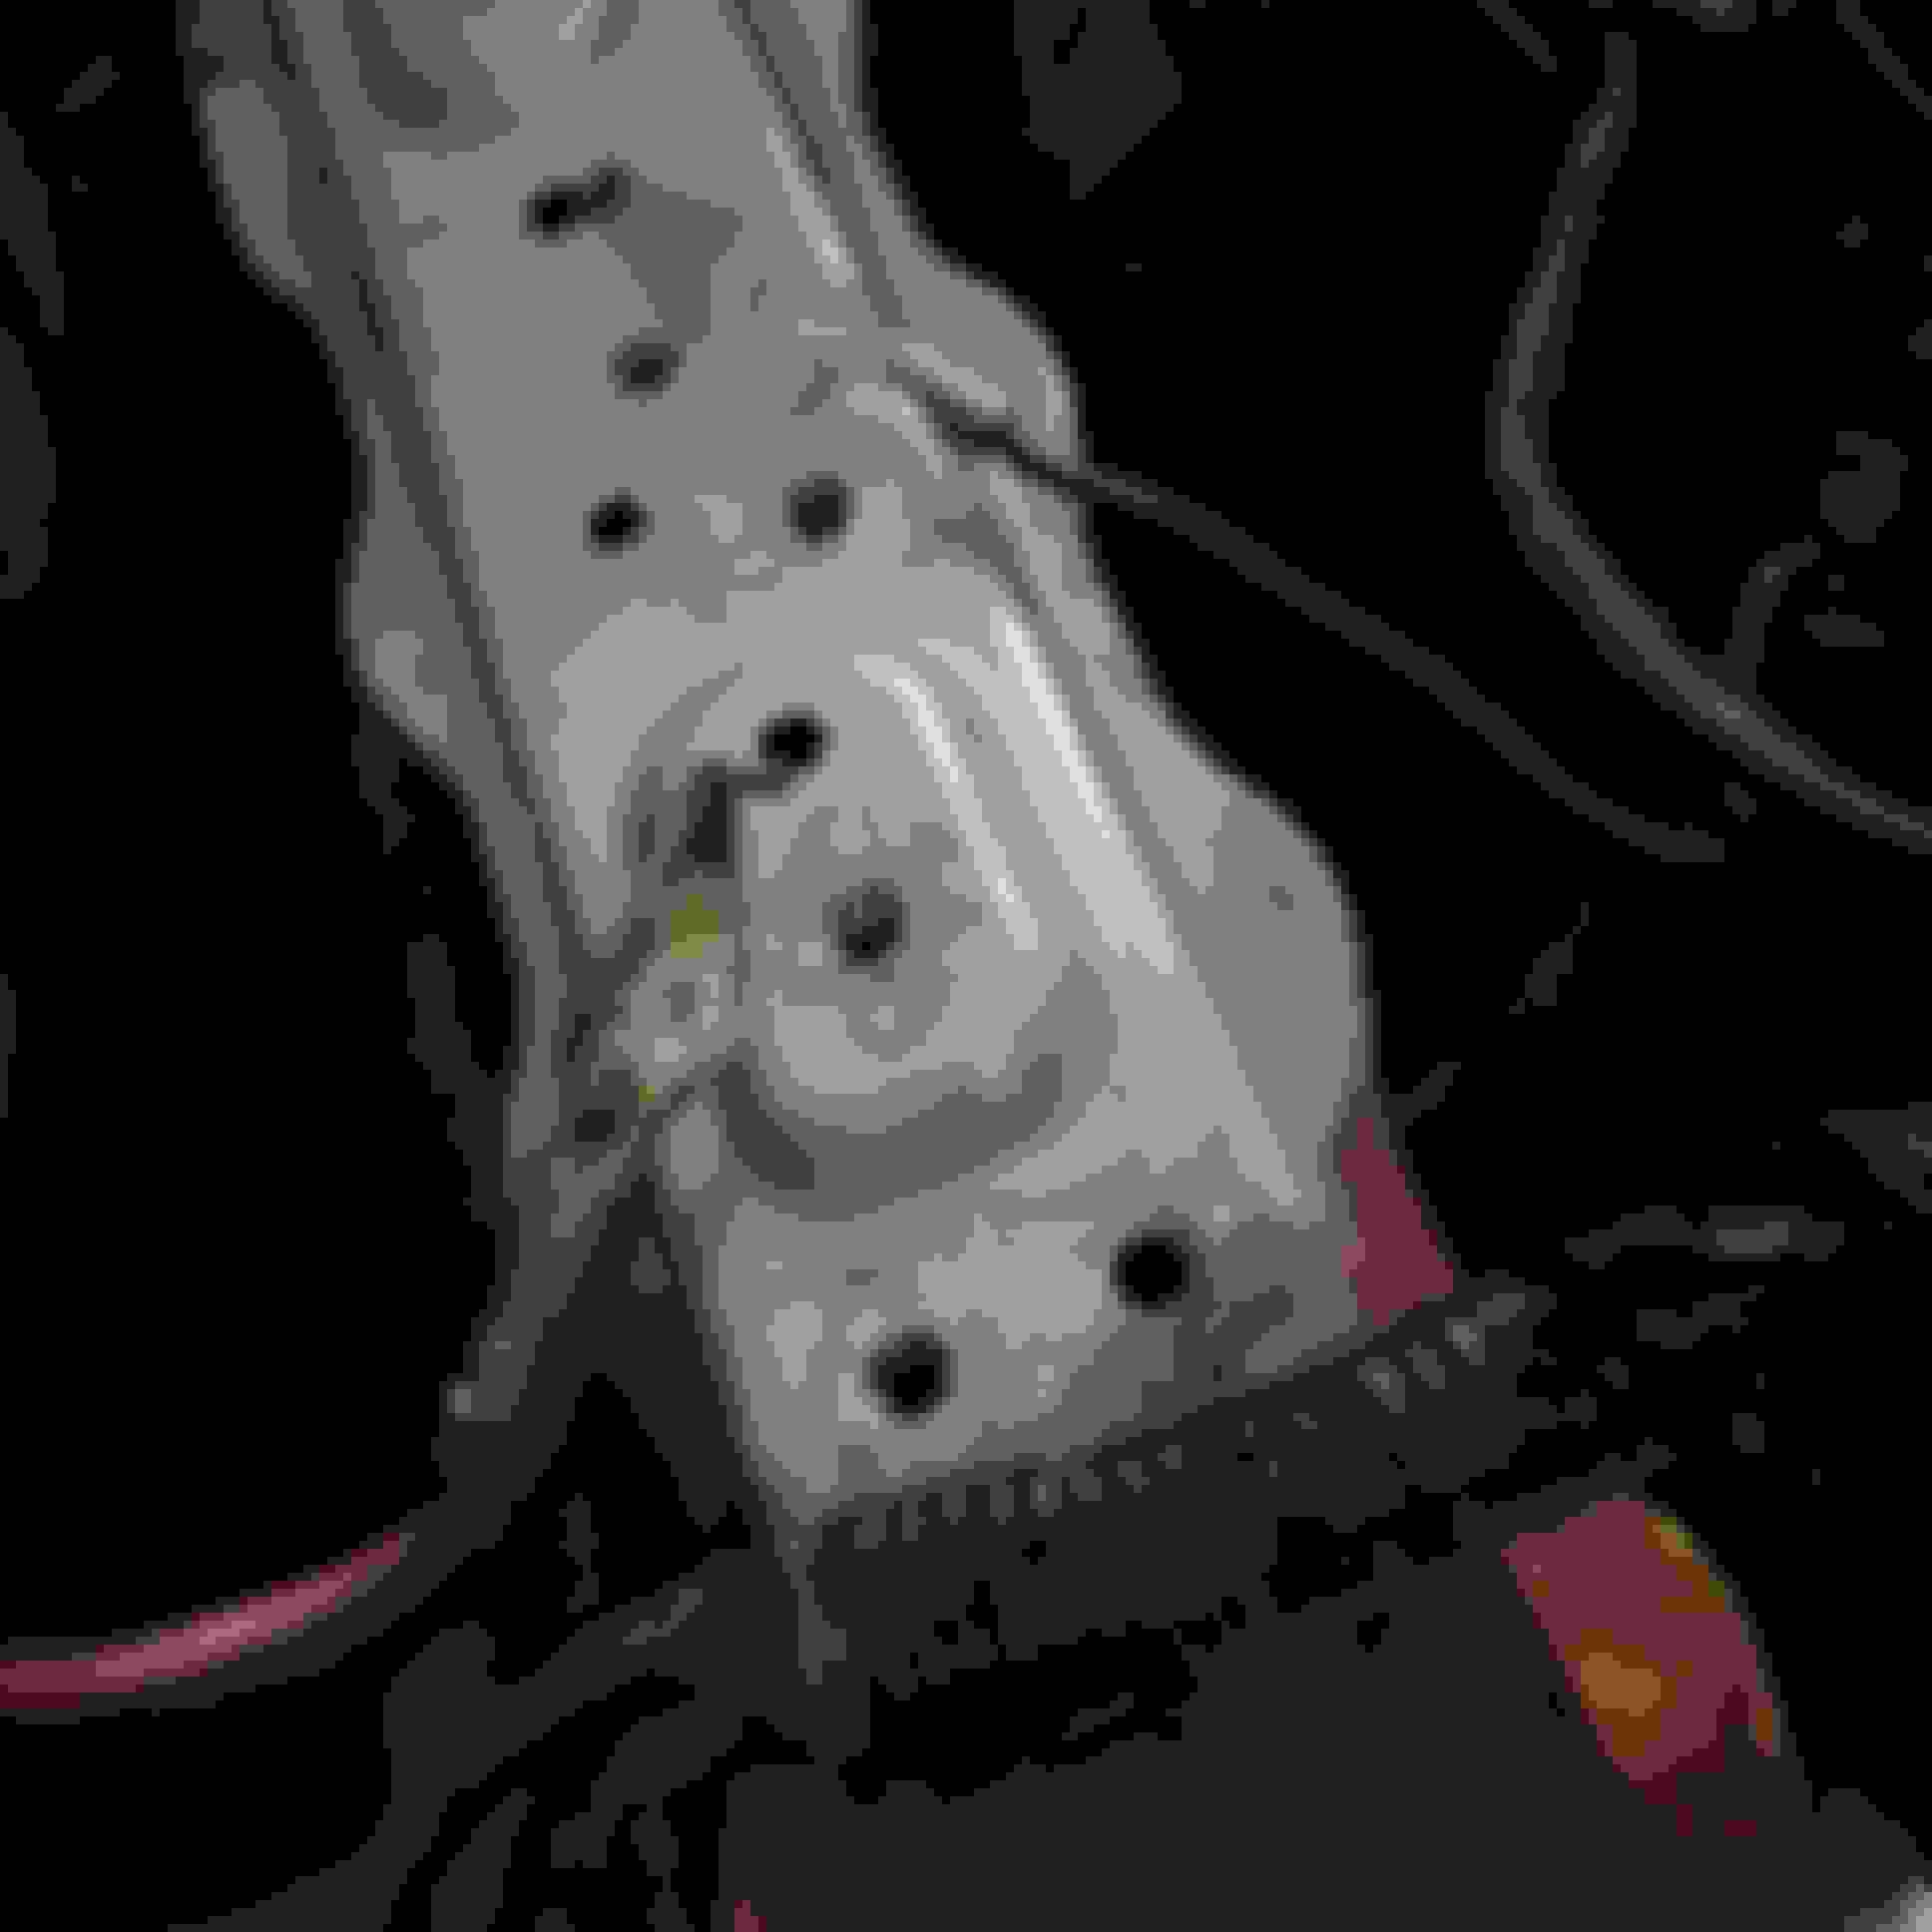
1. Between the air box and core support you will see some sort of sensor. I don't know what it does but by the looks of the 'trace' leading out from the component body and connects to the annular ring I speculate the device finds its ground through the mounting lug. Right wrong or indifferent I went ahead and cleaned it up and reinstalled with a star washer. It is easy to get to once the air box is removed.
2. For what I was doing I had to pull the air box tray too. Two more ground attachment places are now accessible.
PS a few things to make ground point cleanup easier:
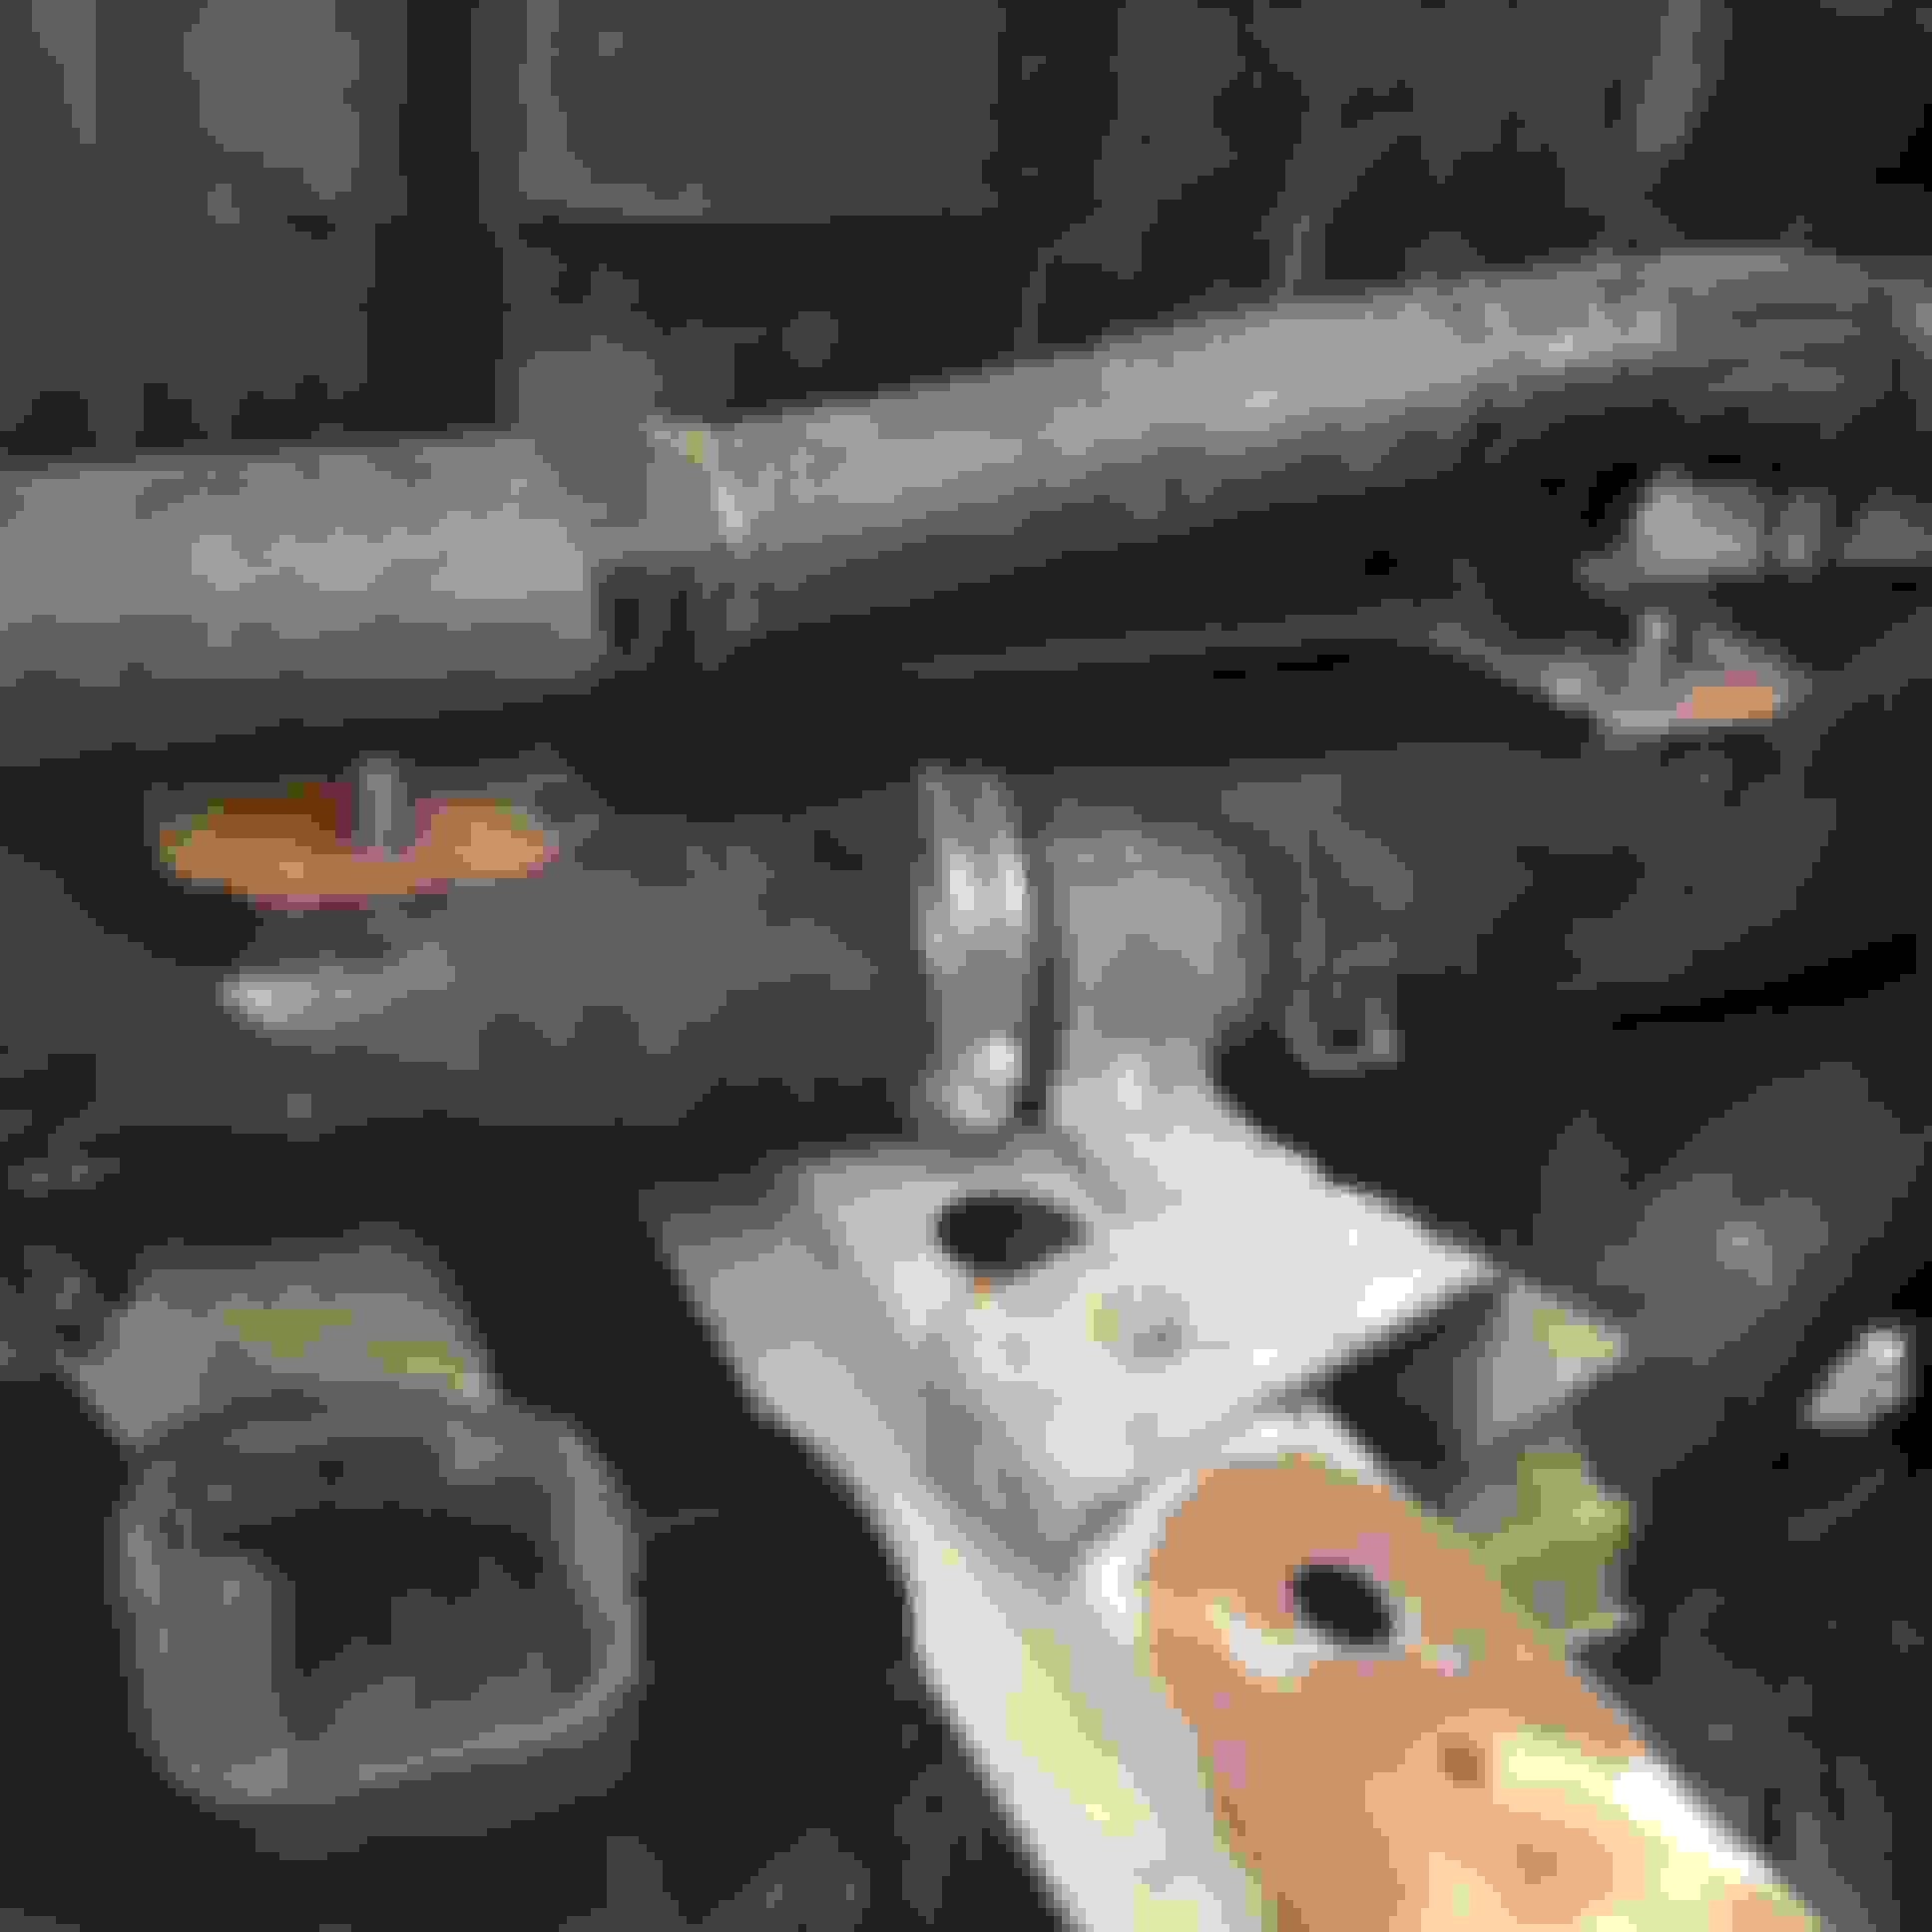
So here is an interesting statistic, possibly. How many RX8 owners have the battery box secured using ONLY the single M6 bolt at the bottom of the tray? Be honest now��
There are two tabs on the side of the batt box nearest the PCM that get secured to the chassis in the same location. The problem is that you cannot easily access these fastener locations due to a coolant line running between the battery box and PCM. Because it is such a pain it is likely these fasteners are not reinstalled leaving a single plastic tab and a single bolt in the bottom of the batt box as the only thing keeping the battery secured.
This fix is not as strong as the original design but between the choice of leaving them out all together, I chose this.
1 remove battery box.
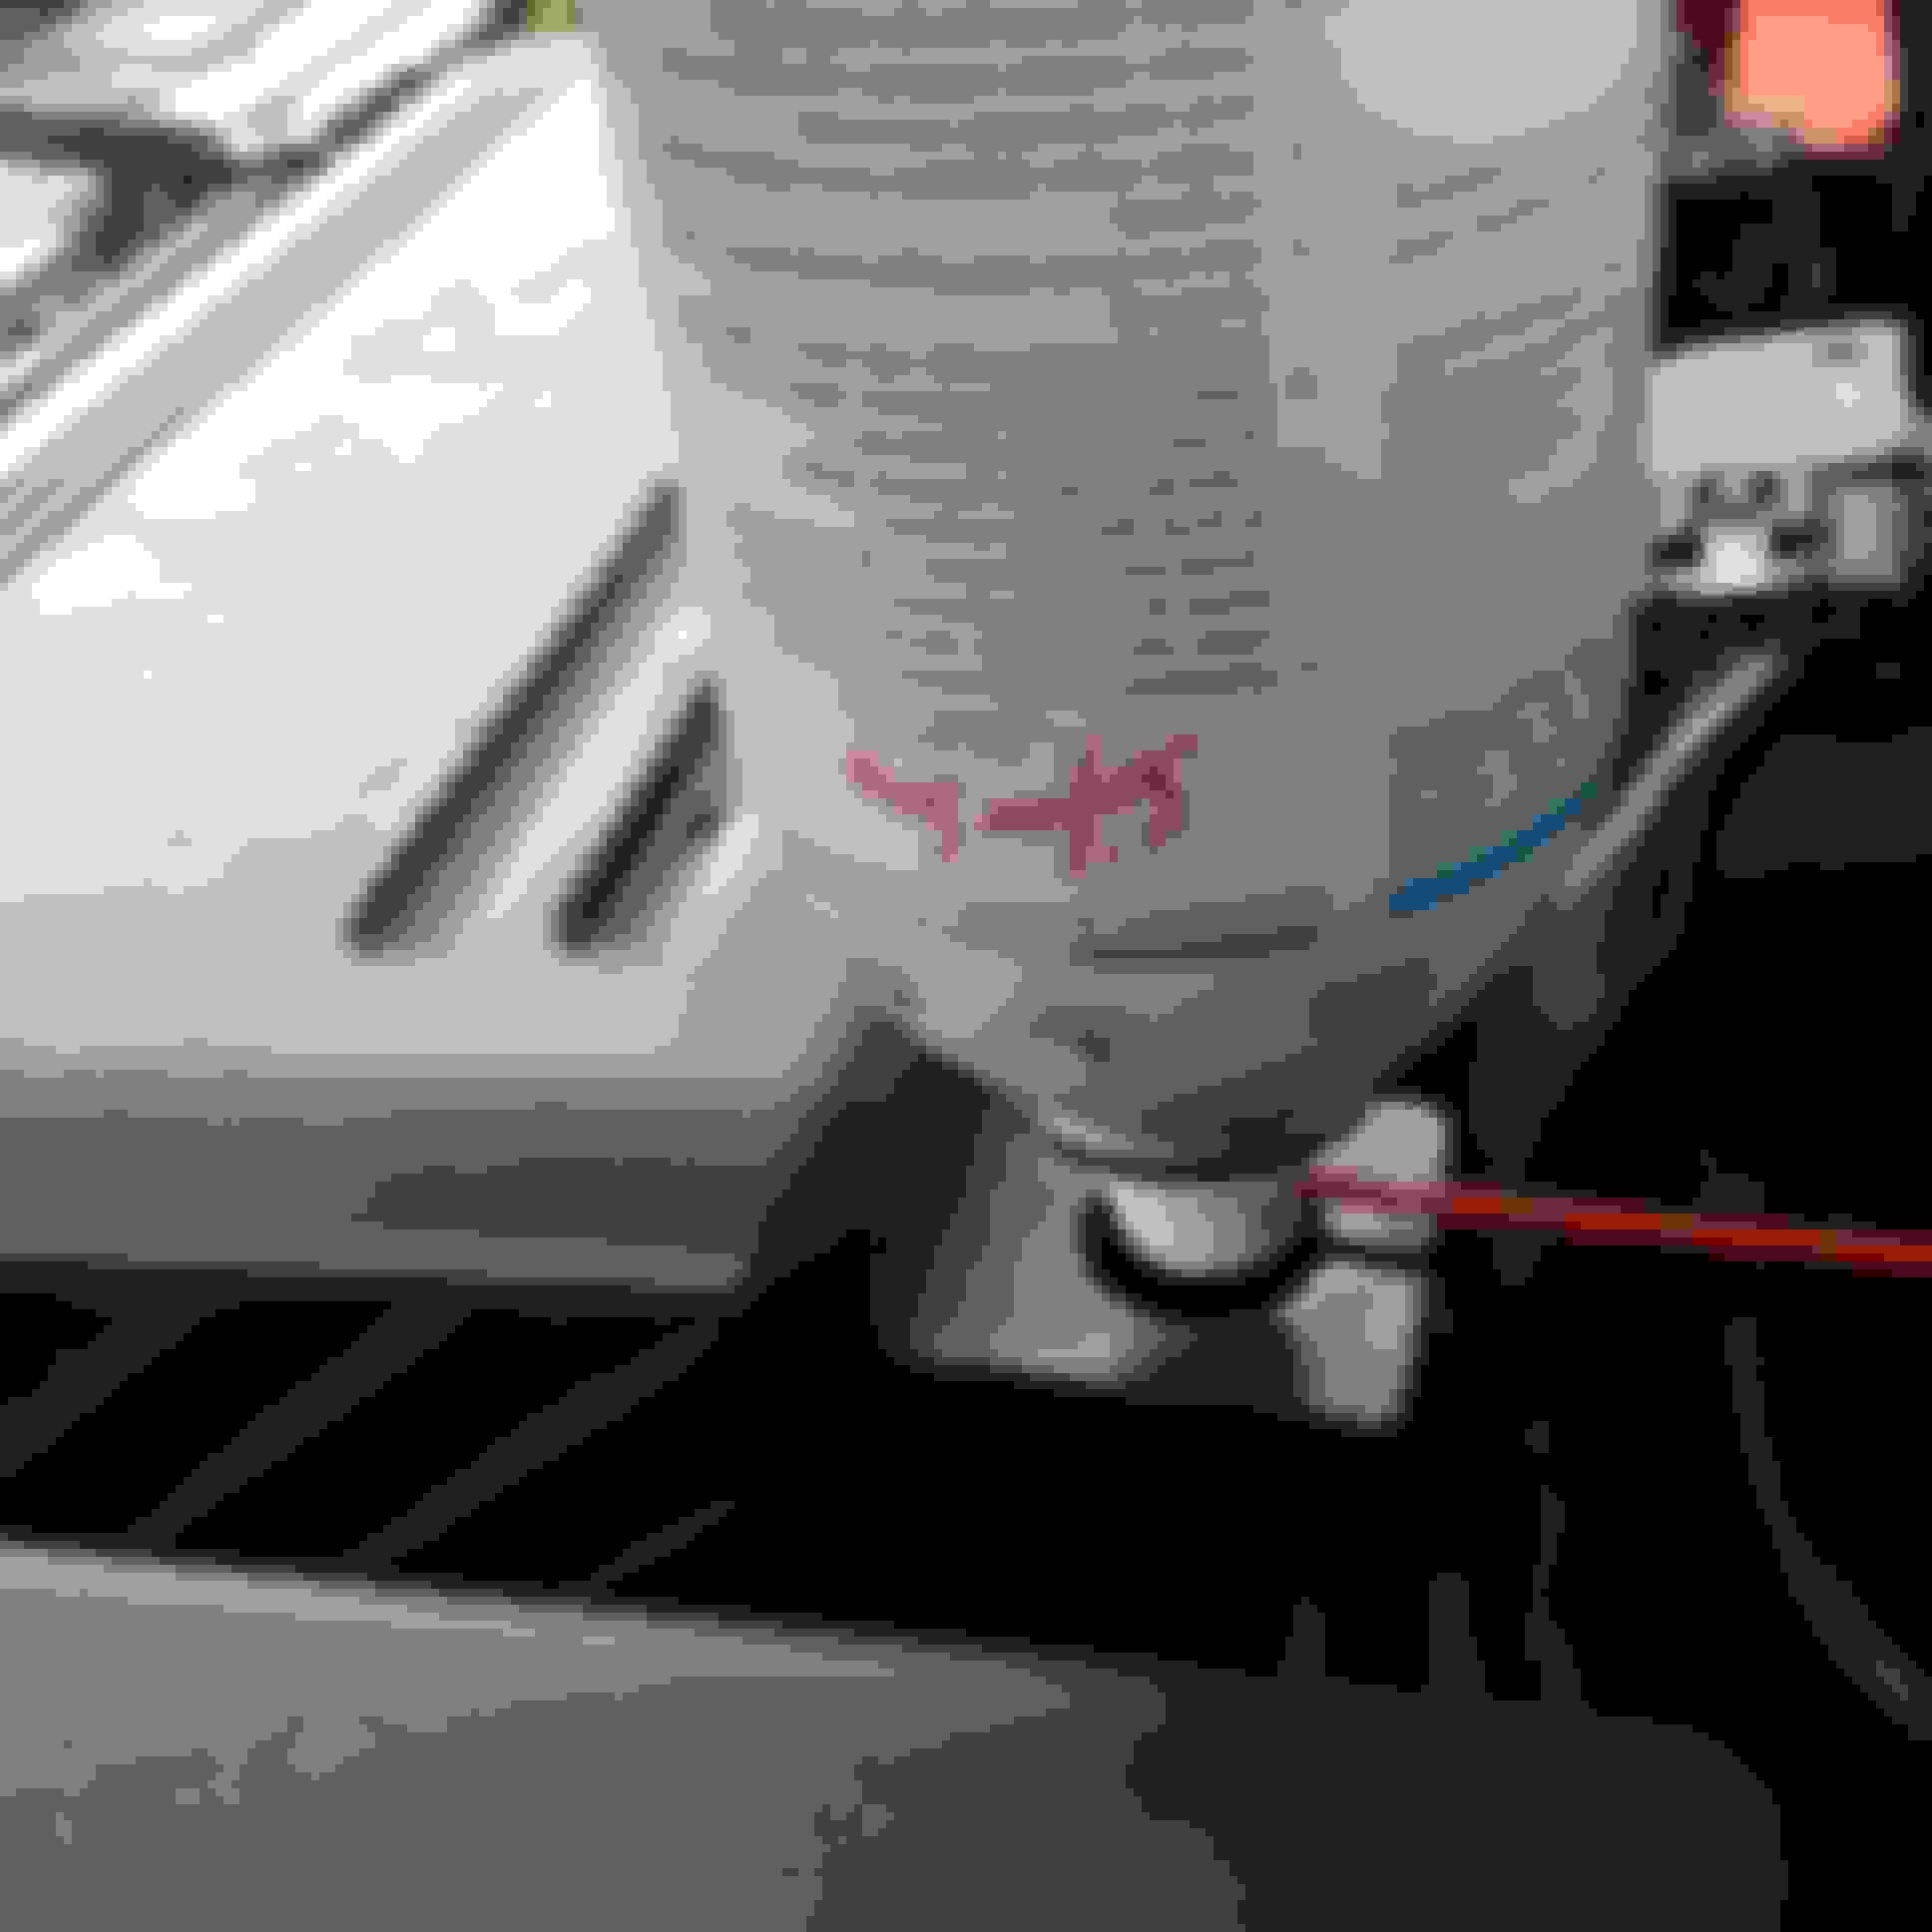
2. Find two m6x10 or 15 and install them from the bottom side of the chassis ledge.
3. Find a couple vacuum caps and trim them to size befor installation onto the exposed threads of the bolts you just installed (this will keep the bolt ends from possibly rubbing a hole in the coolant line)
4. Finish up the mod by oversizing the holes on the side of the battery box so they will better engage onto the "guide pins" you've just created.
3/8" is probably enough but I went 7/16" so I didn't have to fidget so long to align the pins to the holes (still blocked from view due to the coolant line)
When all said and done this should help the battery box from sloshing back and forth during braking, cornering and acceleration.
This whole project started simply wanting to perform a Seafoam fogging session.
The back of the can has this simple diagram:
Yea Right!!! Fishing that tube guide per their instructions makes for a long and painful process. Maybe not as bad with the box mod above, but still not convenient to say the least
Now enter the Seafoam 5000!!!
1. Simply get a 3/4" PVC pipe cap, a small 2" piece of 3/4" PVC pipe (for a handle) and glue the two together
2. Drill a 1/4" hole in the end of the cap and fish through the Seafoam supplied tube guide.
3. Make the final guesstimate on tube length and then seal the whole thing in silicone or similar substance.
4. Once fully cured simply remove the airbox resonator and install the Seafoam 5000 in its place.
5. Fog your 8 with confidence and ease.

 07-12-2016 | 10:12 PM