When you click on links to various merchants on this site and make a purchase, this can result in this site earning a commission. Affiliate programs and affiliations include, but are not limited to, the eBay Partner Network.
Just wanted to thank everyone for all of the help and contributions over the years. I recently got my swap up and running and it is so much fun. I for sure miss the redline but the torque is fantastic.
I just wanted to pop on and show some appreciation for the forums. I miss forums like these. It was so much easier to find information. The internet has a tendency to forget things and the forums were always the best place to go
Big shout out to Stubbs though. Behind the scenes he has helped me with more than a few things. Now things have settled down a bit I intend to document aspects of the build here.
If anyone is interested to see how it turned out I have put together a video. Hoping it might help encourage anyone who is currently working on a swap and whilst not in depth, perhaps give a few ideas. Would really appreciate feedback. I’m not completely YT literate, so whilst I tried to add links to the forum etc in the description, they are there but aren’t links?! Ah well next time!
would be nice to know more about your swap, but honestly I just can’t stomach the youtube schtick much any more.
Hopefully you’ll contribute to the forum by posting it on here in text some day instead. Stubbs is a good man, we don’t see enough of him on here any more.
The car itself is actually an 05 that I found on here. It was sat in the board for almost a year (low compression). I spoke with the owner a few times and eventually convinced him I wasn't a crazy Brit! Next minute I know I'm on a plane flying from Kansas to Portland wondering what on earth I am doing!
Bodywork was in great shape save for the front fog light (damaged bracket) and the front lip needed painting. Through PMs we worked out that it might be alright to drive the 1800 miles across the country back to KC.
Long story short (although I will post a few pics as the view were awesome), it was a beautiful drive and the only time I got worried was driving over the Rockies. It was June and whilst it was warm at the bottom, at the top pass there was snow and the car basically ran out of breath (oh and the heater didn't work and I was wearing shorts).
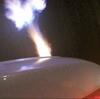
I didn't start my watch at the beginning but you get the idea of the altitude change
Last edited by GeicoGecko; 08-31-2021 at 10:06 AM.
A few days after picking the car up (all with a check engine light), I made it home and the fun with the swap could commence (I feel luck was on my side as I later discovered that the top nipple from the radiator that goes to the expansion tank was broken!)
It's based on the V8Roadsters kit. When you order that it comes in a ton of boxes V8R do a good job of wrapping up the parts. Whilst the boxes got battered, the contents were safe.
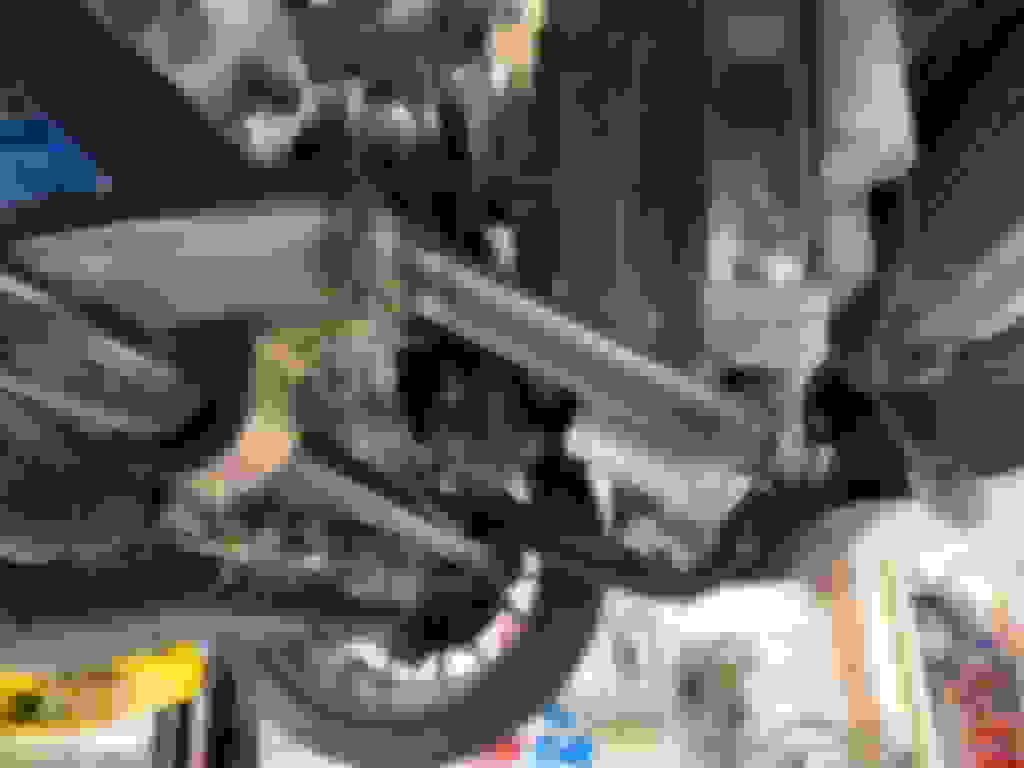
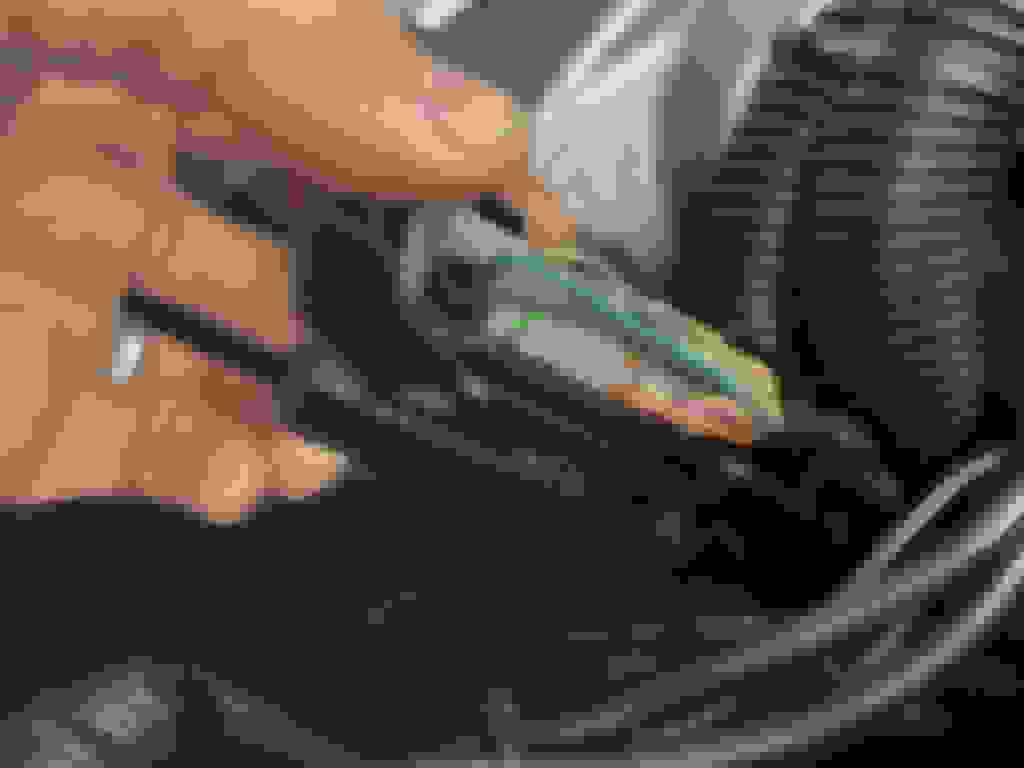
As you can imagine with any swap, the parts aren't always a direct fit. First came the front subframe. This took a lot of cursing and effort (oh and a bottle jack) to get it into place. However, that then meant that other parts of the subframe would not line up with the body so out came the ratchet straps (not my first V8R subframe... the other one is a Miata but that's a whole other story)
Next to tackle was the rear subframe. Missing any spring compressors a little improvisation was in order (don't try this at home kids). I did at one point count how many zip ties it took but I have long since forgotten!
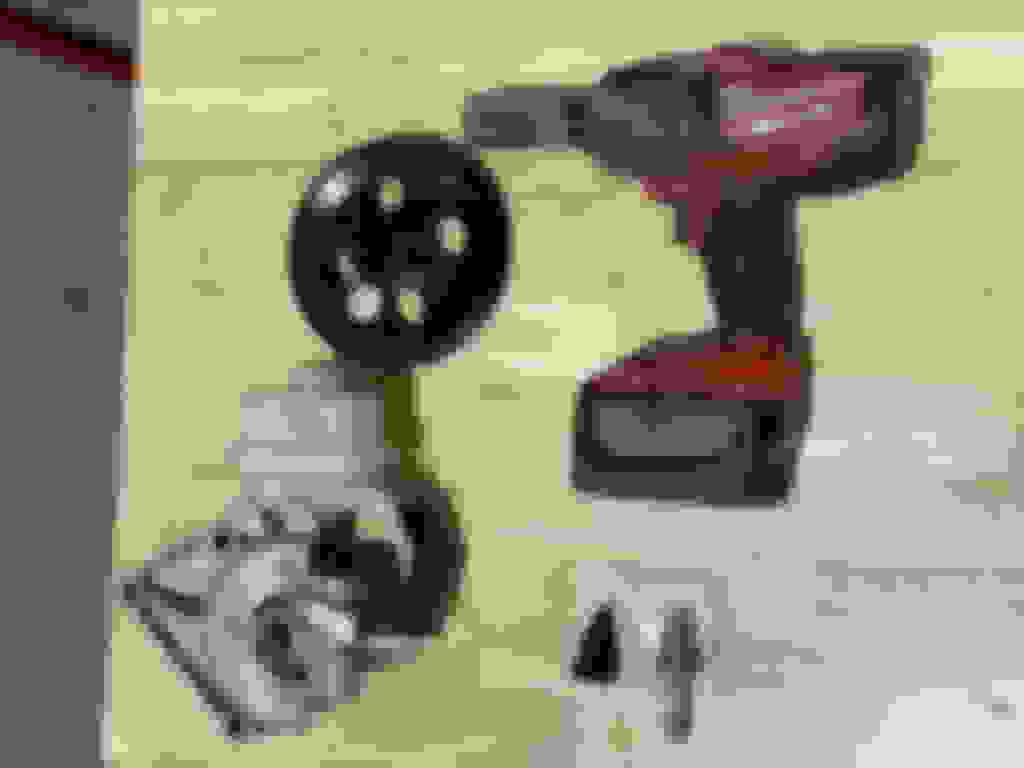
The modification and welding of the rear subframe isn't the end of the world but I did have to modify the diff mount V8R supplied and ended up having to get a new diff cover for clearance. The diff itself is from an 03 Cobra but has a Torsen racing diff internally. The diff mount was too wide on one side so some material had to be removed.
Dry fit to make sure it was going to work
Ready for welding
Subframe was removed at this point to get everything welded in
And in the car
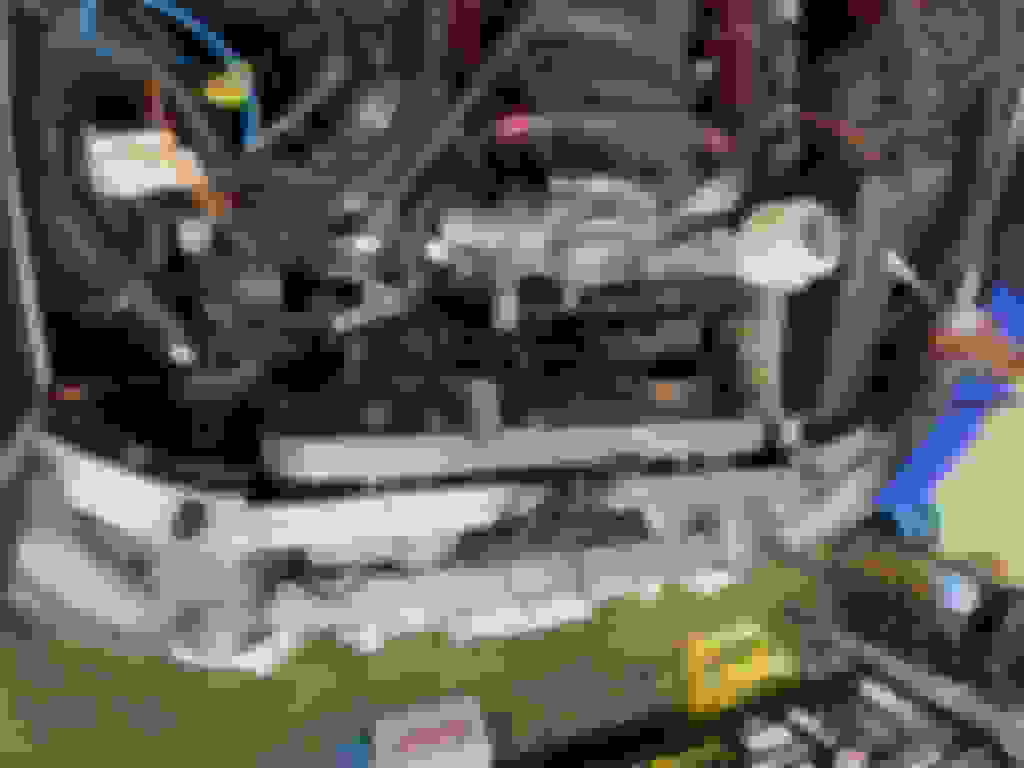
Next part is to squeeze this into the engine bay. There's some massaging to do at the firewall corners and this part of the frame has to go bye bye
Along with the battery tray
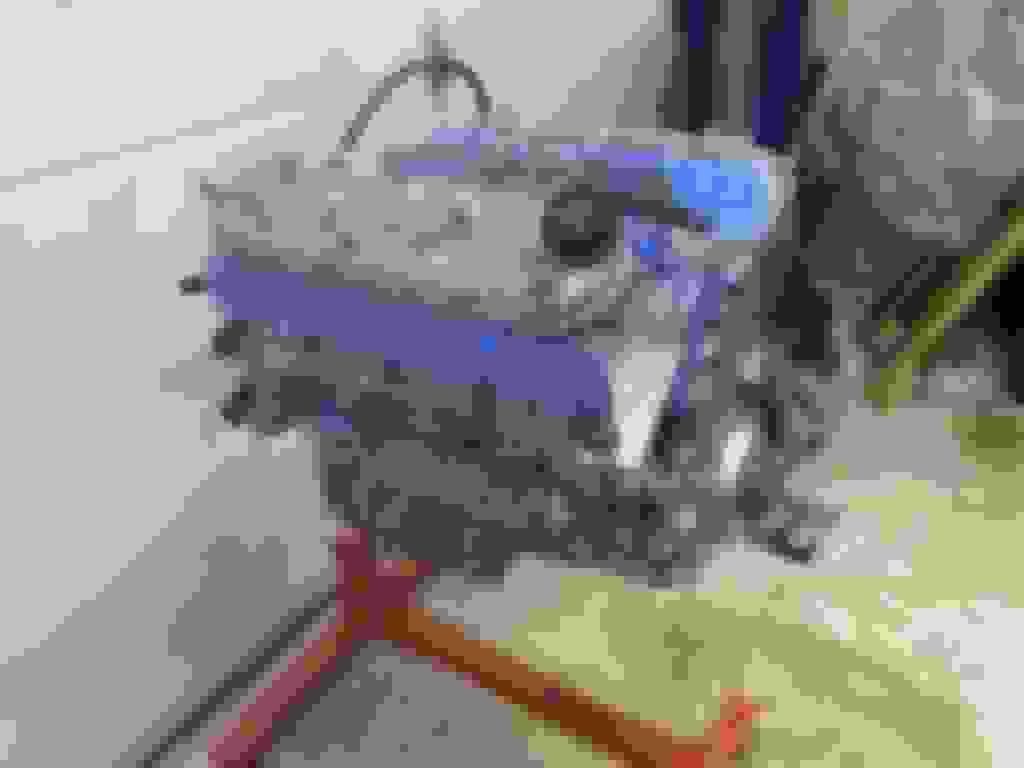
Next the engine goes in but oh look, fun (doesn't quite line up)! Nothing a little persuasion won't solve
Finally it is in!
The modified steering rack fits well but please make sure you connect it up the right way. Mine was connected backwards initially and it will blow seals that are very difficult to replace (I might be speaking from experience here!)
And of course it's going to need a little more contact patch 9.5" wide wheel fit well (265/35/18)
I ditched the Mazda ECU, some people keep it but so far I haven't needed it. That may change when I come to do the AC and it will make putting ABS in it a little harder
Clearance Clarence
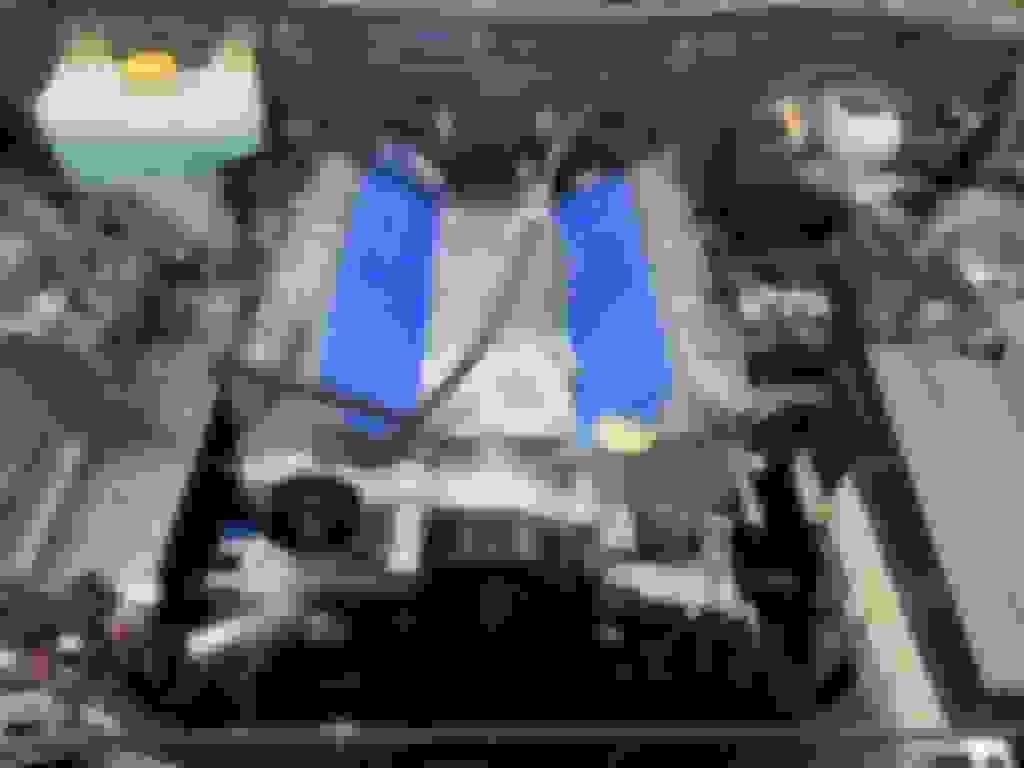
A little trimming at the front of the car and the stock rad will go in. This is a Mishimoto aluminum radiator and so far it's working well (even with the stock fans)
The exhaust 515 Motorsport did is a piece of artwork :D
To allow the roll bar to clear the AC belt tensioner (there is a way to do this without the next mod), brackets were made up to drop the roll bar. This is also what the bottom of the radiator is mounted too. I might need to get some adjustable end links though. I have a funny feeling this might be contributing to my bump steer
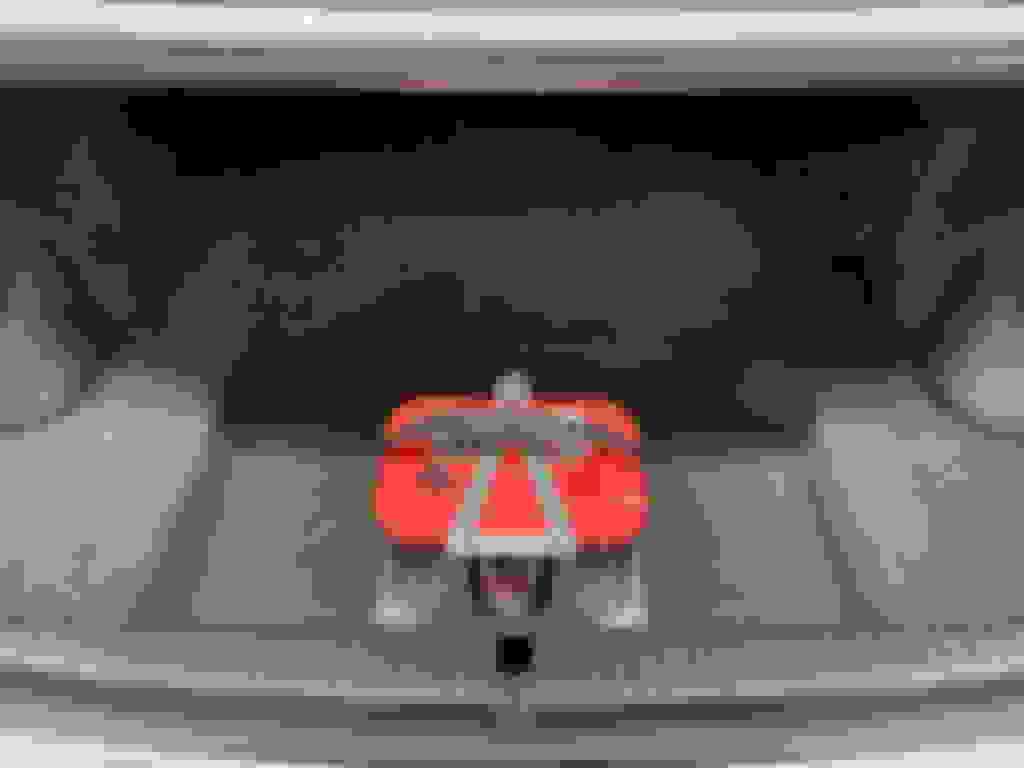
Battery relocation to the boot (trunk)
Plumbing in the oil cooler
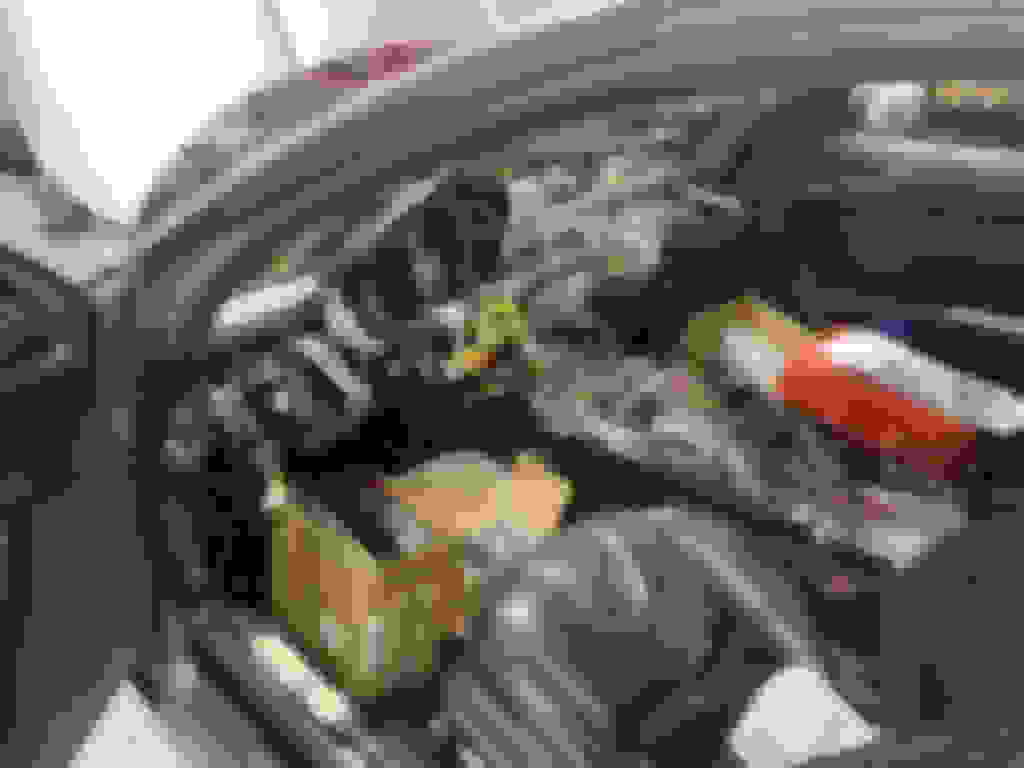
Next came the wiring. I ended up pulling the dash to run everything as neatly as I could
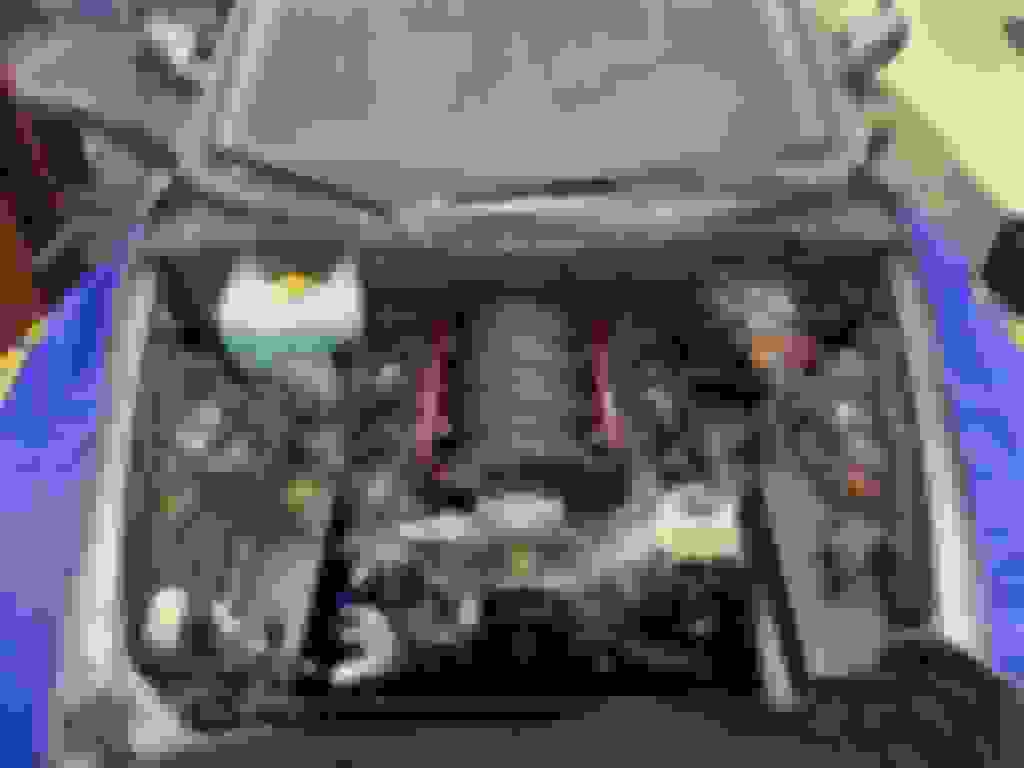
The ECU ended up going on the firewall in the engine bay behind the washer bottle. I made a couple of brackets to mount the coolant reservoir (stock RX8) and the fusebox went in front of this
I used a stock GM ECU (special one for swaps) but whatever you do, don't forget to connect these ground connectors!
As I'm using a T56 I had to add a wire to the ECU for the reverse lockout
I reworked the power steering and used an FM restrictor to reduce the pressure on the rack. It was a little over boosted for my liking and seeing as I had to fix the seals, it was a perfect time to add the restrictor and also a power steering cooler
This shows just how restrictive
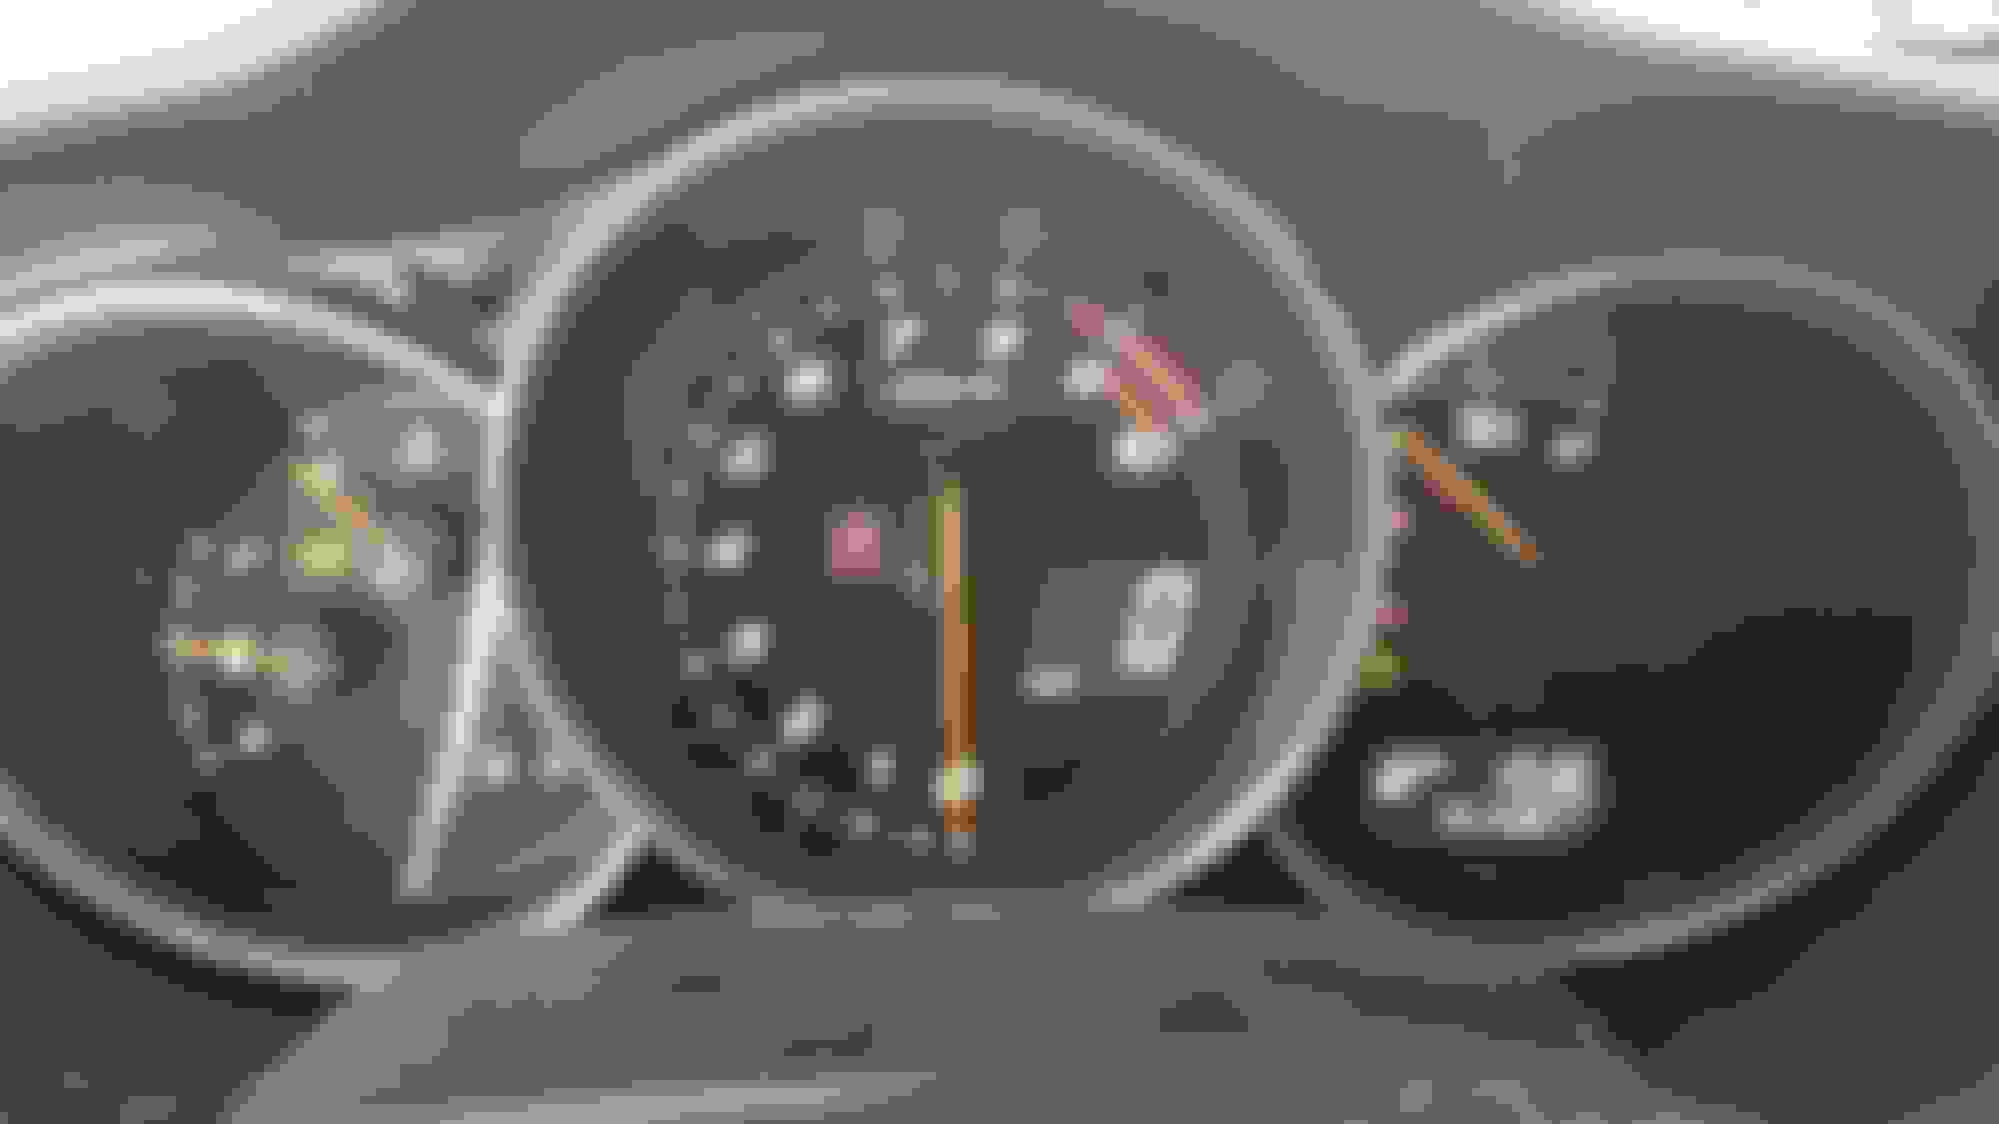
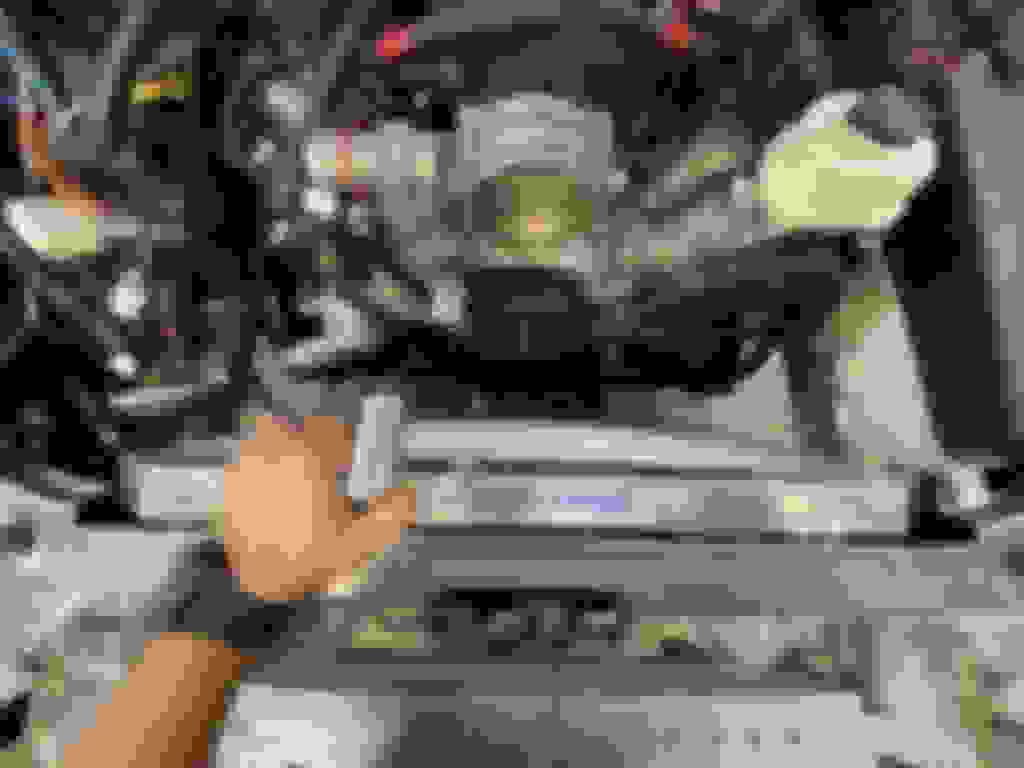
I'm running a full Banks Data Monster and I love it. RPM, Speed, head temp, oil pressure, oil temp, battery voltage, fuel pressure... it is fantastic. Oh and two AEM A/F ratio meters. The bracket is from RacingBeat. Whilst I was in here I did fix the heater (solder points had failed on the potentiometer)
The undertray is LRB. I really like this undertray!
Brakes are Willwood Superlite 4 piston calipers (Keisler Autmation) EBC rotors (they were on the car originally and I really liked them) and G-Loc pads
The driveshaft I received from V8R was badly out of balance. The original weights are at the top of this picture
You can see it above but here was the weight the shop had to weld on to balance it (opposite the original weights). They couldn't remove the first set as they were riveted on
Both front oil coolers are used for cooling the engine oil (Improved Racing take off).
Oh and finally the fuel system. Whatever you do, best not to add a return line to the stock tank. It really doesn't like it If you do you may loose the ability to pick up fuel from the right side of the tank. Ask me how I know! The stock fuel pressure isn't that far off and since I fixed my mistake I have not had any issues
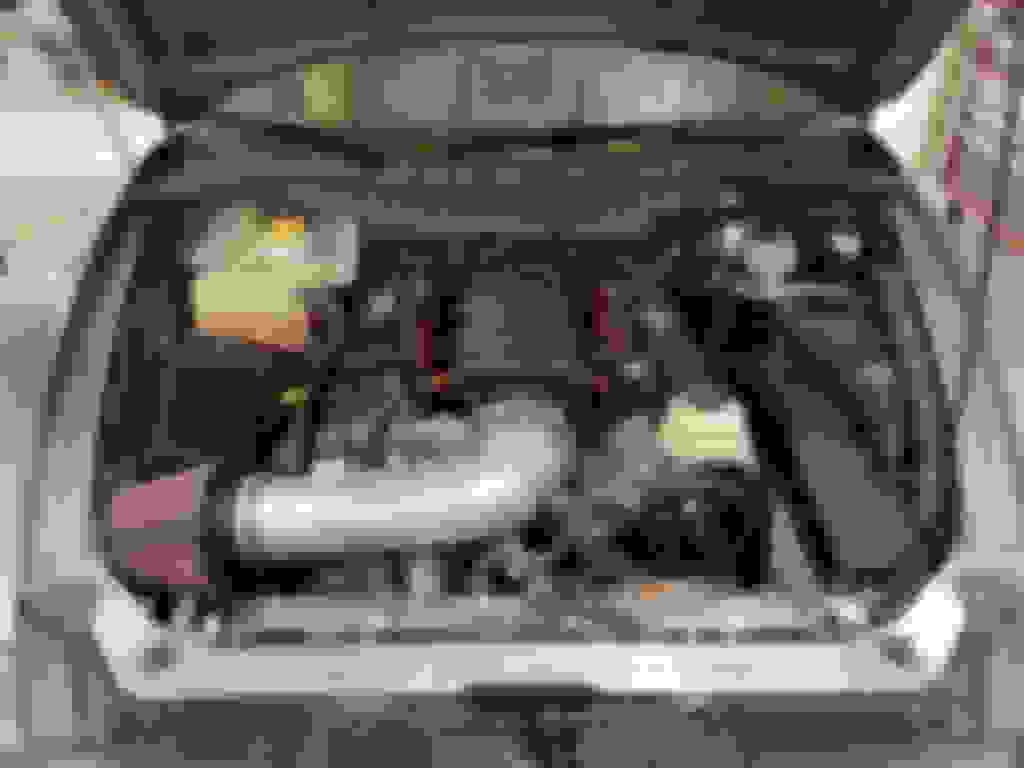
Final engine bay picture
Oh and last outside picture
As with any build there's always something else that can be done :D
Oh and finally the fuel system. Whatever you do, best not to add a return line to the stock tank. It really doesn't like it If you do you may loose the ability to pick up fuel from the right side of the tank. Ask me how I know! The stock fuel pressure isn't that far off and since I fixed my mistake I have not had any issues
I'm interested to hear more about this. Did the location that the return line was dropping the fuel into interrupt the siphon effect from the other side of the tank? Are you using an external regulator of any kind to match fuel pressure to manifold pressure or does the fuel just deadhead at the fuel rail?
I might need to get some adjustable end links though. I have a funny feeling this might be contributing to my bump steer
I'd be really surprised if the sway bar could be bad enough to mess with bump steer. With the rack relocation, did the kit come with spacers to drop the steering tie rods down at the spindle ends?
I'm interested to hear more about this. Did the location that the return line was dropping the fuel into interrupt the siphon effect from the other side of the tank? Are you using an external regulator of any kind to match fuel pressure to manifold pressure or does the fuel just deadhead at the fuel rail?
Yes, as far as I can tell the siphon effect is disturbed anytime you put a return into the tank. I did originally do this (with an external filter and regulator) and kept running out of gas at 1/4. It was very frustrating. I was only after pulling the pump multiple times that I realized what was happening (turns out there is a level sensor each side which is when I worked it out!). I put an OEM pump back in with no external regulator and everything is good. The specs for the RX-8 fuel pressure isn't that far off the 58psi that GM requires. I am also running closed loop and the fuel trims are happy (at 14.7:1).
Originally Posted by Laminar
I'd be really surprised if the sway bar could be bad enough to mess with bump steer. With the rack relocation, did the kit come with spacers to drop the steering tie rods down at the spindle ends?
It did not. The V8R kit is supposed to not change the steering geometry. Again I haven't solved this one yet but I have noticed that the severity of the bump steer is reducing the more miles I put on the car. Very odd.
It did not. The V8R kit is supposed to not change the steering geometry. Again I haven't solved this one yet but I have noticed that the severity of the bump steer is reducing the more miles I put on the car. Very odd.
You sure you're arms aren't just getting stronger ?
The OE pump needs backpressure in order for the siphon to pull fuel from the other saddle. So whatever mods you make to the fuel system the pump in the OE fuel module has to be large enough to flow whatever the engine needs, but then also have excess flow to create backpressure. This may require having a restriction on the OE module fuel discharge line to serve that purpose. Otherwise if it just free flows; which it sounds like was your issue, then the siphon doesn’t work. An alternative is to install an internal low pressure transfer pump in the RH saddle to pump fuel to the LH saddle in lieu of the siphon system.
The OE pump needs backpressure in order for the siphon to pull fuel from the other saddle. So whatever mods you make to the fuel system the pump in the OE fuel module has to be large enough to flow whatever the engine needs, but then also have excess flow to create backpressure. This may require having a restriction on the OE module fuel discharge line to serve that purpose. Otherwise if it just free flows; which it sounds like was your issue, then the siphon doesn�t work. An alternative is to install an internal low pressure transfer pump in the RH saddle to pump fuel to the LH saddle in lieu of the siphon system.
Thank you. Yes it was pretty free flowing. I didn't want to go as far as the low pressure transfer pump just yet. I've heard/read some issues when the fuel level in that side gets low and the pump runs dry. Curious how much of a problem that actually is?
There are people on here who still don’t understand any of that. It’s why the OE system runs at 60 psig rather than the more standard 43 psig.
Sucking air when cornering at lower tank levels can be an issue. Ultimately an intermediary sump tank system like Radium etc. sells that the in-tank pump module feeds is solution for it, but again it requires requires keeping some backpressure on the discharge side of the tank pump for the siphon to stay active. The sump tank will carry you through the corners when the tank pump might be sucking air, and then it catches back up on the straights.
.
There are people on here who still don�t understand any of that. It�s why the OE system runs at 60 psig rather than the more standard 43 psig.
Sucking air when cornering at lower tank levels can be an issue. Ultimately an intermediary sump tank system like Radium etc. sells that the in-tank pump module feeds is solution for it, but again it requires requires keeping some backpressure on the discharge side of the tank pump for the siphon to stay active. The sump tank will carry you through the corners when the tank pump might be sucking air, and then it catches back up on the straights.
.
Well I certainly won�t be messing with it again unless I have an issue
I did look into surge tanks but everyone I spoke to said that the main pump has to be changed for a lower pressure pump (as you can�t pressurize the surge tank). Add to that the return you have to add and many said that it would stop the siphon function Is Radium different?
It did not. The V8R kit is supposed to not change the steering geometry. Again I haven't solved this one yet but I have noticed that the severity of the bump steer is reducing the more miles I put on the car. Very odd.
Have you had it aligned yet? Can you pull the springs off and cycle the suspension up and down to measure bump steer?
That's weird, I thought I had replied to this yesterday!
I have had it aligned and it didn't make any difference
Great idea on pulling the springs and measuring. As with any swap the work is never done!
Well I certainly won�t be messing with it again unless I have an issue
I did look into surge tanks but everyone I spoke to said that the main pump has to be changed for a lower pressure pump (as you can�t pressurize the surge tank). Add to that the return you have to add and many said that it would stop the siphon function Is Radium different?
no, you have to keep some backpressure on the tank pump as I explained so as to keep the RH saddle siphon working, but otherwise route an overflow line back to the fuel tank so the surge tank stays full and just free flows back into main fuel tank, which you can dump that through a fitting on top the fuel pump module lid.
if you choose the Radium surge tank with integral FPR then you don�t even need a return fuel line or FPR at the engine. It will work just like the OE system.
there are very few people out there with the RX8 experience level to be found on this forum ..
You guys already have the documentation above but I’ve updated the first post with my second video that documents the how to of the swap in video format.
 08-29-2021, 06:58 AM


 Is Radium different?