SR20 Drift Build
#78
 I don't plan on blowing any... Gearbox's are only €100 too... However my RB25 Gearbox conversion was around €800 but that will never break...
Nankangs LoL
Thanks fella

 I'm back anyways so no hard feelings

Haven't done a whole pile, was very busy over the weekend playing football and dinosaurs with my son LoL
Thanks fella, welcome to the thread...
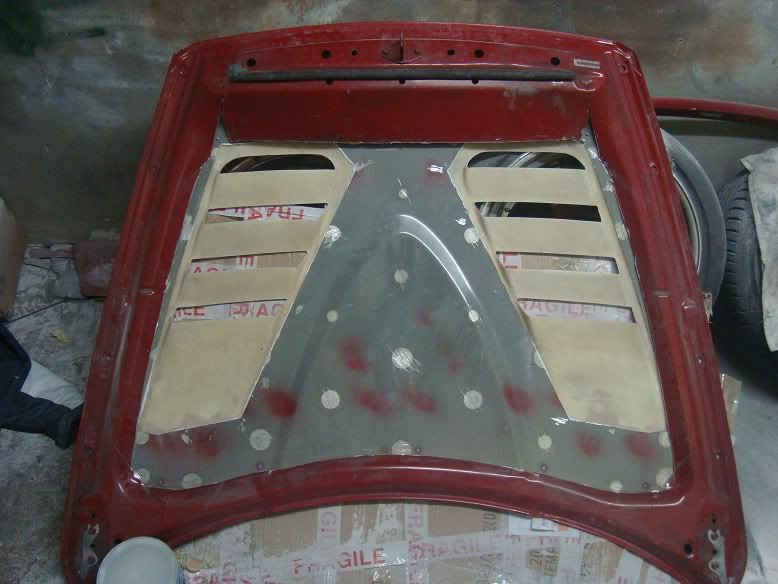
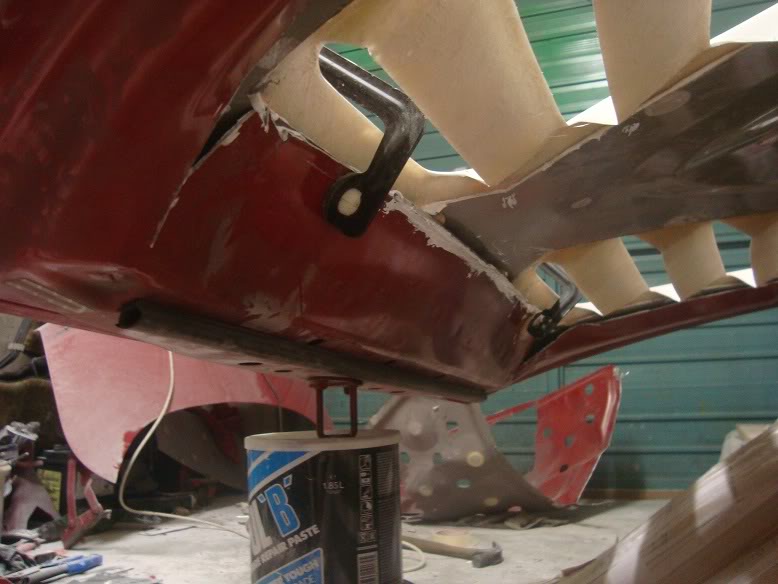
I just had a spare hour last night so I cut away the underneath of the bonnet, I left the bulk section at the front for strength but also I cut it on either side, bent it back and bonded it to the skin, it now allows the vents to work properly, I will tidy it all up once I get a chance as it is very rough atm...
#83
Thanks mate...
Hopefully turn out cool !
I'm just looking forward to driving it...
Here ya go so...
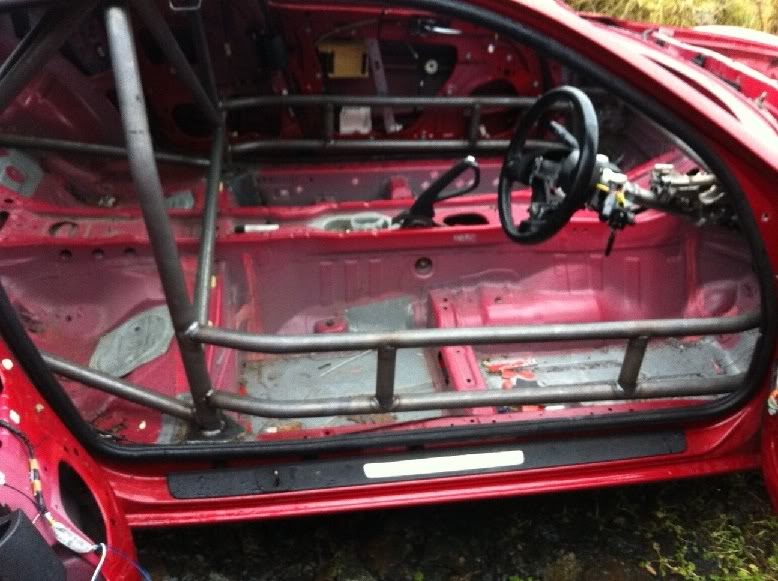
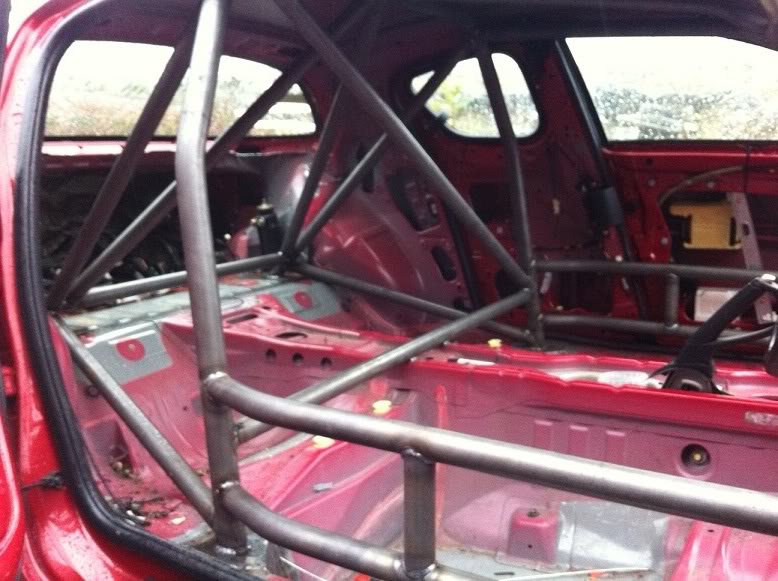
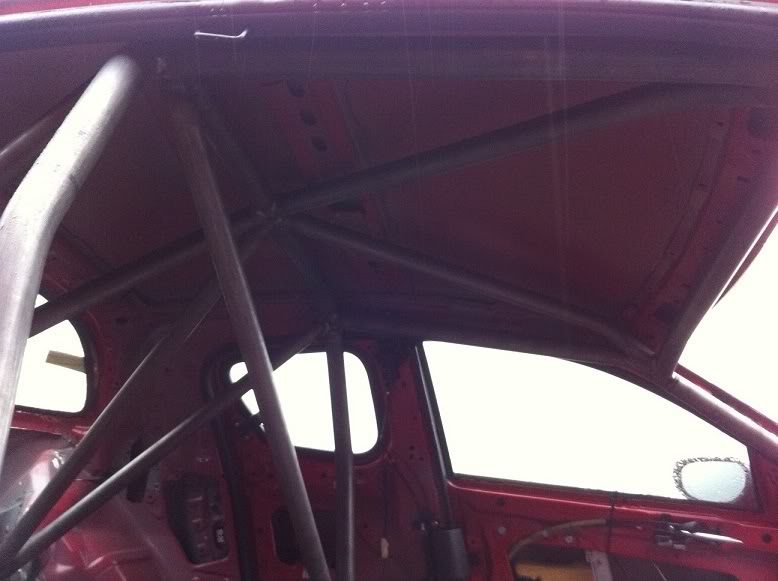
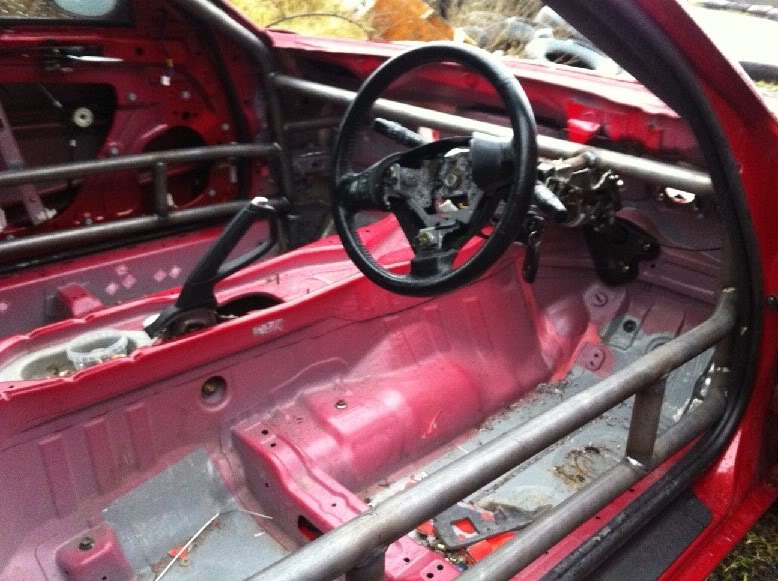
Got a few phone pic's off the man himself, Mr. Stone, very happy with the cage and parcel shelf removal, next up pedal box and hydro

Hopefully turn out cool !
Here ya go so...
Got a few phone pic's off the man himself, Mr. Stone, very happy with the cage and parcel shelf removal, next up pedal box and hydro


#87
Ya lovin the cage myself...
Cheers fella, can't wait to get it back to start building the wide arches...
I'll export it to the us for ya 
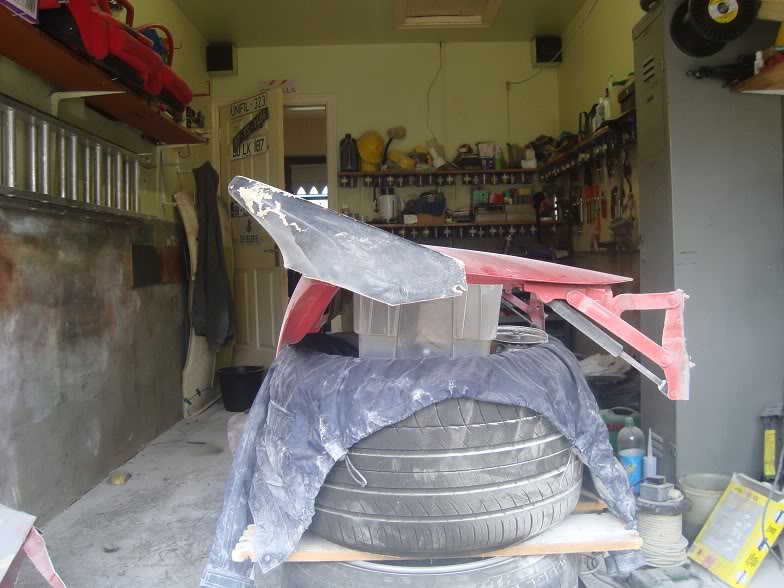
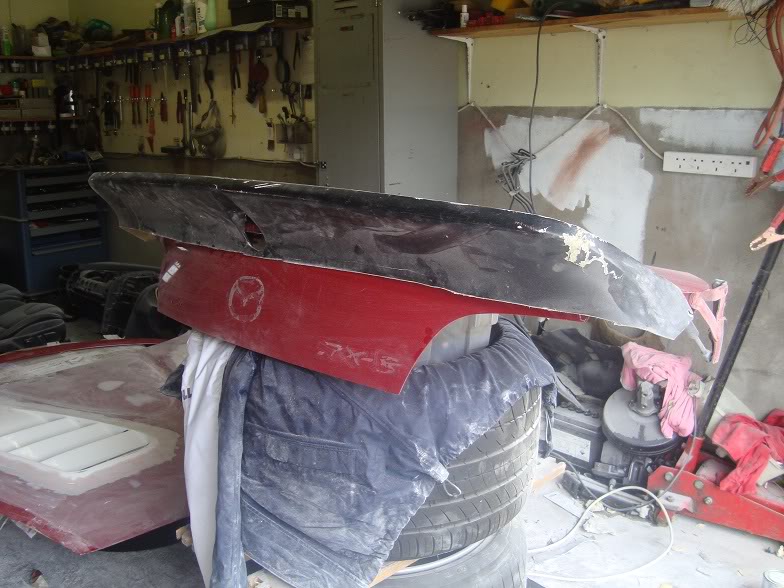
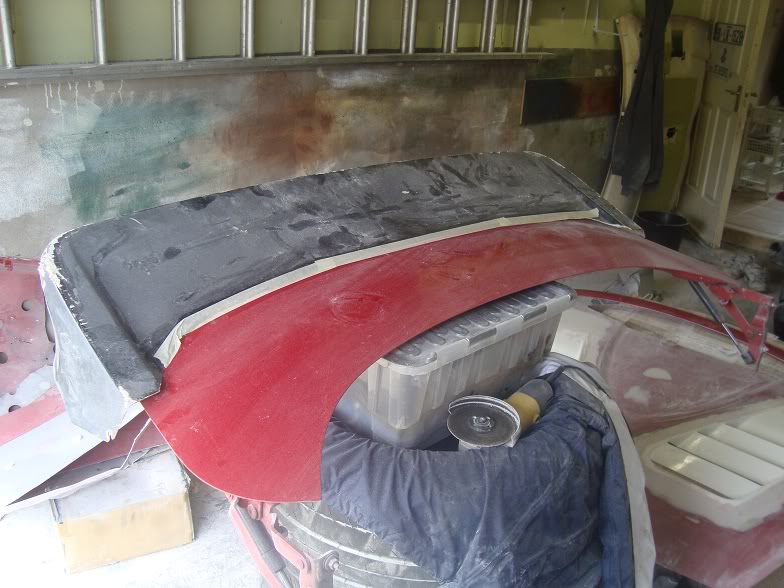
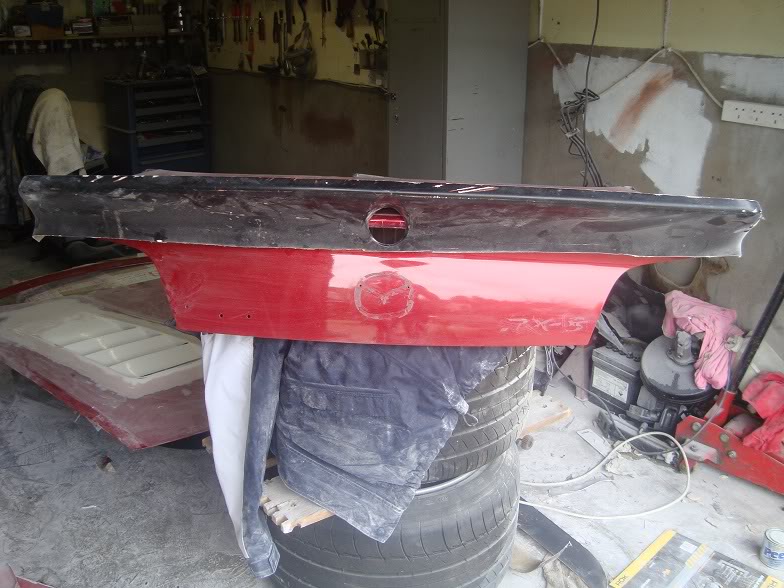
Haven't done a whole pile recently, been busy with other *****, was bored one of the nights so I had an AE86 TRD spoiler lying around so went at it with an angle grinder, I reckon a bit of shaping and it should look mint
Cheers fella, can't wait to get it back to start building the wide arches...

Haven't done a whole pile recently, been busy with other *****, was bored one of the nights so I had an AE86 TRD spoiler lying around so went at it with an angle grinder, I reckon a bit of shaping and it should look mint


#91
Me too 
Ya I should have just bought a drift ready car, this building stuff is annoying the brain atm.
Cheera Jake, we'll get there in the end 
So got the finger out and finished off the vents, one or two bits to pick in but happy enough with how it turned out, must reinforce the frame underneath next, the pressed rotary shape has added strength to the skin and with the fibreglass vents flex should be minimal...
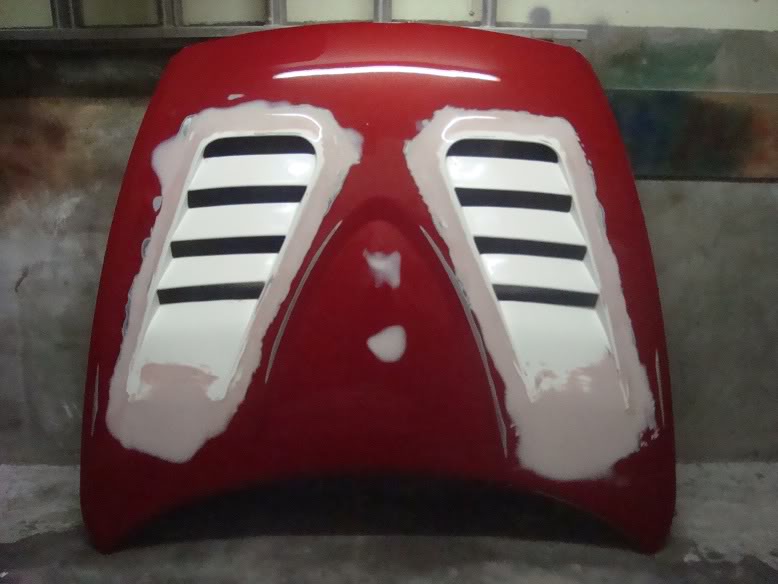
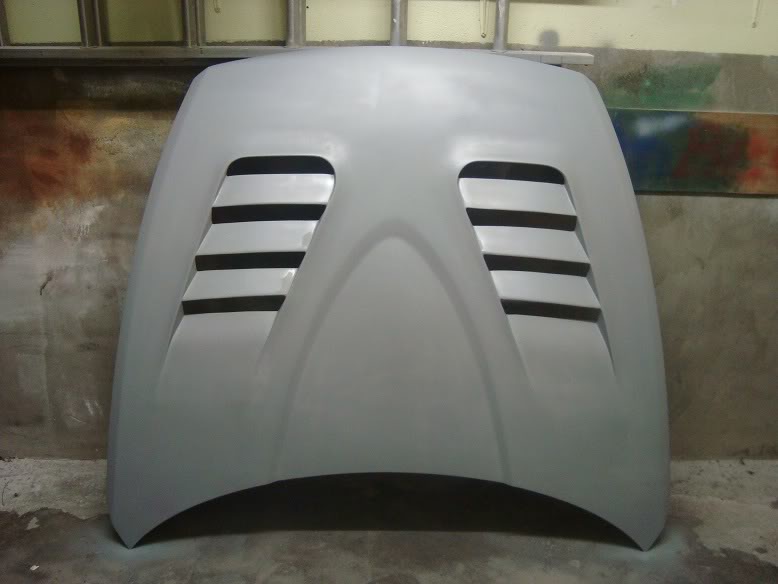


So got the finger out and finished off the vents, one or two bits to pick in but happy enough with how it turned out, must reinforce the frame underneath next, the pressed rotary shape has added strength to the skin and with the fibreglass vents flex should be minimal...


#96
Cheers fella, will get proper pic's of the cage tomorrow when I deliver the engine, box and prop to the fabricator 
Cheers fella, must just do underneath now so it looks tidy...
Much appreciated mate but I am humbled by other builds here, especially a certain blue triple rotor machine 
Didn't take that long thankfully, just getting some free time to tackle it was the issue.
According to the fabricator he was able to get the cage so close the frame that the normal plate with punched holes that is used for the a-pillar was too big so he used a different plate to secure it to the a-pillar, pic's should explain more

Cheers fella, must just do underneath now so it looks tidy...

Didn't take that long thankfully, just getting some free time to tackle it was the issue.
According to the fabricator he was able to get the cage so close the frame that the normal plate with punched holes that is used for the a-pillar was too big so he used a different plate to secure it to the a-pillar, pic's should explain more


