SR20 Drift Build

 02-22-2013, 02:22 AM
#176
Project Addict
Thread Starter

Ah little bits here and there...
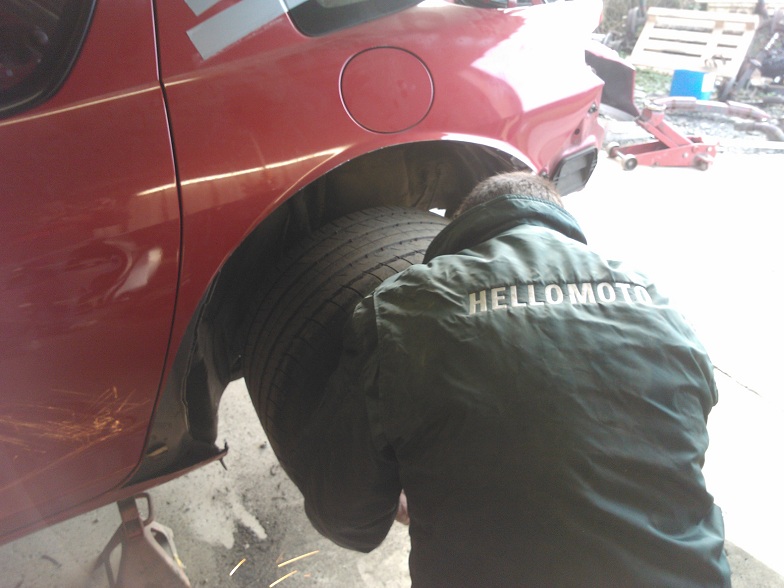
Right so, a decent update, was up in Gripfab yesterday with John, Bryan and Brendan even popped in to say hello between building engines in the other workshop. Time came for cutting up car so after a few sugar induced conversations we hatched a plan and got to work
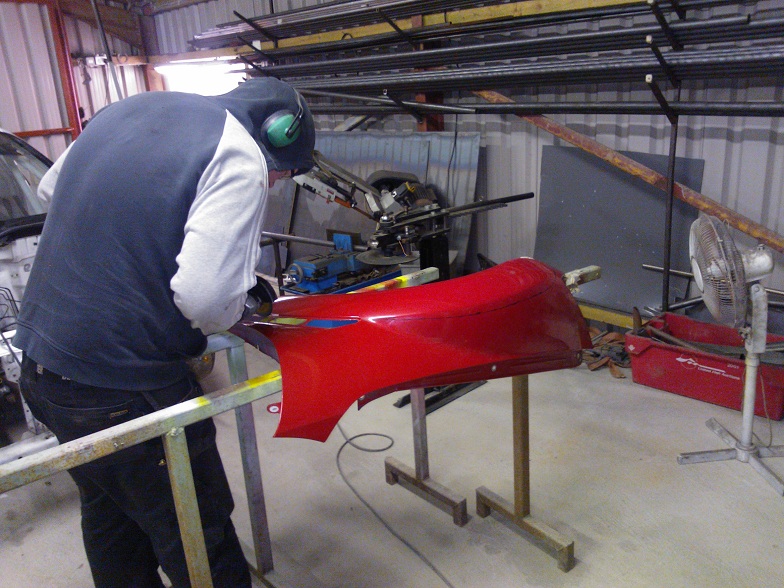
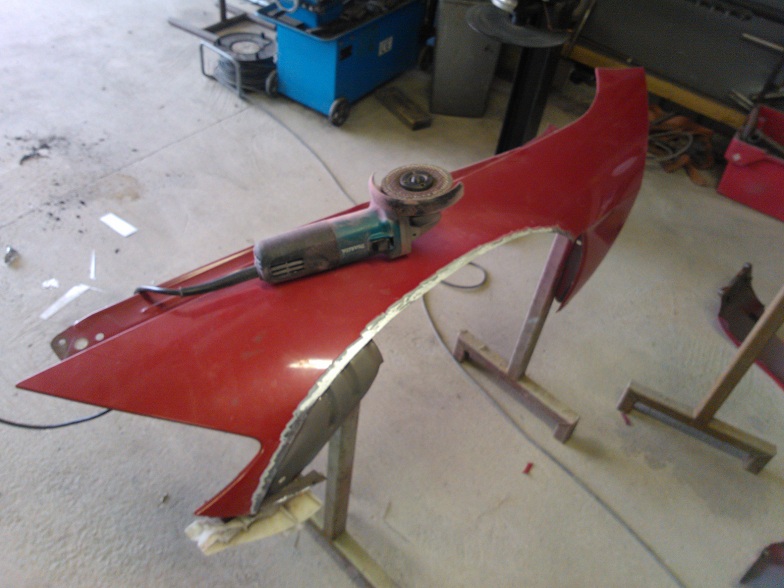
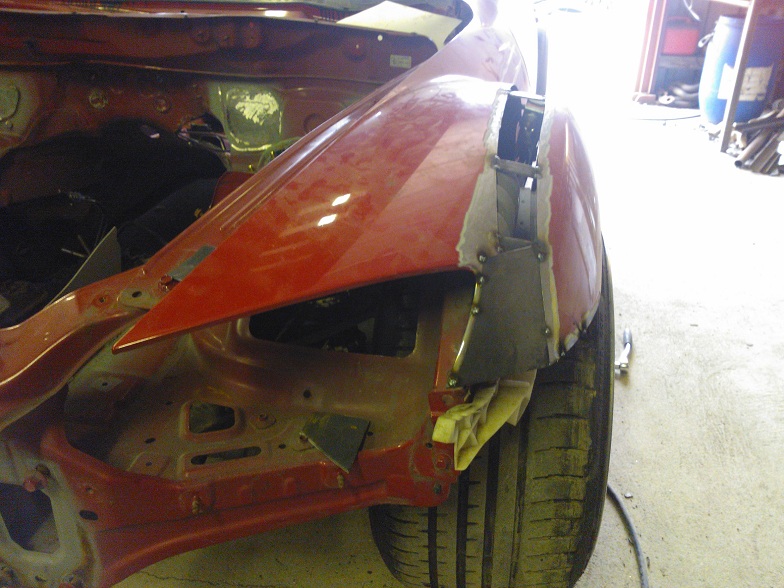
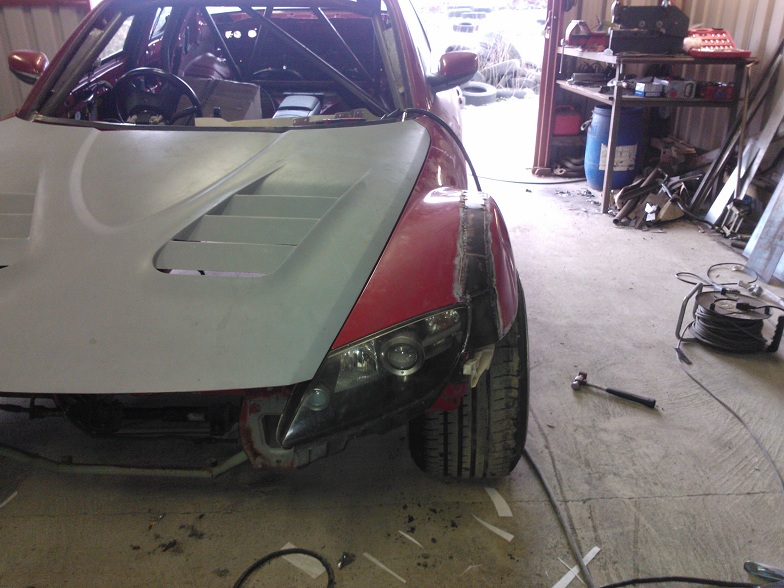
Chopping up the wings :
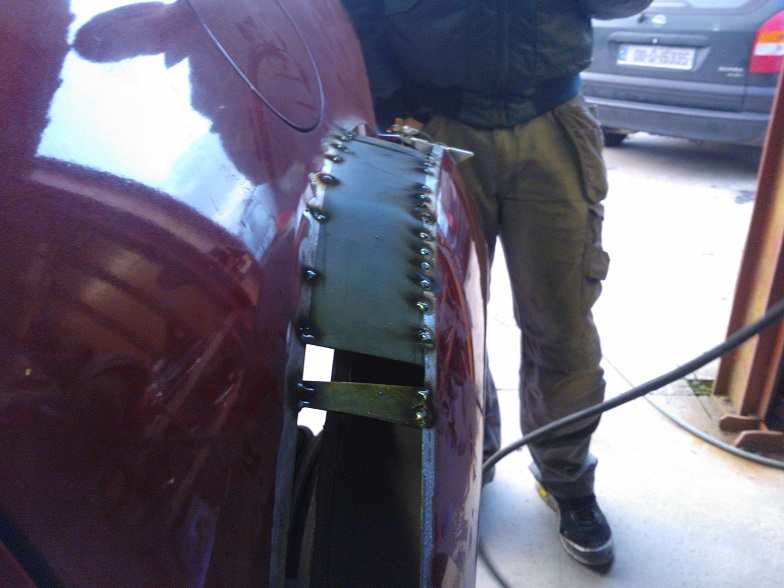
Fitting temporary braces to hold the 50mm gap at the front :

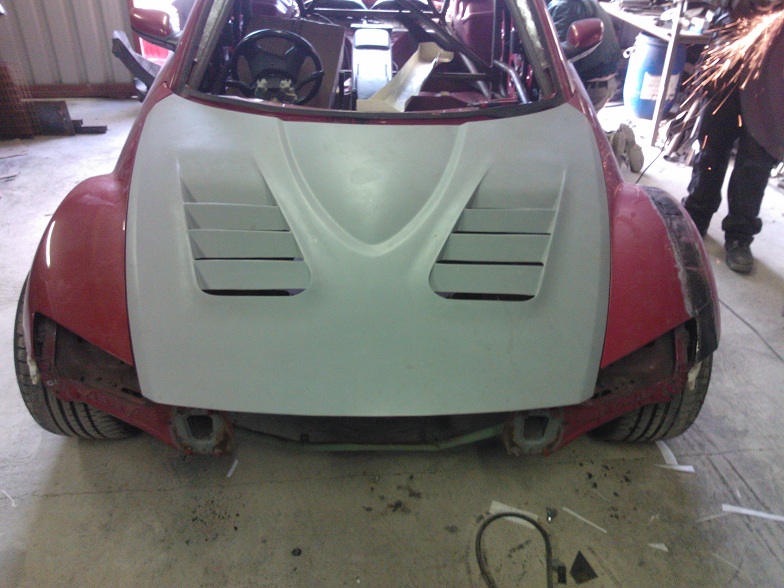
Front panel was restricting airflow so that had to go :
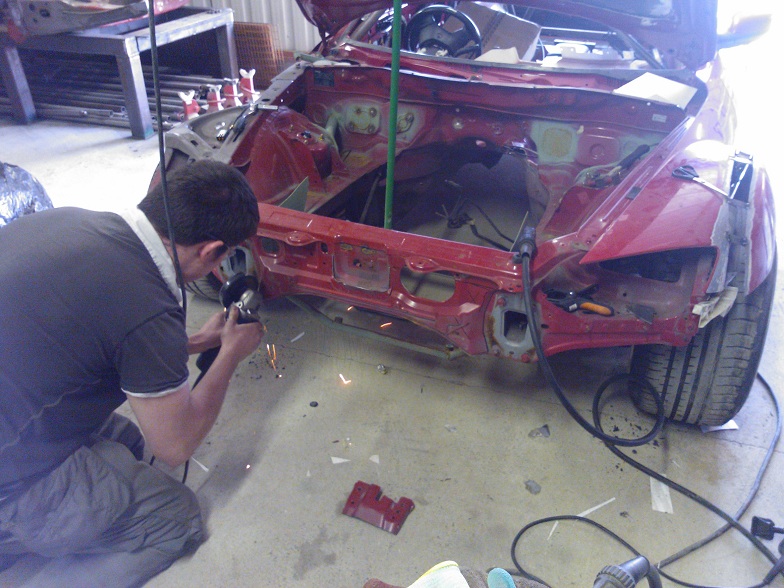
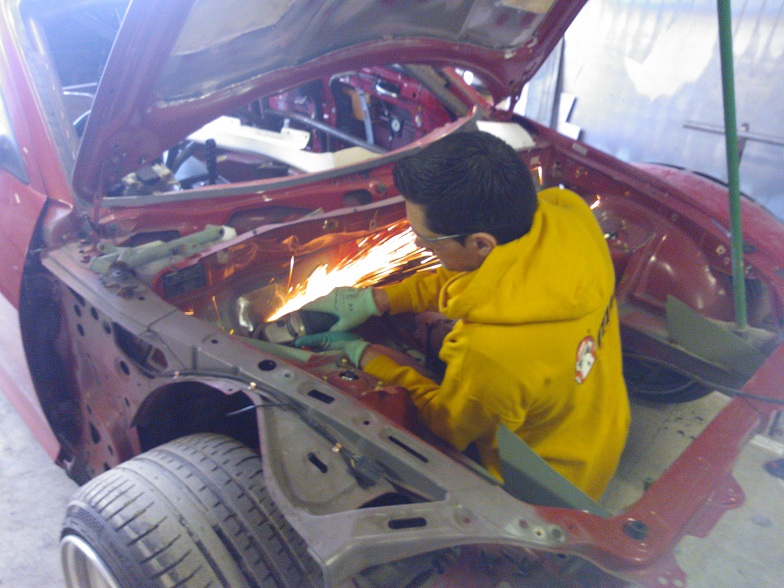
Engine bay needed some flattening down and all the useless original holes ground so they could be welded shut :

AE86 Spoiler needs a lot more work but have a plan now :

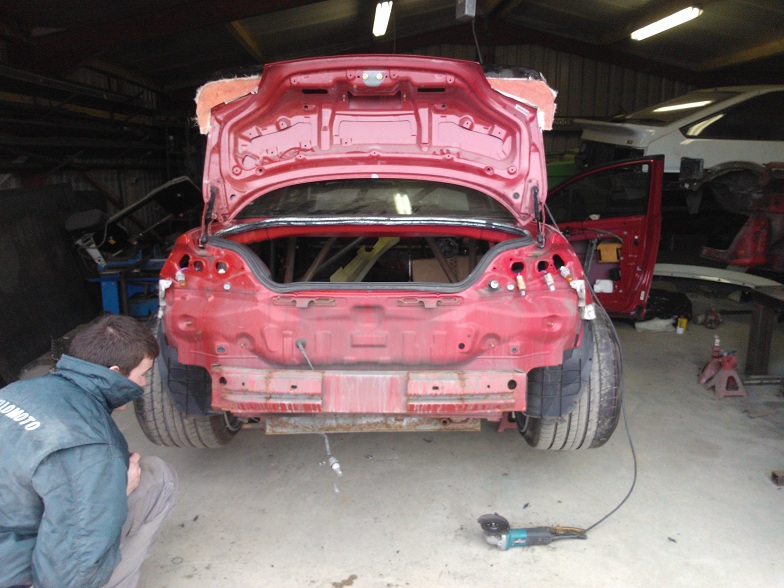
Stripped out the back, standard exhaust, impact bar and heat shield now removed (17kgs) :
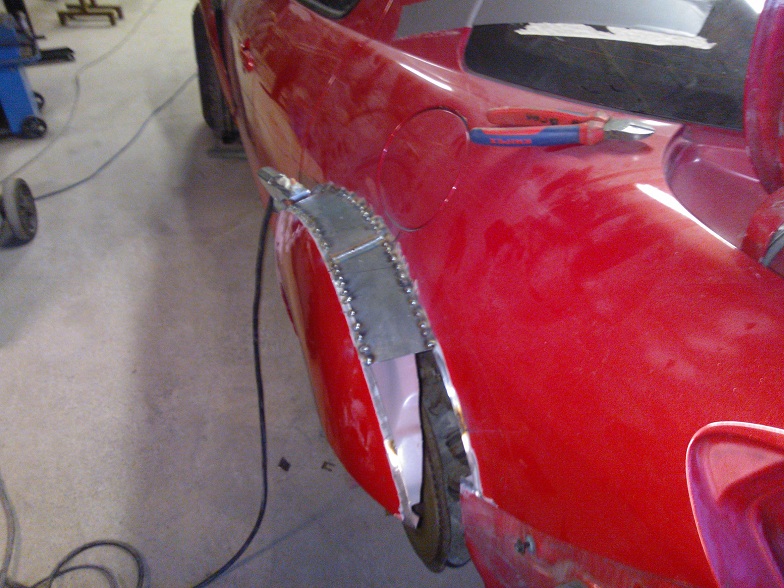
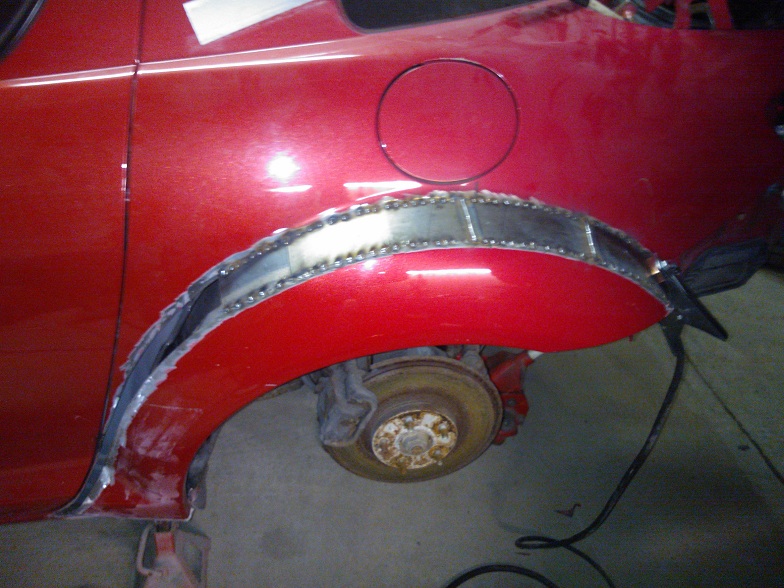
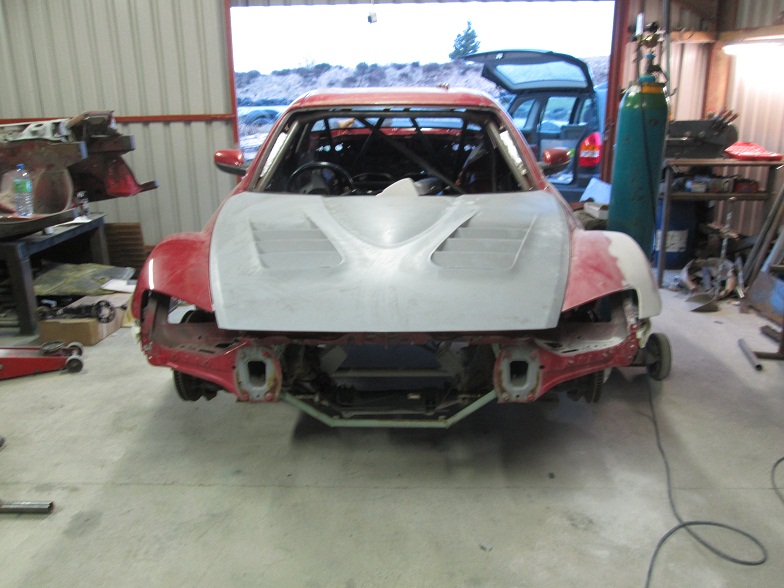
First mock up for the wing :
A nice new big vent :
She is going to look a lot wider :
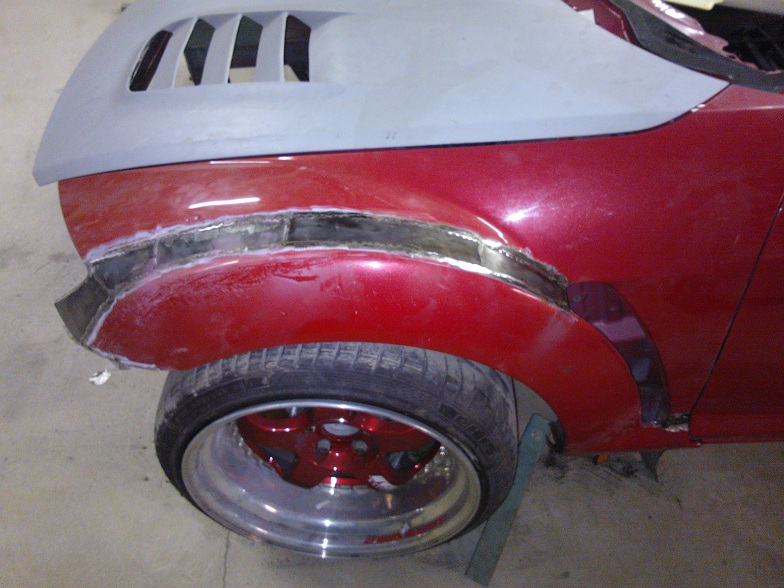
Next up the rear :
For the back we had to go 70mm even though the front is running a 33mm spacer to clear the brakes with an 18 x 11JJ +10 offset :

The rear is one of things you have to see in person, looks very flat in pic's but has a nice shoulder on it, there is filler work to do next so that will take the edge off, can't wait to get up to Kilkenny again but for now I'll leave John work away :
I have to say it was a pleasure working away with the lads yesterday, no shortcuts (excuse the pun) taken, the car is taking shape the way I want it and I couldn't be happier with who is working on it. Will aim to get up next week again to start the filler / fibreglass work. I know it won’t be to everyone's taste but it’s to mine so I'm happy.
Right so, a decent update, was up in Gripfab yesterday with John, Bryan and Brendan even popped in to say hello between building engines in the other workshop. Time came for cutting up car so after a few sugar induced conversations we hatched a plan and got to work
Chopping up the wings :
Fitting temporary braces to hold the 50mm gap at the front :
Front panel was restricting airflow so that had to go :
Engine bay needed some flattening down and all the useless original holes ground so they could be welded shut :
AE86 Spoiler needs a lot more work but have a plan now :
Stripped out the back, standard exhaust, impact bar and heat shield now removed (17kgs) :
First mock up for the wing :
A nice new big vent :
She is going to look a lot wider :
Next up the rear :
For the back we had to go 70mm even though the front is running a 33mm spacer to clear the brakes with an 18 x 11JJ +10 offset :
The rear is one of things you have to see in person, looks very flat in pic's but has a nice shoulder on it, there is filler work to do next so that will take the edge off, can't wait to get up to Kilkenny again but for now I'll leave John work away :
I have to say it was a pleasure working away with the lads yesterday, no shortcuts (excuse the pun) taken, the car is taking shape the way I want it and I couldn't be happier with who is working on it. Will aim to get up next week again to start the filler / fibreglass work. I know it won’t be to everyone's taste but it’s to mine so I'm happy.
Last edited by Kruizer; 02-22-2013 at 02:27 AM.


 02-23-2013, 01:00 PM
#179
Registered

yes, it's coming along nicely.. As long as you like what your doing that's all that matters really as its your car.. others might not agree with what your doing but 'stuff them' its your project for you to use..
Oh.. and i like it mate... i could use your bonnet ;-)
Oh.. and i like it mate... i could use your bonnet ;-)
 02-24-2013, 03:45 AM
#182
04 NORDIC GREEN RX8
iTrader: (3)
Join Date: Aug 2009
Location: brentwood tn
Posts: 620
Likes: 0
Received 0 Likes
on
0 Posts
just out of curiosity, why not run the BADBUL rx8 widebody kit? they are doing a special for that whole kit including rear doors and everything for like $2500 shipped from NZ.
02-24-2013, 03:48 AM
#183
Un-Registered User

 02-26-2013, 05:13 AM
#185
Project Addict
Thread Starter
Me too
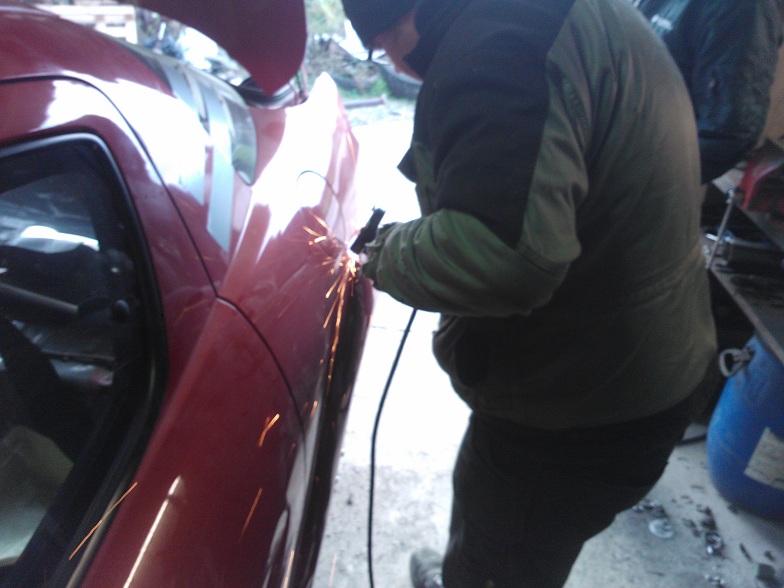
Grinder and fibreglass...
I may copy the bonnet at this stage, people keep asking me too...
I use BC Coilovers, just what I need to get started...
Cheers...
Why be the same as someone else ? Shipping is another $1000 to Ireland and then 23% tax on the lot to get it past customs so around $4100 for that kit for me...
Ya Gripfab are fairly talented...
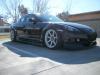
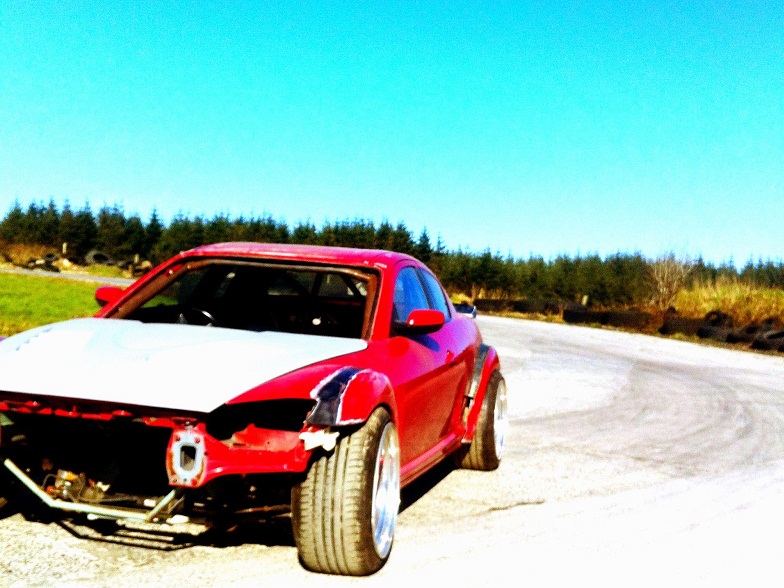
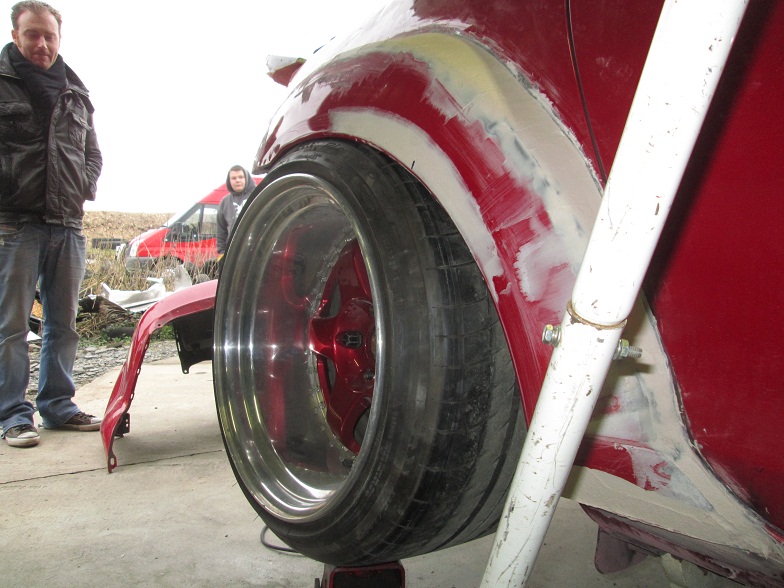
We had some sun yesterday so John pushed her outside, still can't see what the rear arches really look like, need to get up and get some proper shots but I think she will look sick given that she is now 6ft 7" wide, wheel to wheel Big Booty Bitches ftw
Ya Gripfab are fairly talented...
We had some sun yesterday so John pushed her outside, still can't see what the rear arches really look like, need to get up and get some proper shots but I think she will look sick given that she is now 6ft 7" wide, wheel to wheel
Big Booty Bitches ftw
 03-01-2013, 08:03 AM
#187
Project Addict
Thread Starter
 03-05-2013, 04:42 PM
#189
Project Addict
Thread Starter
:D
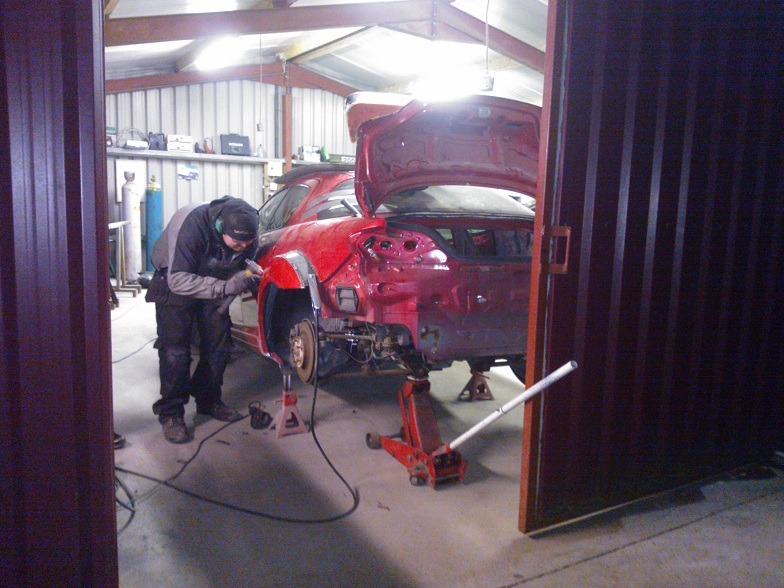
I was up in Gripfab today to see what I could get done, unfortunately not alot, this is the slow part...
The inner skin got plated up :
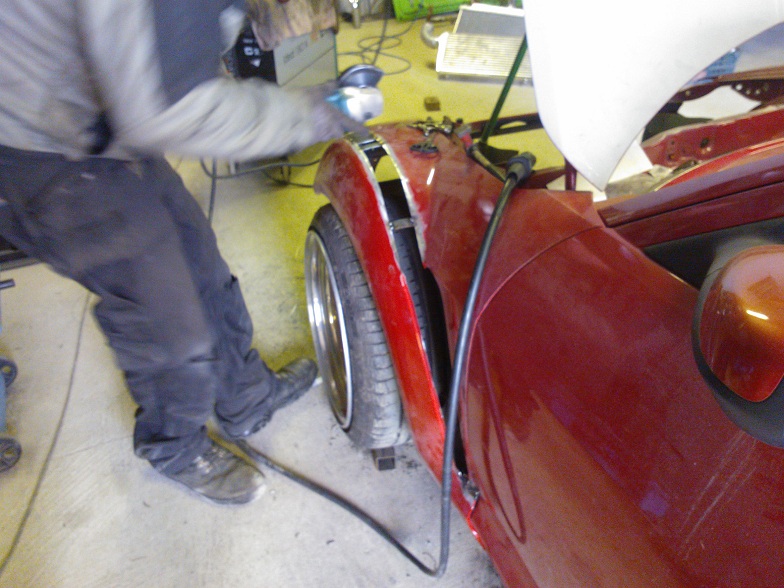
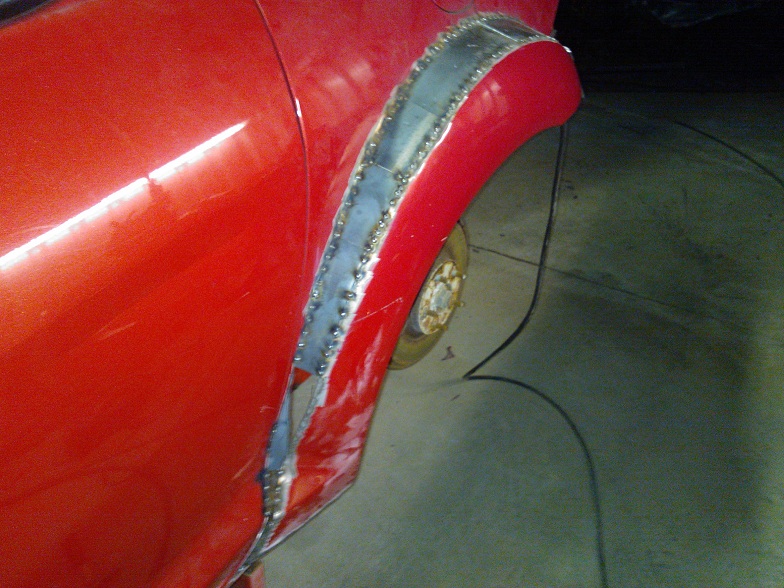
So got to rolling the arch :
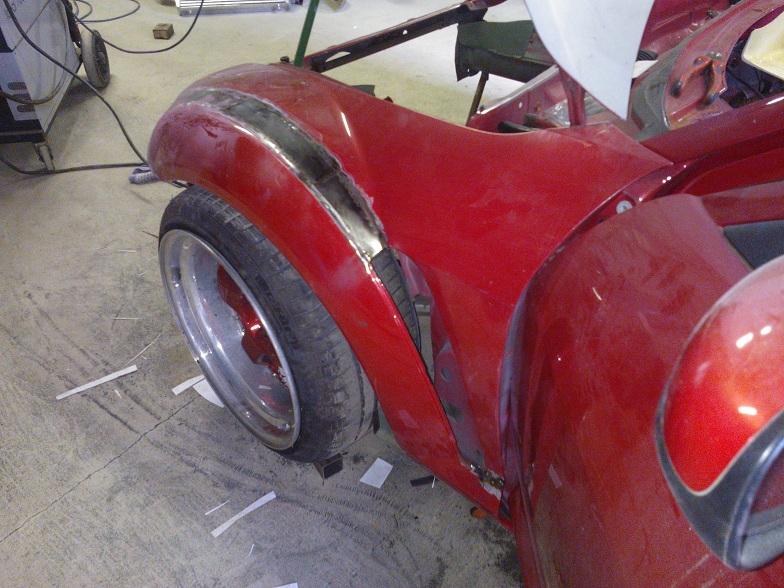
Arch is starting to take shape now :
Still needs a flare to be honest :
So got filling the wing :
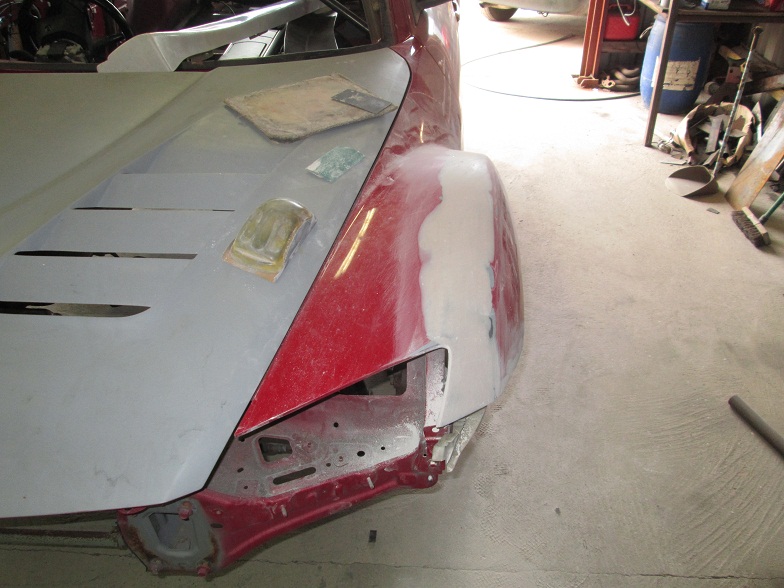
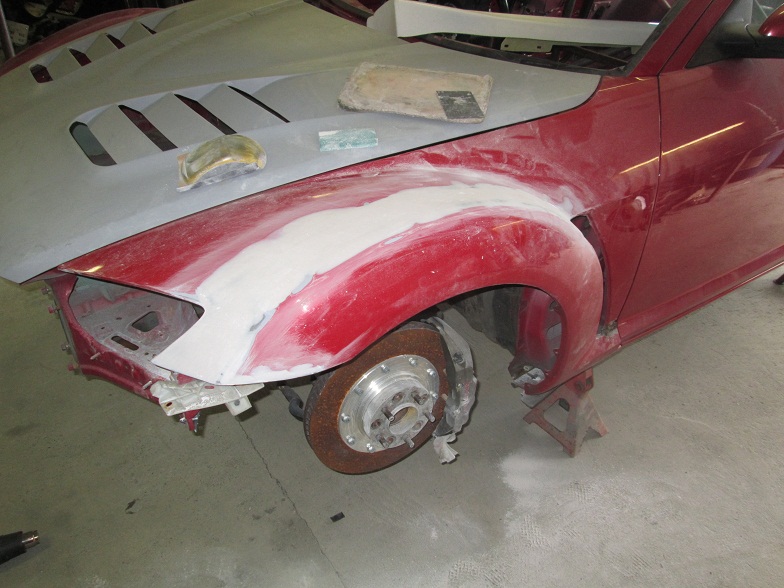
Gonna be wide :
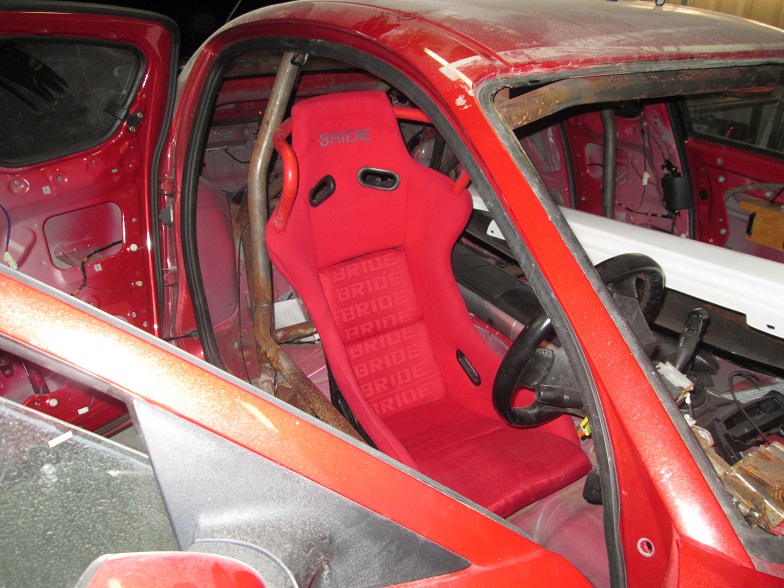
Then lined up the seat for mounting, first time I've sat in the car in almost a year, really wanna drive her now :

I was up in Gripfab today to see what I could get done, unfortunately not alot, this is the slow part...
The inner skin got plated up :
So got to rolling the arch :
Arch is starting to take shape now :
Still needs a flare to be honest :
So got filling the wing :
Gonna be wide :
Then lined up the seat for mounting, first time I've sat in the car in almost a year, really wanna drive her now :

 03-17-2013, 07:38 AM
#191
Project Addict
Thread Starter
03-17-2013, 09:46 AM
#192
they would help ya out if needed, but it looks like you have it covered hahaha!
but yes, very good site indeed.
03-19-2013, 03:44 AM
#193
Project Addict
Thread Starter
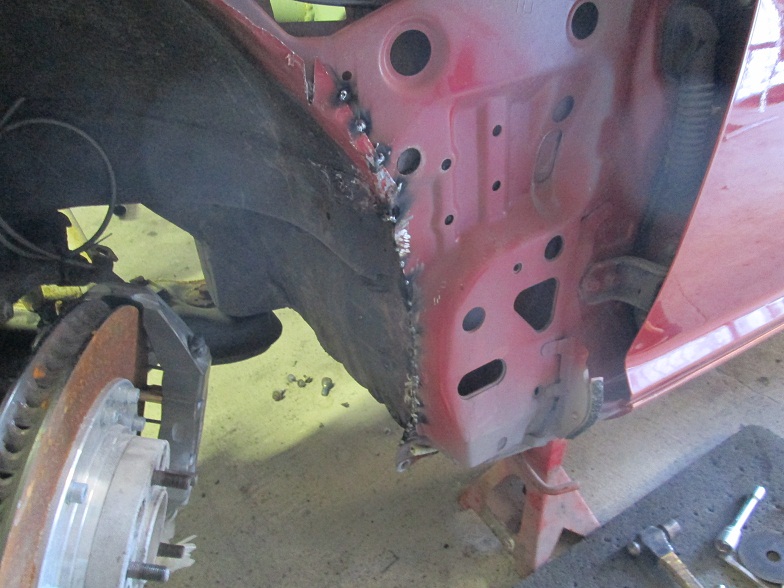
Plan was to have the car back last Friday however after letting my imagination run away with itself I decided to get a few more bits done while it was up in Gripfab, going with a twin exit exhaust system now, having both subframes blasted and painted up and the rear upper arms modified.
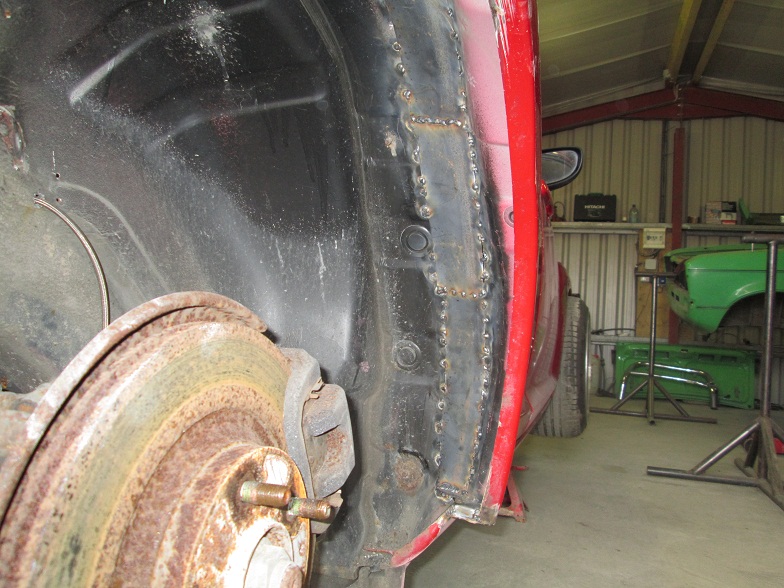
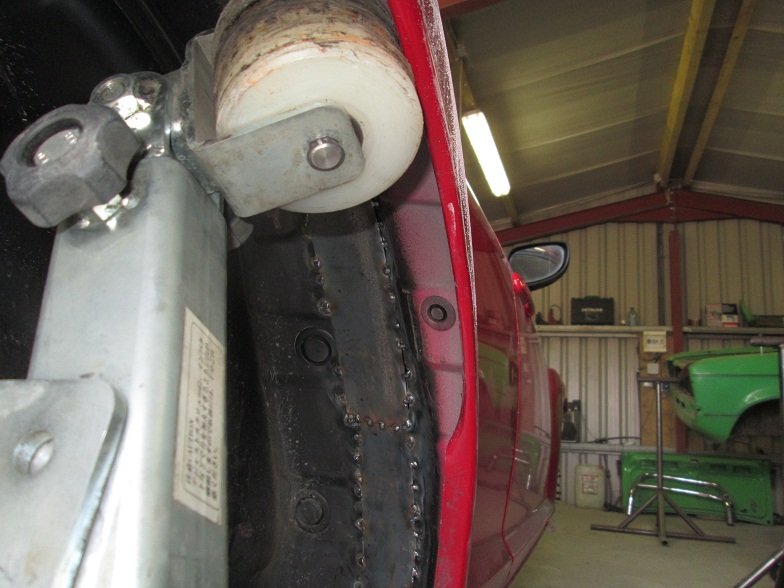
So on full lock the wheel was catching the seam on the floor well, solution was cut it away and weld it up
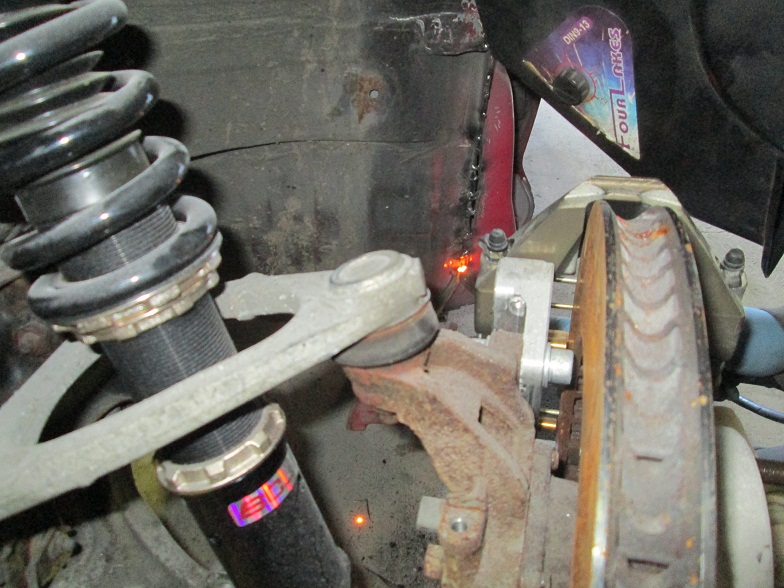
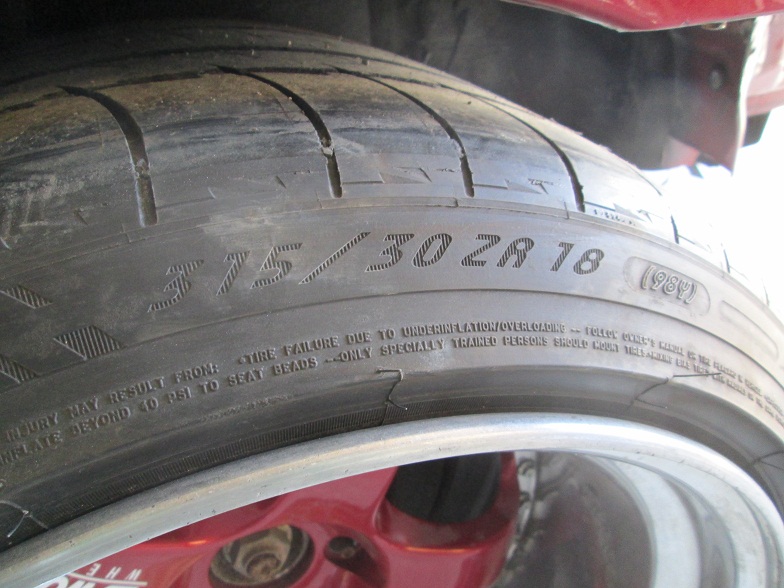
The all important numbers at the rear :
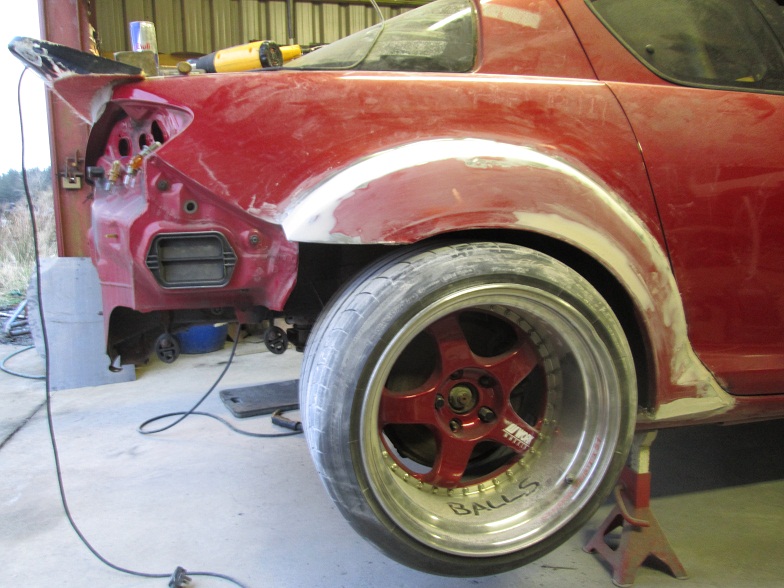
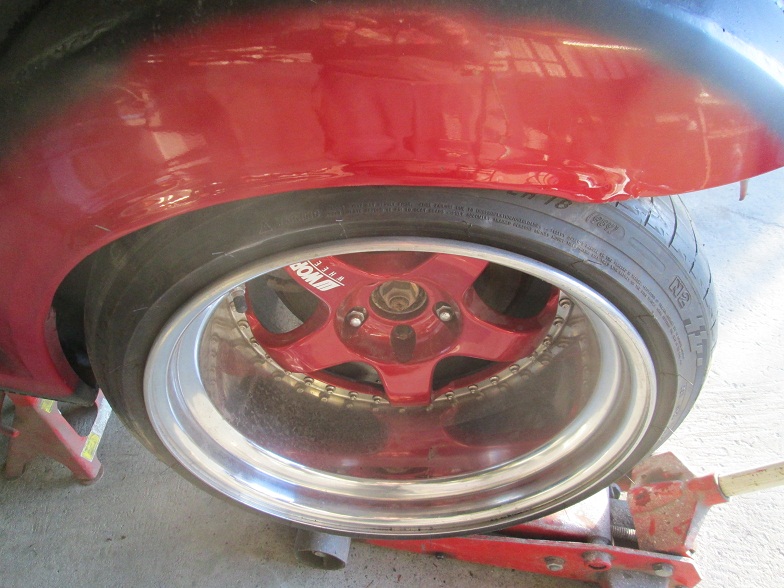
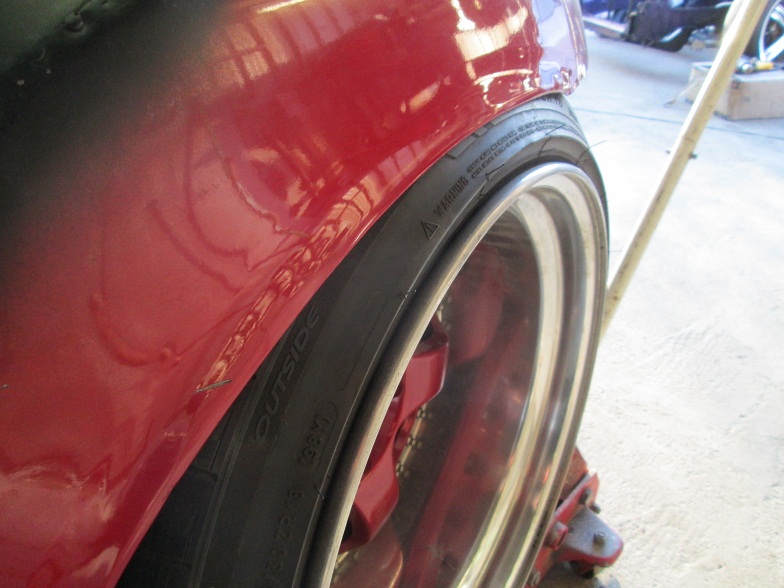
Decided since I was up to add a small bit more of a roll / flare even though these wheels wont be used on the track.
However this is what we spent our day doing :
[img]https://fbcdn-sphotos-f-a.akamaihd.n...05645466_n.jpg[/img]
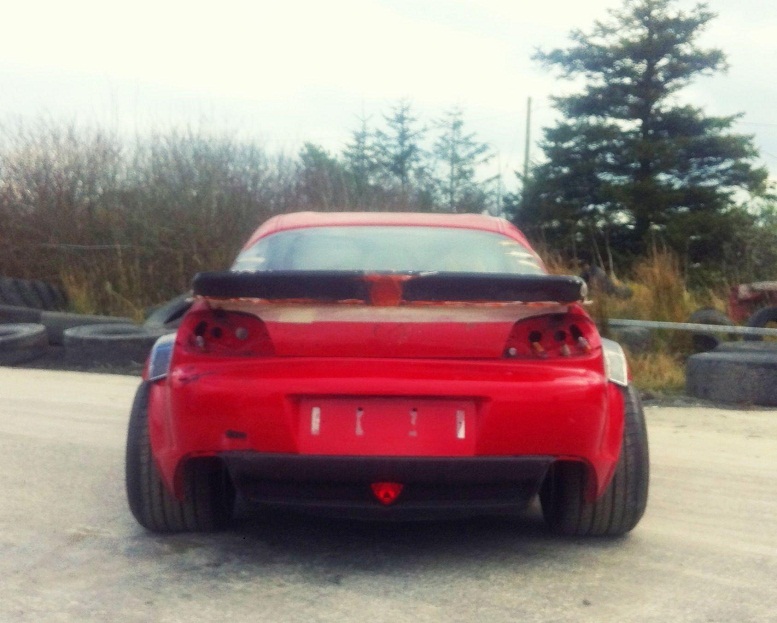
Ripped off the boot door, rear bench and plastic's and took it down to the dirt track, as you do.


 06-05-2013, 02:40 AM
#199
Project Addict
Thread Starter
He can stay where he is, I only wish I had his budget
I think he was referring to the width of car mate...
His RX8 has been turbo for years...
Just now.
Cheers fella.
So while th car was in Gripfab the lads stripped off the subframes / arms and had them sent off for media blasting to get shot of the tatty surface :
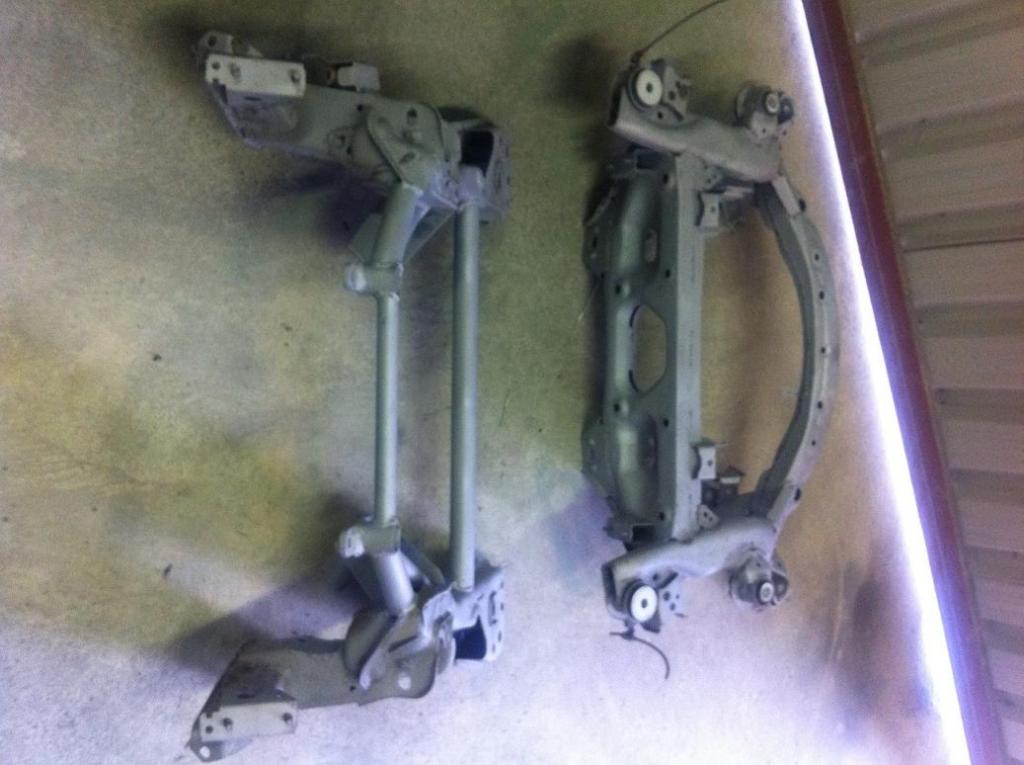
As you can see they needed it :
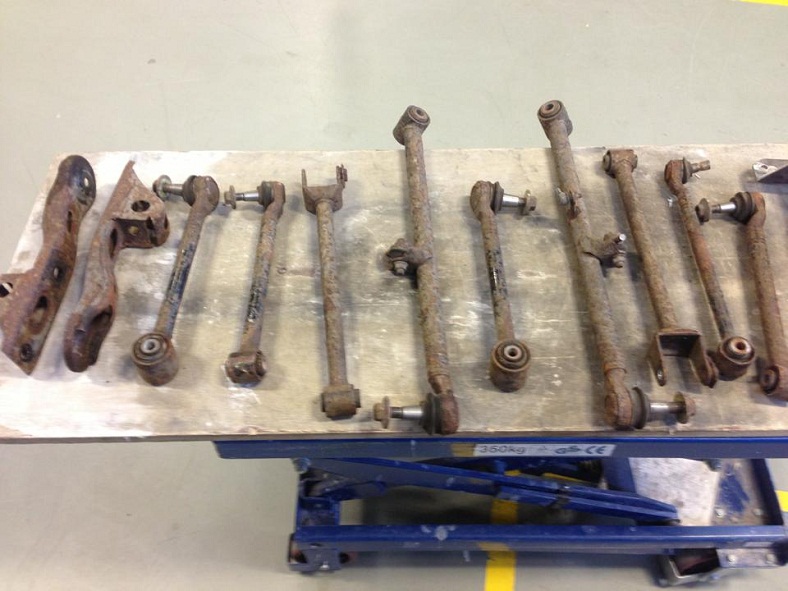
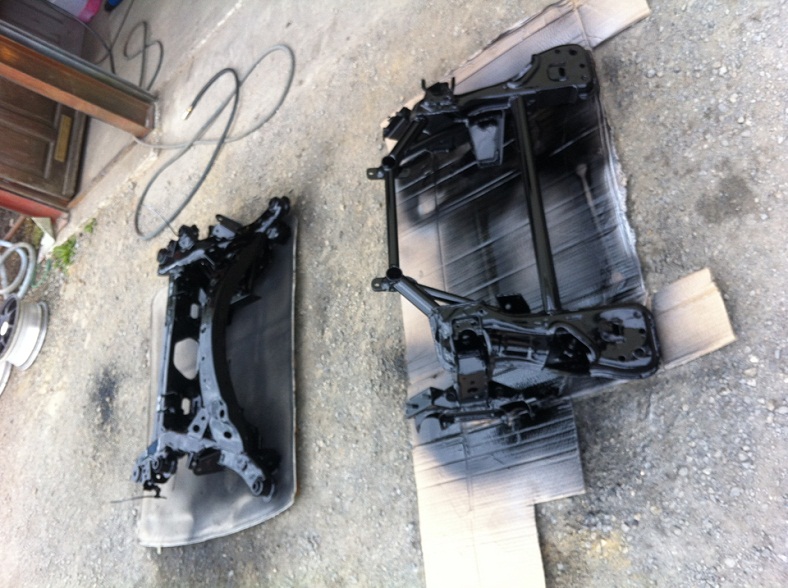
Ta dah :

Shot of acid primer and gloss black and there ya go :
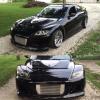
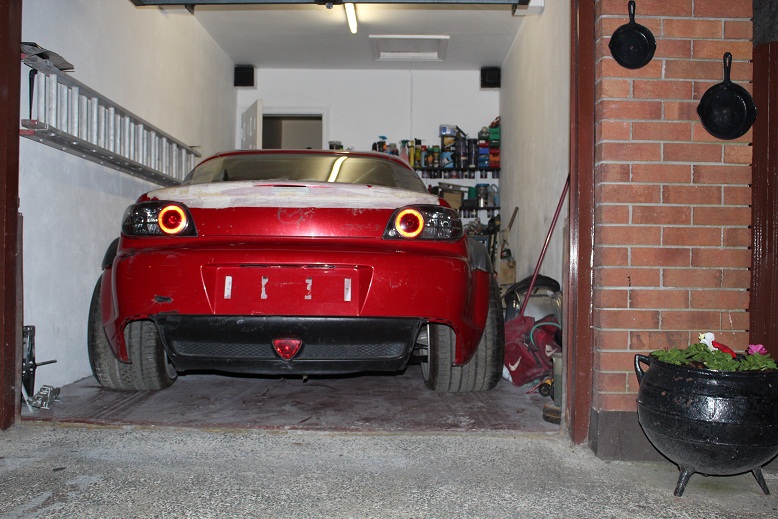
So like a kid in a candy shop I saw this pull up last night, sorry about all the pic's but like I said I was excited :p
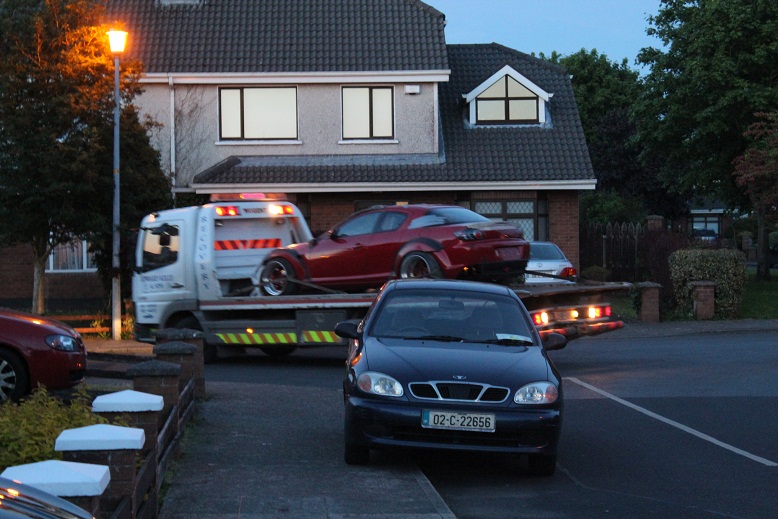
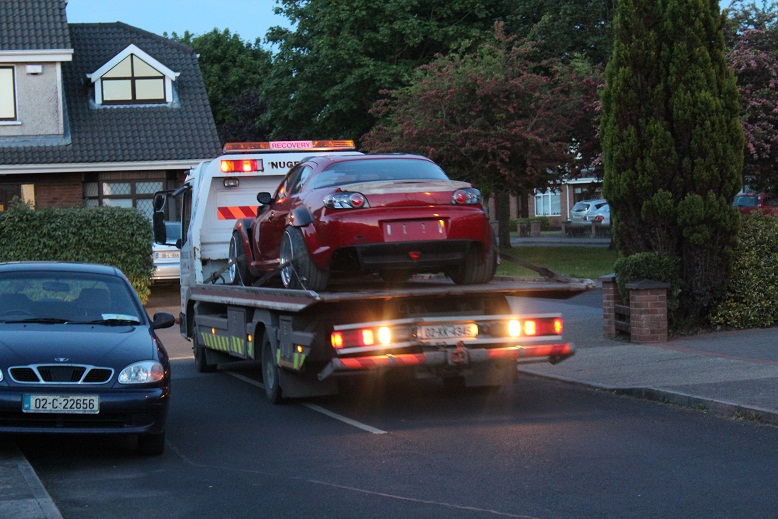
At least she is making full use of the bed :
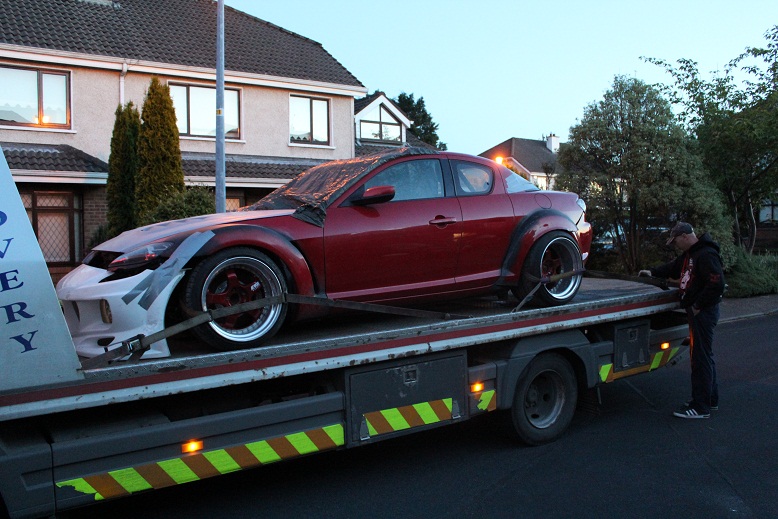
Back in the drive

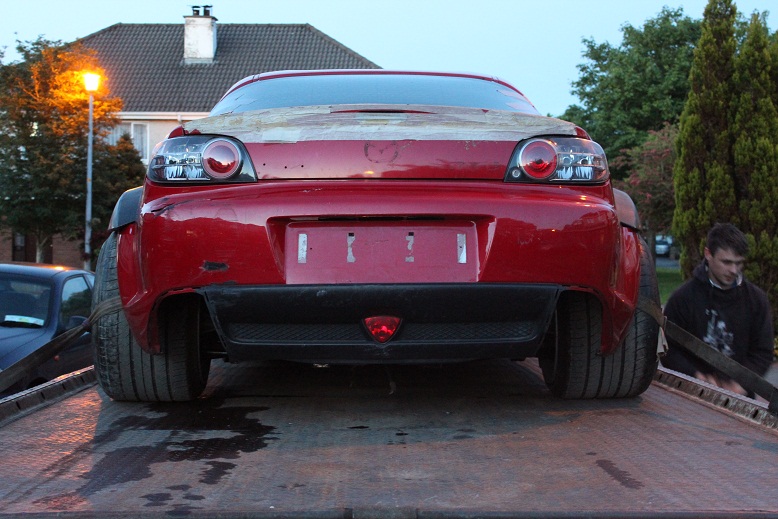
It certainly is a tighter fit this time around, I may have to work in the driveway from now on :
Its hard to tell how far back the engine really is with the V-Mount setup so here is a better idea :
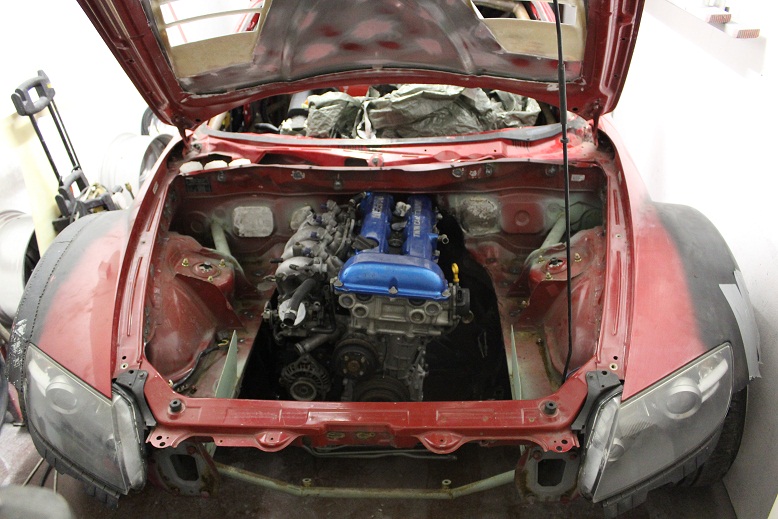
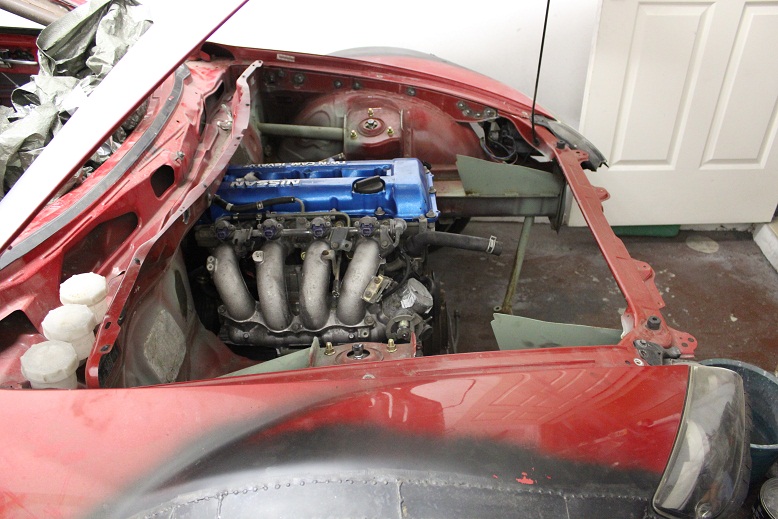
Plan is to finish the 4 arches first, once that is done then I can move on to the bumpers / skirts and the rest of the exterior. The part I am dreading is doing the interior and engine bay
His RX8 has been turbo for years...
Just now.
Cheers fella.
So while th car was in Gripfab the lads stripped off the subframes / arms and had them sent off for media blasting to get shot of the tatty surface :
As you can see they needed it :
Ta dah :
Shot of acid primer and gloss black and there ya go :
So like a kid in a candy shop I saw this pull up last night, sorry about all the pic's but like I said I was excited :p
At least she is making full use of the bed :
Back in the drive
It certainly is a tighter fit this time around, I may have to work in the driveway from now on :
Its hard to tell how far back the engine really is with the V-Mount setup so here is a better idea :
Plan is to finish the 4 arches first, once that is done then I can move on to the bumpers / skirts and the rest of the exterior. The part I am dreading is doing the interior and engine bay
06-09-2013, 05:21 PM
#200
Project Addict
Thread Starter
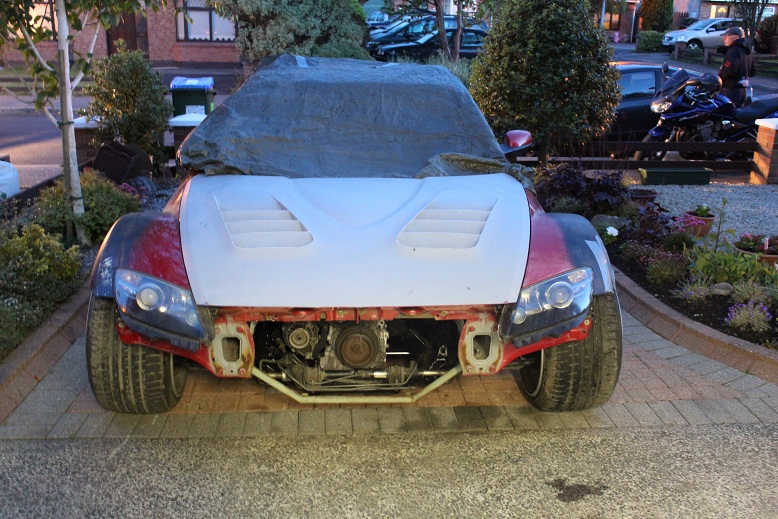
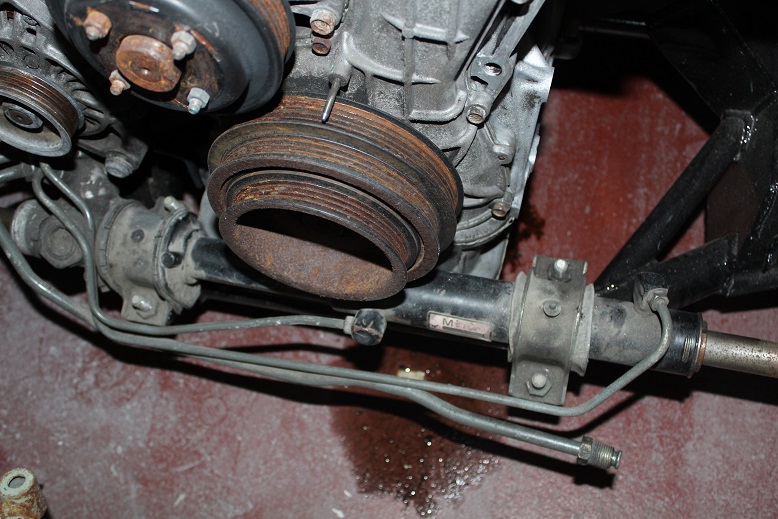
Small update, took out the lights and off with the bumpers, then she decided to get pissy and have a leak :
0219_zps92afbfba.jpg?t=1370813124
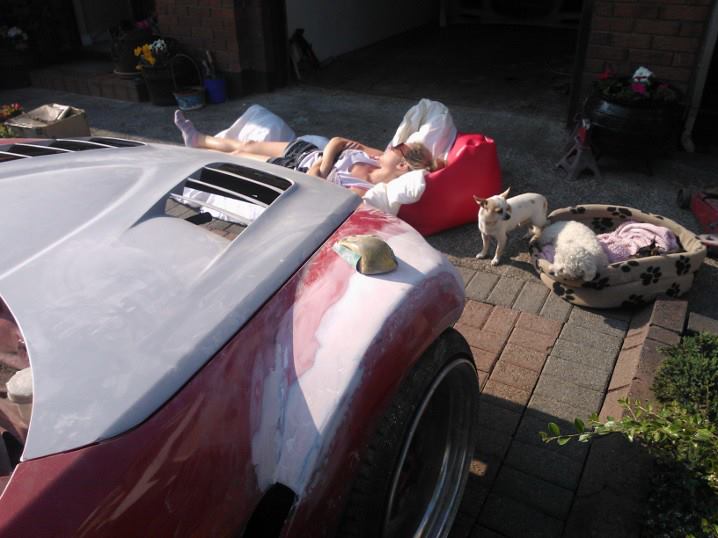
Rolled her out to start the passenger arch and take in some sun, as you can see I had loads of help :
0220_zps6315bb36.jpg?t=1370813077
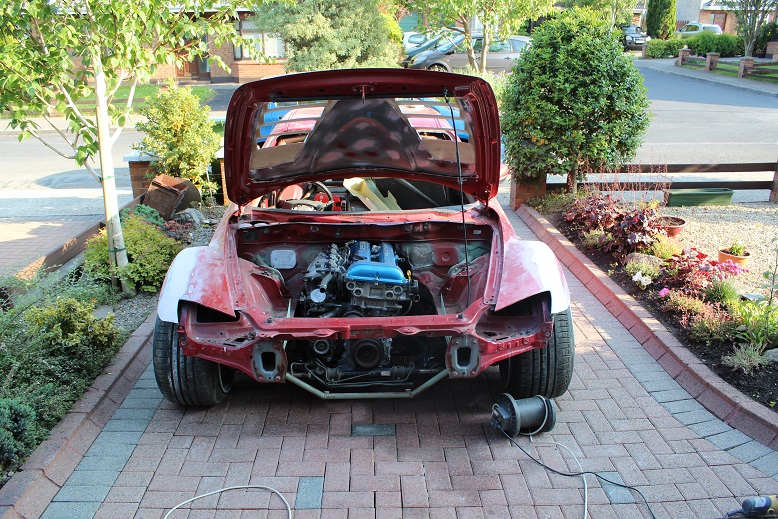
Reckon I'm going to finish off the front end completely before moving on :
0221_zps646893c4.jpg?t=1370813080
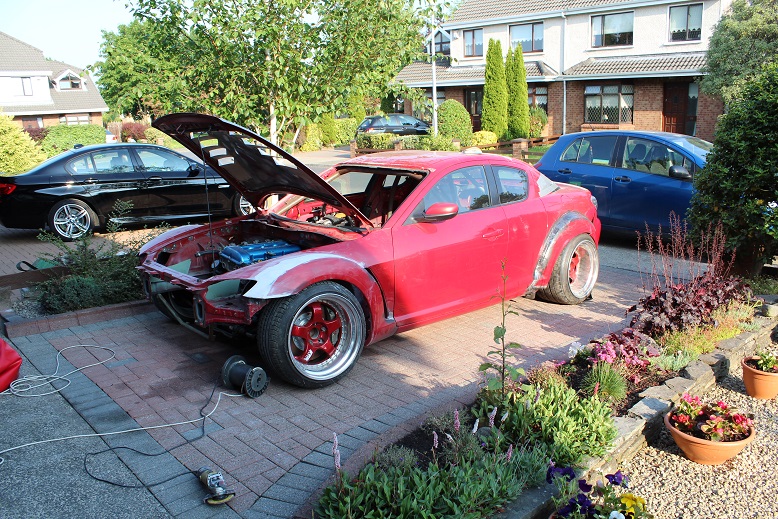
Just grabbed a quick shot before pushing her back into the garage
0222_zps85ee74f2.jpg?t=1370813116
Will get more done tomorrow
0219_zps92afbfba.jpg?t=1370813124
Rolled her out to start the passenger arch and take in some sun, as you can see I had loads of help :
0220_zps6315bb36.jpg?t=1370813077
Reckon I'm going to finish off the front end completely before moving on :
0221_zps646893c4.jpg?t=1370813080
Just grabbed a quick shot before pushing her back into the garage
0222_zps85ee74f2.jpg?t=1370813116
Will get more done tomorrow