When you click on links to various merchants on this site and make a purchase, this can result in this site earning a commission. Affiliate programs and affiliations include, but are not limited to, the eBay Partner Network.
From the limited data set I have on RX8 corner weights the swap added about 160lbs total to my car.
Around 120-140lbs of that was added to the front half of the car.
The springs the Ohlins come with are 450 in/lb in the front.
I kept the original spring rate that came with the Ohlins. I wouldn't bother with changing them out unless you were really trying to dial in you suspension for a track car.
My car feels great on the street, and really well balanced on track.
Yeah, Murphy is just east of Plano. I moved out of Carrollton a few years ago. Home prices skyrocketed in Carrollton so I used the opportunity to find a nicer house. Prices in Murphy hadn't blown up yet so I managed to find a bigger home 25 years newer with a shop in the backyard. After what I made on our old house it ended up being about the same monthly on the mortgage.
Hey Stubbs. Just got done going through your build. Nice ride! I'm in Tyler, Texas and in the process of ls3/t56 rx8 to 2009 RX8. Maybe we could meet up when its done later this year. Haven't found many Mazda or ls swap enthusiasts in my area. We used to have an NA Miata ls2/t56 from an 06 vette but sold it for hospital bills when we had problems with one of our sons.
Awesome, glad to hear of another swapped RX8 in the area. There's at least one other swapped 8 in the DFW area that I know of currently, but I'm pretty sure there are a few other ones running around. MER out in Cresson built a couple over the years, and there was a LFX swap using the Keisler kit that popped up for sale in Garland last year.
I'm in the middle of making some changes on mine; hope to be finished in the next month if work doesn't get in the way. I need to make an update.
Are you using one of the kits, or fabricating your own?
One word of advice if you are using a new f-body pan made by GM. Make sure you thoroughly clean it out using a wire wheel or something to scour off as much of the rough casting and flash from the inside of the pan. I'll get into it when I post my update, but short story is if you have a particularly bad casting, tiny pieces of aluminum casting slag/flash from the pan can break loose get into the oil system and cause major problems. It can take time or the right set of conditions to cause a problem; Mine had ~5k miles when the issue popped up.
Keep in touch and we can figure out sometime to meet when you get yours finished.
Awesome! Hope you get that figured out. We are having V8R do ours with a cam I'll have to ask them about the pans on the crate power units they are getting. Knowing what it took us on the LS Miata swap, I now know why the shops charge so much and why they kind of deserve the money ha. We tried to get a little LSX/LFX Mazda (RX7, RX8, miata, etc.) group started here in Tyler. We had a few and were growing slowly then COVID hit end of story ha. Ill link up when ours is finished, should be a couple months.
It's been a while, but time for a bit of a major update.
To make the story a bit shorter, in the summer of 2020 I had what I thought was an engine failure on the LS3.
While running the car at a track day at Eagle's Canyon I had oil pressure drop to zero as I was coming off track at the end of a session. I immediately shut the car off, and after some inspection fired it back up. It would take 5-15 seconds to get oil pressure back depending on how long I waited to start it back up, but it was normal pressure after that. No rod knock or other signs of failure. Since it was a really hot summer day in Texas I was hoping it was due to high oil temps, or a faulty pressure sensor.
After some deliberation, I ended up driving the car home about an hour away. The drive was uneventful and pressure was mostly normal, but a bit lower than expected the whole trip back (~40psi.) However, when I pulled the oil filter there was some metal and a some glitter in it. I assumed I had the typical LS oil slosh starvation and damaged the bearings.
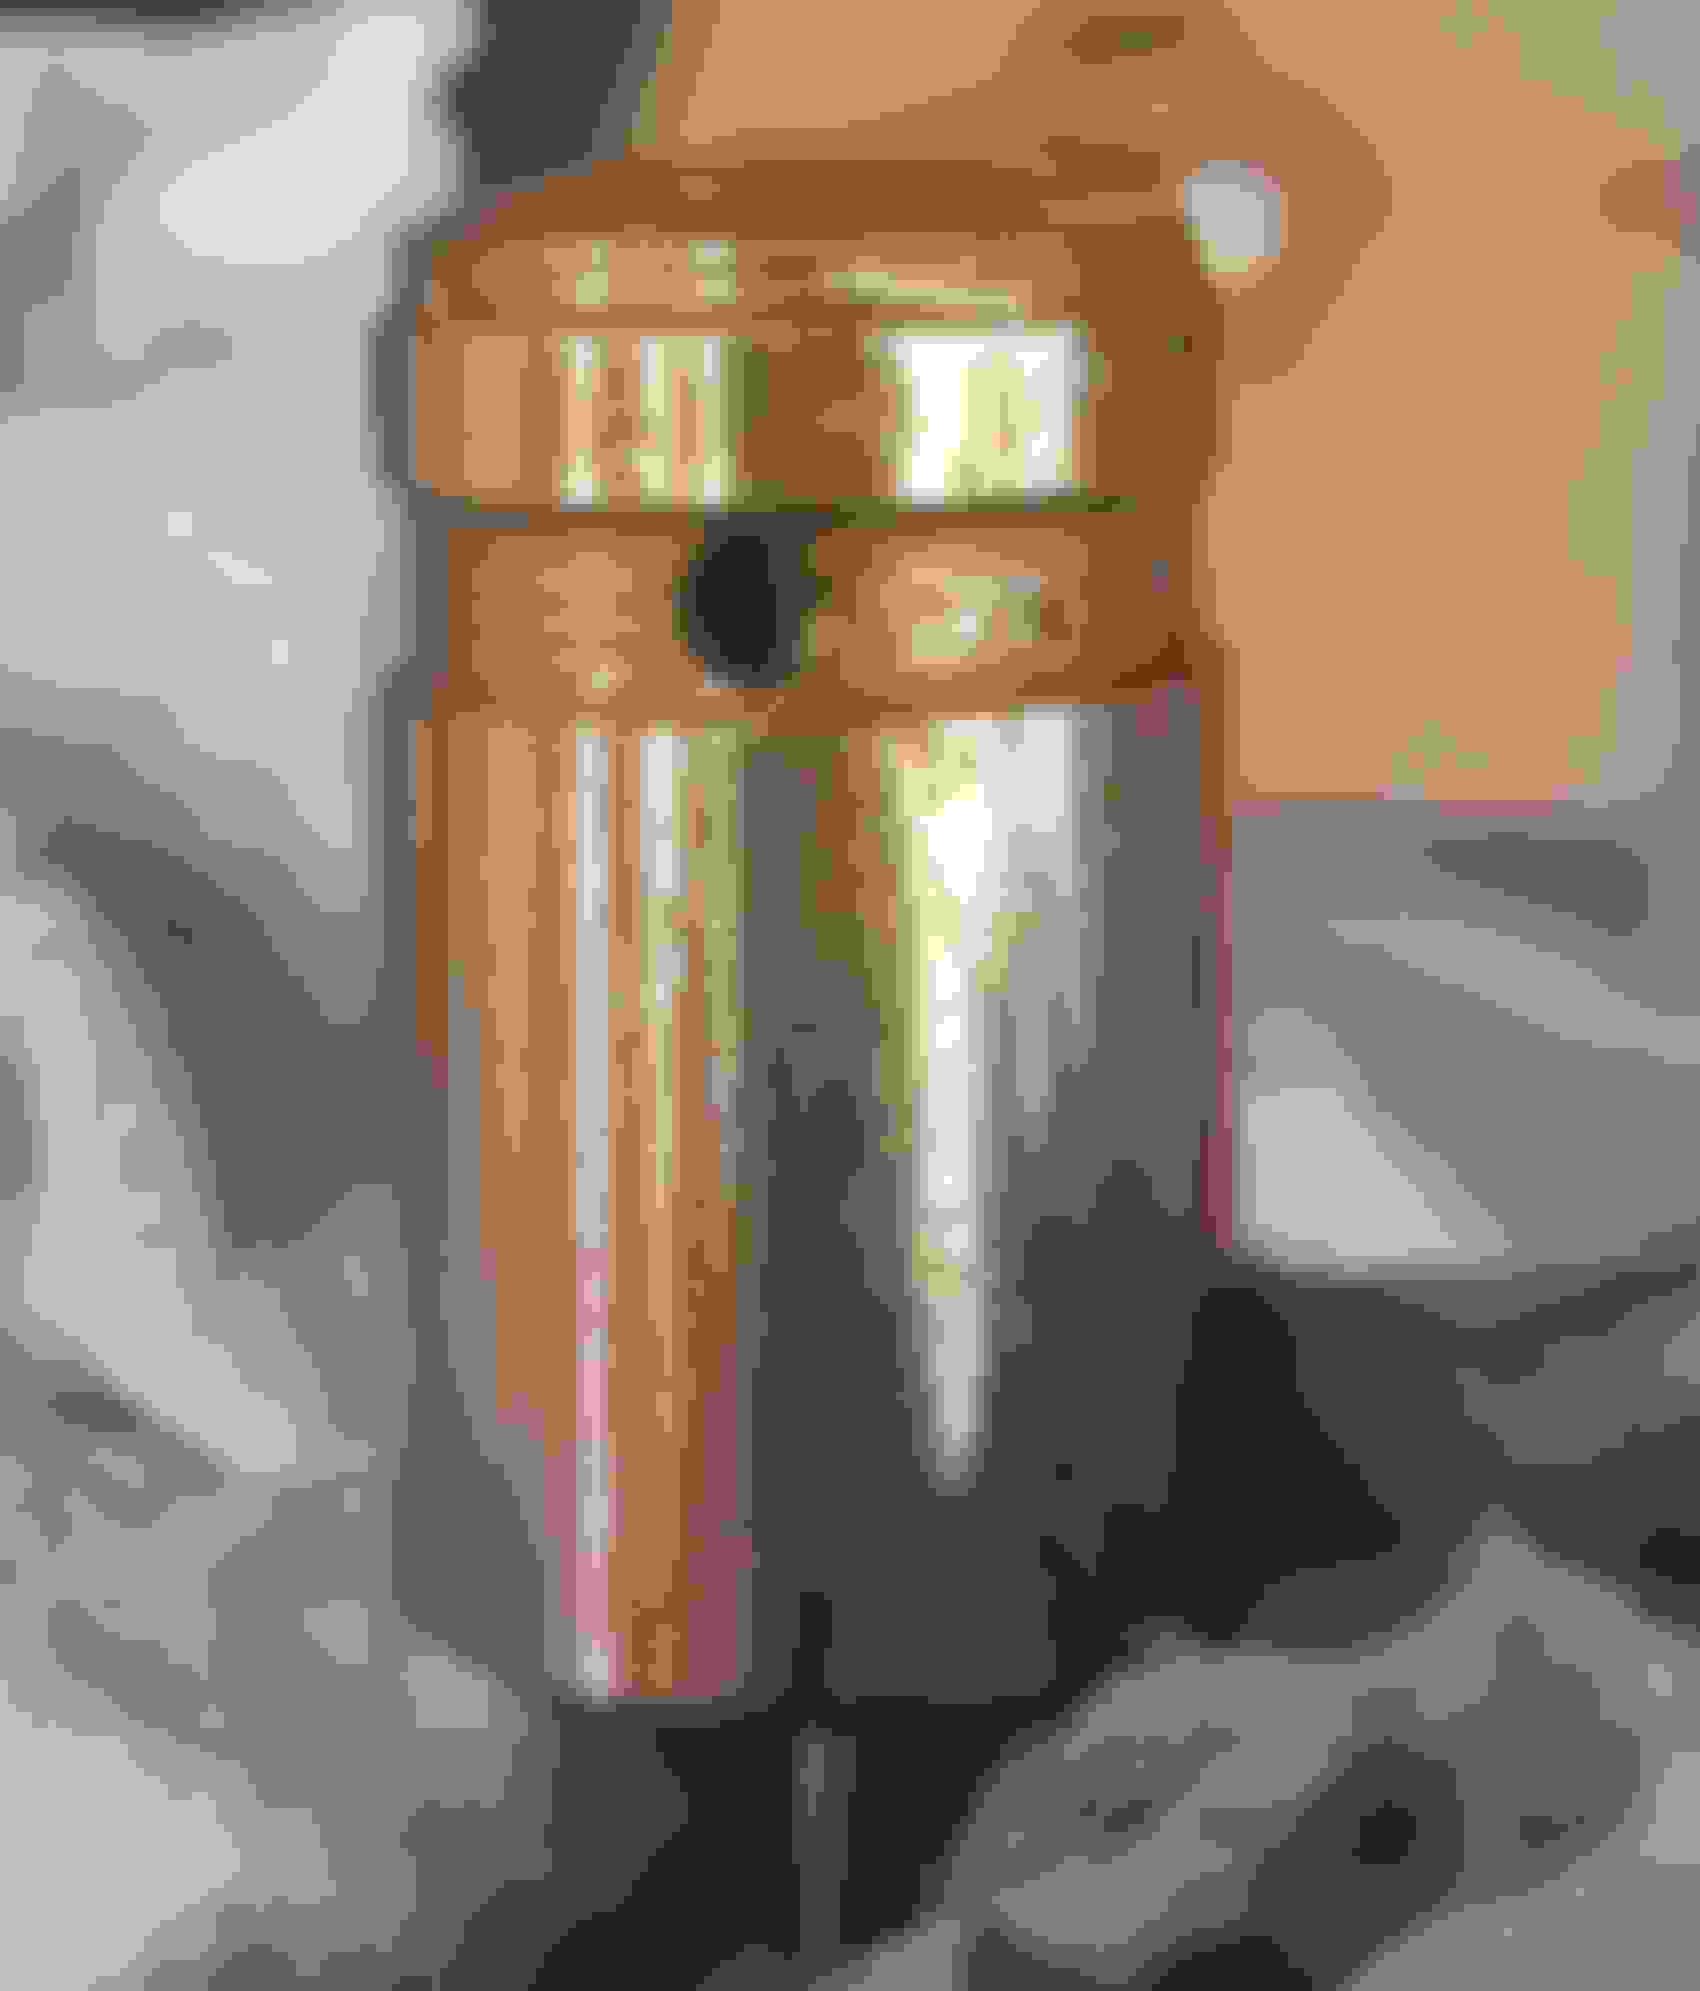
I ended up letting the car sit until winter as I had other stuff on my plate. Once I pulled the engine the inspection revealed an entirely different, and unusual failure. Small flakes of aluminum casting flash and casting sand had broken free from the new OEM f-body oil pan and had circulated in the oil system. This caused the oil pressure relief valve to stick partly open which was causing the delay in oil pressure on start-up. The bits of aluminum were also part of what I saw in the filter. Inspection of the rod, crank and cam bearings showed minimal damage, but there were bits of aluminum embedded in them. Debris in Oil Filter Metal under Microscope, scale to right is in mm Worst bearing, gouge starts at tang, there was a piece of aluminum embedded at the end of the gouge most of the other bearings show little to no wear Bottom of the oil pan, the black material was coating everything in the engine. It was extremely fine grained and, but wiped off easily. I filtered and washed a sample with with solvent and when dried it. It was a black powder, but it oxidized to a rusty red color. I assume it was a very fine iron powder from the break-in of the rings and or cylinder walls. Same area of the pan but rinsed with solvent, note the extremely rough casting. Using a fingernail I scratched at some of the rough casting on the bottom of the pan. These are some of the pieces I collected. They weren't merely sitting on the bottom of the pan I could feel them break loose under my finger. Most are flakes of aluminum, but the greenish piece in the middle is casting sand with some small veins of aluminum visible. Oil pump pressure relief valve piston, you can see a piece of aluminum towards the top. This had wedged the piston slightly open causing the delayed oil pressure on cold start and the lower than normal pressure. I had to force the piston out of the bore Bits of aluminum from previous picture under magnification; very similar to what I observed from the pan.
While the filter should have caught most if not all of the aluminum from the pan I think the black powdery material had clogged the filter and the bypass had opened allowing unfiltered oil into the bearings. Even though this engine had only about 5k miles I had done about 4 or 5 oil changes with one right before the track day and had not seen anything metal in the oil filters before this. I think the sustained heat and and vibration of driving on the track led to the casting flash breaking free.
Based on what I saw in the teardown, I probably could have put the engine back together as it was and ran it without issue, but I figure it'd be the perfect time to do some upgrades.
I spent a fair amount of time researching what it would take to hit 515-525whp on an LS3 and ended up with an estimate of around 8500. I almost pulled the trigger and started buying parts when I found out GM started selling a LS7 based LS427/570 that came semi-dressed and converted to a wet sump with a mild cam upgrade for 12.5K. If I did a basic bearing/gasket rebuild I could sell my LS3 for enough to get me the LS7 for about the same as the LS3 I was going to build. I ended up going this route as I could hit the 515-525whp target with the LS7 and have an engine way less high strung than what the LS3 would be to make those numbers. There's a lot more headroom on the LS7 for N/A power with quite a few hitting 580-600whp with heads and a big cam. Plus there's a lot fewer LS7 RX8s running around than LS3 powered ones.
I ordered the engine at the end of February 2021 and it arrived a few days later. Titanium Rods and Billet main caps
If I had been a smarter man I would have dropped the new engine in on a Saturday and and been driving by Monday. Unfortunately I'm not that man, and scope creep is a fatal flaw.
There were a lot of small things about my swap that I wasn't happy with. Nothing that made the previously completed swap bad, but it still bothered me.
Obvious stuff like the air intake placed above the passenger header, and radiator fans that ate up a ton of room in an already limited engine bay. But also smaller stuff like brake line routing, wiring that could be cleaner, and a fuel system that wasn't perfect.
I ended up spending the last 10 months doing a lot of little improvements that took way to long, but definitely make the final product better. Don't have many pictures of the stuff I did along the way; I was spending way more time than anticipated and was too focused on getting it done.
I ended up moving the radiator up and forward about and inch and changed the dual 12" fans to a single 16" spal brushless. The brushless fan is a huge improvement, not only does it eat up less room it is much quieter since it varies the fan speed based on coolant temp rather than on or off with the previous fans. It holds a steady ~180� at idle with the fan running at about 30%. I also changed the water pump to have a better route for the upper radiator hose and improved the heater line routing.
I rerouted the brake lines so they were more cleanly run and took up less space.
I replaced the plastic convoluted loom on the engine wiring harness with braided sleeve, and re-routed the harness under the dash to fit more neatly. I also added two fuse/relay boxes. One in the engine bay by the washer bottle to run key on power more neatly to stuff like the LS ECU, gauges and fan sensor. The second I put in the trunk to power the fuel pump.
I used GEP and Litlefuse modular power distribution boxes. They're great way to cleanly add relays and fuses and way way cheaper than a solid state PDM.
For the fuel system I ended up converting to a return system. Running the fuel lines was a major time sink due to the limited space. Getting everything run neatly while keeping it away from hot exhaust and getting it tucked away to ensure good ground clearance while working around the transmission mount took way too much effort. I ended up using 1/2" and 3/8" copper nickel tubing to run hard lines around the most difficult areas, and -8 an feed and -6 return. I used braided PTFE hose which is great for fuel lines, but stiff and a bit fiddly to assemble unless you spend a lot for convoluted braided PTFE.
To ensure fuel transfer and prevent fuel starvation under cornering I used a S1 fuel module. I have the return line split into two lines at the tank and have one line feeding a Radium venturi replacing the oem primary venturi which siphons fuel from the right hand tank and the other line feeding the oem secondary venturi located in the bottom of the S1 sump. I went with the S1 pump module as it has the room to fit a standard size pump rather than the S2 which require a compact pump. The S2 pump housing uses a filter/regulator that is restrictive with lots of choke points and small passages. If you eliminate the filter/regulator the module hat doesn't have molded relief and you still have to run the compact pump as the standard pump are too tall. I ended up running a DW300 for now, but I'll likely need a bit bigger pump if I go much over my target power level. It's also worth noting that the DW400 pump does not fit either the S1 or S2 pump housing; it's too tall to fit. I'll likely swap to the brushless DW440 pump if I need more fuel as it is shorter than even the DW300. I started to design a new sump I could 3D print that would allow the DW400 to sit at an angle instead of vertical, but held off for now.
I added three new gauges, oil pressure, temp and AFR. Previously I was using Torque Pro to view oil pressure from the OBD2, but my phone had died on my last track session and I only had the stock dummy gauge to keep track of it would have been nice to have the warning. I didn't like the options for gauge holders on the market so I ended up hiding the AFR in the glove box since it's mostly useful for datalogging and I have it tied into the computer. I 3D scanned a racing beat gauge holder with the intention of reworking it for two gauges instead of three as well as for better fit around my gauges, but that project is delayed for now as I was spending to much time on it. For now I modified the ash tray under the climate control to hold the gauges. I do like that I can close the cover and the gauges are hidden away. Word of warning do not buy the Ortizcustompods gauge holder, it looks nothing like the images provided, is made out of what looks and smells like bondo and does not fit even if you were to extensively modify it.
There's a lot of minor stuff I did like improving brackets I made previously, moving various parts around a few inches to fit better, changing some the the a/c wiring, changing to S2 front steering knuckles, adding arp wheel studs, replacing wheel bearings and lots of cleaning and painting.
Final task for now is to get a few hundred miles on it and do some bug squashing since I made quite a few major changes then get it tuned and call it done again
Although I did just get a Tig welder so making some headers and redoing the exhaust may be on my radar before too long.
Quick update:
Finally got the new engine tuned. Didn't end up hitting my hp goal; likely due to the tiny shorty headers and 2.5" exhaust.
Final numbers were 491whp/455wtq, probably could have crossed 500whp with a little more aggressive tuning, but I only have a few hundred miles on the engine and right now my focus is on drivability and getting all the other changes I made dialed in.
Good motivation to finish the longtube headers I'm building, That will get me to my target of ~520whp
The car is a bit terrifying now, traction in 1st-3rd is only a memory now; power comes on like a freight train above 3500rpm. Just needs another 100hp and it'll be perfect.
Time for the yearly update.
Got about 5k miles on the new engine, about 90% city commuting, still running strong. I still find it wild that with 3x the power and more than 5x the displacement I still get the same fuel mileage as the stock rotary.
I replaced the tires, and mostly fixed my traction issues. Who would have figured 6-year-old 340tw tires might not be sticky anymore. I went from a 275/35 to 295/30 RE-71RS. The fit is mostly fine with the 18x10 +43 wheels I have. I had to do some trimming on the plastic splash shields in the rear. The fronts fit without trimming, but it�s really close. The wheels a little undersized for the tire and I'll probably go with a 285 next time.
Because I can't leave things alone, I made some changes over the year.
Brakes
I worked on designing a brake upgrade kit to better handle the higher speeds the car is capable of. While the stock brakes are capable, mine quickly hit the limits on track. The Carbotech XP8s pads I've been using are great, but the stock rotors don't have enough thermal capacity and fluid boils quickly. The brakes were getting hot enough to set the rubber seals on the stock calipers on fire. Fabing some cooling ducts might have been enough, but I have a tendency towards overkill.
The goal was to upgrade front and rear using cheap and commonly available OEM components with no permanent modification on the RX8 side. I went through a few iterations in the design phase with different calipers and rotors. I designed the adapter brackets in Fusion 360, 3D printed a few test adapters, and used sendcutsend.com to have the final parts made.
The first design came about when I was told that 4th gen Camaro front caliper with S197 Mustang 355x32 Brembo package rotors would work without an adapter. However, that turned out not to be true. The mounting lugs on the caliper would need to be drilled and an eccentric m12 threaded sleeve pressed in to match the RX8 hub. The other option is to offset bore the caliper mounts on the RX8 hub to match the caliper lug spacing and enlarge the bore to fit the M14mm bolts the Camaro caliper uses. However, the piston size is way too big, so the time, effort, and cost are not worth it.
My second design used a Porsche 981.2 Cayman/Boxster radial mount caliper using S197 Mustang 336x30 non-Brembo package rotor. The caliper are a much better monoblock design, are cheap and easy to find, and have a piston size that matches the RX8 master cylinder. Unfortunately, due to the design of the rotor, the annulus is too narrow and Porsche brake pad overhangs a few MM at the bottom of the pad. If it weren't for that issue this caliper and rotor size combo would be a great cheap option for guys who track their cars. It doesn't add much if any weight over the stock brakes and adds a good amount of thermal mass and a bit more stopping power. The pic below was a mockup and in the caliper wasn't in the final position.
The final finished design uses FK8 Civic Type R calipers with S197 355x32mm Mustang Brembo rotors in the front. In the rear I kept the stock caliper to retain the parking brake and used 350x19mm 2014 Mustang GT500 rear rotors (there was only ~one year of GT500 that used this rotor.)
The Mustang rotors are almost bolt on, but the rotor register is ~1mm smaller ID so they must be machined to open it up a hair.
Stock front rotor on top of the new Mustang rotor
The adapter components were made from A36 steel. I could probably have made it from aluminum, but I'm more comfortable with steel.
The brackets, and some extra parts I cut for a Triumph Stag I'm working on
I did have to slightly clearance the Civic caliper mounting lugs to clear the knuckle, but nowhere near as much as most retrofits I've seen. Fit and clearance on the front was excellent on the first try thanks to being able to test iteration with 3D printed prototypes.
I did have to make new braided brake lines for the front to adapt to the Civic caliper. It's simple to do using 3an brake lines with the appropriate adapters.
The caliper is flipped in these pictures since this was a test fit.
When I tested the rear rotor with the caliper adapter, I found I needed to move the caliper outboard by 2mm. I was limited to the dimensional steel sizes available on sendcutsend and the 3/8" thick rear adapter needs a spacer between the caliper adapter and hub to center the caliper on the rotor.
Because I didn't spend enough time iterating with 3D printed prototypes, I ended up having to make a second order to have spacers made.
Sendcutsend has a minimum order of $30 and it would cost the same no matter what material I used so I ended up having the spacers made from titanium. I had to stack two spacers to get the correct thickness so I tiged the together to make install easier.
Stock rear rotor compared to new GT500 rotor
Running the design through a couple calculators shows a similar balance to stock, but with a bit more rear bias. I've put a couple thousand miles on it so far. The pedal is very close to stock feel but slightly softer with a bit more travel. I like it as it makes modulation a little easier.
Down the road I may buy an off the shelf set of two-piece front rotors to drop a little weight.
Depending on how this setup works I may end up re-designing a new rear set-up to use a 4-piston caliper with a separate mechanical parking brake caliper, but the current setup is more than adequate.
It ended up being cheap, the final cost front and rear was $867. That includes the calipers, rotors, adapters, brake lines and hardware. Not included in the cost was a set of front Gloc R8 pads and some titanium brake shims.
Original Brakes
Upgraded Brakes
Exhaust
I finally addressed something I always hated about this car, the headers. The fit wasn't that great as the collector would rub on the steering shaft, and they were close to heat sensitive components. Working around them was a pain, and they were difficult to remove and install if I needed the space to work on something. Not a common occurrence, but a massive pain.
They were also a big performance bottle neck. The primary diameter was only 1 5/8" going into a 2" collector, which was undersized even on my old LS3. Adding .8 liters more displacement, better flowing heads and a higher duration cam made them even more of a restriction.
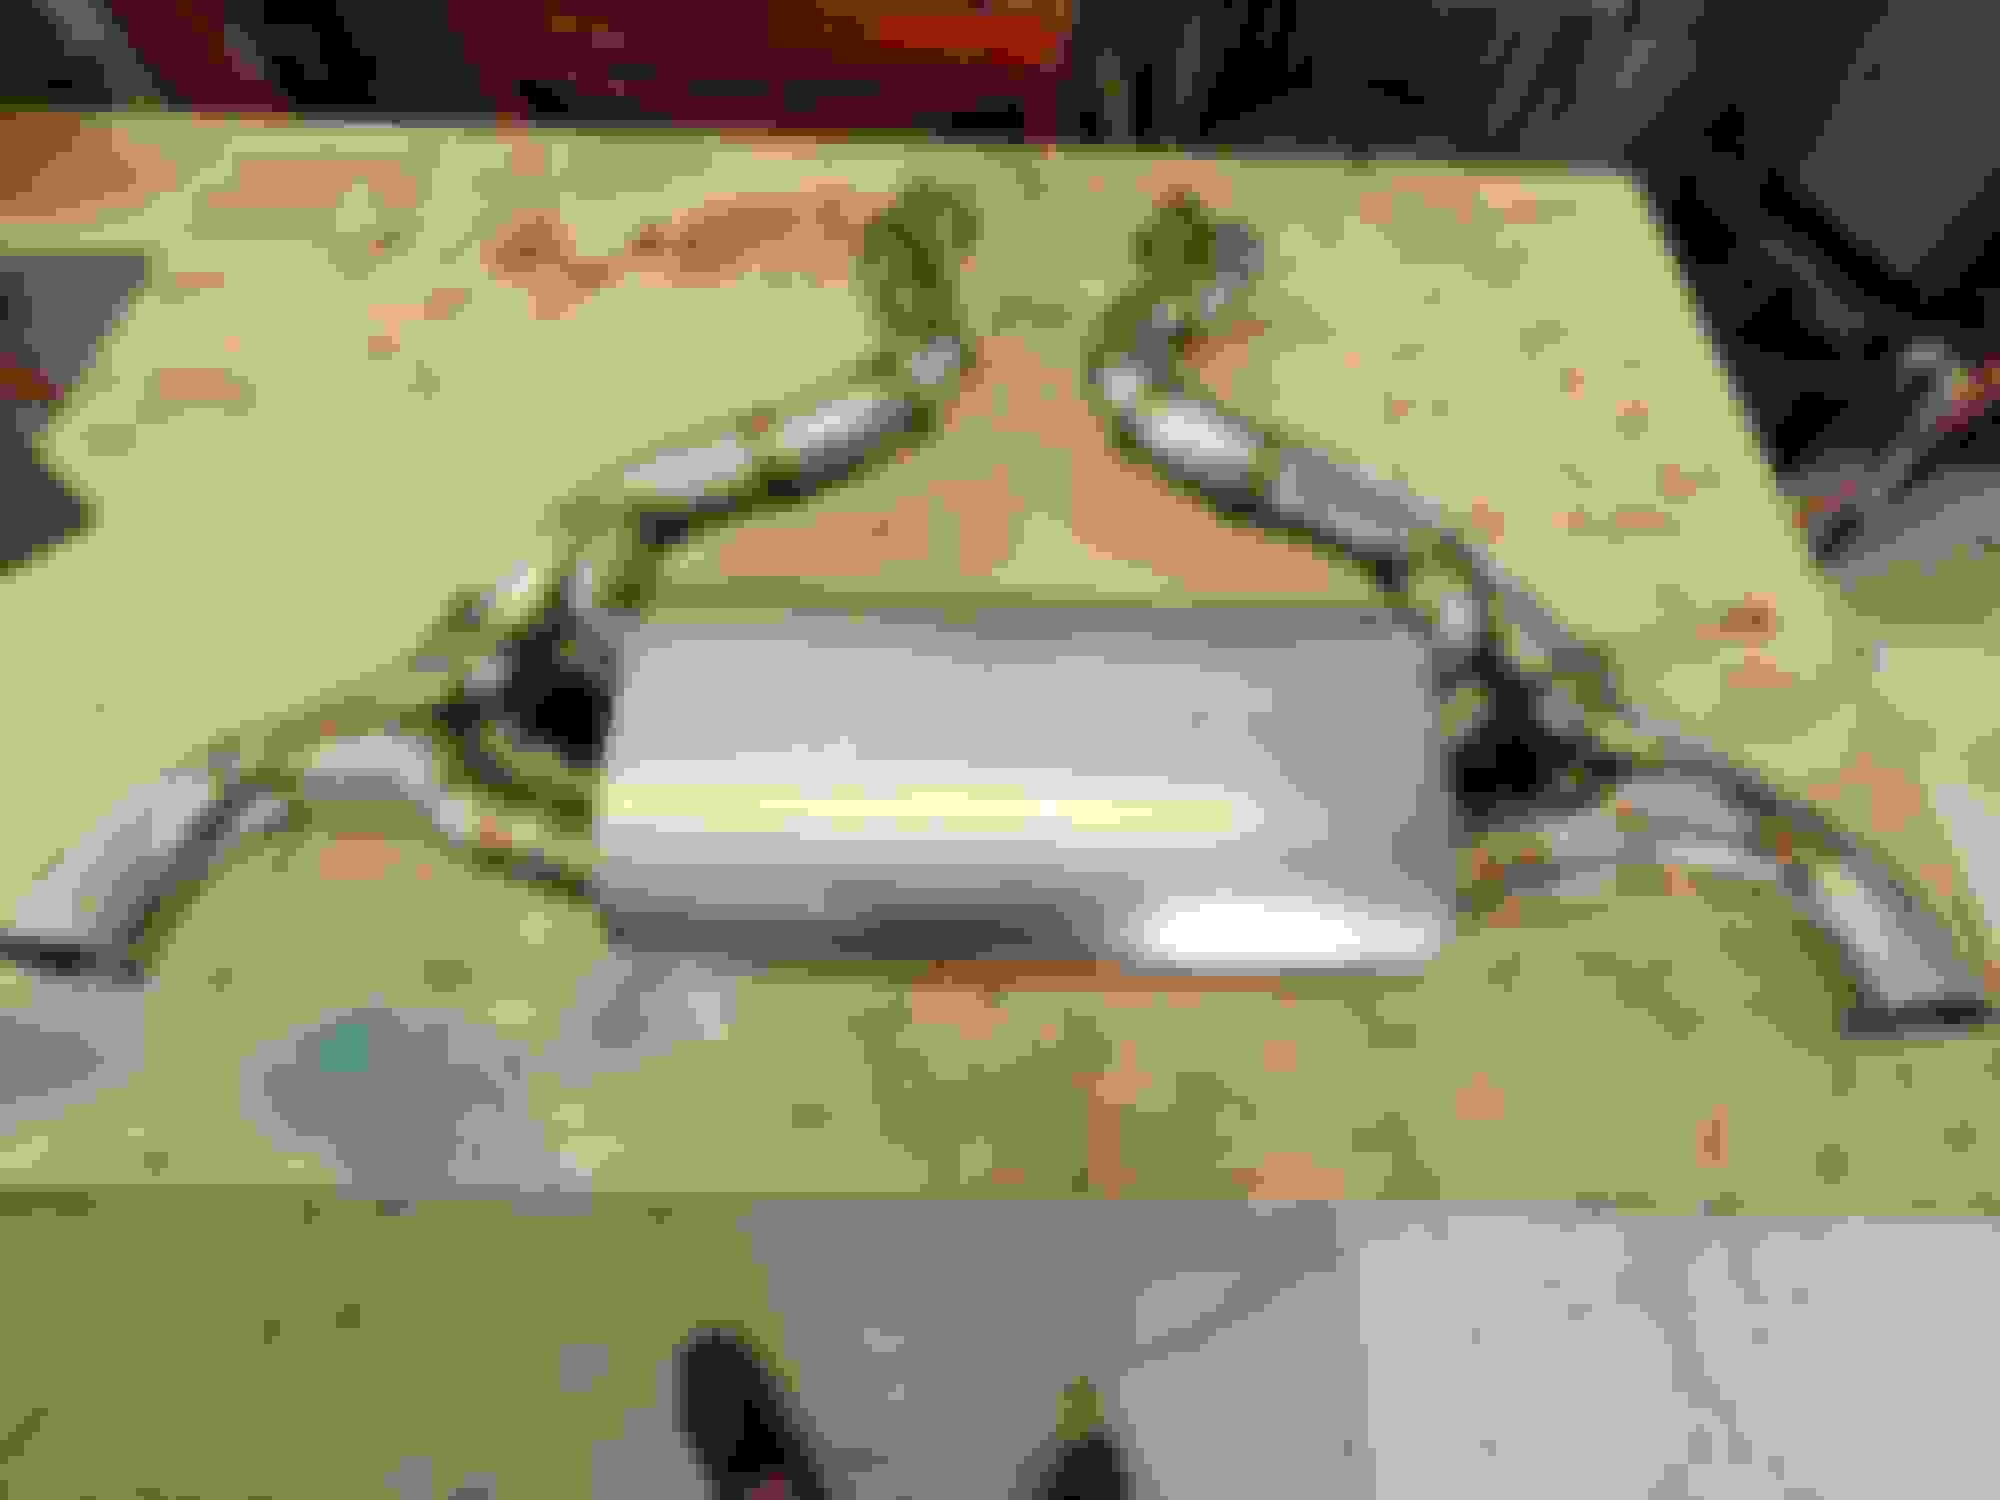
I've tried to fit dozens of off the shelf long tube headers over the years, but nothing would fit without extensive modification. I finally threw in the towel on getting something off the shelf to fit and after some looking around, I got connected with a talented fabricator. I had him build me a custom set of 2" primary long tubes headers, and a new 3" exhaust to replace the 2.5" system I had. He ended up blowing my expectations out of the water and the result was outstanding. Even though they are way bigger than the shorties they are easier to remove and install.
One of the things I wanted to retain out of the old exhaust system was how quiet it was. It wasn't any louder than a stock Corvette or Camaro. It wasn't uncommon for people to not realize it was swapped until they looked under the hood. A big reason it was so quiet is the muffler I used. However, I couldn't get one to match my new 3" exhaust as the muffler was made by Borla specifically for V8R for their NC Miata exhaust kit and only in 2.5" tubing.
If I reused my old muffler to keep the car quiet, it would be a big bottle neck and after spending so much time and money on the rest of the system.
What I came up with was reusing the muffler but configured to allow it to be completely bypassed by a set of electronic exhaust valves. With the valves closed the exhaust is forced to cross over through the muffler and out the tips on the opposite side and it�s as quiet as before.
With the valves open the exhaust is no longer forced to cross over through the muffler and goes straight out the tips. The effective exhaust length shortens by about 4ft when the valves are open. I finished it off with a set of 4� carbon and stainless tips.
With the valves open and the muffler bypassed, it's not as loud as I expected which is great. I'm guessing that the muffler is acting like a resonating chamber and absorbing some of the intensity. While it's obvious at idle when the valves are open, it's hard to tell if they are open or closed when you're cruising on the highway. Even with the windows up the loudest thing in the car is wind noise.
It's lot louder when you get on the throttle but sounds pretty good.
I controlled the valves using an arduino and a L298N H-bridge along with repurposing the DSC switch to control the state change. The valves are quick and take less than a second to open or close.
I�m planning on incorporating some smart features like geofencing to automatically close the cutouts when I enter my neighborhood or other designated quiet areas. Connecting to Canbus would allow things like automatically open based on throttle position or RPM.
Transmission and Clutch
The last change was swapping the transmission. I've been using an upgraded T56 out of a Pontiac GTO. It worked well, but it had its drawbacks. The gear ratios are not that great with a short first and weird ratio spacing. The shifting was notchy and a little temperamental even after I had it rebuilt and upgraded.
I came across a brand new T56 Magnum F for a really good price and snapped it up. It's almost a bolt in swap but requires the shifter cup to be changed and swapping the yoke on the driveshaft to a sonax 31 spline yoke. I reused the GTO shifter assembly of my old transmission. The shifting is substantially better, the gear ratios are a much better fit for my engine, and it's rated to handle more torque. Makes driving much more pleasant.
I also took the opportunity to change the clutch to something better. I had a Diamond Stage 2 clutch paired with a lightweight flywheel and it was adequate for the LS3, but it wasn't happy with the extra power of the LS7. It also had a heavy pedal, an inconsistent engagement, and chattered badly. Turns out I was going to have to replace it soon anyways as it was wearing unevenly. The organic side had little wear, but the ceramic side was tapered towards the center hub, and it had been chewing away at the pressure plate.
I ended up going with a Monster organic twin disk with their lightweight billet flywheel. It feels like an OEM clutch, the pedal force is light without being too light, and the engagement is super smooth. It also holds way more power than my old clutch. Big improvement on drivability
That's the bulk of the updates for the year.
I'm not sure what next year will bring. There are still a few things I'd like to do, but it's pretty much in its final state.
I've been on the fence about selling it but haven't decided yet. I've got a new project car that's way more in depth that's ready to move out of the planning stage. Selling this one would free up some funds and reduce the temptation to keep tinkering with this one. But it'll take a couple years to finish so would be nice to keep this one around to play with.
Love the progress! I've had very good luck with Monster Clutch on my LS cars. My stock LS7 clutch started doing what most do; stop releasing at high RPMs. The Monster I put in never gave me any issues.
Did you have to cut the transmission tunnel any to fit the Magnum? Which gear ratio options did you get?
I went with the close ratio option 2.66, 1.78, 1.30, 1:1, .80, .63. The GTO transmission I had is equivalent to the wide ratio which has shorter 1st, 2nd, and 3rd. 1st and 2nd gear were too short and it was hard to keep traction, first gear was useless over half throttle. First is still tricky, but manageable, and second will haze the tires, but overall it's much better. The only downside to the new ratios is doing a pull to redline in any gear other than 1st is getting into trip to jail territory.
No modification to the chassis was required, just unbolted the GTO T56 and bolted on the Magnum F. I did have to modify the front case of the transmission near where the bell housing bolts on. The Magnum F has a provision for an external slave cyl and the casting for it protrudes a little more than the old trans. Wouldn't be an issue on most applications, but my new headers are close to the trans at that spot. Difference was about 2-3mm, and was easy to clearance with a flap wheel.


 07-31-2020, 01:07 PM