When you click on links to various merchants on this site and make a purchase, this can result in this site earning a commission. Affiliate programs and affiliations include, but are not limited to, the eBay Partner Network.
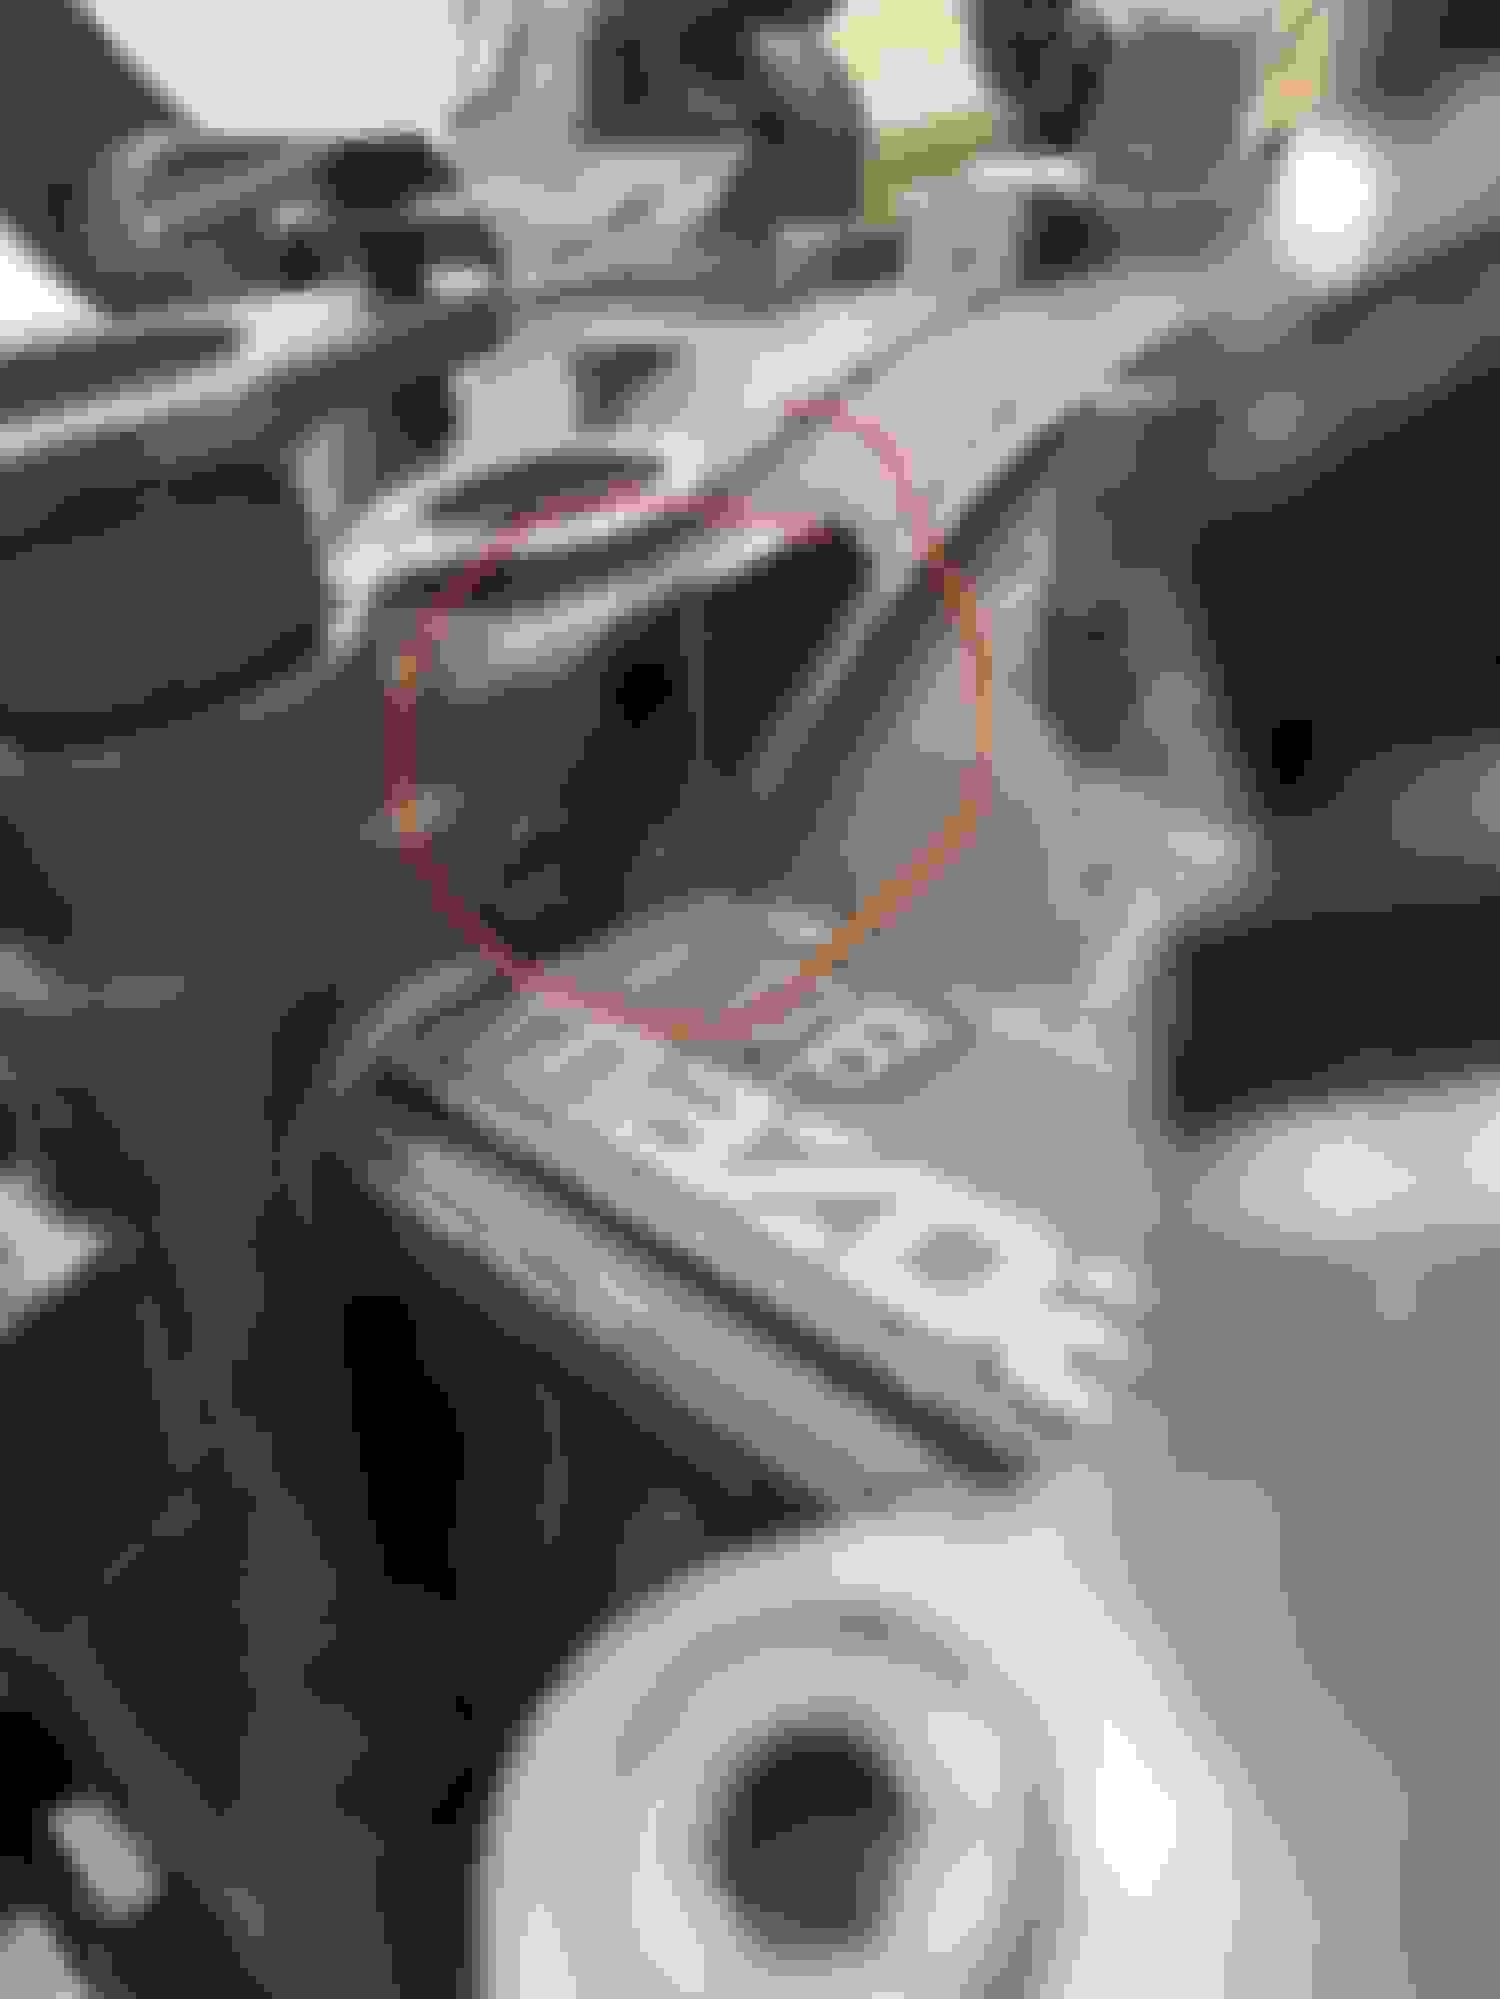
Question for anyone familiar with different variations of the REW (or potentially S4 or S5 engines). I started noticing a minor oil leak once I started introducing boost and driving the car a little harder on this engine. I kept finding a pool of oil on top of my rear housing right above the spark plugs and was under the impression it was maybe a small leak from my oil filter relocation adapter on the rear iron or the oil pressure sensor I have plumbed into it via AN fittings. But not matter now much oil pressure I built up by revving the engine I could never see any damn leaks while I had my head under the hood. I also noticed my catch can vented from my oil fill neck was always completely dry. Well I've found the culprit:
I've also noticed on my spare engine I have in the garage, that the center iron does not have this hole. Is this a variation of the REW that had a breather hole in this location? Or is this iron from a non-REW engine all together?
TIA.
EDIT: So found out this is an iron from a Cosmo 13B/20B. Will compare to my REW center plate I have in the garage once I tear this engine down to see if there is any significant differences.
Last edited by RotaryMachineRx; 12-21-2022 at 06:02 PM.
So did some more homework. It is not a Cosmo plate as mentioned above but is nearly identical apart from 2 differences. The Cosmo primary ports are a LOT taller; and the Cosmo center iron has spots for engine mounts on the side of the iron.
Seems as though some REW irons (likely earlier ones) have a brass nipple in that hole similar to Cosmo/FC center irons for crank case ventilation, and some don�t have a hole/nipple at all.
Cosmo REW My center iron in question.
Last edited by RotaryMachineRx; 12-21-2022 at 11:13 PM.
So you just leave the hole and deal with seepage? Or block it and your catch should work properly?
Sorry to hear that you have to pull the engine and rebuild. Hopefully this is the only time for the next couple of years.
How's your baby doing? Boy or Girl? What name did you choose?
Mine are 8 and 6 now, Isaac and Natalie. My girl has more interest in my race car (my REW swap project) than my son at this point.
My plan is to tap it and thread a plug into it when I have the engine apart (assuming there isn't any iron damage, still don't know the cause of the low compression on R2). It's way too small of a hole for crank case venting on a single turbo REW so to date its just been an annoying small, intermittent oil leak that I couldn't pinpoint until the engine came out. Doing a bit more reading it sounds like Pre '95 irons have this hole with a brass nipple (where post '95 irons don't have the vent at all) and is plumbed to the intake or UIM. My oil fill neck has two -6AN vents on it, I currently have one line to a catch can with the other capped so that offers much more crank case venting than this hole. My plan is to run another crank vent from the stock rear turbo oil return (which is currently blocked) to my catch can as well, so the crack case is venting from both sides of the engine. I have a nice BNIB vibrant catch can I bought like 2 years ago that has two -10AN inlets on it.... its a big can so I haven't found room to mount it anywhere yet but my future plan is to get a smaller washer fluid bottle and fab up a quick bracket to hold that along with the catch can up in that area.
I should mention that the hole on the back of the iron is ported directly into the oil fill neck pedestal. FC's and Cosmo irons vent from here rather than from the oil fill neck which I believe is where newer FD's vent from the factory after they deleted the small vent hole shown above.
We had a Boy (Holden) and everything is going well; my daughter (Mackenzie) will be 3 in April and it's funny because she is absolutely in love with Dad's car too. Her favorite color is yellow because of it! My boy is obviously too young to have an opinion yet lol.
Last edited by RotaryMachineRx; 12-22-2022 at 11:42 AM.
That sounds fun. I imagine its another level once the care is running and driving. I can't wait for that day. I'm real close to buying a welder and teaching myself to weld then it will be time for the turbo exhaust manifold/down pipe and other exhaust pieces so I can get all that put together. It looks like my front and rear bash bar from street faction is coming in the mail tomorrow.
Originally Posted by RotaryMachineRx
My plan is to tap it and thread a plug into it when I have the engine apart (assuming there isn't any iron damage, still don't know the cause of the low compression on R2). It's way too small of a hole for crank case venting on a single turbo REW so to date its just been an annoying small, intermittent oil leak that I couldn't pinpoint until the engine came out. Doing a bit more reading it sounds like Pre '95 irons have this hole with a brass nipple (where post '95 irons don't have the vent at all) and is plumbed to the intake or UIM. My oil fill neck has two -6AN vents on it, I currently have one line to a catch can with the other capped so that offers much more crank case venting than this hole. My plan is to run another crank vent from the stock rear turbo oil return (which is currently blocked) to my catch can as well, so the crack case is venting from both sides of the engine. I have a nice BNIB vibrant catch can I bought like 2 years ago that has two -10AN inlets on it.... its a big can so I haven't found room to mount it anywhere yet but my future plan is to get a smaller washer fluid bottle and fab up a quick bracket to hold that along with the catch can up in that area.
I should mention that the hole on the back of the iron is ported directly into the oil fill neck pedestal. FC's and Cosmo irons vent from here rather than from the oil fill neck which I believe is where newer FD's vent from the factory after they deleted the small vent hole shown above.
We had a Boy (Holden) and everything is going well; my daughter (Mackenzie) will be 3 in April and it's funny because she is absolutely in love with Dad's car too. Her favorite color is yellow because of it! My boy is obviously too young to have an opinion yet lol.
Upon further investigation I'm seeing some wear/warpage of the rotor 2 Apex seals (all 3 look nearly identical):
Not sure if this is due to a detonation event or due to EGT's getting too high in Rotor 2. Coolant seals all look good and rotors don't show any sign of detonation but are still covered in carbon as I haven't cleaned them up yet for a more in-depth look. The 3rd theory in my mind is just a pure lack of lubrication. Something that sort of ties all of these thoughts together could be a clogged injector, maybe I was leaning out rotor 2 while rotor 1 was running too rich averaging between the two for my target AFR. Spark plugs looked mostly the same coming out of both rotors though.
Long story short, right now I know why I had the exact same low compression on all 3 faces of Rotor 2 but am not sure what caused the damage.
So far for the rebuild I have picked up EGT probes and a standalone gauge, ordered an Xcessive LIM which is likely a couple months backordered, new E&J 2 piece Apex seals, and a serial cable to feed my Adaptronic with the WB info from my AEM UEGO rather than the known crappy Adaptronic internal WB module. It's likely all the seal springs and corner seals can be reused, still undecided if I will reuse side seals or get new ones and hand grind them down for clearance. As stated will get the rotor housing looked at to see if it salvageable. If not I have two spare housings from the engine I picked up earlier this year. I'll steal one from there that would require exhaust porting to match the front housing.
Another few shots of these Apex seals. Rotor 2 seals are fairly warped in a a slanted pattern, all 3 being nearly identical when compared to the Rotor 1 seals where I still had 100+ PSI of compression. Pretty tough one for me to fully explain at this time:
Rotor 2 seals sandwiched between Rotor 1 seals Rotor 2 seal in front of Rotor 1 seal Rotor 2 on top of Rotor 1 Seal Top: Rotor 1 Bottom: Rotor 2
Holy **** that is weird! Judging by the lack of excessive-directional wear patterns on the rear rotor seals, it looks like this could have been like that from RA? Damn now I have to check my super seals. Not something I'd want to see.
@TeamRX8 Have you seen this before? Your lack of enthusiasm tells me you have.
not a lack of enthusiasm, just what I was suspecting might be the cause previously:
Originally Posted by TeamRX8
there are a few people on RX7Club that swear the RA apex seals will always warp, so even if they look ok through the exhaust port you may not be able to know until pulling it apart and placing them on a precision straight edge.
.
there are a few people on RX7Club that swear the RA apex seals will always warp, so even if they look ok through the exhaust port you may not be able to know until pulling it apart and placing them on a precision straight edge.
.
Luckily I have the E&J Apex measuring tool/precision straight edge on the way with my Apex seals..... not that its really required, my 2ft level was enough to see it.
I guess I am just having hard time understanding how they warped like this to result in that much wear. Or am I missing something?
Honestly I'm in the same situation, it doesn't look like there is enough wear on the top of the seal to account for the size difference. There is definitely wear, but a few good mm's of wear?? It almost looks like they shrunk in the washing machine rather than wore away...... so I'm not sure if that's indication of potentially too high of EGT's, that somehow didn't affect the coolant seals in any way or show any major differences between front and rear spark plugs or if maybe they were that way from the beginning. Also weird that I had such amazing compression on that rotor even after 1500kms of break in.
Certainly I could never state that I'm experienced in analyzing a torn down engine, but really having a hard time pinpointing the cause lol.
is this a different set of apex seals than the prior engine?
.
Same brand, not the seals that came out of the old engine though....... at least not supposed to be; but of course I did not build the engine so what happens behind closed doors....... I'd like to believe the engine builder wouldn't pull something like that off though.
Correct, taking fate into my own hands on this one and building it myself. Sick of speculating on other peoples work whether it deserves any blame or not. I'll take the blame and lessons associated with any mistakes made doing it myself from now on....... plus I'm finding the process to be quite enjoyable so far.
Correct, taking fate into my own hands on this one and building it myself. Sick of speculating on other peoples work whether it deserves any blame or not. I'll take the blame and lessons associated with any mistakes made doing it myself from now on....... plus I'm finding the process to be quite enjoyable so far.
I'm right there with you. Aside from tuning and professional welding I will figure out how to do it myself. With the help of a local rotary mechanic I built my current engine with the intention of not going all out until all the kinks are worked out.
Until I actually start rebuilding my engine I likely won't post much here. There has been some healthy discussion in the link above about the details of this failed engine over on Rx7Club.
Engine is currently at REC in Calgary for clean up and some machine work. Other than that I have a new set of Turblown studs, E&J Apex seals, EGT gauge/probes, and a serial cable to feed my AEM UEGO to the Adaptronic rather than use the crap internal wideband all sitting on my garage bench. Last pieces of the puzzle are the Xcessive LIM I ordered through IR Performance that is currently on backorder as well as new rotor seals/springs and an overhaul kit that I will pick up from REC next month after I let my bank account recuperate a little .
Odds and Ends update. Engine received back from REC. After clean up of everything I got lucky and it was all salvageable, rotor housing was cleaned up by the previous builder for me (maybe honed, I'm not sure of his technique) free of charge prior to dropping engine off with REC. It was determined at REC that the rear iron needed to be lapped. While I had everything there I decided to get dynamic balancing and a race clearance done for peace of mind. Only thing left to rebuild now is an overhaul kit and planning to buy all new rotor seals and oil control rings. Waiting on my Xcessive LIM ordered at the beginning of January as well. This will need to be trimmed/shaved down on the outside of the front runner for my compressor housing to clear but my understanding is that the casting is left quite thick around these runners so they can be ported if desired.
Engine Photos with lapped rear iron:
Rotor Housing #2 how it came out of engine:
Rotor Housing #2 after clean-up:
Last edited by RotaryMachineRx; 02-21-2023 at 10:51 AM.
ALSO, as mentioned previously I'm pulling a serial cable from my UEGO AFR gauge to Adaptronic to eliminate using the internal WB module. Started doing this last night along with pulling power and ground wires over to my glove box for my stand-alone EGT gauge (forgot to grab pics of the EGT work so I will update this post after I finish this tonight).
4 ft Innovate Molex Serial Cable run from Adaptronic to near washer bottle area:
Cut the Molex end off of the Innovate cable. Didn't realize this prior but the 4 wires inside the cable are all 26awg (tiny!). So what I did was strip the sheathing, left the white wire extra long (white wire from Innovate cable needs to splice to the blue serial cable on the AEM gauges) then trim the other 3 wires back to the same length as the sheathing. I then folded the white 26awg wire back on itself to make it twice as thick then crimped it into the smallest crimps I could find. This fortunately passed the pull test so I don't foresee any issues here. I bought the crimps that also have the heat shrink built into them to ensure they are water tight as this crimp will be under the hood. I was then able to shrink this around the sheathing of the entire innovate cable. All I have left to finish this up is grab some 22 or 20awg wire and pull this from the washer bottle area, behind my glove box, and up to the serial cable on my UEGO located in my Lotek gauge pod on the center of the dash:
Can see from my previous gauge install from when I boosted the Renesis back in 2010 that the blue serial, and white analogue output wires from my UEGO were left nicely isolated for future use:
Last edited by RotaryMachineRx; 02-21-2023 at 10:56 AM.
 12-21-2022, 05:42 PM


 .
.