When you click on links to various merchants on this site and make a purchase, this can result in this site earning a commission. Affiliate programs and affiliations include, but are not limited to, the eBay Partner Network.
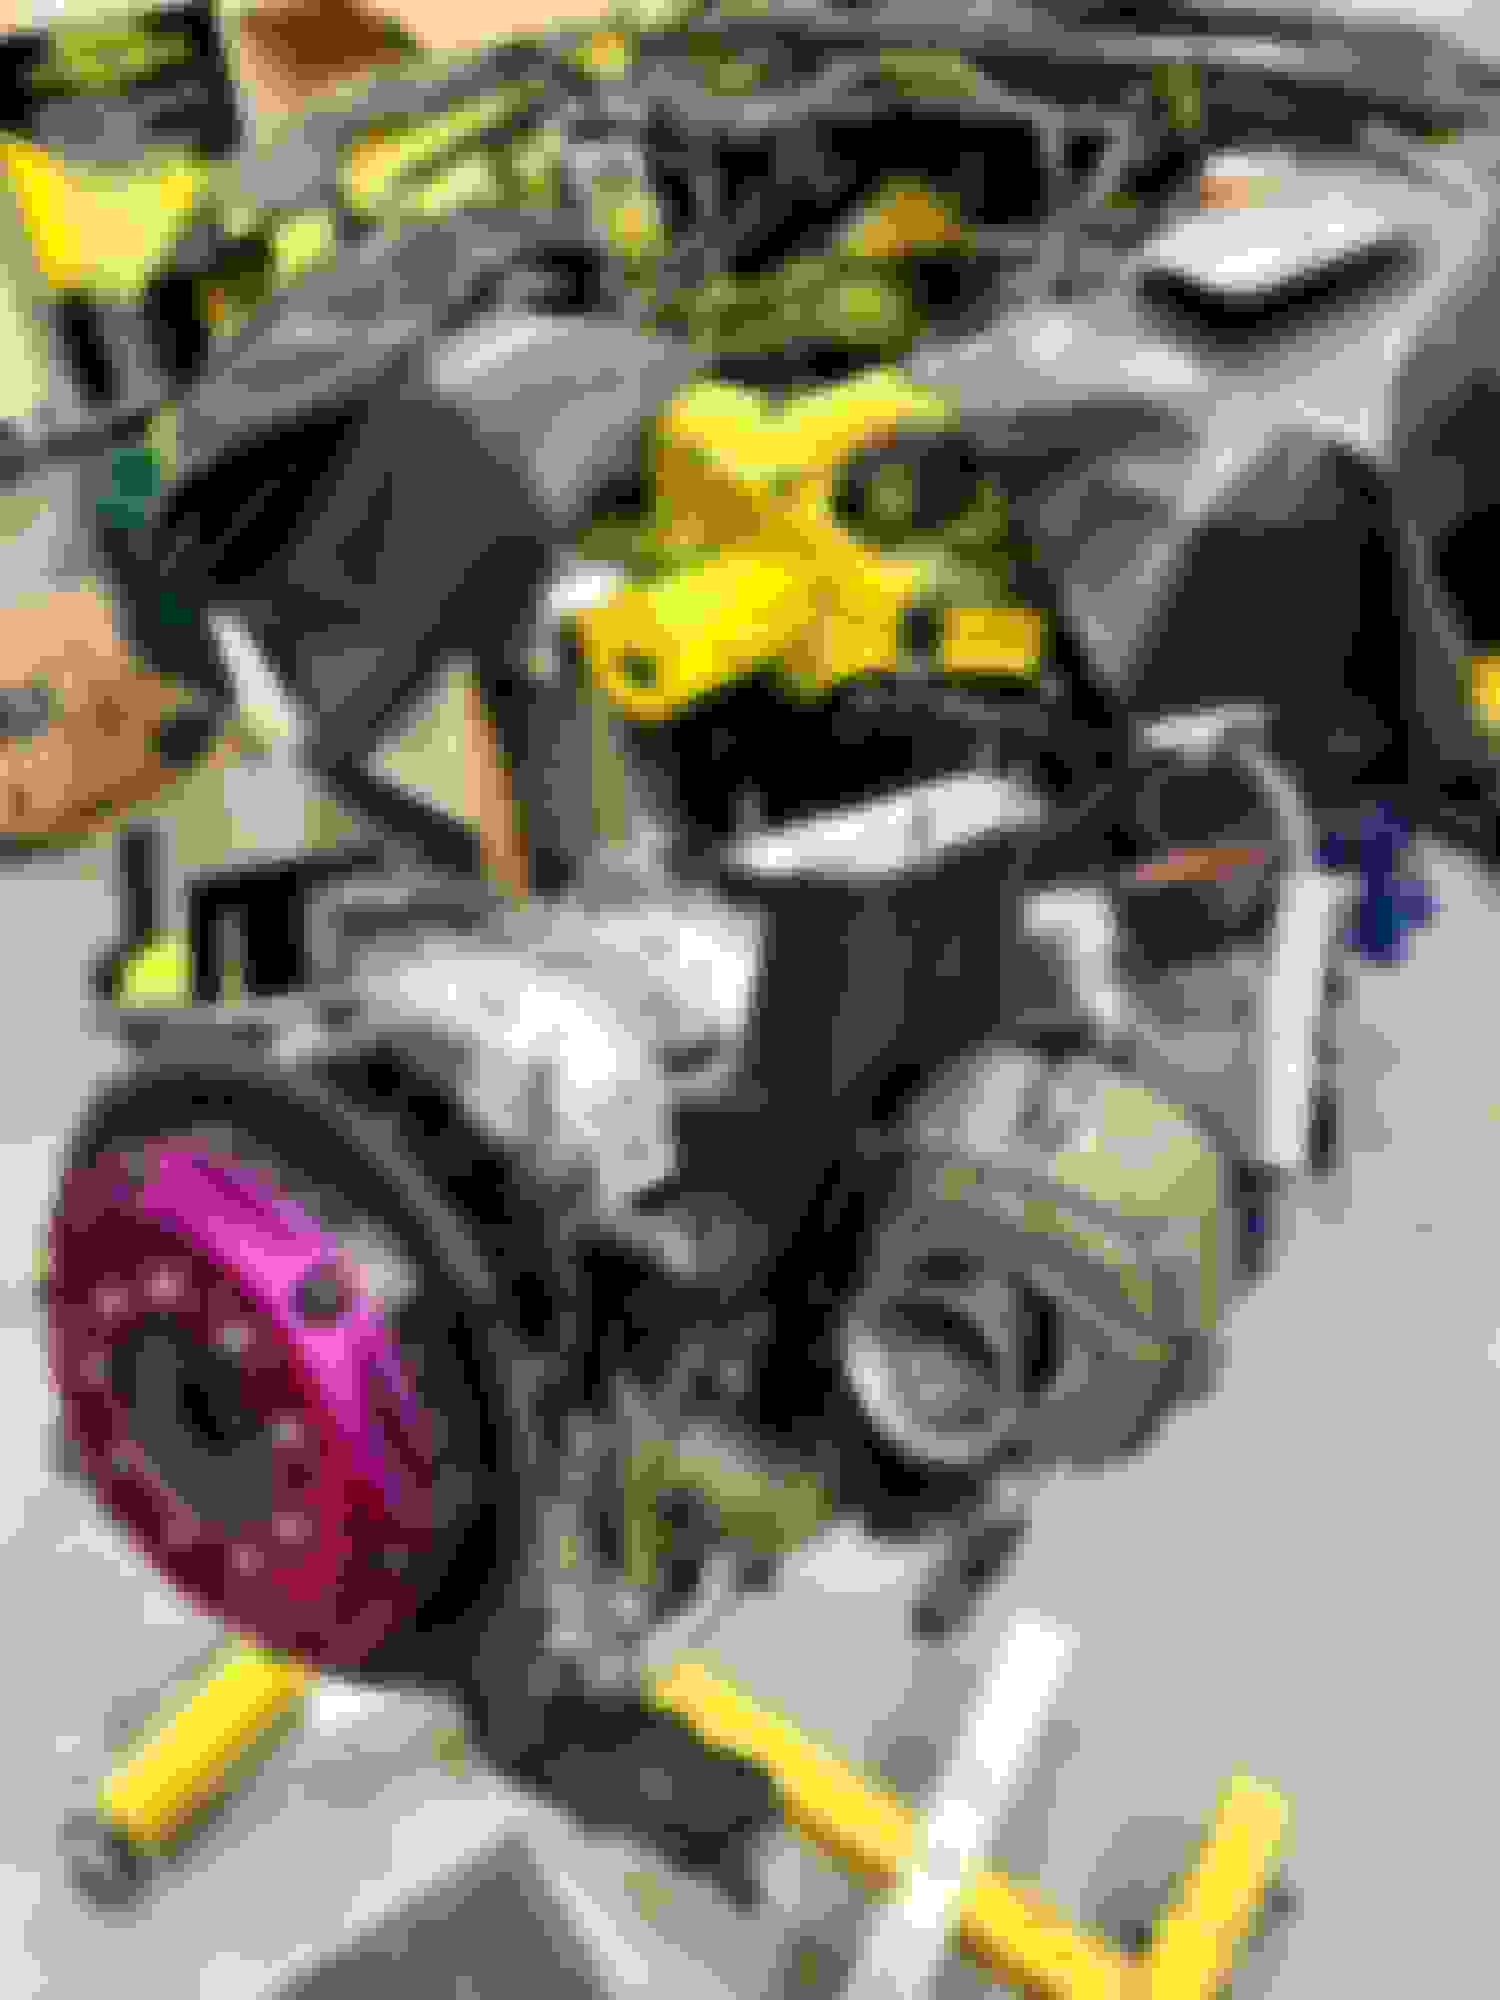
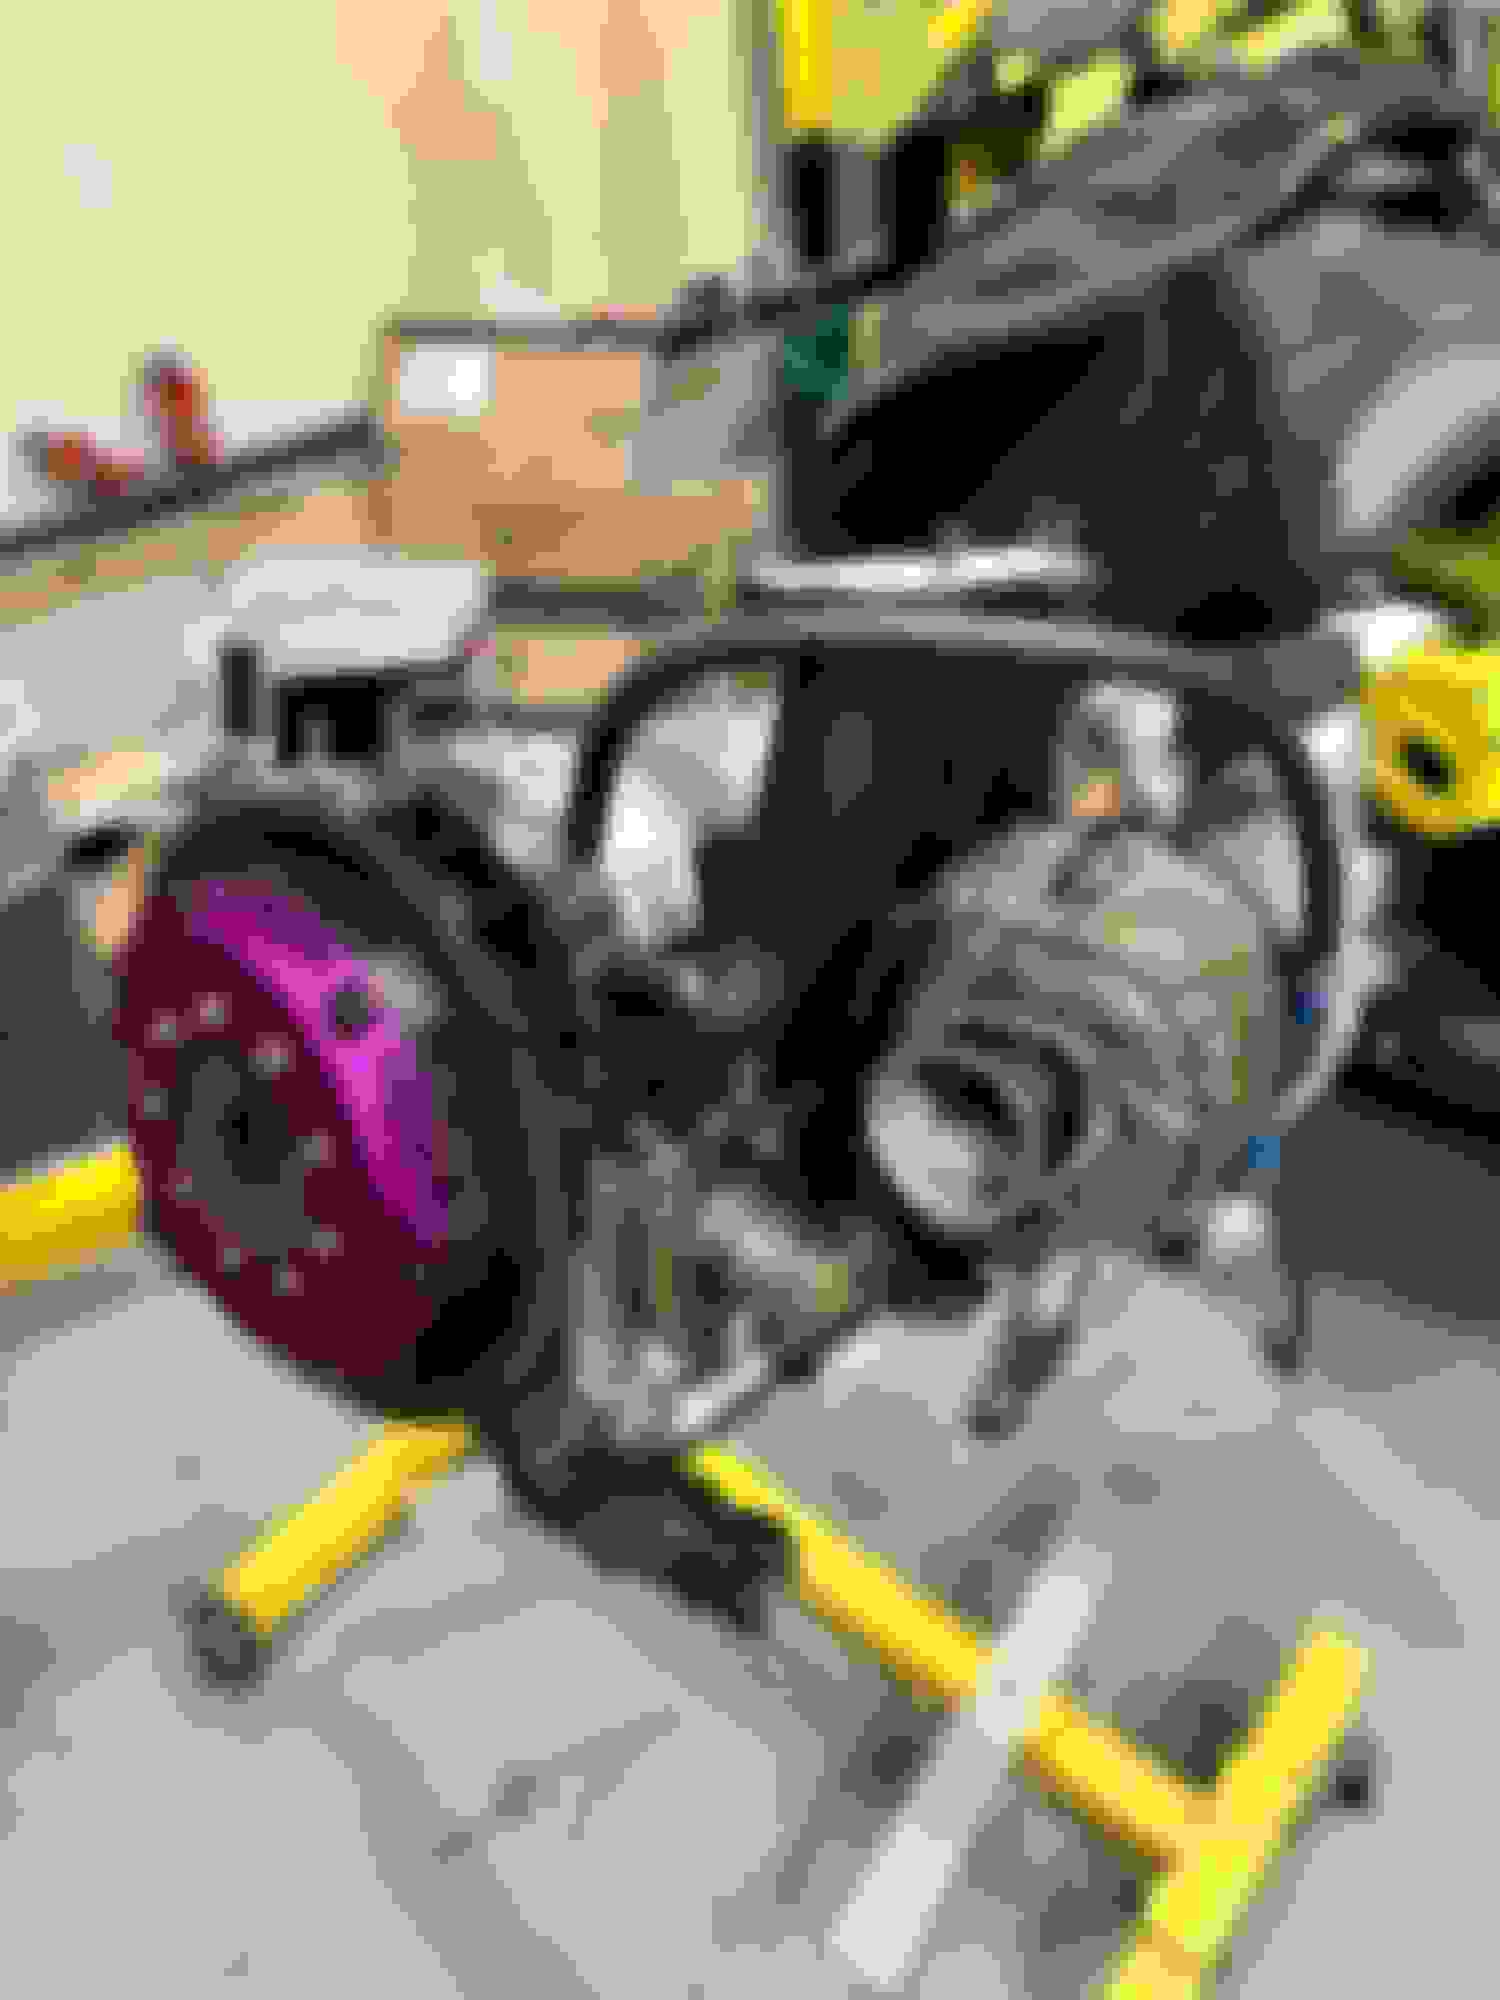
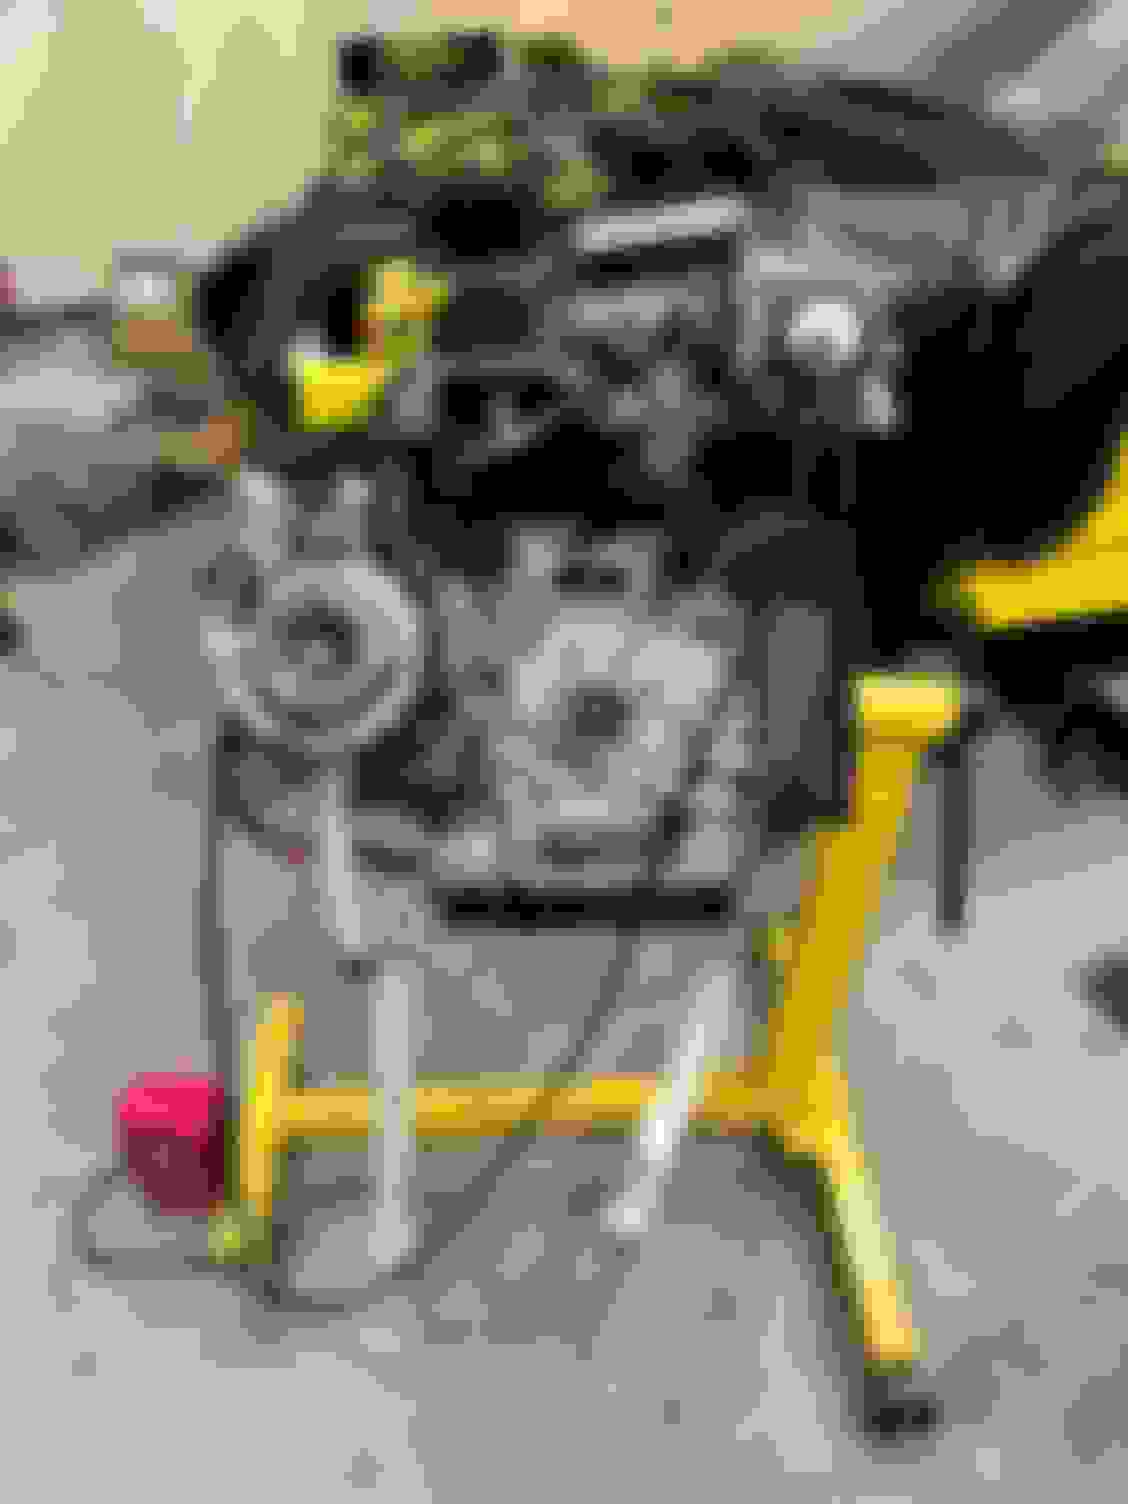
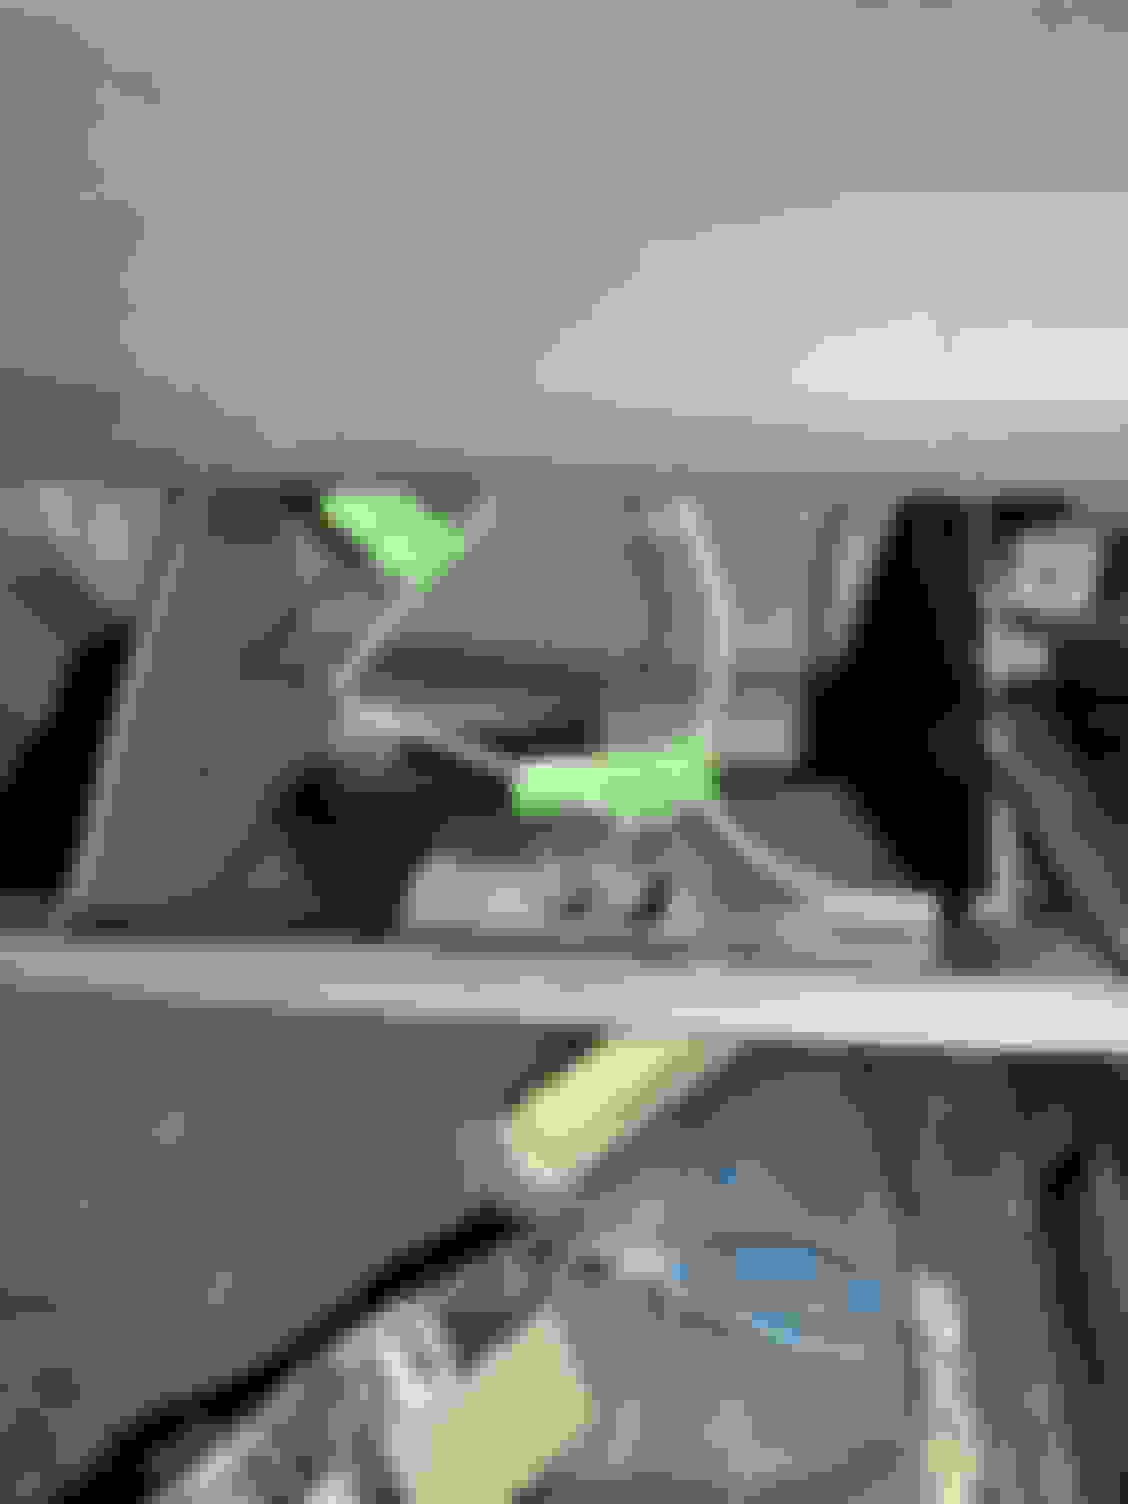
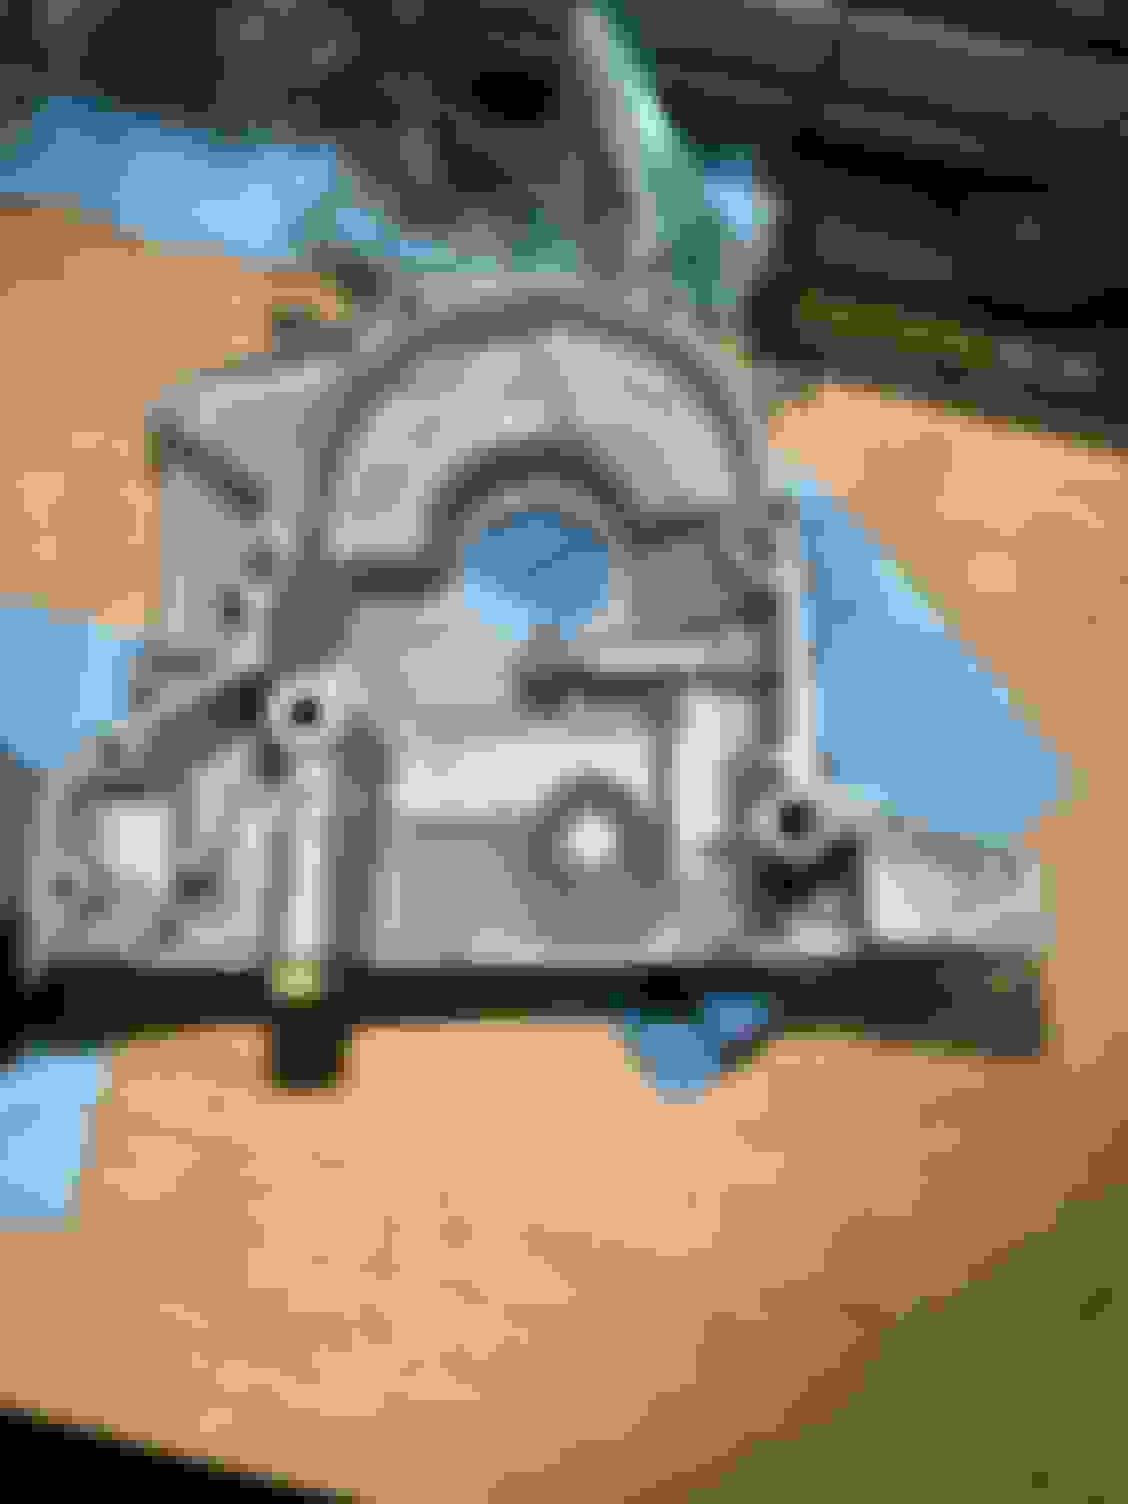
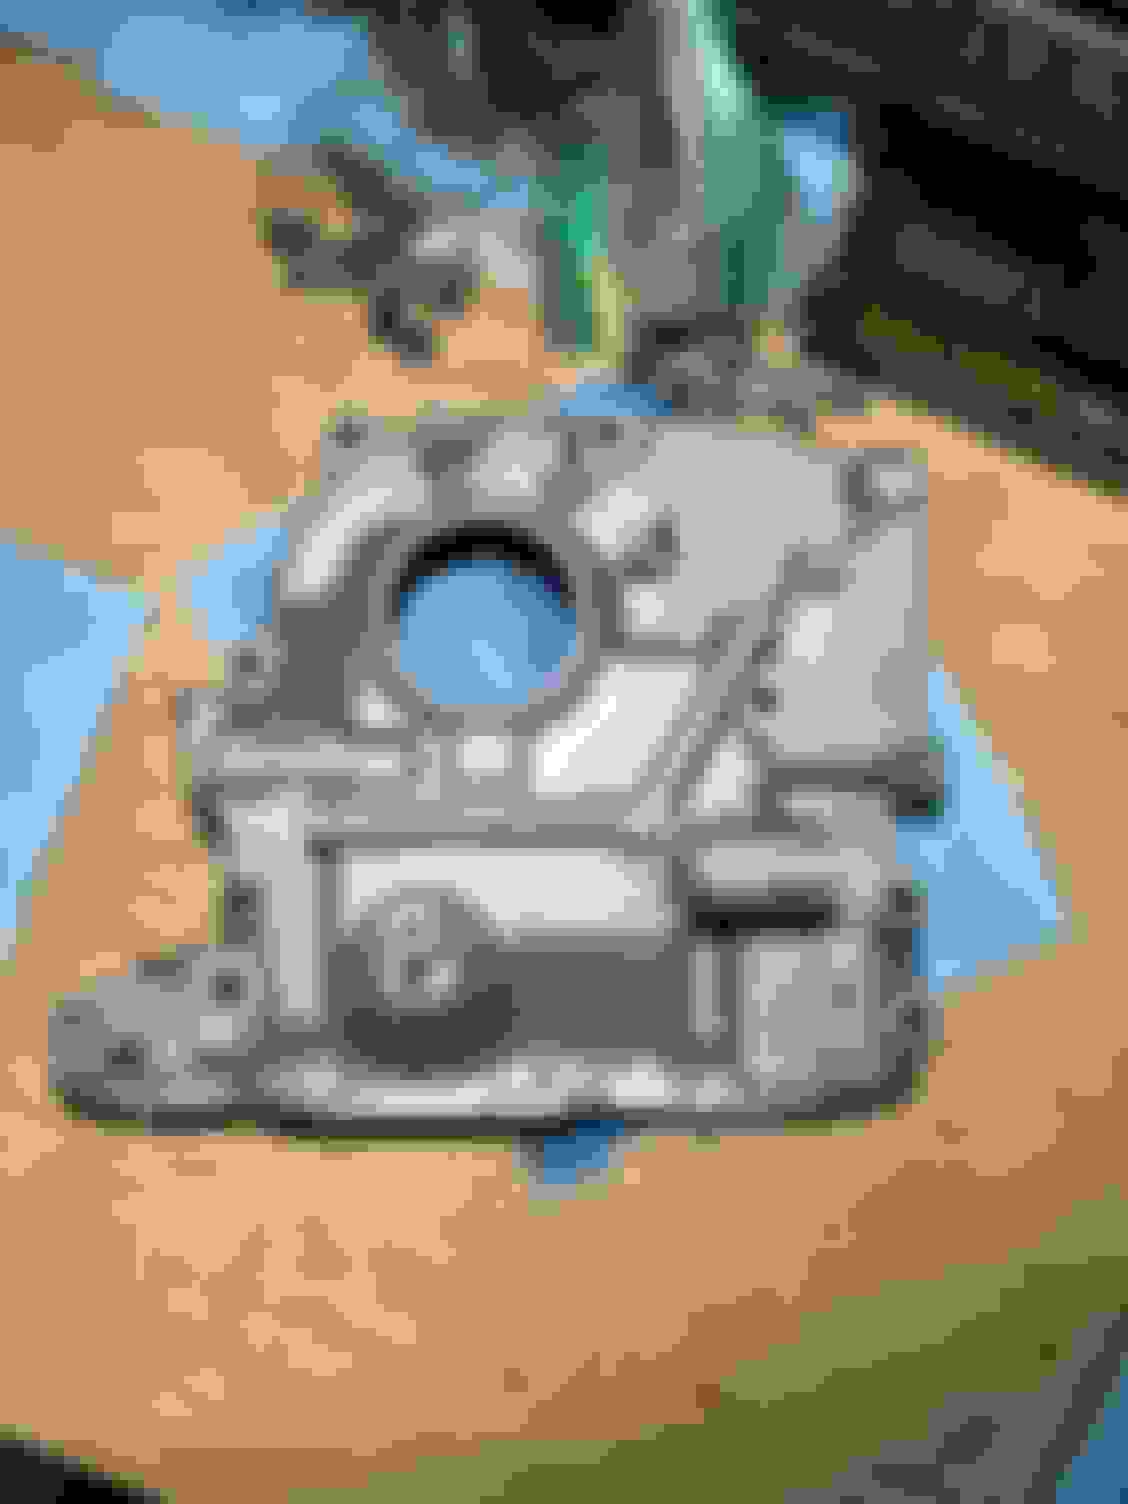
Finished up the serial cable connection to my Adaptronic and getting EGT gauge powered last night. No issues there, after a quick test EGT gauge has switched power and Eugene is displaying the same AFR as my AEM gauge. Now just need to run my probe wires to the gauge in glovebox and set the gauge up. Anyone know of a better spot to pull my stainless braided probe lines through passenger firewall other than where I'm currently running my Adaptronic signal lines shown in the pics below? TIA
Serial cable install:
EGT Gauge Install:
Last edited by RotaryMachineRx; 02-22-2023 at 12:39 PM.
My rebuild gaskets, seals, etc from REC should be delivered today. Over the past few nights I've been spending a good amount of time doing clean up/RTV removal on the parts I didn't get media blasted (water pump, front cover, exhaust gaskets). Everything is looking nice and mint now, so ideally I get to reassembling this engine in the next few weeks here.
Should have taken some before pics because man were these things filthy
Been toying with the idea of filming this engine build and doing a bit of editing for Youtube, we'll see. Regardless busted out the GoPro for the first time in years to get myself re-acquainted with it and shot a quick video at the end of the night last night.
Will be assembling rotors starting tonight and the plan is to stack the engine this weekend.
Personally I think recording the engine building and stacking is a killer idea. You can document if you did something wrong if you suspect engine failure. I'm not much of a camera guy so you won't catch me posting much of my face anywhere lol.
Clearanced my first 3 seals last night. Spent more time playing around than actually clearancing but learned some things along the way; like how damn long it takes to actually get the side seal to fit the slot then how damn quick it goes from zero clearance to overshooting your target
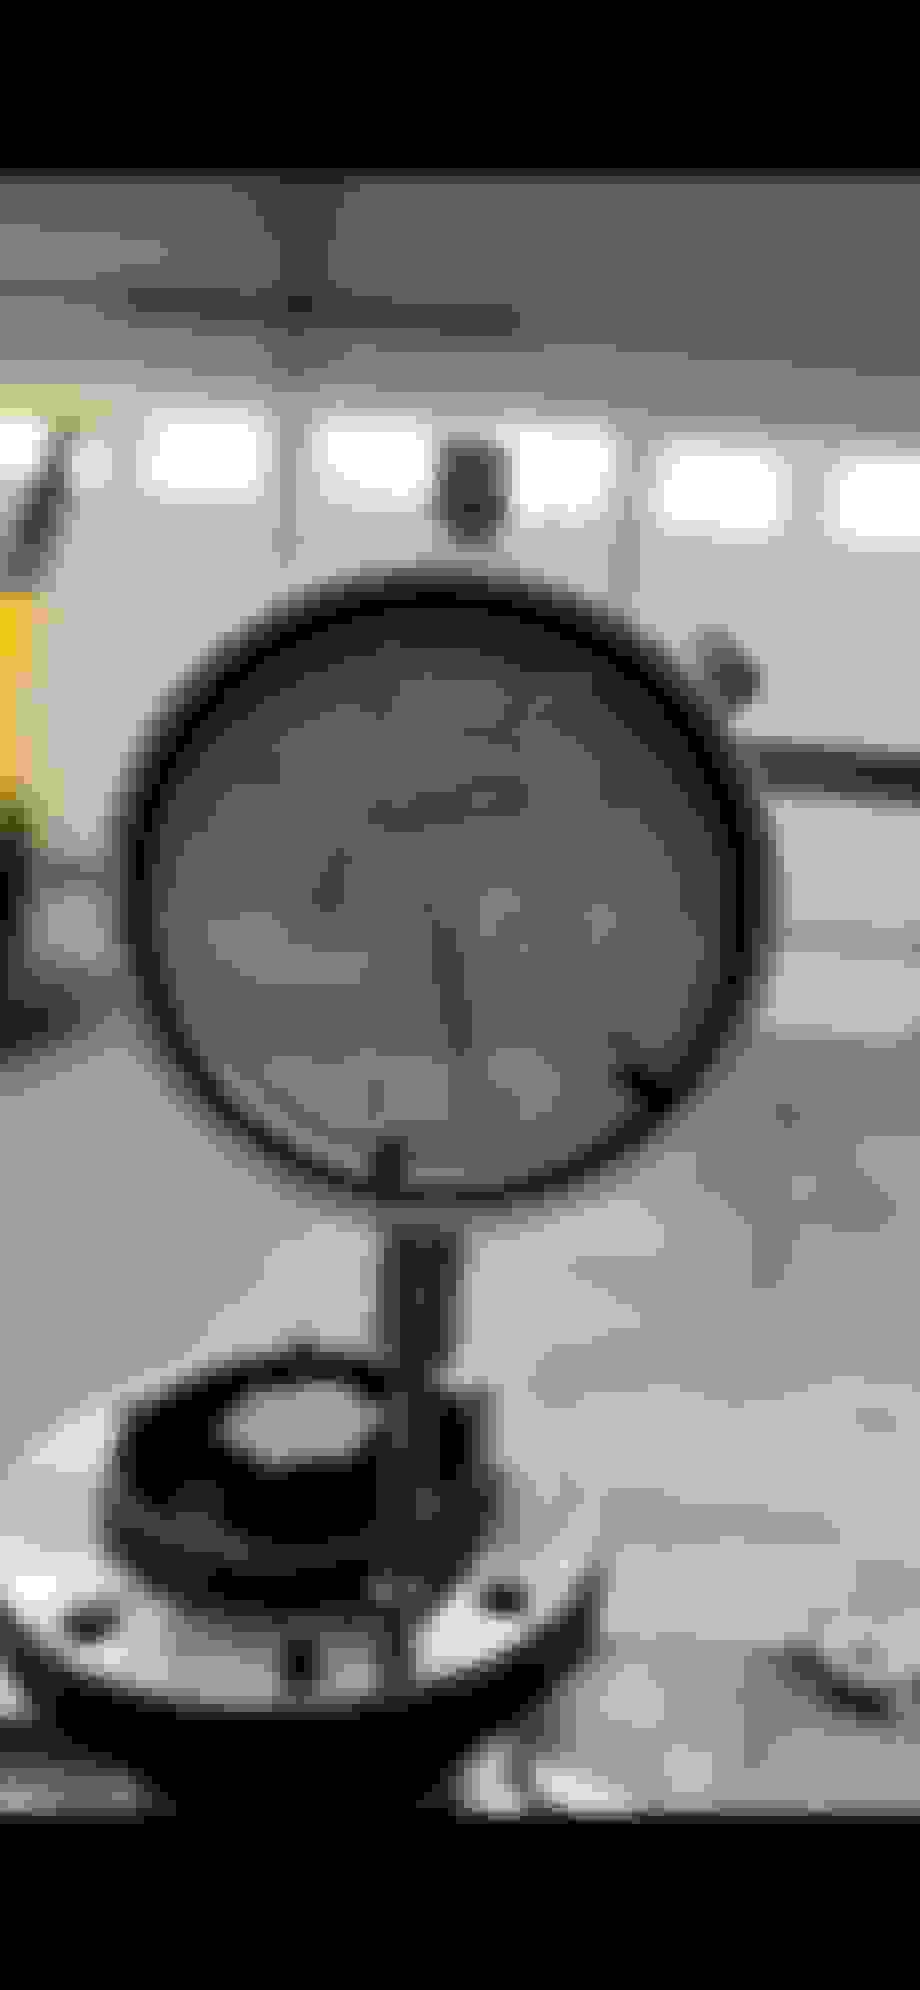
Was aiming for .002" clearance on all of these by grinding until I could fit the .0015" feeler then doing short grinding bursts/trial fits till I was at the .002". Did pretty good but you don't realize without experience how quickly it goes from .0015" to .002"; first one snuck up on me:
A: ~.0045"
B: .0025"
C: .0025"
Mazda spec is of course .002" to .006"
Last edited by RotaryMachineRx; 03-22-2023 at 12:25 PM.
Personally I think recording the engine building and stacking is a killer idea. You can document if you did something wrong if you suspect engine failure. I'm not much of a camera guy so you won't catch me posting much of my face anywhere lol.
Yeah my friend has a youtube channel for his project and is more likely going to use the footage (he'll be recording as well). But I figured may as well have the footage and be able to look back at things or whatever.... sort of a better to have it and not need it sort of mentality. Definitely not a guy trying to chase any sort of recognition for it but I certainly do enjoy the conversations posting videos and build updates bring on various different platforms. I think it can be a helpful aid in the quest for knowledge.
Engine rebuild went smoothly and overall was a great success. I had one front cover bolt strip (the bolt threads stripped not the front plate threads) that I still need to address as well as pressure testing the coolant passages. Other than that I'm just waiting on my Xcessive LIM before bolting the long block together and getting it back in the car.
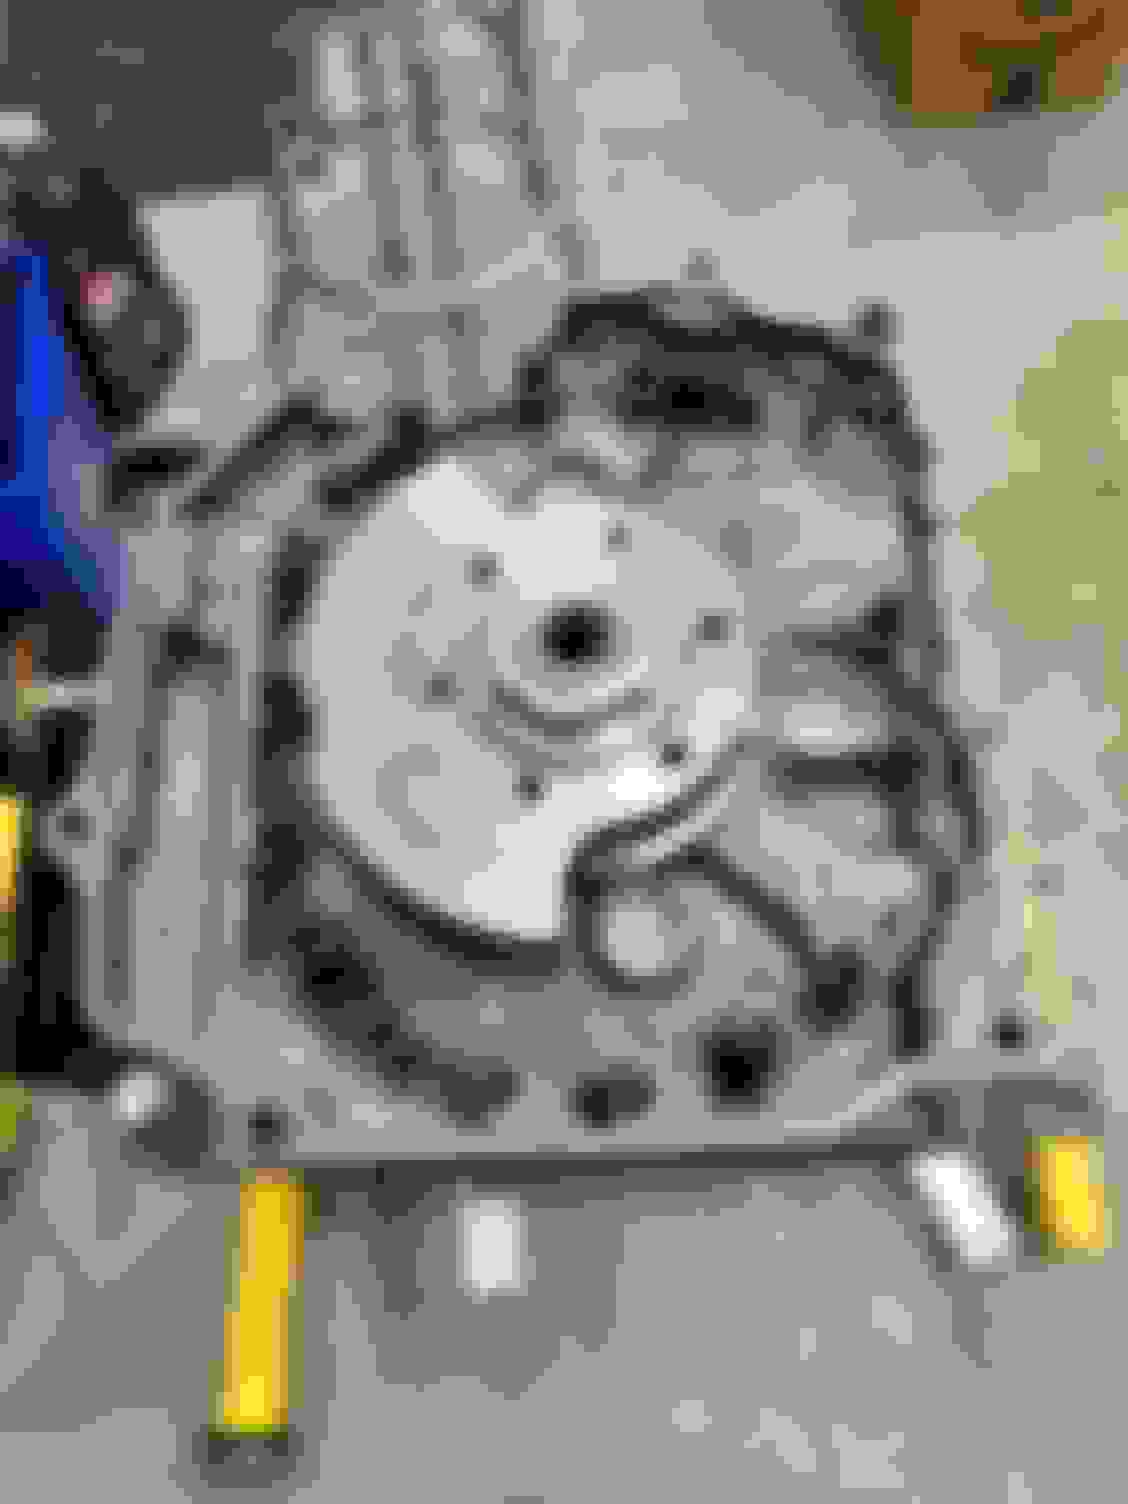
Rotor assembly and side seal clearancing went well with my ranges varying from .002 to .0035" (spec is .002 to .006"). Stacking the engine went smoothly and problem free, end float was measured afterwards and landed somewhere around ~.00225 - .0025" (spec is .0016 - .0027").
Just to recap engine mods consist of large street port, clearanced rotors, E&J Apex seals, and turblown stud kit.
Last edited by RotaryMachineRx; 03-27-2023 at 10:46 AM.
Smooth, resistance free, spinning of the engine with solid and beautiful sounding pulses. Very, very happy with the final outcome, easy to say that my first time engine build was a huge success!
I’m sure the usual accusers will point the Debbie-Downer finger at me for saying this, but you might consider not counting your rotors before they orbit more than 1000+ miles.
Because the same was likely true for the two previous engines that didn’t make it that long. Along with a number of other 13B engines experiencing similar issues recently on RX7Club, as you well know …
except you possess the insight of knowing my positive thoughts and prayers being with you, and given the measures that were taken this time that likely weren’t previously, all being in your favor for the third time likely being the charm.
May the Will of the Highest Power bless you with a successful conclusion to the challenging journey of the last several years.
.
but you might consider not counting your rotors before they orbit more than 1000+ miles.
A very fair statement, other than the first engine didn't make it past first start before it was starved of oil so, hard to comment on that engine build. The second had such peculiar wear to the apex seals and no other signs of abnormalities (ie heat) it's hard to rule anything other than a mechanical issue there but weirder things have happened. Now, armed with much more knowledge and additional data (accurate AFR's to ECU and EGT information) it should be much easier to spot any anomalies and stay within safe operating limits if external factors to the engine build itself played any significant roles in the previous failure.
Appreciate your well wishes, and yes, too soon to count the project as a whole successful, but the engine build itself was certainly a successful step towards the final goal.
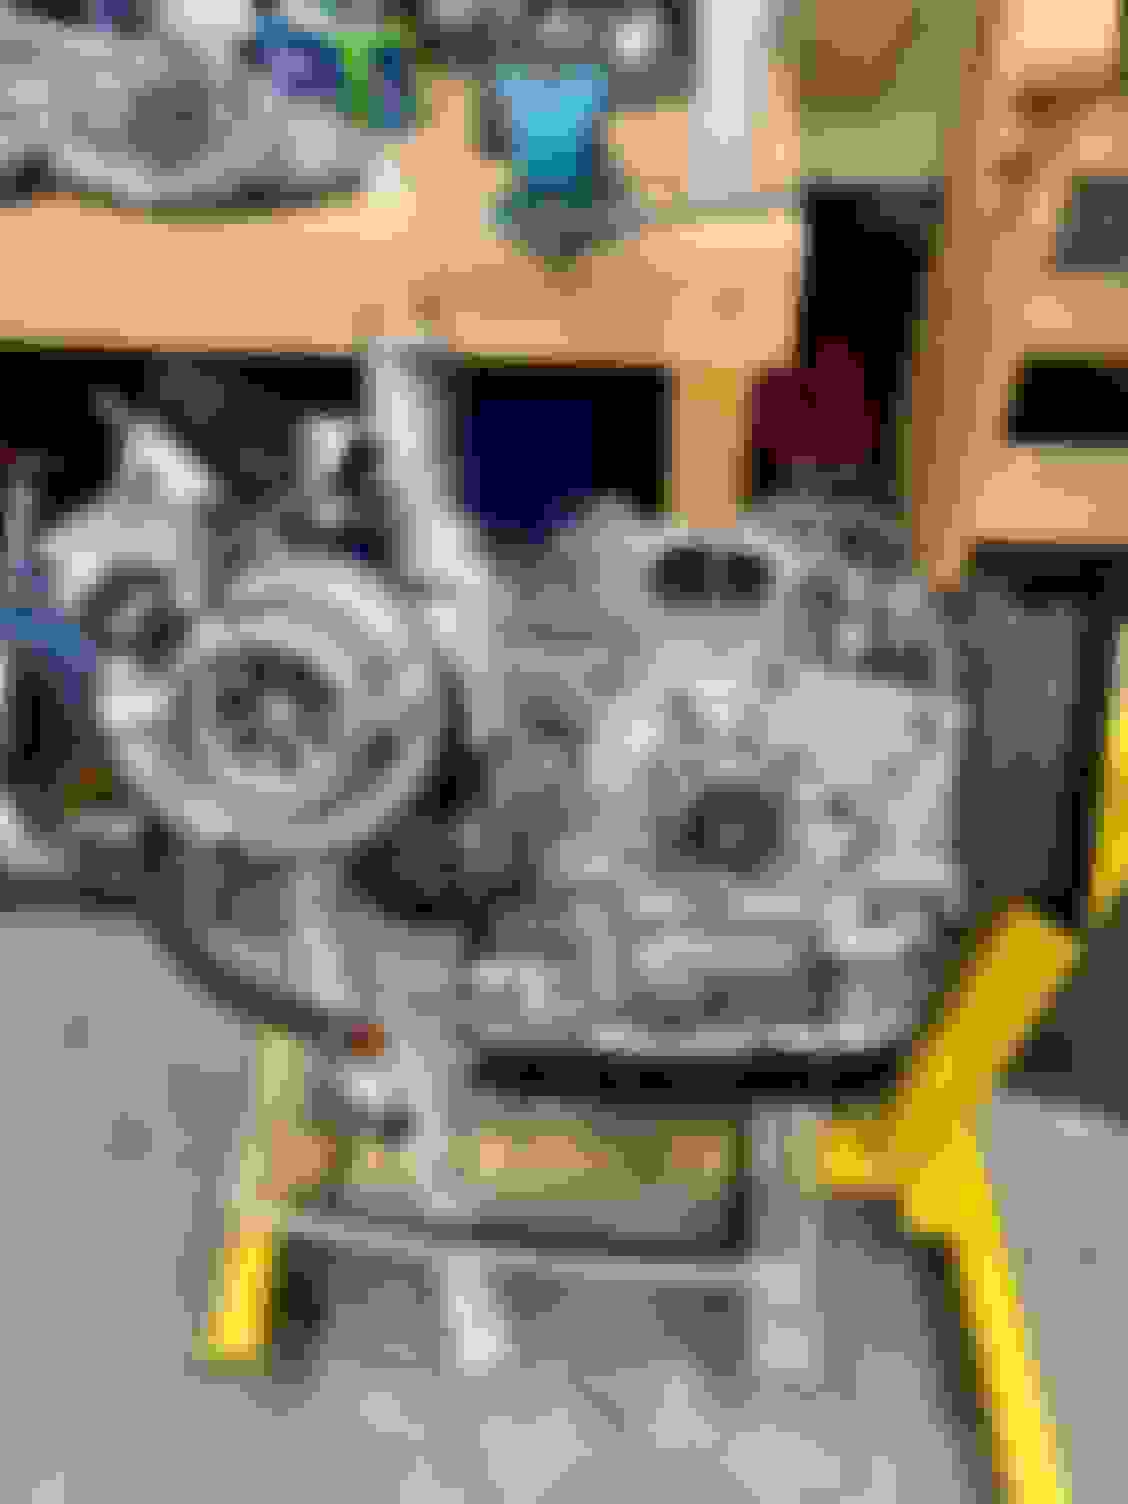
Not much to report on, I haven't been in the garage much other than some RTV cleaning from my oil pan as I've still be waiting for Xcessive LIM. I actually had IRP email me last week that they are going to refund my transaction as they don't have an ETA on the LIM. Fortunately I was able to find one locally and I just picked that up yesterday. Need to do some modifications to it to fit my turbo/exhaust manifold setup as well as a bit of clean up on a few other minor items (coolant swirl pot and downpipe) before I get back to assembling the long block.
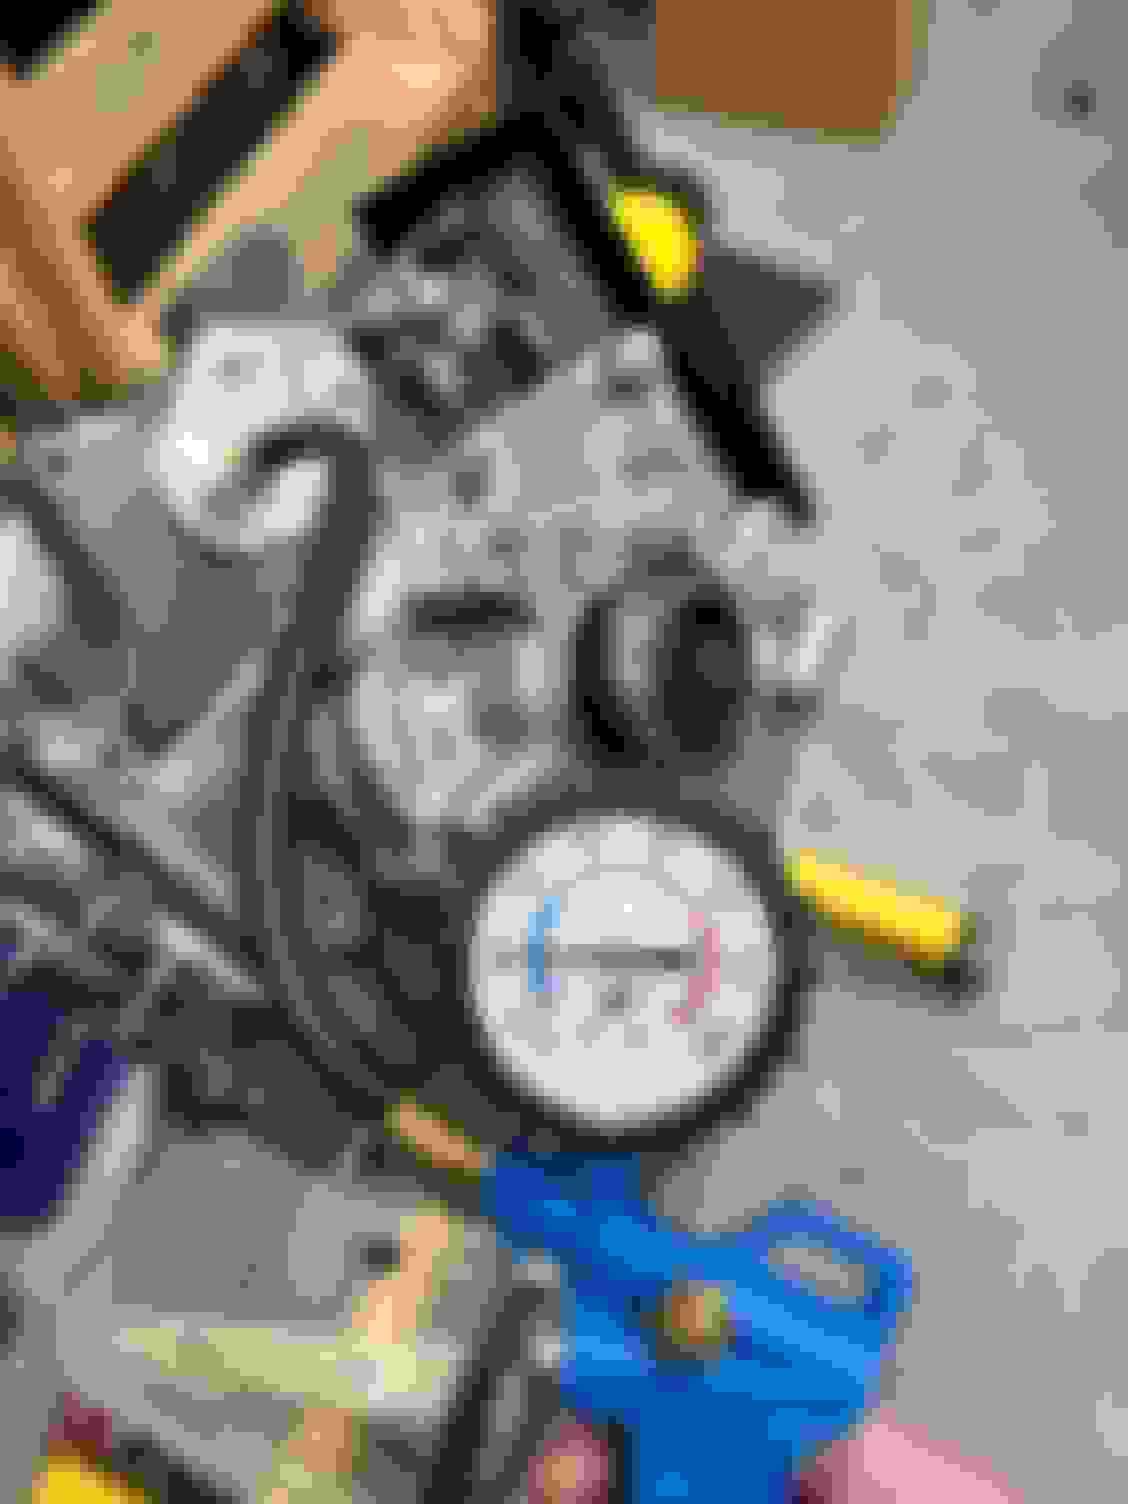
Other than that I just performed a coolant passage pressure test on the block while it was on the stand still. Held 20psi for well over 36 hrs before I took the pressure off so things are lining up to get this engine back in the car and fired up sooner than later!
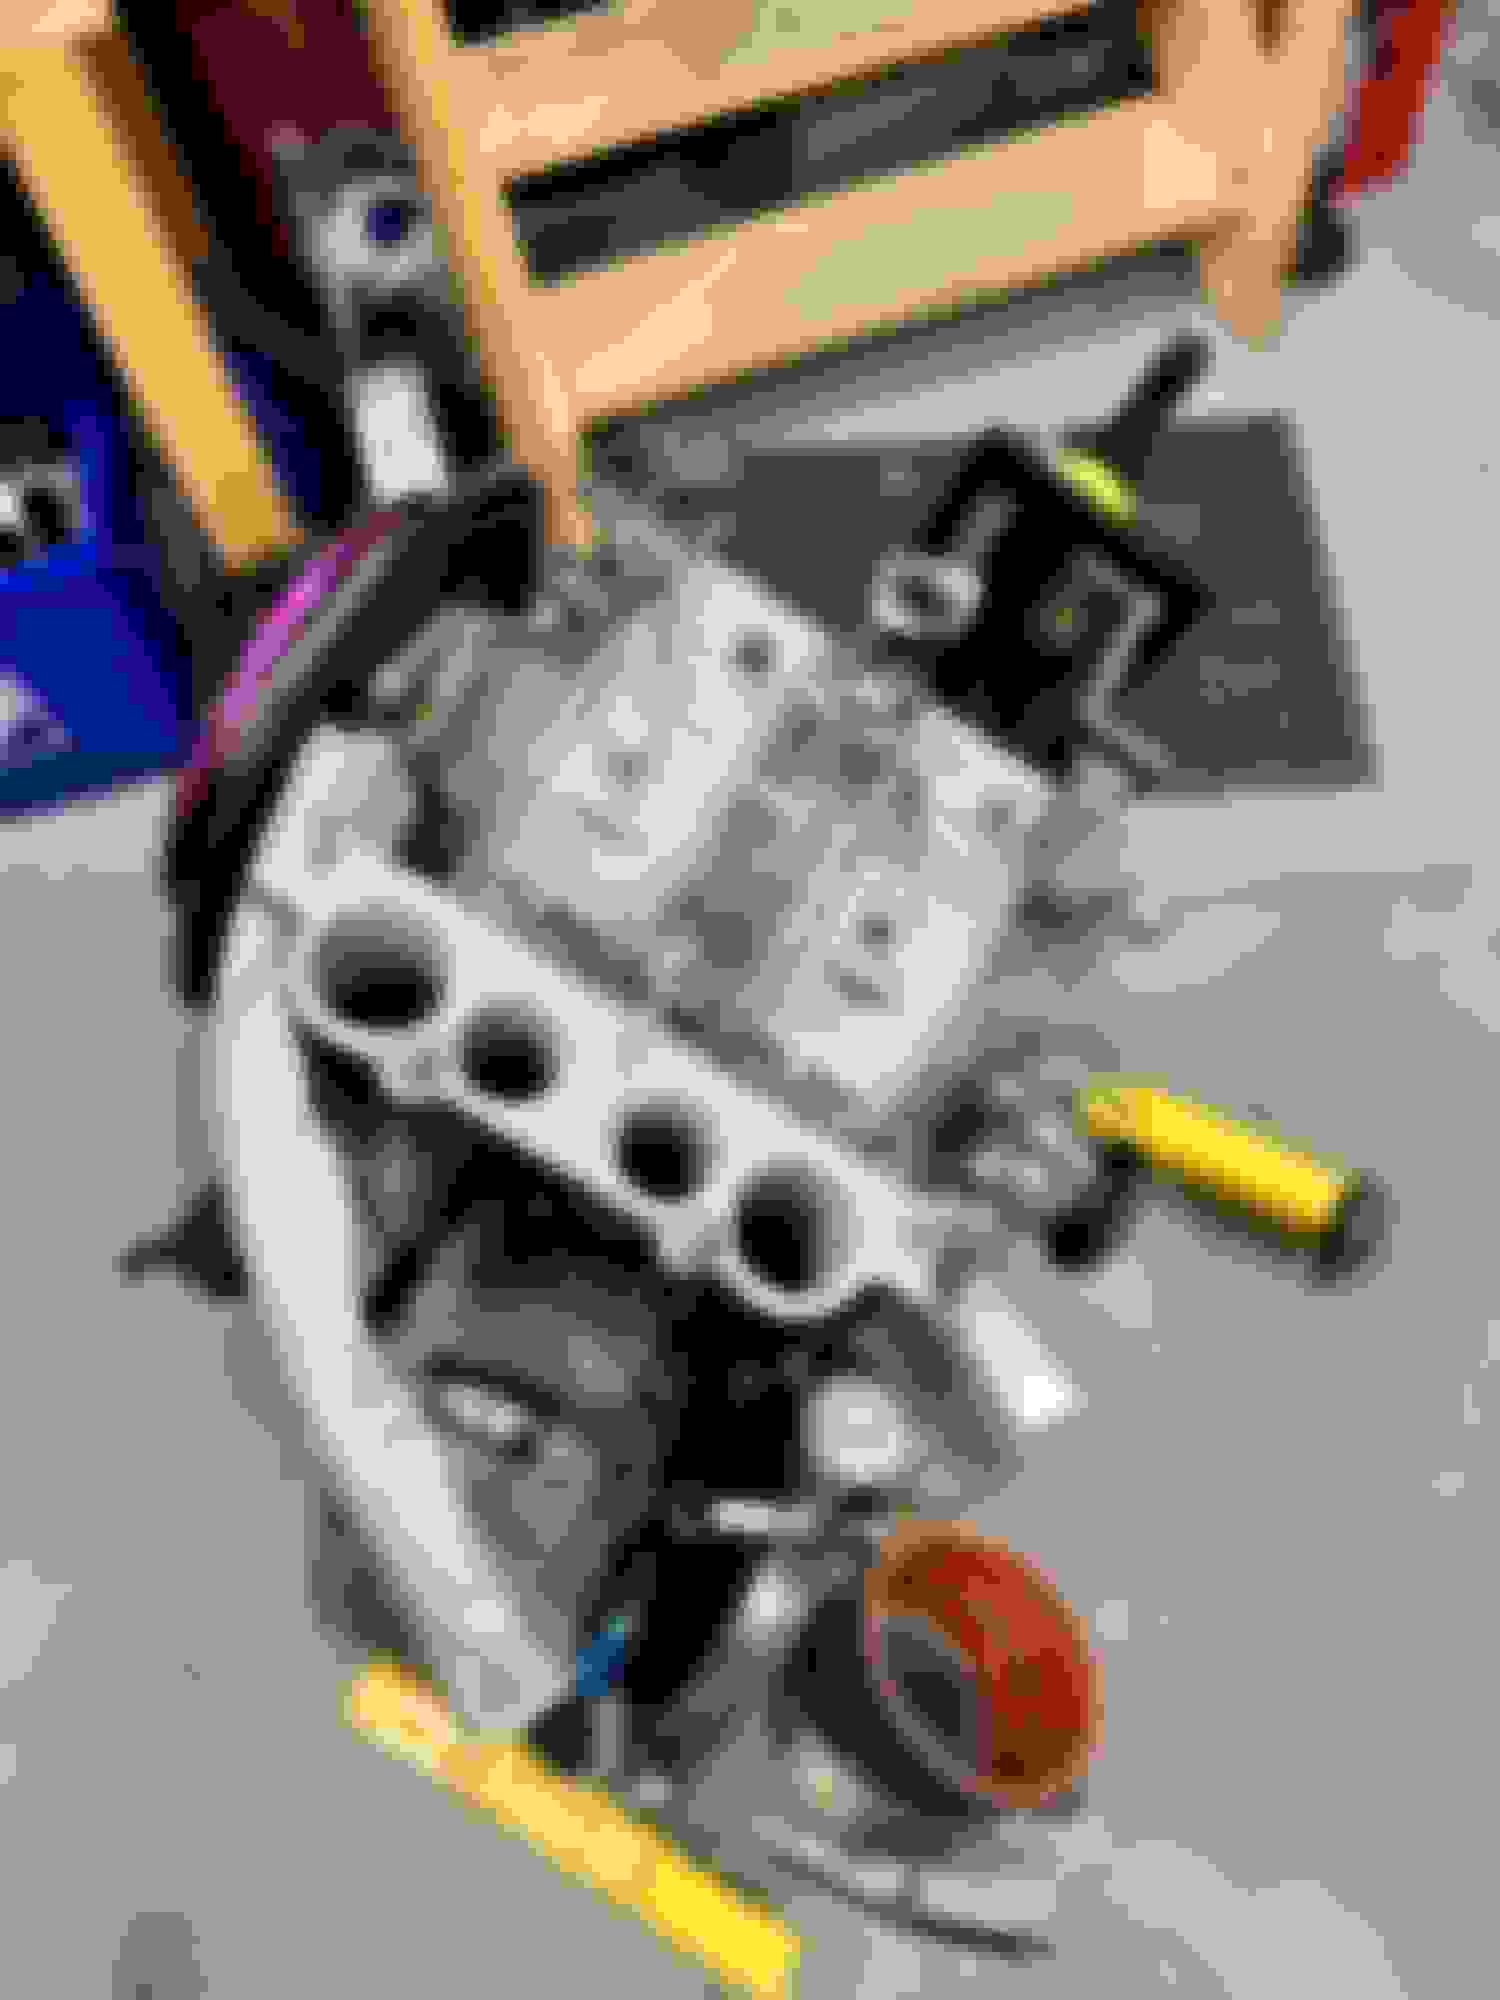
Oil pan on and engine mounts on, mocked up Xcessive LIM with turbo and there is some definite work to be done. Will start by bringing the LIM flange down a bit to gain some more overall clearance then will fine tune by taking some off of the exterior of the front runners until the turbo fits in place without contact. Was hoping to get some DEI heat shielding back on the LIM but I'm not sure I'm going to gain enough. Will likely look into getting LIM ceramic coated once done modifying it to fit if I cant fit the heat shielding.
Excessive has been modified for fitment. Took down maybe an 1/8" or so (just a guess) off of the flange with a belt sander then managed to hit the front runner slightly with the grinder to get the rest. Also took a bit more off the compressor housing V-Band clamp. Something very important that I hadn't really noticed until doing this: the bolt holes in my exhaust manifold flange are slightly ovaled/slotted. I believe this was done by the original installer to gain some clearance on the stock LIM; but essentially the ports for my exhaust manifold were a bit offset from the exhaust ports on the block. Essentially this has potential to have been causing higher combustion chamber pressures and temps. With the modifications we made I was able to do some measuring and get it so the exhaust manifold can sit perfectly centered on the exhaust ports as well as still have clearance from the LIM. I'd say the gap I have between compressor housing and LIM is basically the same as I was seeing on the stock LIM now but with the benefit that the turbo is actually sitting slightly further back (1/8" or even slightly more) so it is centered on the exhaust ports.
I think I'm going to take my turbine housing off and take that and the LIM for some ceramic coating now too, not sure I'll have the room for the DEI heat shielding between turbine blanket and LIM anymore.
Jesse I recommend cleaning up the entrance and exit ports of the excessive LIM as well. I think the instructions explained that but just in case.
Oh and did you ever have uneven EGT when running your car previously?
Also, have you heard about Zycoat zybar thermal coating? It's a spray on coating that works similar to ceramic coating that can be sprayed at home.
Last edited by Warrior777; 05-11-2023 at 11:07 AM.
Interesting, how much overlap was there on the exhaust port the manifold runner?
Regardless, that is a great find!
Some rudimentary measurements indicate there was likely a 1/8" overlap, potentially 3/16" even.
Originally Posted by Warrior777
Jesse I recommend cleaning up the entrance and exit ports of the excessive LIM as well. I think the instructions explained that but just in case.
Oh and did you ever have uneven EGT when running your car previously?
Also, have you heard about Zycoat zybar thermal coating? It's a spray on coating that works similar to ceramic coating that can be sprayed at home.
Good call, on the porting, unfortunately I wasn't measuring EGT's, I've installed the EGT gauge only since pulling this engine, so that will be new info.
Received my stuff back from the coatings place (dropped it off monday, flew to my project site, go home thursday then picked it all back up Friday at lunch. This is matte black (obviously) Cerakote cermamic coating, was surprised at the price, only $250cad total for both parts. Turbine housing will also get a new heat blanket. Once installed, if I can still fit some DEI insulation between the LIM and turbine I will still do that too.
All parts are now back in my hands, so hoping to start long block reassembly real soon!
Last edited by RotaryMachineRx; 05-12-2023 at 03:16 PM.
Step by step making progress. Had the plug in one of my EGT bungs seize, even twisted the bolt extractor bit I was using trying to get it out. Between that and family life I was set back by a few days but was able to drill it out cleanly and chase the bung threads with a tap and we're all good there. Picked up a new, very high quality turbo blanket and got the clutch all installed as well. Going to install injectors then do a smoke leak test on everything while I have it on the stand. Once I confirm everything is leak free then I'll be getting water pump, trigger devices, and pulley's back on to the engine and it'll be ready to pop back into the chassis.
Got fuel rails installed and UIM so I could smoke test this engine on the stand. Glad I did this first!!! Found my front, bottom LIM bolt was leaking. I think the bolt I had installed was a mm or so too long and was bottoming out. Added a washer and it seems to have tightened down better now. Need to goop up the turbo flange/gasket again and mount the turbo before I attempt a second smoke test to confirm now.
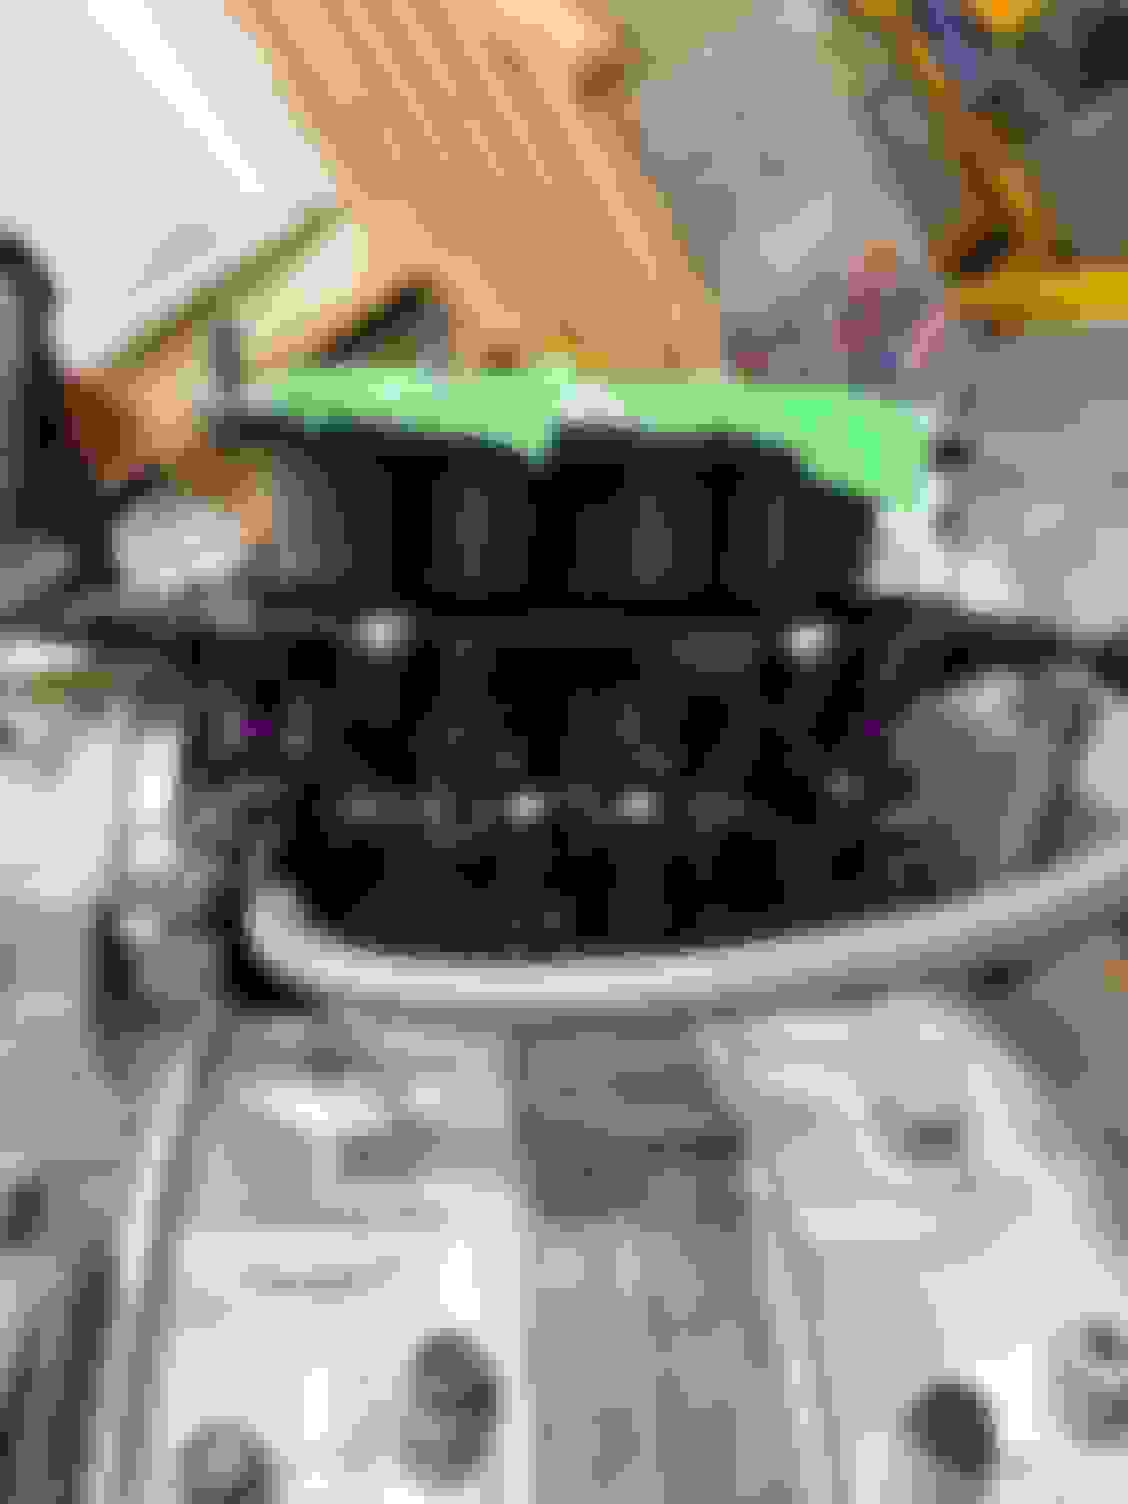
Also, since this seems to be asked a lot by guys looking into REW swaps and banging out the firewall. Here is the factory LIM held up and lined up with the bolt holes of the Xcessive. The latter nets you about 1/2" or more of additional firewall clearance.
 02-22-2023, 12:24 PM


 A very fair statement, other than the first engine didn't make it past first start before it was starved of oil so, hard to comment on that engine build. The second had such peculiar wear to the apex seals and no other signs of abnormalities (ie heat) it's hard to rule anything other than a mechanical issue there but weirder things have happened. Now, armed with much more knowledge and additional data (accurate AFR's to ECU and EGT information) it should be much easier to spot any anomalies and stay within safe operating limits if external factors to the engine build itself played any significant roles in the previous failure.