I has a AFR Gauge & RP SuperCat
 01-08-2009, 03:25 AM
#1

I has a AFR Gauge & RP SuperCat
Well after starting 12 hours ago...the SuperCat is installed as is the gauge (not fully wired b/c i lost the directions); but thats not the point.
What took 12 hours....hmmm...One rusted bolt on the downpipe to midpipe flange. It wouldn't budge, after 2 hours, I stripped the bolt. That was at 9:42PM, the only hardware store was Home Depot on 309, it closed at 10PM. Got there with 5 minutes to spare, got all new bolts for the front flange and a new can of WD40.
Now to the pictures!
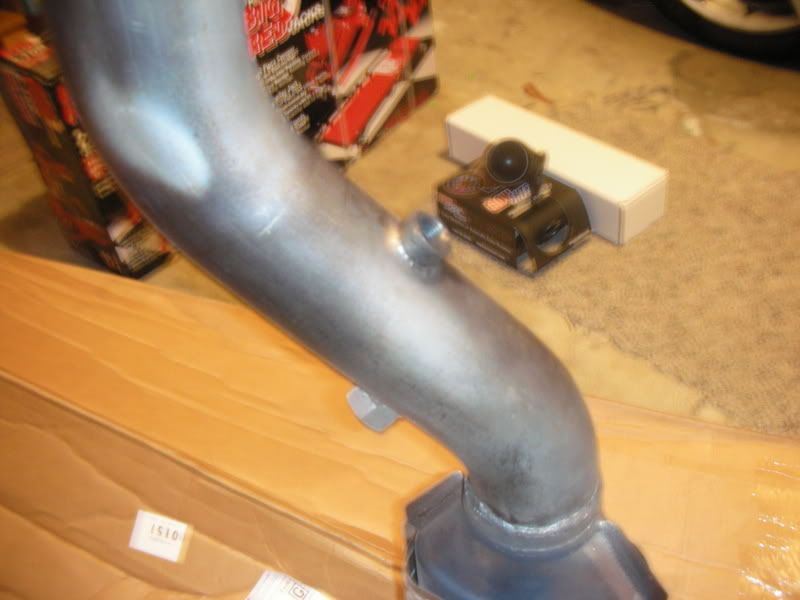
RP SuperCat that I had an additional O2 sensor bung welded into.
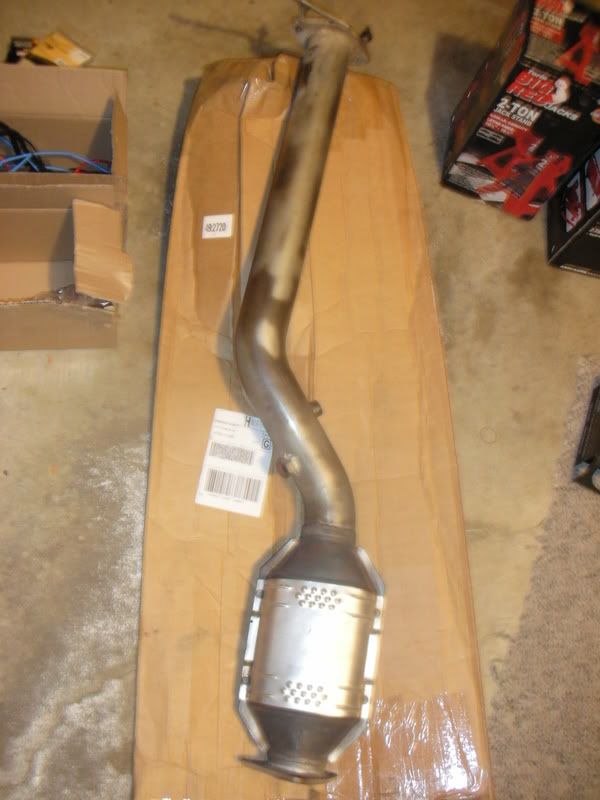
The RP SuperCat
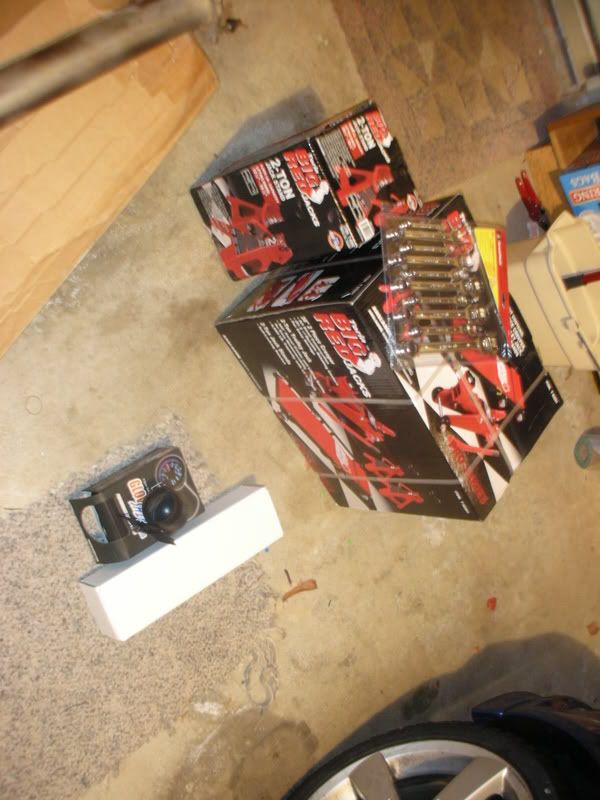
Jack, 4 Jack stands, new tools, and the AFR Gauge
Empty Gauge Pod (which is freaking awesome)
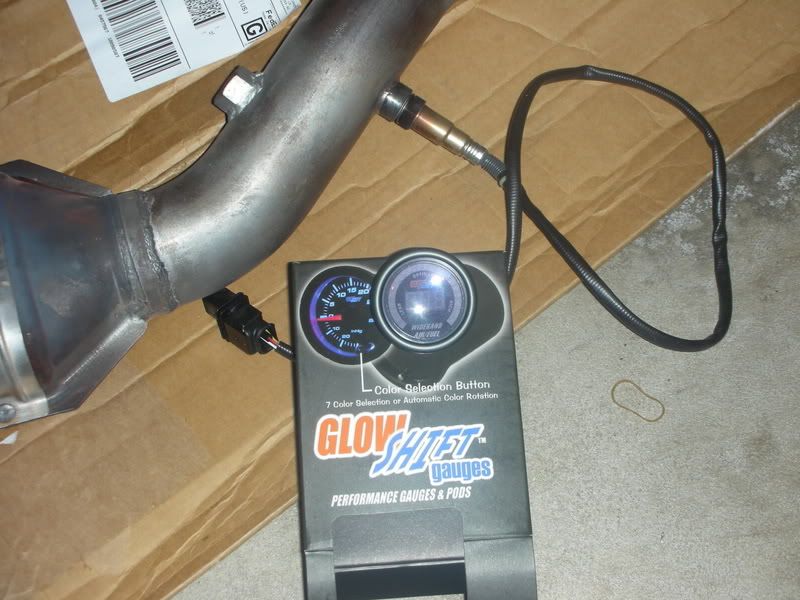
AFR Gauge next to RP SuperCat
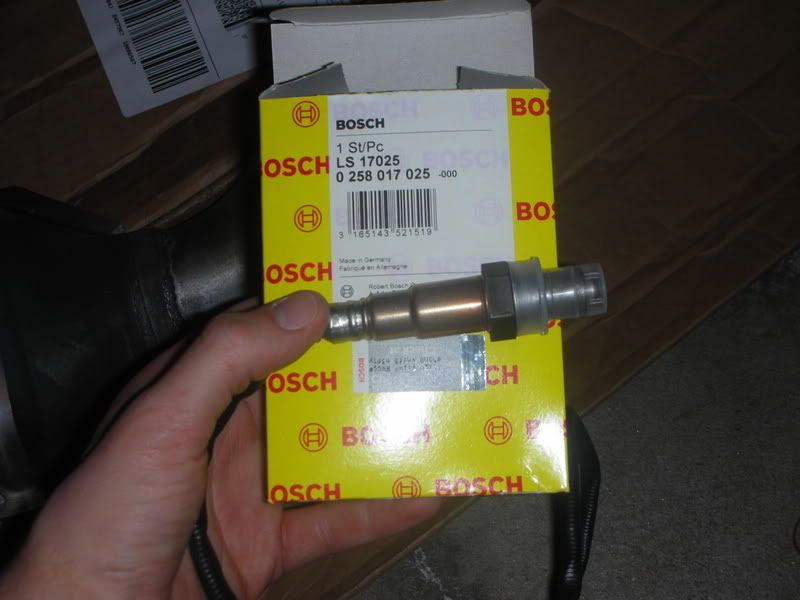
Bosch 4.9 O2 Sensor
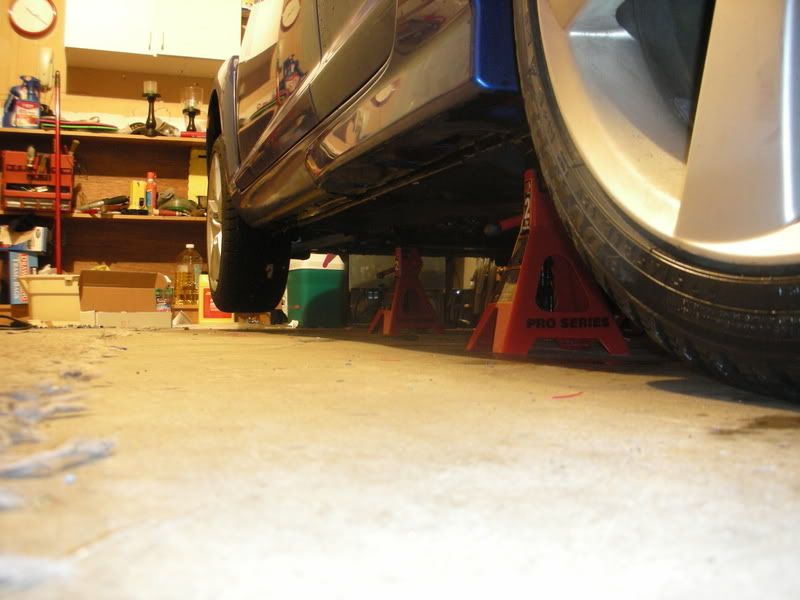
All jacked up
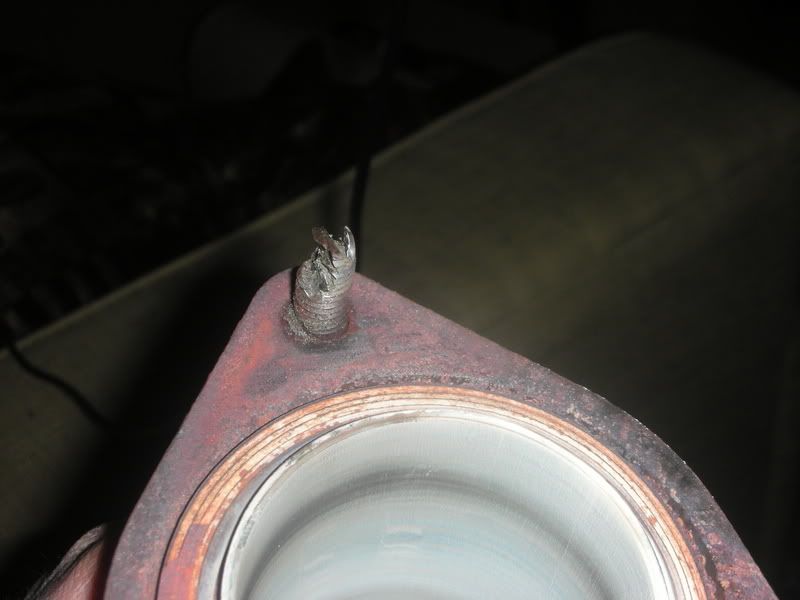
What is left of the rusted, stripped bolt. Dremel 1 - Bolt 0.
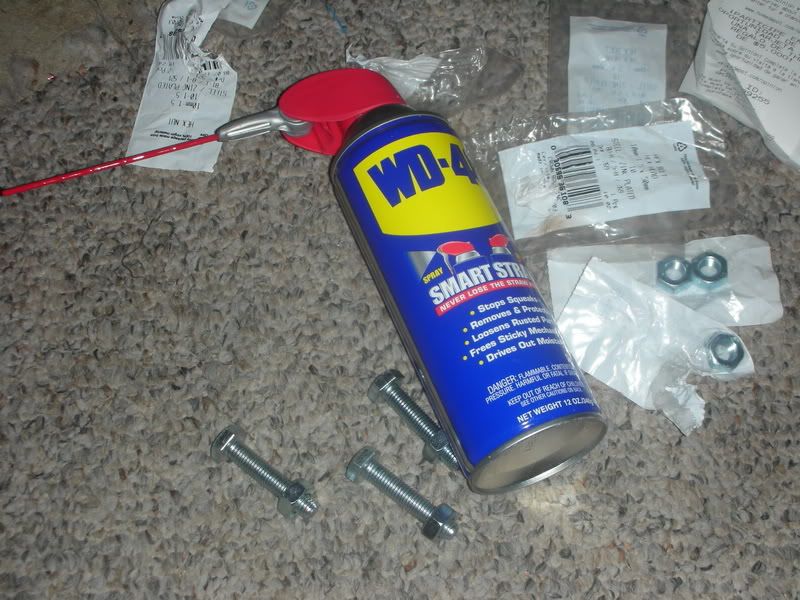
New Bolts and Nuts, and WD40
Liquid Energy. Come to think of it, that was what I was doing through every gear I could when I took my car out for a spin, post-install.
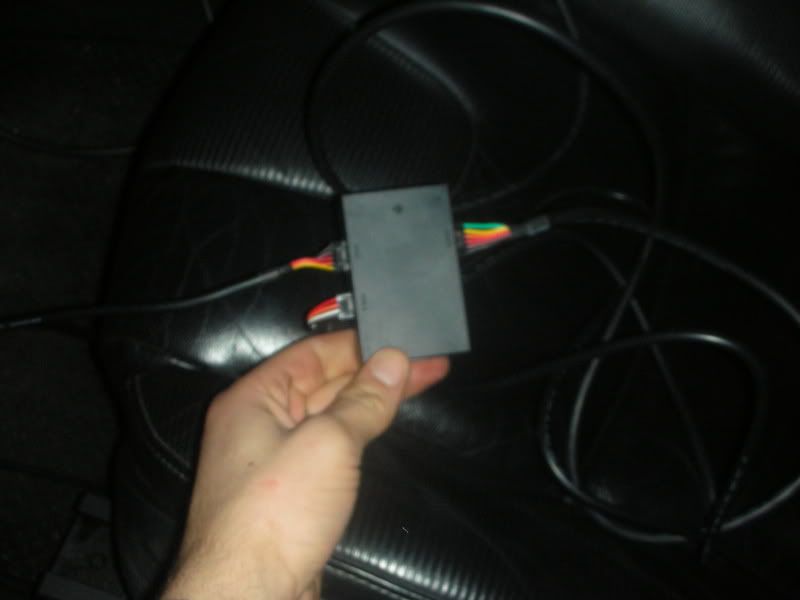
AFR Gauge controller
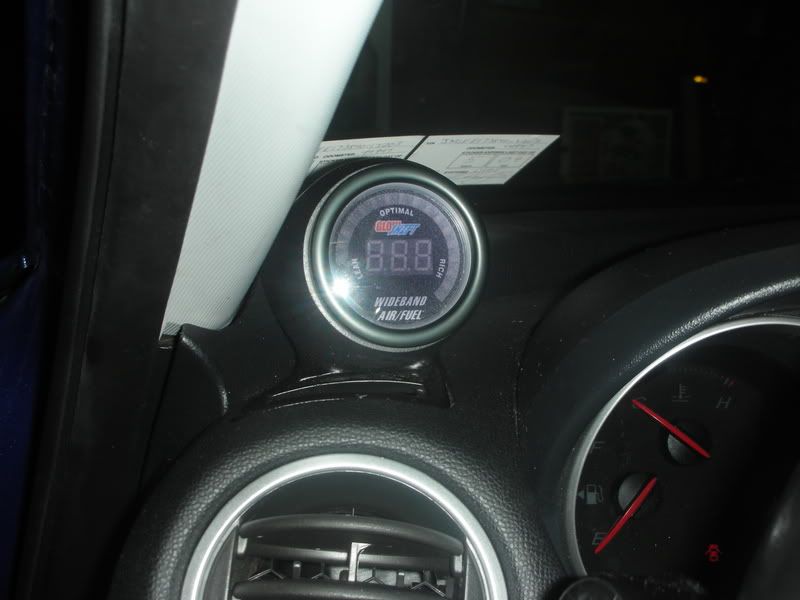
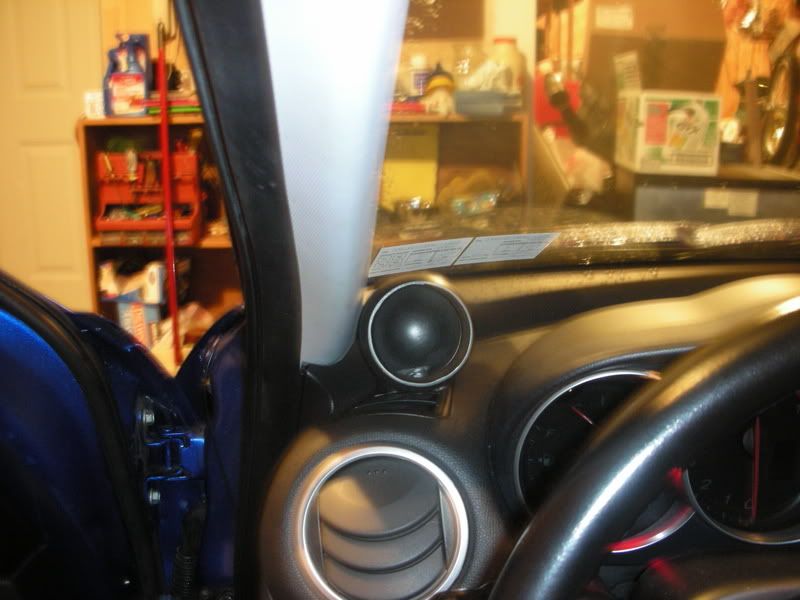
AFR Gauge installed into the gauge pod.
Now I have the Greddy SP2 catback. I was expecting that it would be very loud with this midpipe. It wasn't at all. It was maybe 2-4db louder at idle. Now, WOT, you hear the difference. Its mean, and its fast. There is no placebo effect over here. I can feel a difference with the car.
Another thing to note, I followed the DIY to open up the stock airbox by removing those 2 plastic plates and that funnel. I can think of one word to describe all of this; Epic.
I hope you all enjoy this, i have to get up in an hour and a half for work....so if i'm not making sense, blame the 'Redline' .
.
----------
UPDATE
----------
I got the gauge wired! Its accurate to the .01 for the AFRs; i checked it with my cobb ap.
Pictures!!!
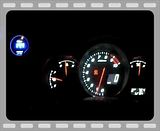
Gauge (flash)
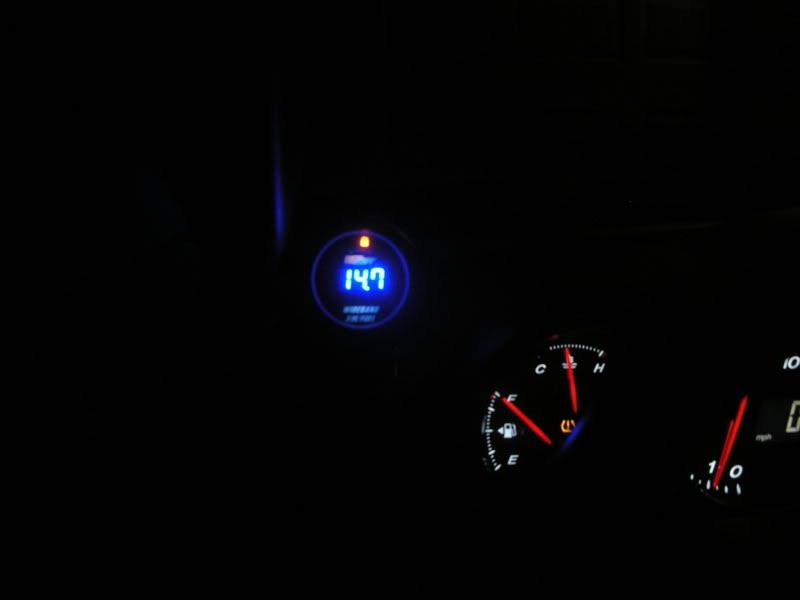
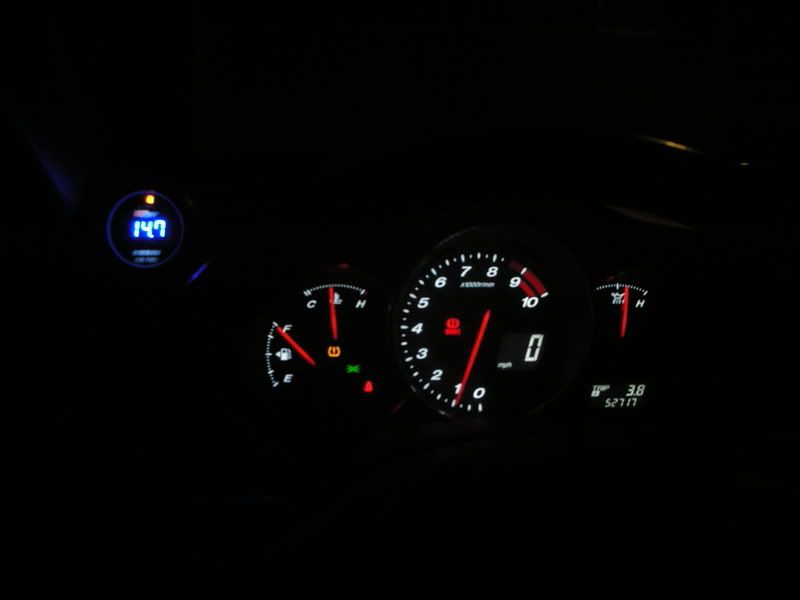
Gauge (no flash)
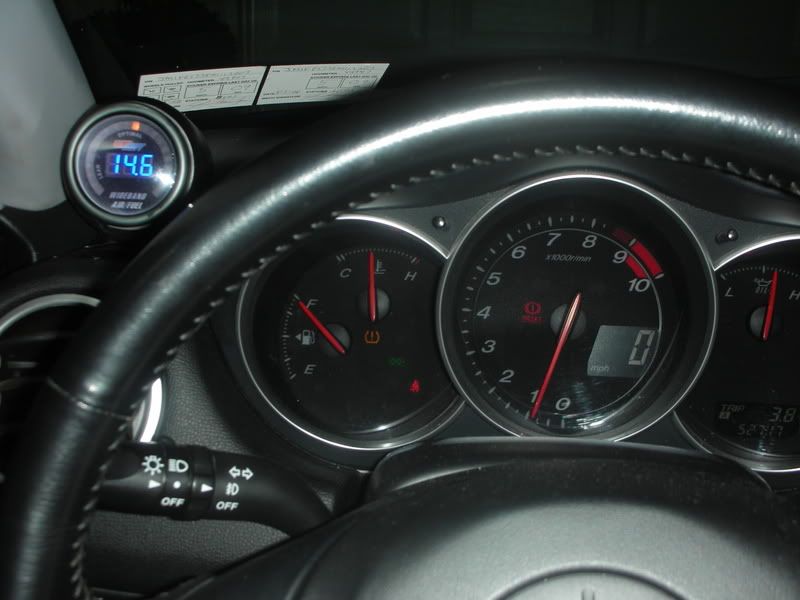
Gauge from driver's perspective

Rocker switch for the gauge.
I took a video of the gauge starting, operating, and shutting down.
I also took a video with the gauge in view as i tached up with my new SuperCat.
What took 12 hours....hmmm...One rusted bolt on the downpipe to midpipe flange. It wouldn't budge, after 2 hours, I stripped the bolt. That was at 9:42PM, the only hardware store was Home Depot on 309, it closed at 10PM. Got there with 5 minutes to spare, got all new bolts for the front flange and a new can of WD40.
Now to the pictures!
RP SuperCat that I had an additional O2 sensor bung welded into.
The RP SuperCat
Jack, 4 Jack stands, new tools, and the AFR Gauge
Empty Gauge Pod (which is freaking awesome)
AFR Gauge next to RP SuperCat
Bosch 4.9 O2 Sensor
All jacked up
What is left of the rusted, stripped bolt. Dremel 1 - Bolt 0.
New Bolts and Nuts, and WD40
Liquid Energy. Come to think of it, that was what I was doing through every gear I could when I took my car out for a spin, post-install.
AFR Gauge controller
AFR Gauge installed into the gauge pod.
Now I have the Greddy SP2 catback. I was expecting that it would be very loud with this midpipe. It wasn't at all. It was maybe 2-4db louder at idle. Now, WOT, you hear the difference. Its mean, and its fast. There is no placebo effect over here. I can feel a difference with the car.
Another thing to note, I followed the DIY to open up the stock airbox by removing those 2 plastic plates and that funnel. I can think of one word to describe all of this; Epic.
I hope you all enjoy this, i have to get up in an hour and a half for work....so if i'm not making sense, blame the 'Redline'
.----------
UPDATE
----------
I got the gauge wired! Its accurate to the .01 for the AFRs; i checked it with my cobb ap.
Pictures!!!
Gauge (flash)
Gauge (no flash)
Gauge from driver's perspective
Rocker switch for the gauge.
I took a video of the gauge starting, operating, and shutting down.
I also took a video with the gauge in view as i tached up with my new SuperCat.
Last edited by L337fpc; 01-08-2009 at 10:09 PM.

 01-08-2009, 09:14 AM
#3
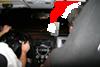
thx. I routed the O2 sensor's data cable through the shifter area...and i don't think i sealed it all the way b/c i still smell a hot cat and gear oil.
Hopefully i will be able to get the stinking wiring guide so I can finish wiring the gauge. I'm itching to use it with my AP.
Hopefully i will be able to get the stinking wiring guide so I can finish wiring the gauge. I'm itching to use it with my AP.
01-08-2009, 09:58 AM
#4
Original Turbo 'd Auto !!
looks good!
Since it's all bolted up and you didn't mention anything about anti-seize, just a quick reccomendation of applying a little anti-seize to the threads of the front flange bolts and the o2 sensor threads..
just in case you need to work on it later. if you had already did this step, carry on.
Since it's all bolted up and you didn't mention anything about anti-seize, just a quick reccomendation of applying a little anti-seize to the threads of the front flange bolts and the o2 sensor threads..
just in case you need to work on it later. if you had already did this step, carry on.
 01-08-2009, 10:10 AM
#6
Ty, ty.
Huh? Lol. Nah I didn't apply anything to the O2 sensors' threads...
On another note, is there anything i should apply to the lower shift boot to make it adhere better to the frame? Im convinced that it isn't seating properly.
looks good!
Since it's all bolted up and you didn't mention anything about anti-seize, just a quick reccomendation of applying a little anti-seize to the threads of the front flange bolts and the o2 sensor threads..
just in case you need to work on it later. if you had already did this step, carry on.
Since it's all bolted up and you didn't mention anything about anti-seize, just a quick reccomendation of applying a little anti-seize to the threads of the front flange bolts and the o2 sensor threads..
just in case you need to work on it later. if you had already did this step, carry on.
On another note, is there anything i should apply to the lower shift boot to make it adhere better to the frame? Im convinced that it isn't seating properly.


 everything looks good.
01-08-2009, 05:01 PM
everything looks good.
01-08-2009, 05:01 PM
#10
Administrator
iTrader: (7)

grats on the project.
You'll love the RP supercat, I've had mine for a little over a year and it really does change the exhaust note.
Keep an eye on the welds that hold the heat shield on the supercat. The welds aren't very solid and they will break over time. Mine did after about 7 months, quick stop to any mufller shop for a quick weld will fix that right up.
+1 on a sexy pod!
01-08-2009, 05:12 PM
#11
If you didn't apply anything to the bolts either..
Do it.
I got pulled over and had to replace my high flow with a stock cat. The shop that installed the high flow didn't put a never-seize or anything of the likes on it, and between the one month of being installed till I needed to take it off, the bolts had seized completely.
Tried everything, had to cut the hell out of the nut and smack on it really hard for about an hour to get it off.. Not worth the trouble for something that can be prevented so easily.
But if you want to buy all new bolts again next time you need to remove it (you WILL need to eventually), it's your call
01-08-2009, 05:17 PM
#12
Administrator
iTrader: (7)
****!
I don't think the shop put anti-seize on mine. oh well, if I ever need to take it off, I'll make THEM do it.
I don't think the shop put anti-seize on mine. oh well, if I ever need to take it off, I'll make THEM do it.
01-08-2009, 06:46 PM
#13
Registered

Join Date: Nov 2004
Posts: 621
Likes: 0
Received 0 Likes
on
0 Posts
grats on the project.
You'll love the RP supercat, I've had mine for a little over a year and it really does change the exhaust note.
Keep an eye on the welds that hold the heat shield on the supercat. The welds aren't very solid and they will break over time. Mine did after about 7 months, quick stop to any mufller shop for a quick weld will fix that right up.
+1 on a sexy pod!
You'll love the RP supercat, I've had mine for a little over a year and it really does change the exhaust note.
Keep an eye on the welds that hold the heat shield on the supercat. The welds aren't very solid and they will break over time. Mine did after about 7 months, quick stop to any mufller shop for a quick weld will fix that right up.
+1 on a sexy pod!
01-08-2009, 10:44 PM
#15
Administrator
iTrader: (7)
yup, rattle is the heat shield. Check the welds on there. (when the car is not hot)

Thread
Thread Starter
Forum
Replies
Last Post
JimmyBlack
Series I Major Horsepower Upgrades
273
02-10-2020 10:23 PM
yurcivicsux
Series I Major Horsepower Upgrades
192
09-12-2017 10:54 PM
JantzenRX-8
RX-8 Parts For Sale/Wanted
1
10-04-2015 11:30 PM