JDM Style Engine Bay
 08-04-2010, 08:39 AM
#1
Registered User
Thread Starter

Join Date: May 2010
Posts: 10
Likes: 0
Received 0 Likes
on
0 Posts
JDM Style Engine Bay
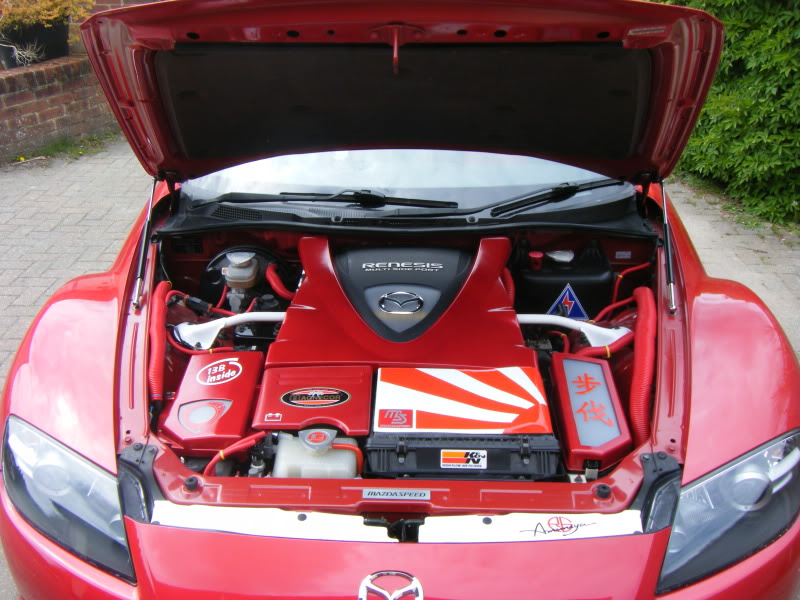
Did this a while ago now but here are a few pictures of the work leading up to my custom engine bay and the end result.
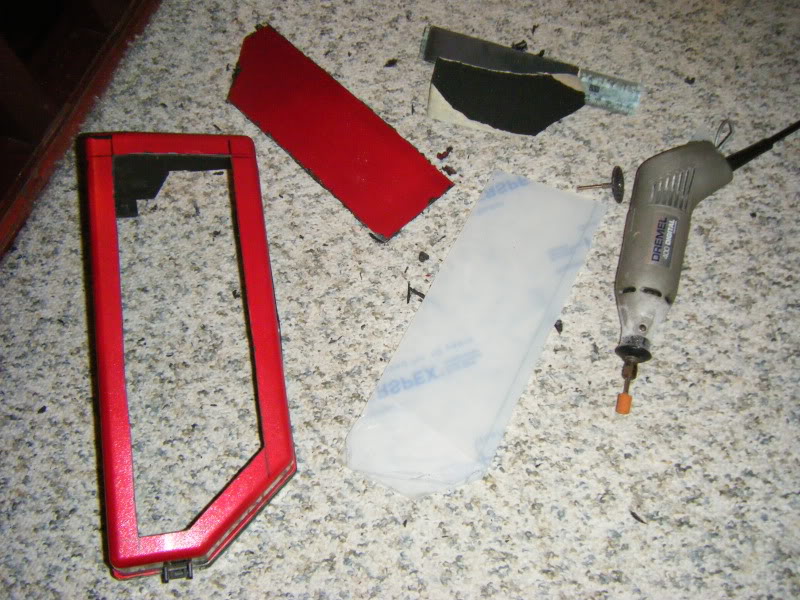
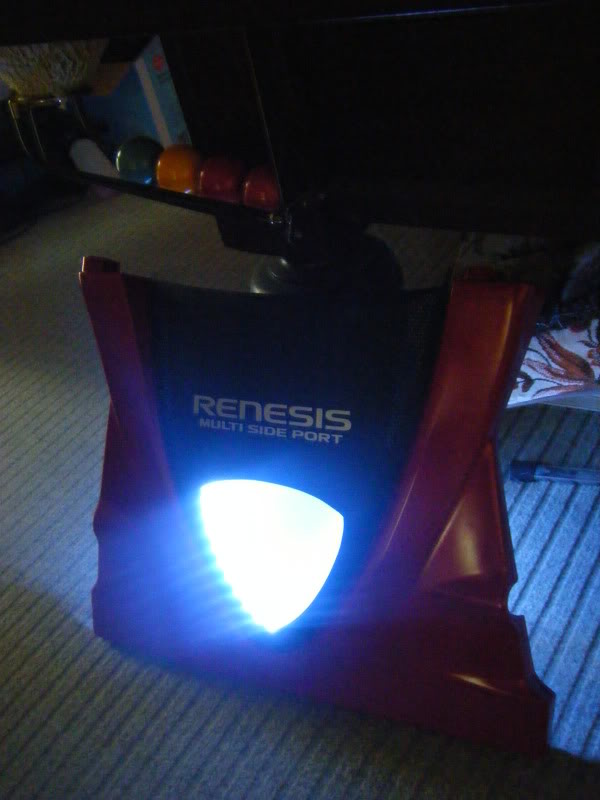
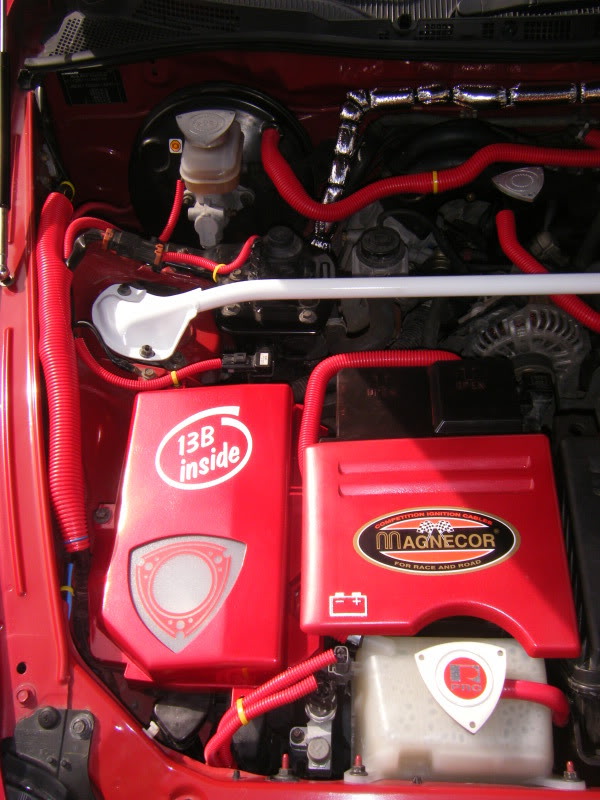
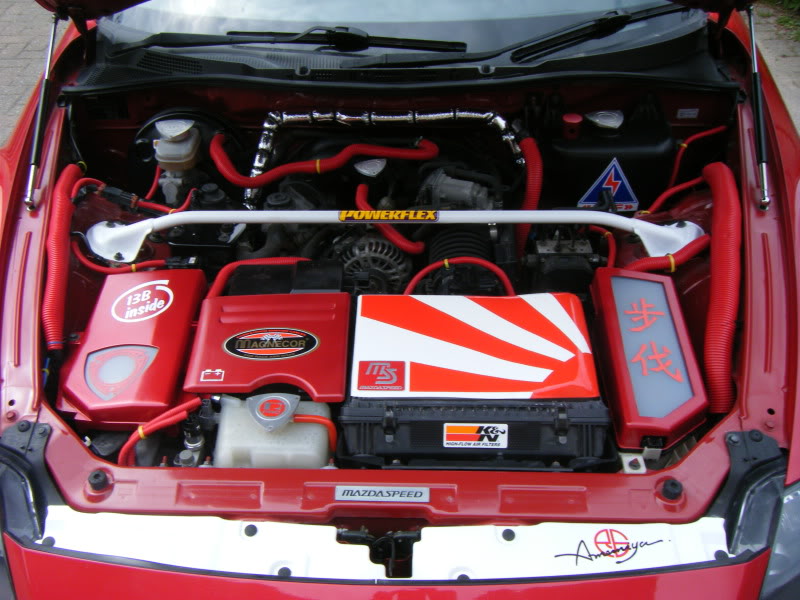
My engine cover, fuse box and ECU cover all have frosted windows cut into them and are illuminated with white LED's. 8) I used a plastic A4 ring binder / folder as it was perfect for the job as it was flexible enough to contour to the inside yet still plenty strong enough.
I measured a border on the top of the fuse box cover and cut out the middle section.

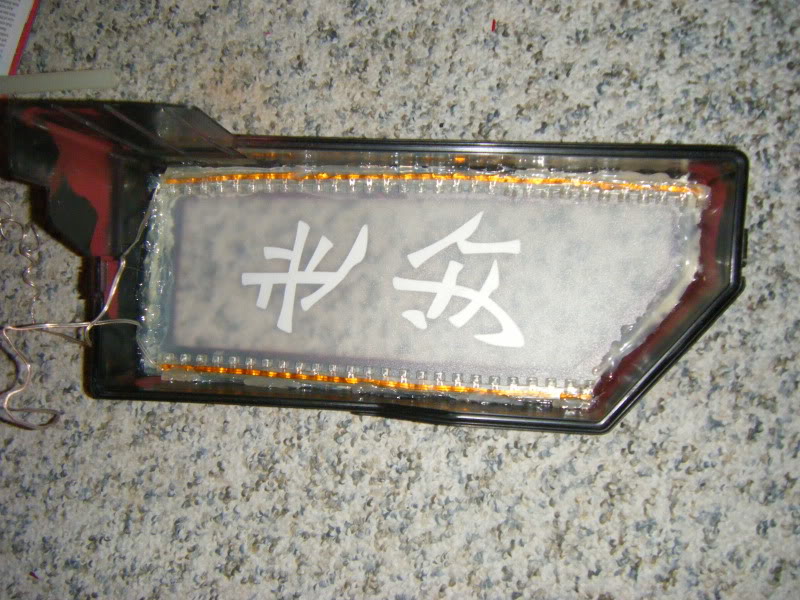
I believe the Japanese writing translates as 'Pace' :roll: I just thought it looked good, my name or something would have been better but could not find a nice one.

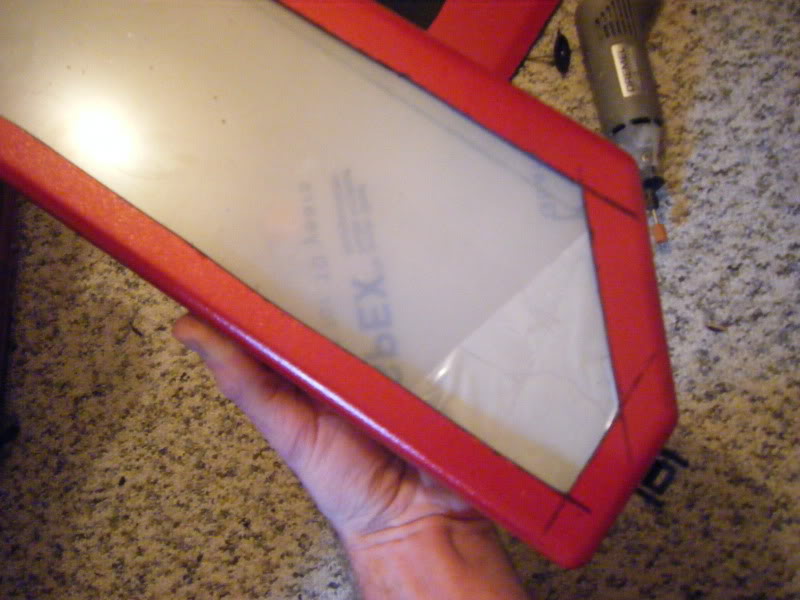
I dremled a rotor shaped window in the fuse box cover. Primered and test fit of frosted window.
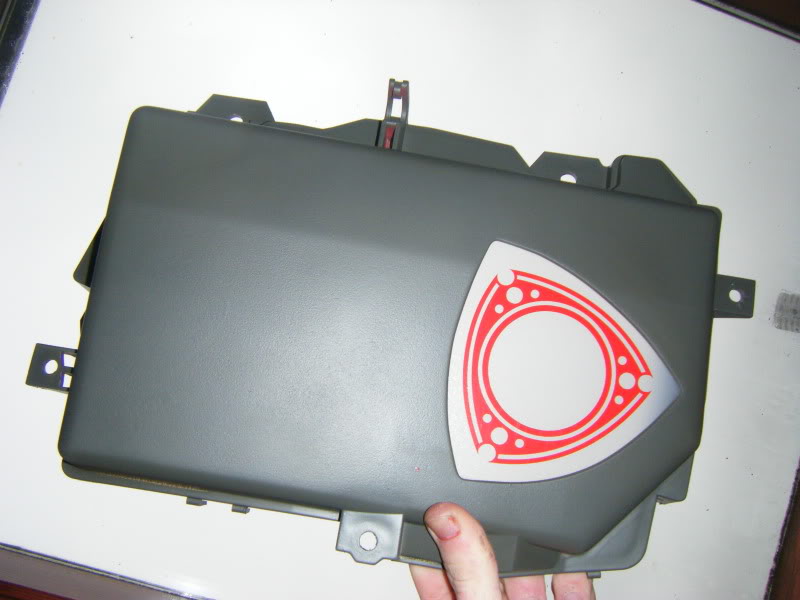
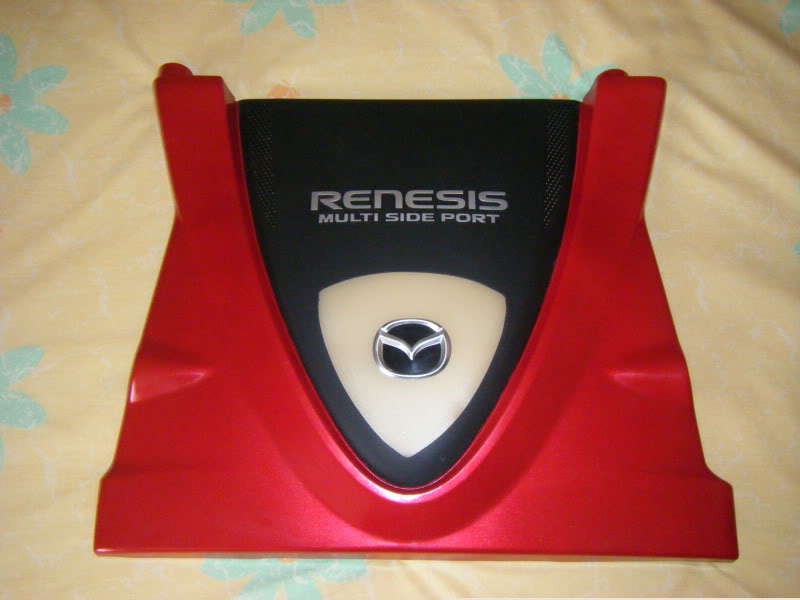
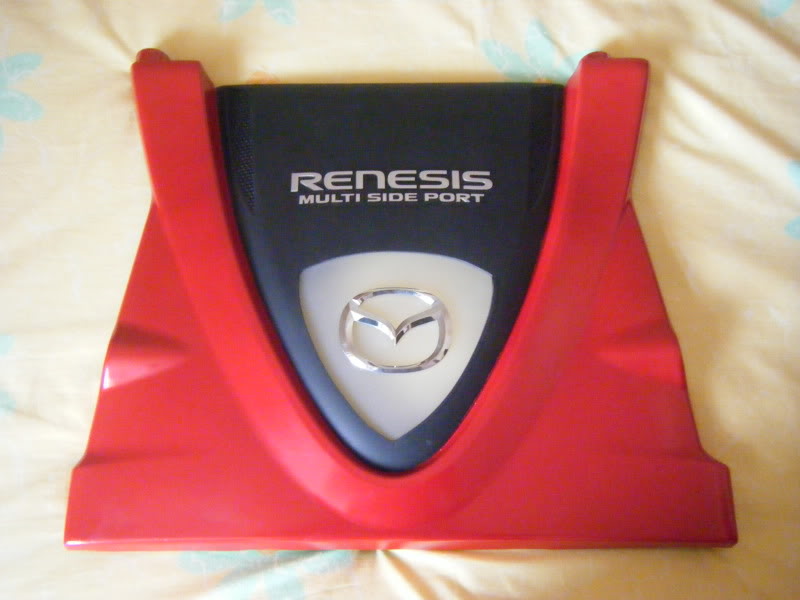
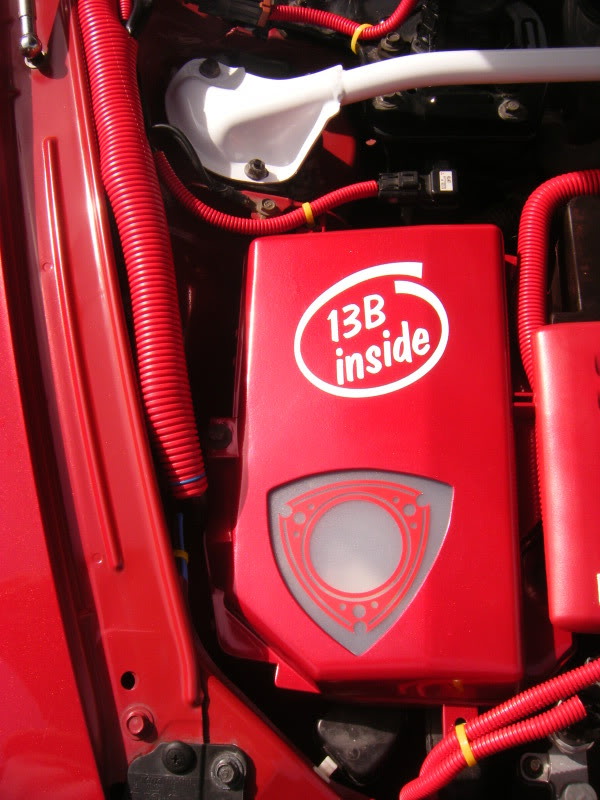
My engine cover has remained the same as before I just gave it another coat of paint to freshen it up. I used an actual rotor to draw round for the shape and then cut it out, perfect size for the job!
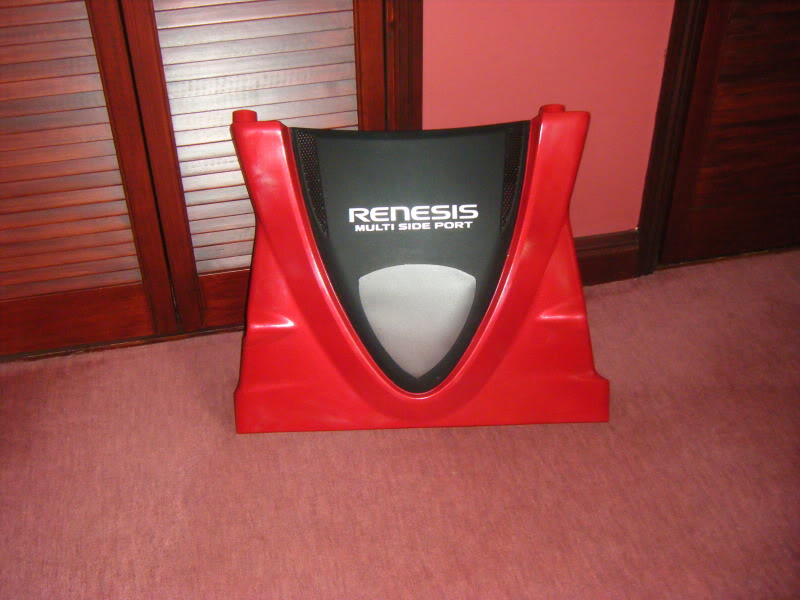
I'm not sure if I like the badge on the window or not the chrome one is the better of the two IMO.
LED strips stuck around the back. There is enough length in the wires to allow you to remove the cover and sit it on the engine bay or you can unplug the connector to take it fully out of the way.
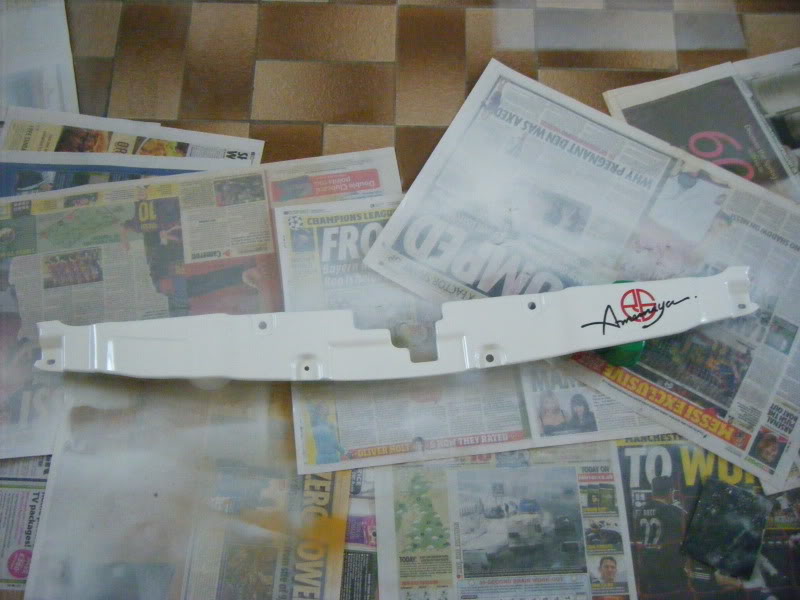
Gloss white scuttle plate thing with RE Amemiya decal.
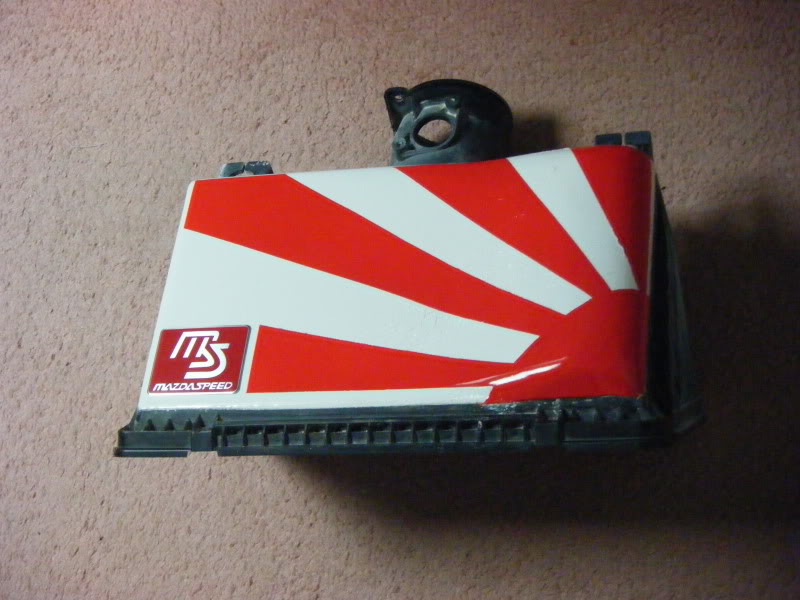
I smoothed over the grove lines on the air box and added a curved 'performance bulge' feature on one side.
Air box masked up ready for spraying of rising sun.

Other things done to the engine bay include red ribbed hose protectors secured with illuminous yellow ties. Strut brace is now glossy white instead of the silver it was before. I also removed the black sound deadening secured to the sides and back of the body.
Reflective padded insulation is helping keep the air con pipe nice and cold and also think it looks pretty good.

My engine cover, fuse box and ECU cover all have frosted windows cut into them and are illuminated with white LED's. 8) I used a plastic A4 ring binder / folder as it was perfect for the job as it was flexible enough to contour to the inside yet still plenty strong enough.
I measured a border on the top of the fuse box cover and cut out the middle section.
I believe the Japanese writing translates as 'Pace' :roll: I just thought it looked good, my name or something would have been better but could not find a nice one.
I dremled a rotor shaped window in the fuse box cover. Primered and test fit of frosted window.
My engine cover has remained the same as before I just gave it another coat of paint to freshen it up. I used an actual rotor to draw round for the shape and then cut it out, perfect size for the job!
I'm not sure if I like the badge on the window or not the chrome one is the better of the two IMO.
LED strips stuck around the back. There is enough length in the wires to allow you to remove the cover and sit it on the engine bay or you can unplug the connector to take it fully out of the way.
Gloss white scuttle plate thing with RE Amemiya decal.
I smoothed over the grove lines on the air box and added a curved 'performance bulge' feature on one side.
Air box masked up ready for spraying of rising sun.
Other things done to the engine bay include red ribbed hose protectors secured with illuminous yellow ties. Strut brace is now glossy white instead of the silver it was before. I also removed the black sound deadening secured to the sides and back of the body.
Reflective padded insulation is helping keep the air con pipe nice and cold and also think it looks pretty good.


 08-04-2010, 09:12 AM
#6
Registered User
Thread Starter
Join Date: May 2010
Posts: 10
Likes: 0
Received 0 Likes
on
0 Posts
Yes I am in the UK.
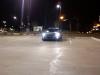
I keep meaning to get some night shots, will play about with the iso settings on my camera and hopefully get some up soon.
I put a hidden switch in the little triangle of plastic that is revealed when the drivers door is open by the hinges. Click it in and it turns on the 3 illuminated areas.
The fuse and engine cover cut out LED's are super bright, they dazzle you if you look straight at them, the ECU one not so much as I had to use the same slimmer LED's as my dayrunner headlights in there to get them to fit.


 08-04-2010, 01:07 PM
#15
Registered User
Thread Starter
Join Date: May 2010
Posts: 10
Likes: 0
Received 0 Likes
on
0 Posts
TBH it was only a reply notification on another thread of mine that regenerated my interest in this site, I rarely have the time to visit. :-(
Delete or merge this thread how ever you see fit.


 08-05-2010, 02:40 AM
#21
I made some poos
iTrader: (1)

Join Date: Sep 2005
Location: Pittsburgh, PA
Posts: 841
Likes: 0
Received 0 Likes
on
0 Posts
I like the individual pieces. They are all well executed and have a definitive theme to them. The problem I see is that it doesn't flow well. Each piece works individually, yet together, they don't really mesh.
I would pick a piece that you really like, then whatever the theme on that piece may be you should carry it over to the rest of them.
I would pick a piece that you really like, then whatever the theme on that piece may be you should carry it over to the rest of them.