rx8 project begins
#26
some more updates. starting to strip under belly of car ready for undersealant.
exhaust, heat shield,gearbox, cross members, and anti roll bars all need taken off.
i am a child
anyway

boot stripped out ready to start wiring install etc


then i needed to fit lambda sensor. there was a bung for one there i just welded a bolt over the top originally, but i know need it for afr

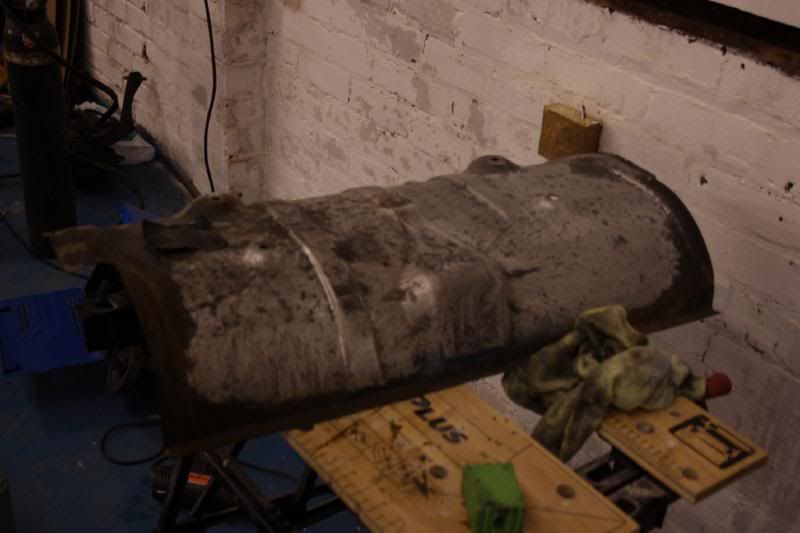
rubbing down heatshield ready for paint.

some goodies came today


clearly last painted didnt take strakes off

needs rubbed down. should be easy enough
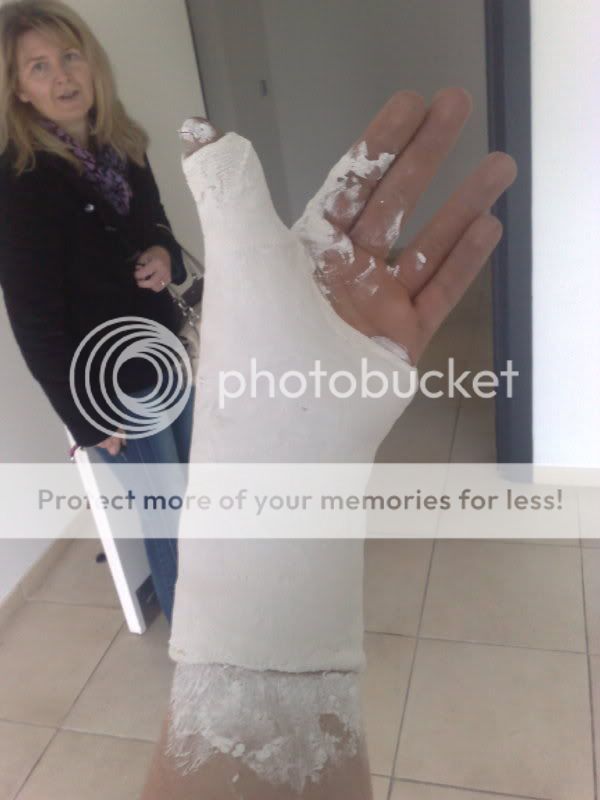
something i did while friend removed zorst for me. im a bit useless with one arm.

not bad for 14 years old
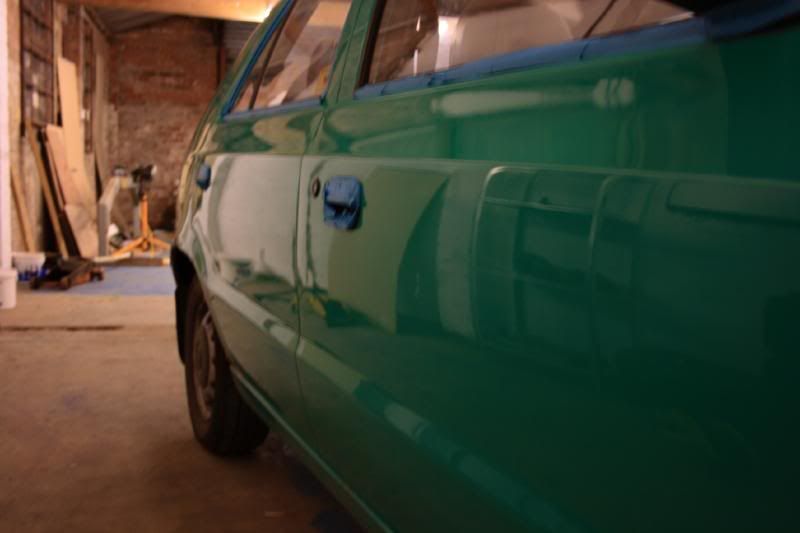
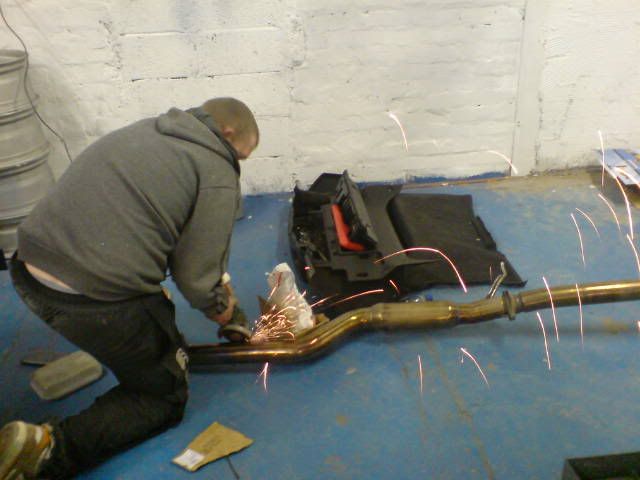
and ian grinding

easily amused

exhaust, heat shield,gearbox, cross members, and anti roll bars all need taken off.
i am a child

anyway

boot stripped out ready to start wiring install etc


then i needed to fit lambda sensor. there was a bung for one there i just welded a bolt over the top originally, but i know need it for afr


rubbing down heatshield ready for paint.


some goodies came today


clearly last painted didnt take strakes off

needs rubbed down. should be easy enough
something i did while friend removed zorst for me. im a bit useless with one arm.

not bad for 14 years old

and ian grinding

easily amused

#31
update:
brake discs arrived from america so can get that built up again
got gearbox out today. not bad for someone with one hand
you can see the heat shielf isnt too bad above the gearbox. but ill take it out and rub it down and underseal everything else
only took 6 hours
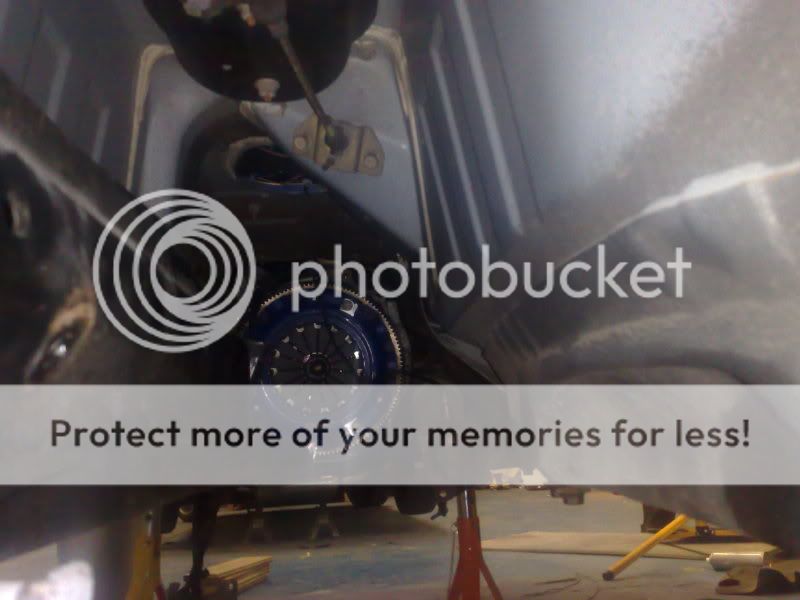

and got these for track days
wht ya think bronze or the same colour again
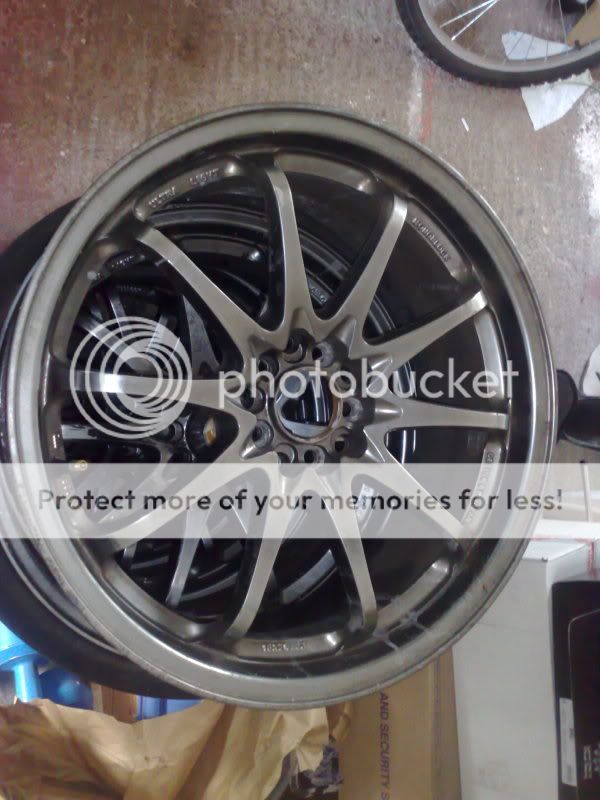

or this colour

brake discs arrived from america so can get that built up again
got gearbox out today. not bad for someone with one hand

you can see the heat shielf isnt too bad above the gearbox. but ill take it out and rub it down and underseal everything else
only took 6 hours


and got these for track days
wht ya think bronze or the same colour again


or this colour

#39
#40
Well today was a pain.
went to remove clutch to find a 5.5 and 6mm llen key didnt fit. 7/32 and 1/4 didnt fit. same again one to big one to small.
now its probably a 5.75 but i didnt have one. so i used a torque head bit. think a 35 or 25 can't remember.
pics: you can see how warn it is

new clutch and pressure plate


my work area:

To make matters wore when i went to put it all on. i found to bolts wouldn't catch and 2 holes threads had gone on my new flywheel. WHAT.
took flywheel off. realised it must be lined up wrong. lined it up and and marked 3 slots. went to put it on. still won't work. then realised its aligned wrong again. what are the chances. same mistake twice.
anyway heat shielding painted though needs rubbed down.

ready for underseal tomorrow

new bits arrived


went to remove clutch to find a 5.5 and 6mm llen key didnt fit. 7/32 and 1/4 didnt fit. same again one to big one to small.
now its probably a 5.75 but i didnt have one. so i used a torque head bit. think a 35 or 25 can't remember.
pics: you can see how warn it is

new clutch and pressure plate


my work area:

To make matters wore when i went to put it all on. i found to bolts wouldn't catch and 2 holes threads had gone on my new flywheel. WHAT.
took flywheel off. realised it must be lined up wrong. lined it up and and marked 3 slots. went to put it on. still won't work. then realised its aligned wrong again. what are the chances. same mistake twice.
anyway heat shielding painted though needs rubbed down.

ready for underseal tomorrow

new bits arrived


#43
#46
thanks guys
well brakes built up again.
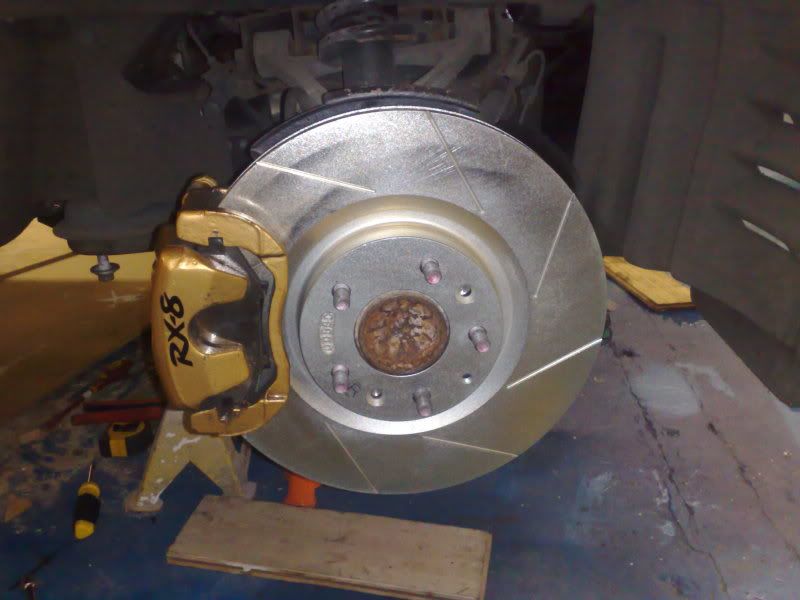
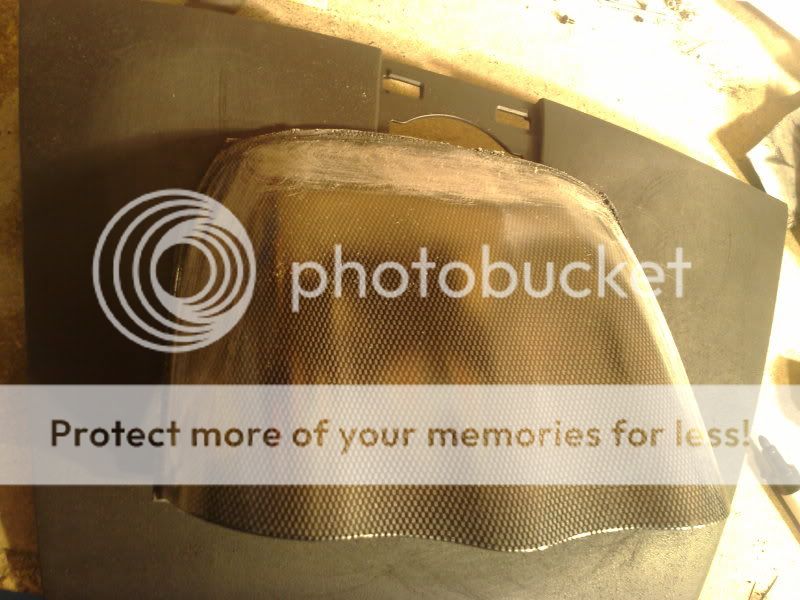
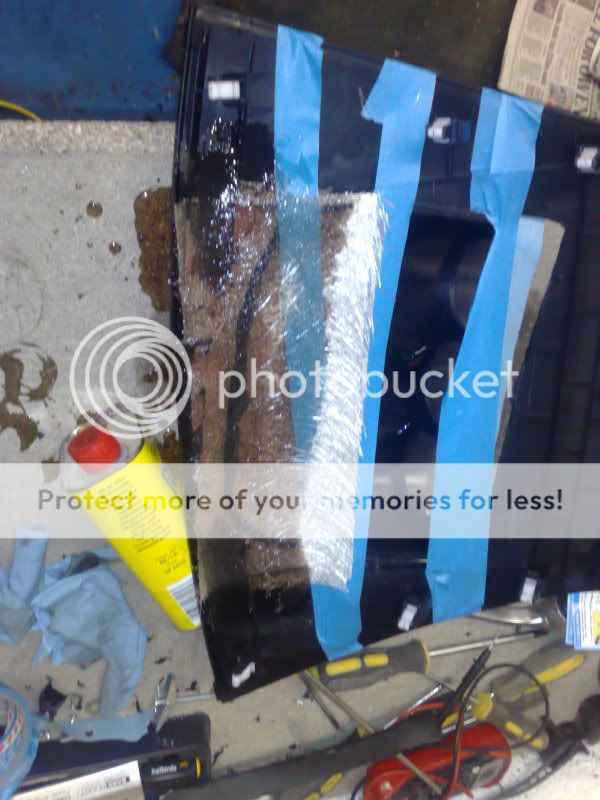
next custom gauge pod
buy cheap gauge pod. mark it up how you want.
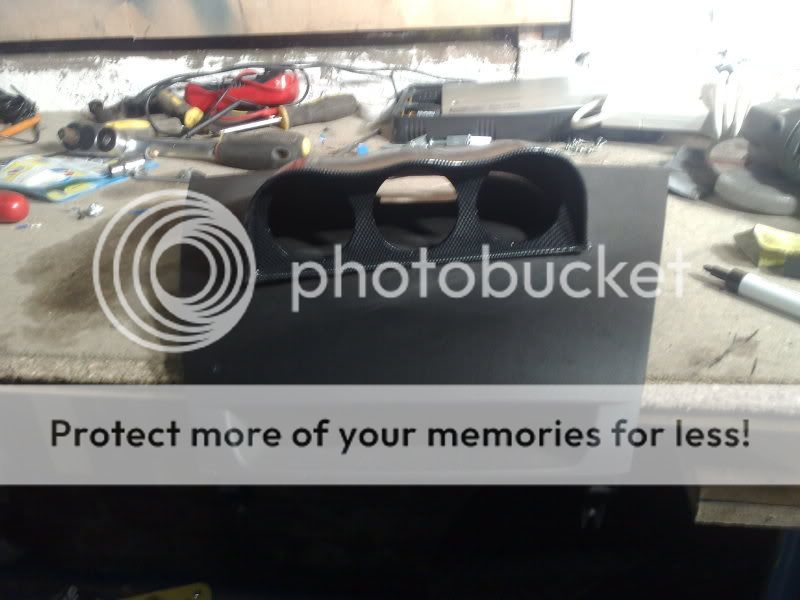
cut off sides
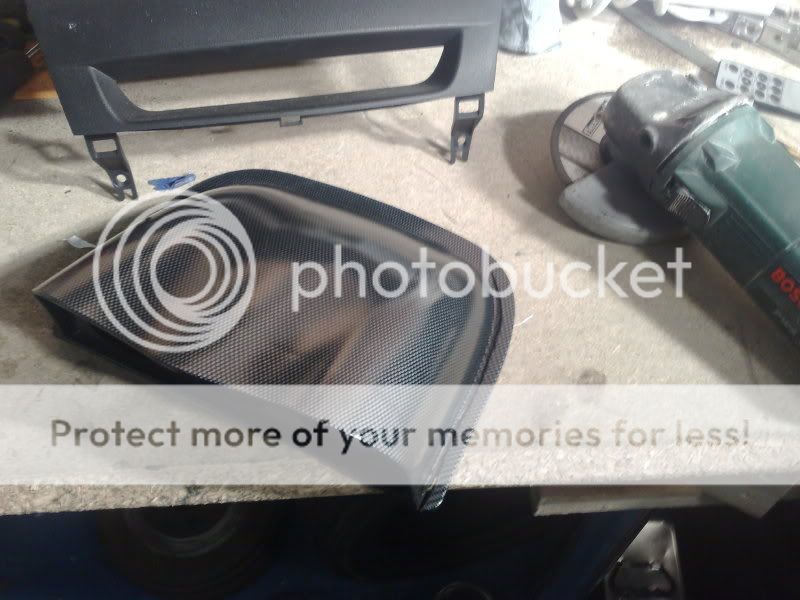
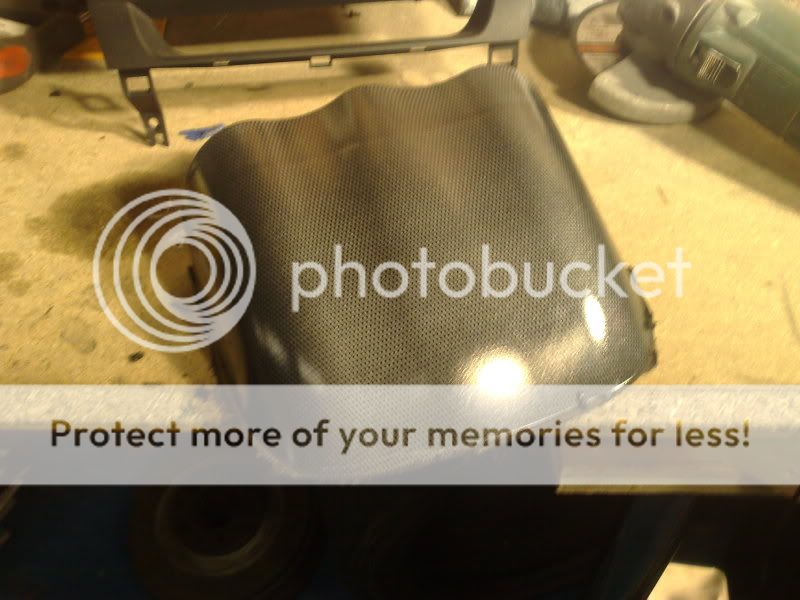
cut
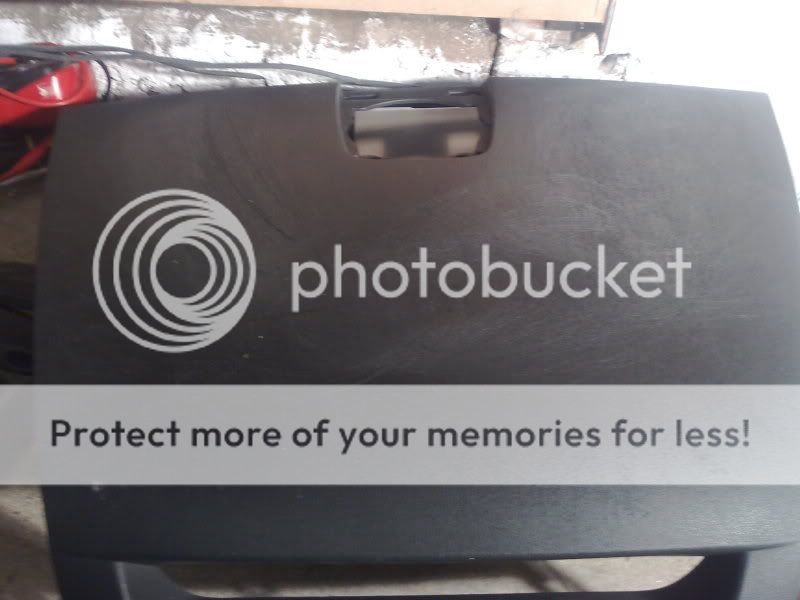
start fibreglassing. dont forget to rub down.
well brakes built up again.

next custom gauge pod
buy cheap gauge pod. mark it up how you want.

cut off sides


cut

start fibreglassing. dont forget to rub down.


#48
been working on the guage pod recently

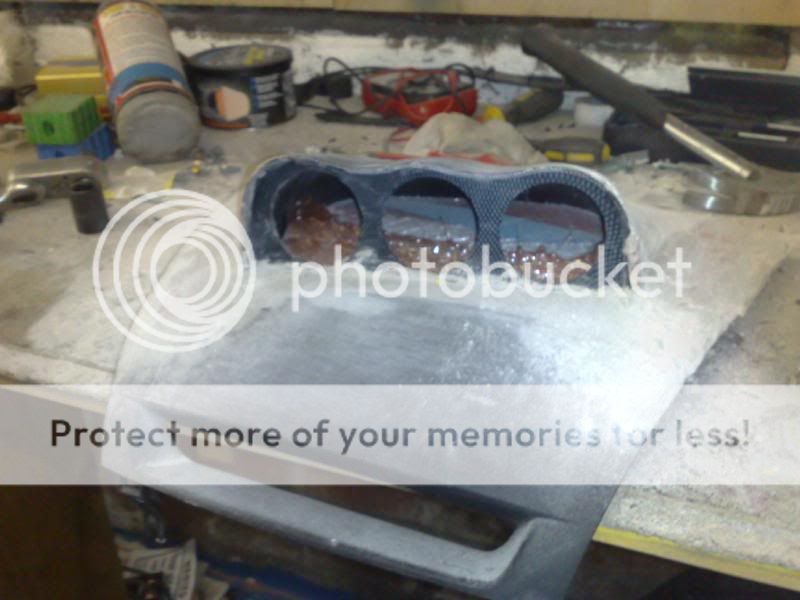
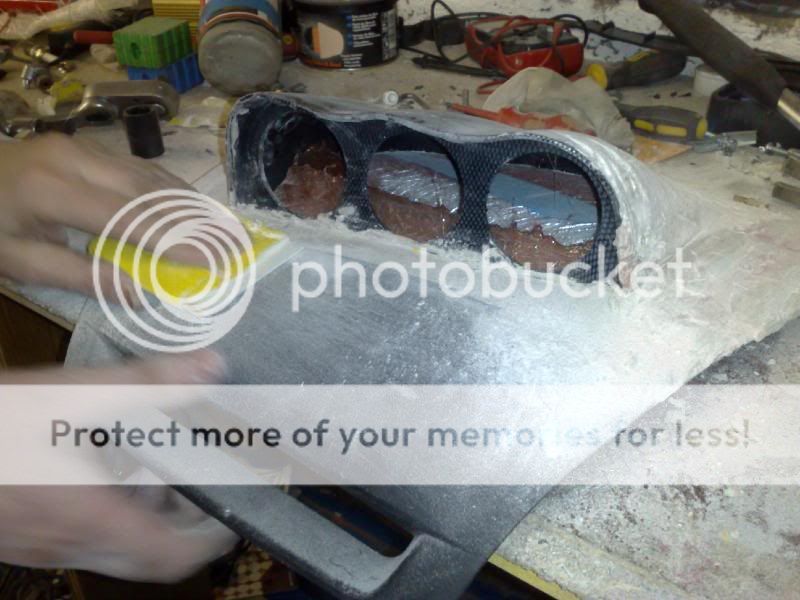
i got time to do a lil work on it today.
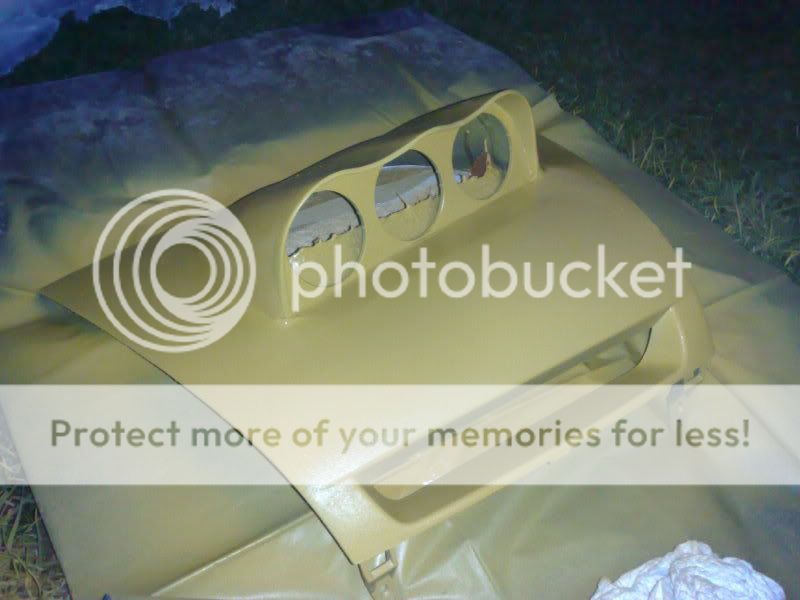
So i got it rubbed down, 60 grit, 120 grit, 320 wet and dry, then 600 grit. dont go any higher as you need the 2k or hi build primer to stick. once this is applied you can rub it down with 800, then 1200, then 1500.
so i got my plastic filler primer on.
just one coat so i can see where needs more filler


