rx8 project begins


 12-09-2008, 08:25 AM
#53
CraigRX8
Thread Starter

Join Date: Dec 2007
Location: Belfast, northern ireland
Posts: 259
Likes: 0
Received 0 Likes
on
0 Posts
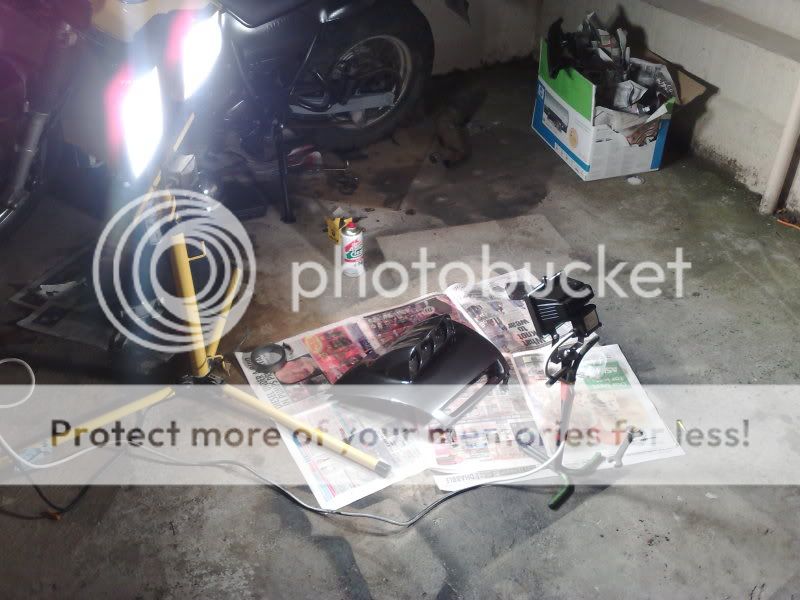
ok got the finger out....
drying infront of the oven on under 80oF
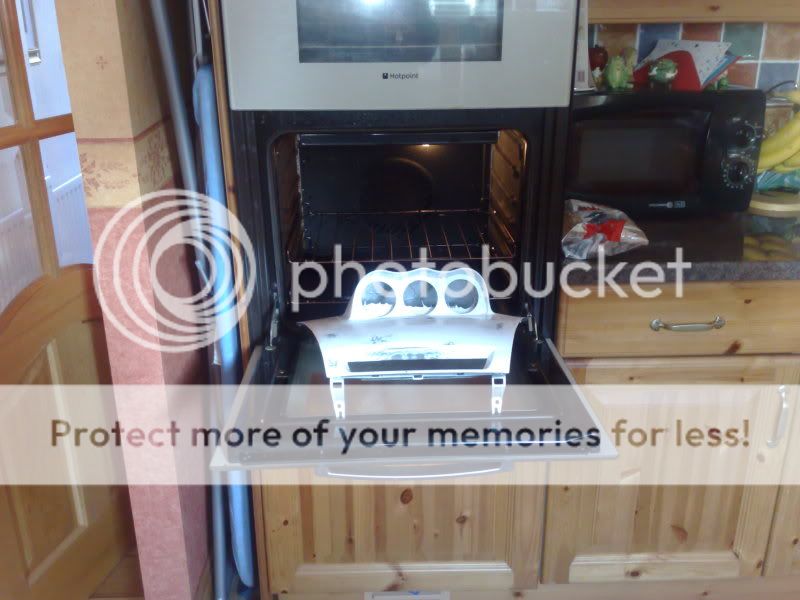
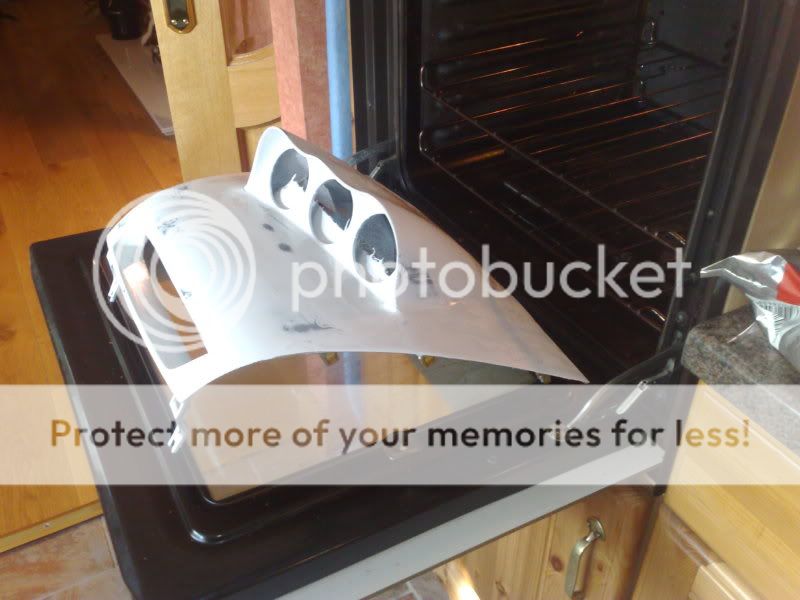
Everthing was really smooth id say ive spend in excess of 7 hours rubbing this thing down.
First of 3 coats of paint, then leaving it for 24 hours before lacquering it
drying infront of the oven on under 80oF
Everthing was really smooth id say ive spend in excess of 7 hours rubbing this thing down.
First of 3 coats of paint, then leaving it for 24 hours before lacquering it
12-09-2008, 08:57 AM
#54
space for rent
iTrader: (2)

Join Date: Aug 2006
Location: Kansas City, MO
Posts: 2,714
Likes: 0
Received 0 Likes
on
0 Posts
looks good. stupid me, i looked at the guage pod and thought the picture was flipped totally forgetting it's a RHD. i also vote for the bronze wheels.
great work.
great work.
 12-10-2008, 01:33 PM
#57
CraigRX8
Thread Starter
Join Date: Dec 2007
Location: Belfast, northern ireland
Posts: 259
Likes: 0
Received 0 Likes
on
0 Posts
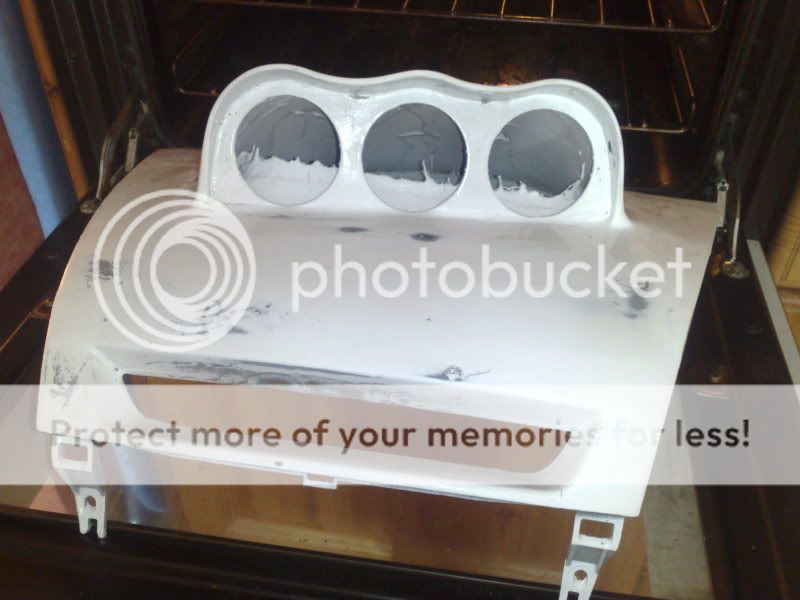
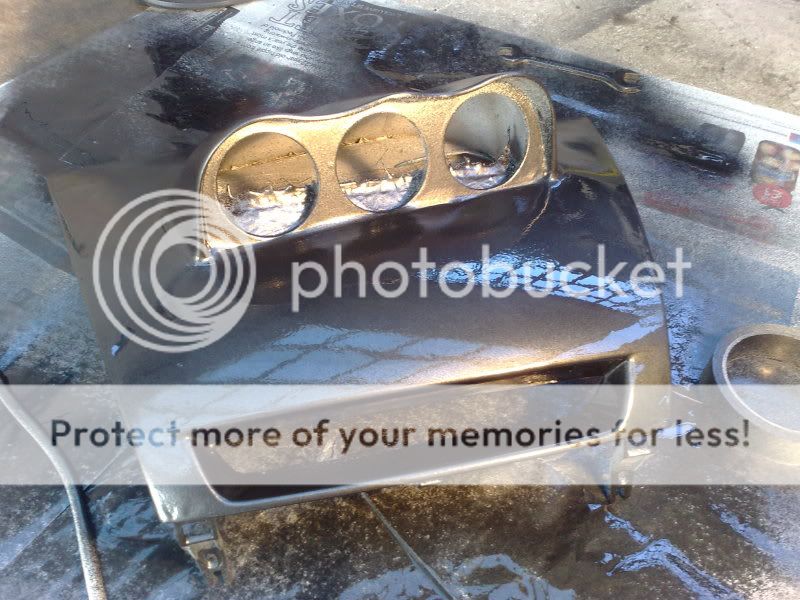
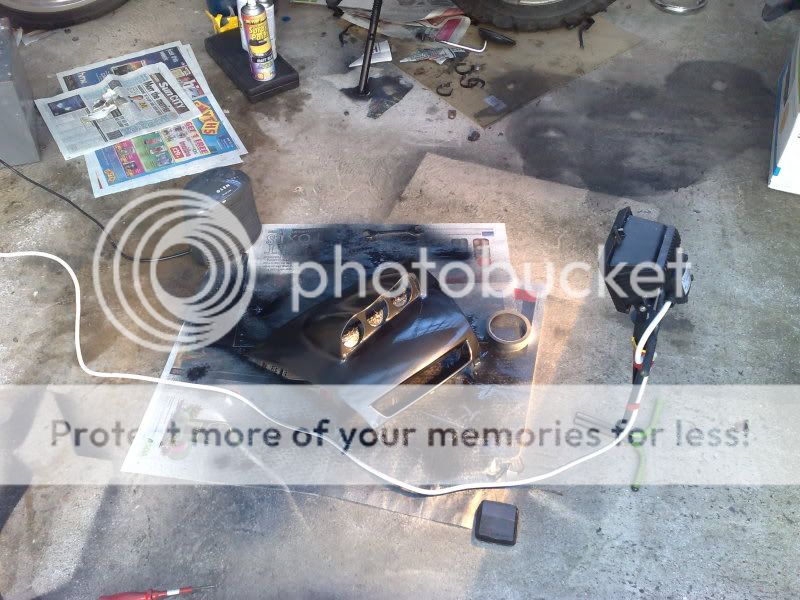
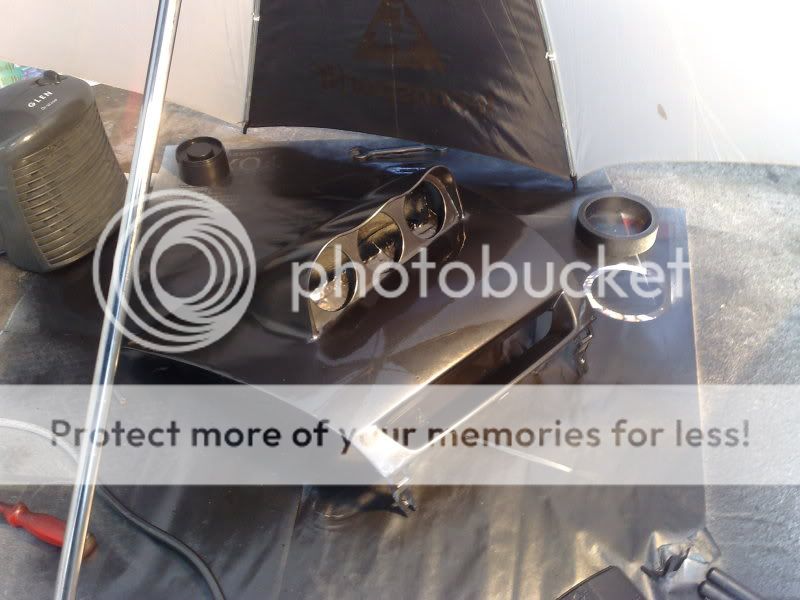
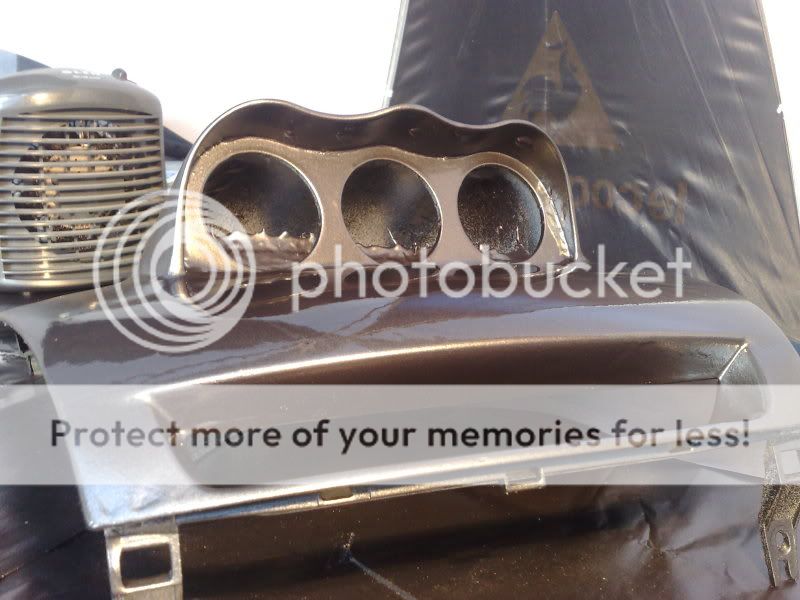
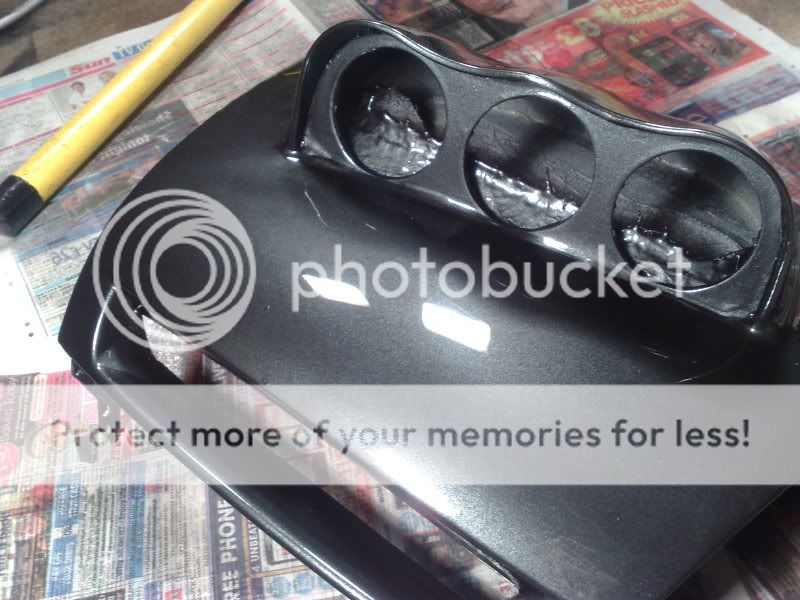
got clearcoat on. theres some tiny bits of grit in base coat. maybe two or three small bits. to be honest i wasnt expecting it to be perfect, i painted it in my driveway basically. so ill probably redo it at somepoint.
So i got the lacquer on. any advice on how long i should wait before flattening it and advice on rubbing it down, as theres alot of small bits hard to get into like the lips of the pod itself
thanks
pics


So i got the lacquer on. any advice on how long i should wait before flattening it and advice on rubbing it down, as theres alot of small bits hard to get into like the lips of the pod itself
thanks
pics
12-10-2008, 01:39 PM
#58

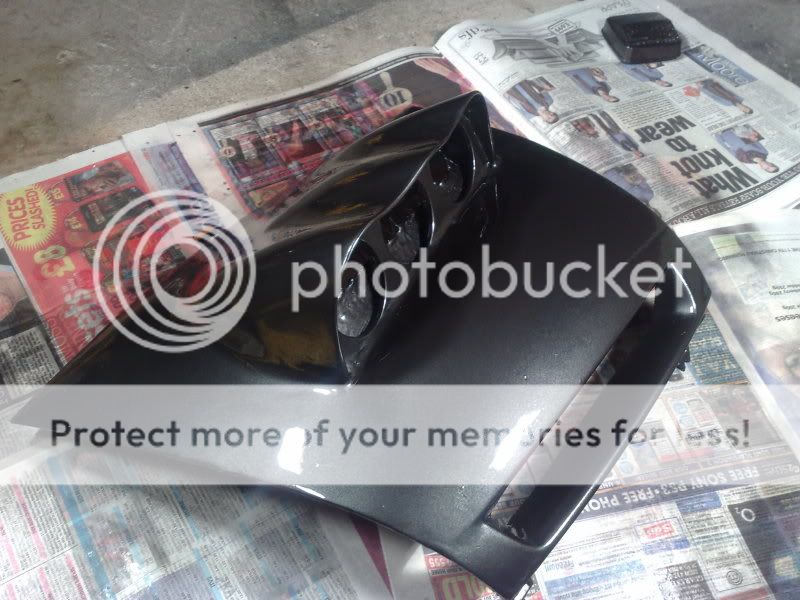
Small advice... paint it again with some matte colour, like black or so.
This kind of paint, like the pod itself will make a lot of reflexes on your windshield.
That's the only thing i hate about my lotek pod, but it keeps the stock plastick colour.
This kind of paint, like the pod itself will make a lot of reflexes on your windshield.
That's the only thing i hate about my lotek pod, but it keeps the stock plastick colour.
12-10-2008, 01:48 PM
#59
CraigRX8
Thread Starter
Join Date: Dec 2007
Location: Belfast, northern ireland
Posts: 259
Likes: 0
Received 0 Likes
on
0 Posts
thanks for the advice. i didnt think that about windscreen.
If i paint it matt i want to be able to seal it without getting a satin finish. any ideas
If i paint it matt i want to be able to seal it without getting a satin finish. any ideas

 Can't wait to see the final outcome.
01-07-2009, 02:17 AM
Can't wait to see the final outcome.
01-07-2009, 02:17 AM
#63
CraigRX8
Thread Starter
Join Date: Dec 2007
Location: Belfast, northern ireland
Posts: 259
Likes: 0
Received 0 Likes
on
0 Posts
Ain't much been happening recently but i got a 106 to run about in and since its now mot'd and taxed i think its time to get some work done before i get back to work.
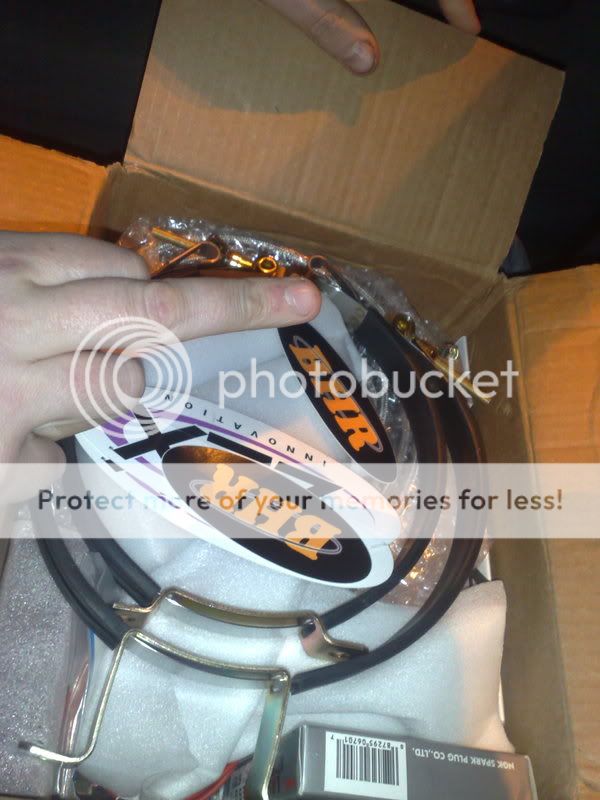
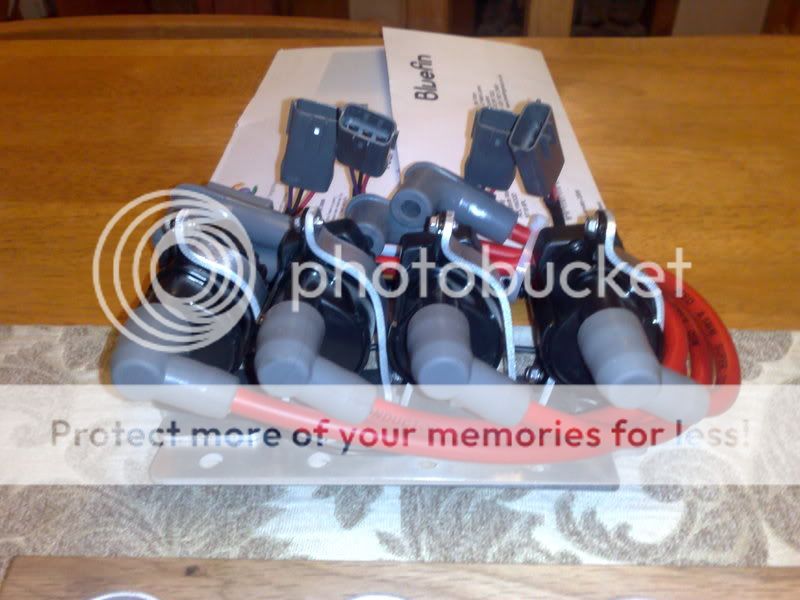
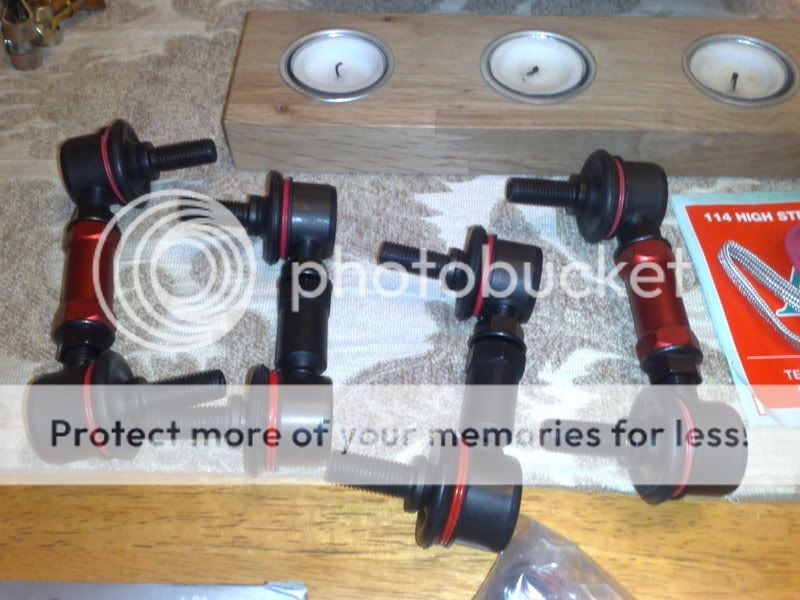
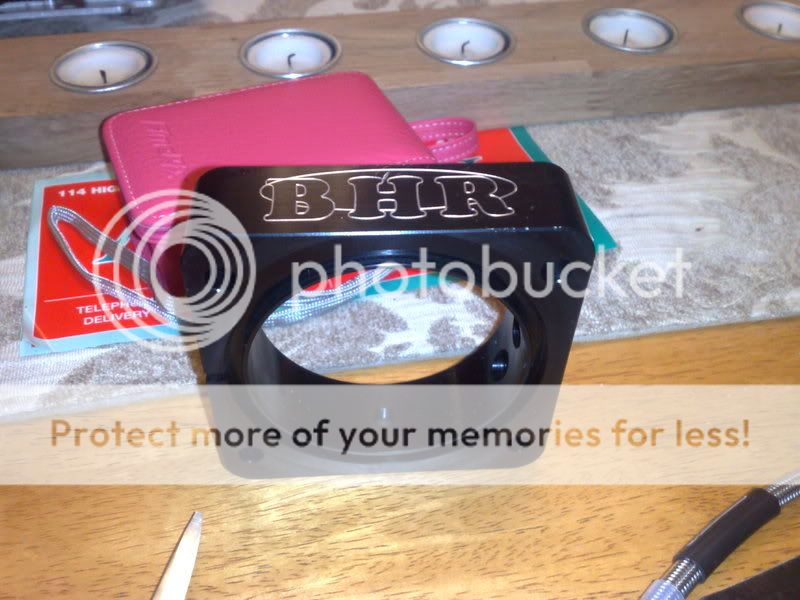
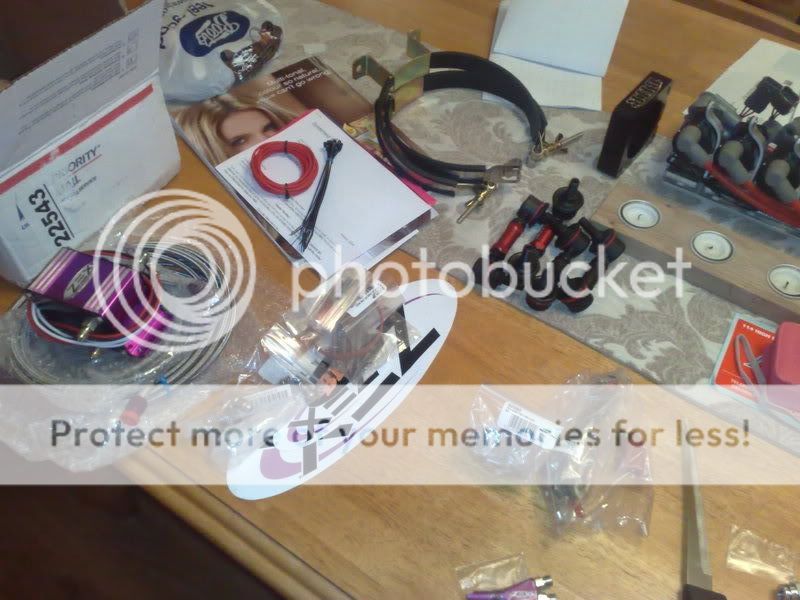
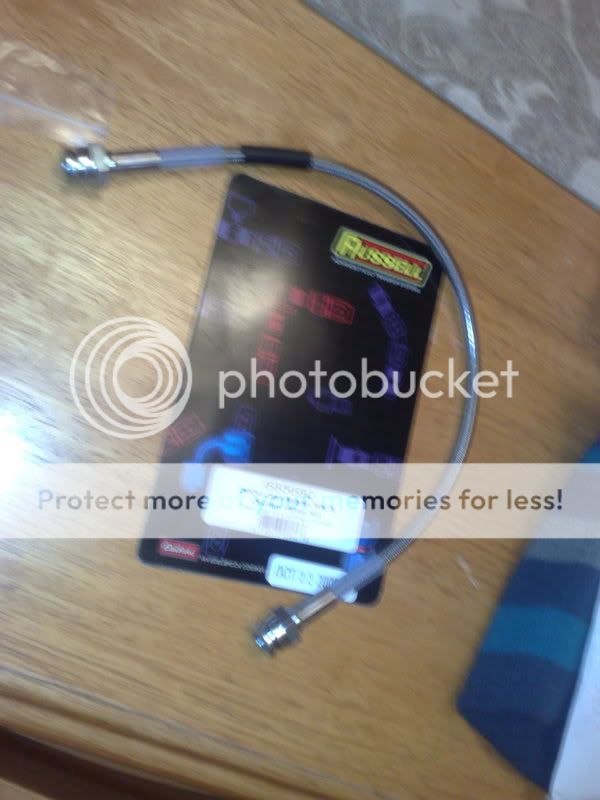
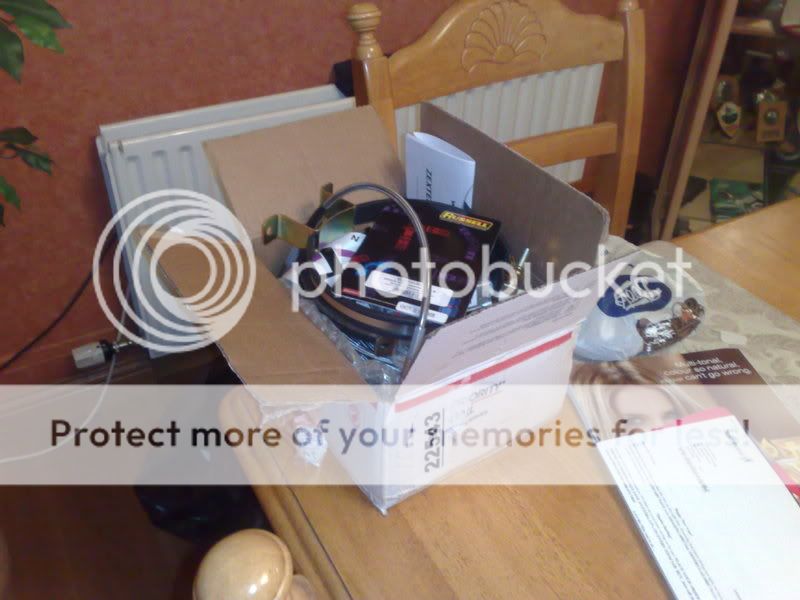
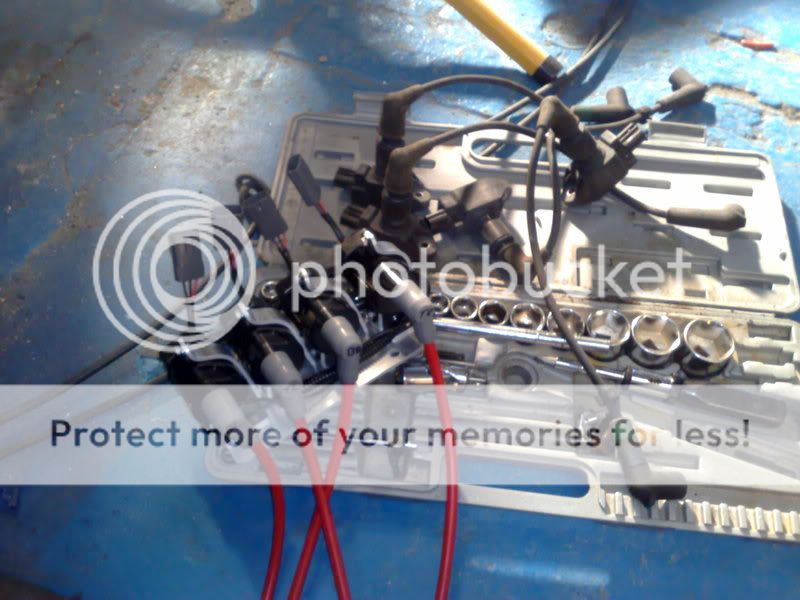
Some parts arrived today
List:
Yukon coil packs
8.5mm MSD leads
Spark plugs
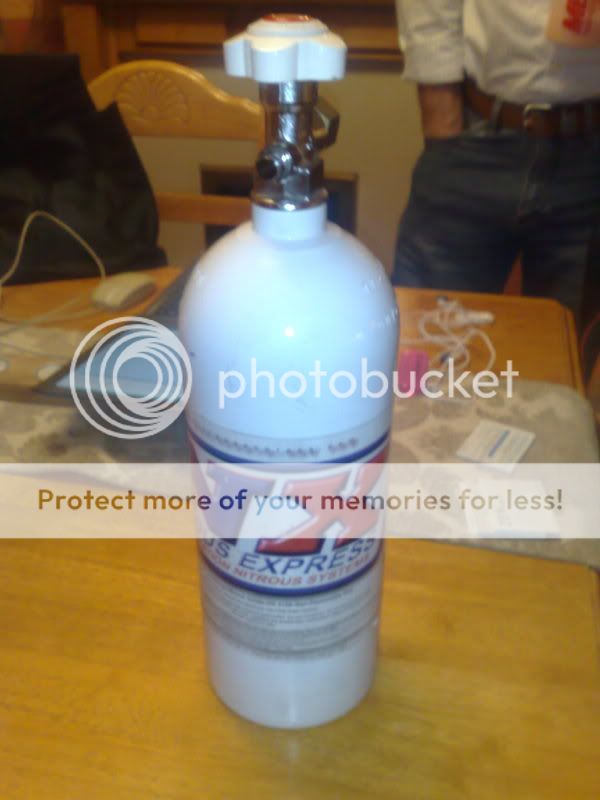
Zex NOS kit 55 wet shot
BHR throttle body spacer and jets.
Stainless steel clutch line
Evo r adjustable drop links for my sway bars
What was missing, my braided brake lines , charles will be posting them out soon

Some parts arrived today
List:
Yukon coil packs
8.5mm MSD leads
Spark plugs
Zex NOS kit 55 wet shot
BHR throttle body spacer and jets.
Stainless steel clutch line
Evo r adjustable drop links for my sway bars
What was missing, my braided brake lines , charles will be posting them out soon
01-07-2009, 05:43 PM
#64
CraigRX8
Thread Starter
Join Date: Dec 2007
Location: Belfast, northern ireland
Posts: 259
Likes: 0
Received 0 Likes
on
0 Posts
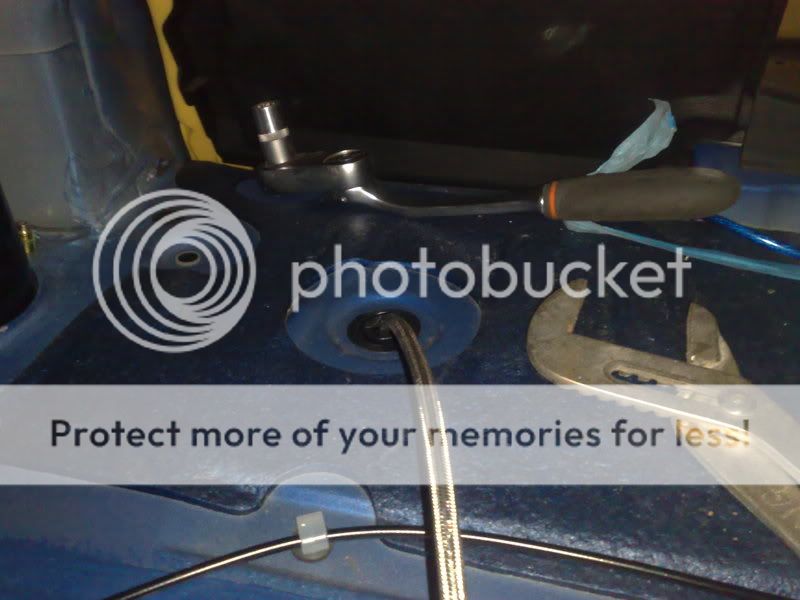
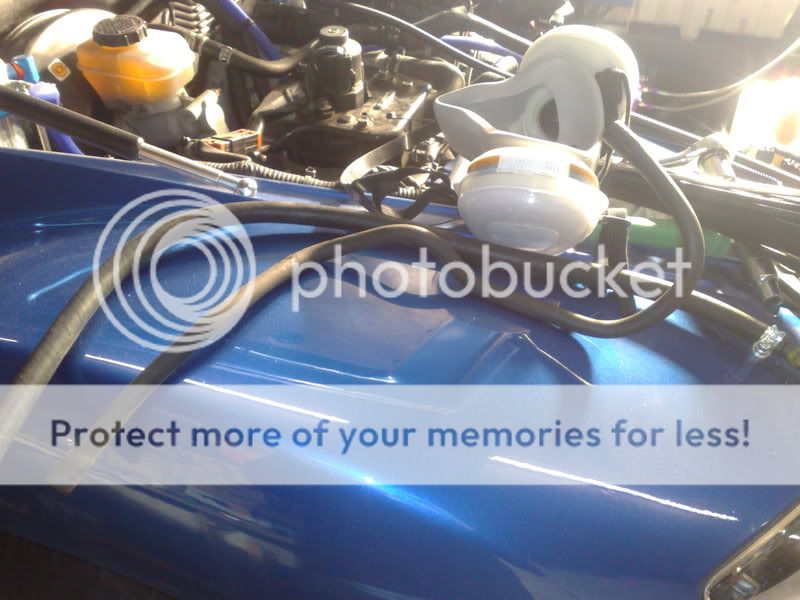
Ok so today i made a new panel to house my battery switch of for the battery in the boot. Another security feature for when the car is in a dodgy area. new button up is a 12v power supply, then the engine start button and to the right the NOS button.

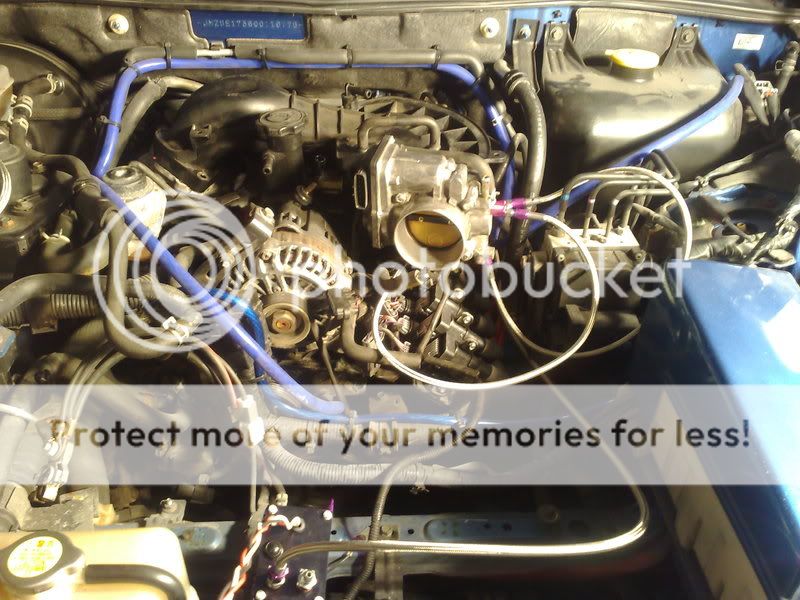
With that done and out of the way i moved on to the coilpacks
air filter removed
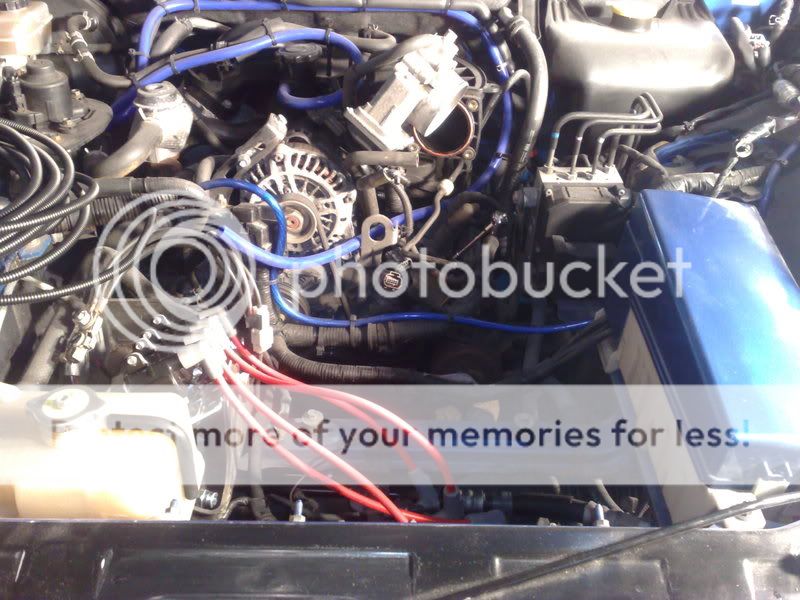
new and old
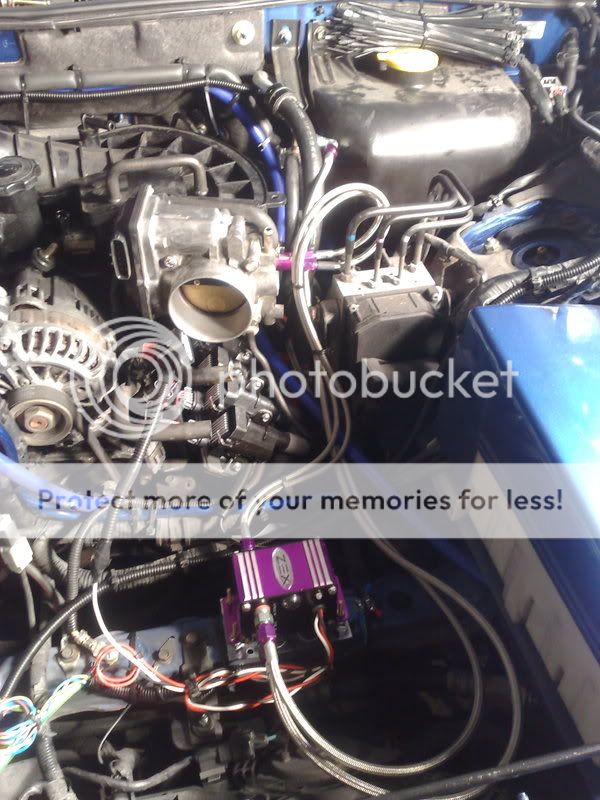
Packs are now fitted
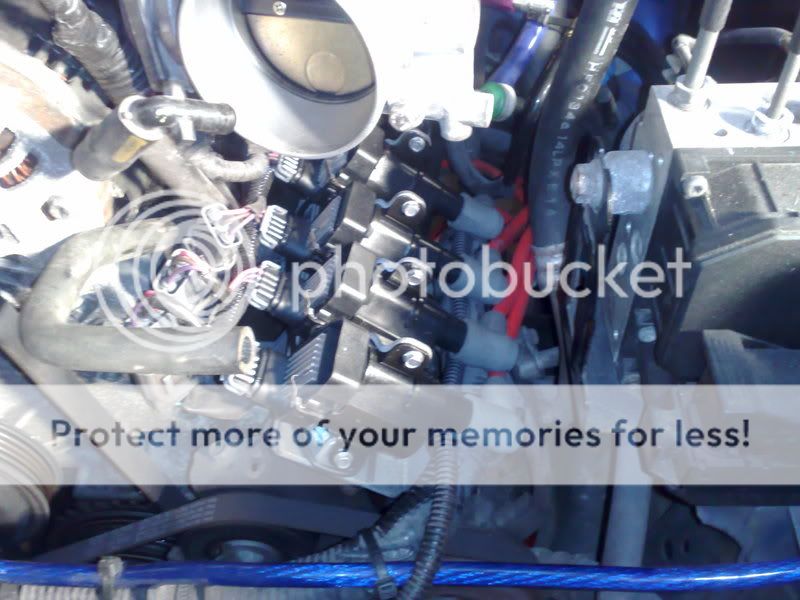
braided clutch line fitted
While throttle body was off for the bhr spacer going in i cleaned it up a wee bit...

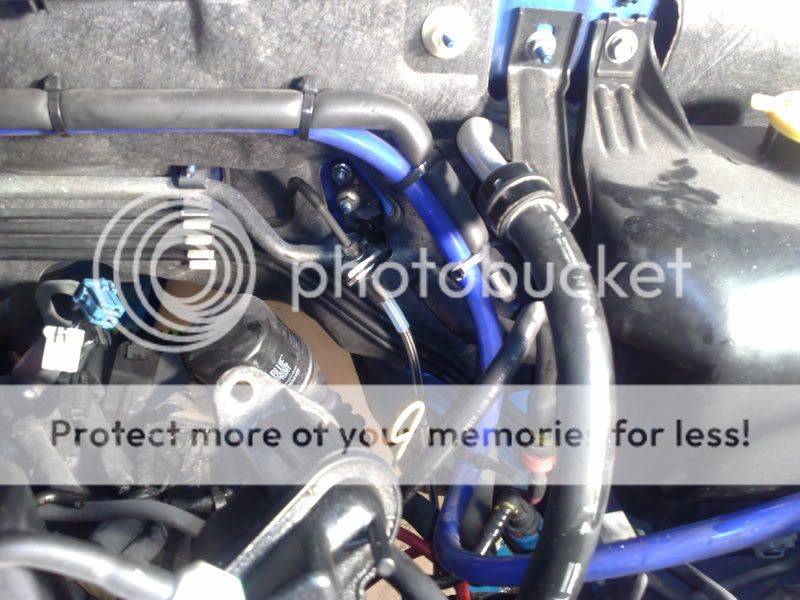
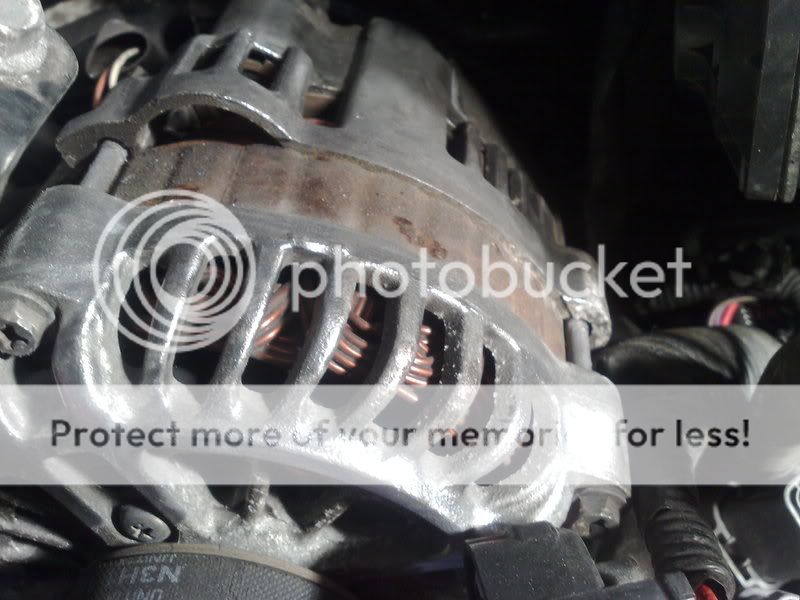
started on alternator too
Ok so back to the nos i left the instructions at home and couldnt remember how to tap into the fuel, so i got it all wired up, and the hoses ran to where they need to go

With that done and out of the way i moved on to the coilpacks
air filter removed
new and old
Packs are now fitted
braided clutch line fitted
While throttle body was off for the bhr spacer going in i cleaned it up a wee bit...
started on alternator too
Ok so back to the nos i left the instructions at home and couldnt remember how to tap into the fuel, so i got it all wired up, and the hoses ran to where they need to go


 01-08-2009, 02:34 AM
#72
CraigRX8
Thread Starter
Join Date: Dec 2007
Location: Belfast, northern ireland
Posts: 259
Likes: 0
Received 0 Likes
on
0 Posts
THaanks for the comments. to be honest im not keen on a glossy interior either which is why im going to send it off to be flocked professionally.
All work is carried out in my sparetime. All i need is your turbo alec
All work is carried out in my sparetime. All i need is your turbo alec
 01-11-2009, 02:19 PM
#74
CraigRX8
Thread Starter
Join Date: Dec 2007
Location: Belfast, northern ireland
Posts: 259
Likes: 0
Received 0 Likes
on
0 Posts
Didn't get much done this weekend but got a bracket made and fitted for the control unit because the braided hose was hitting the conduit
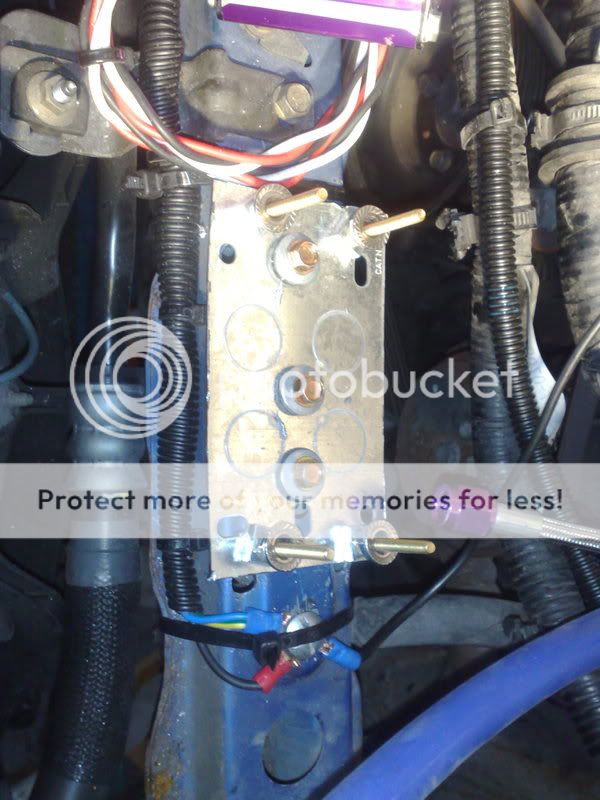
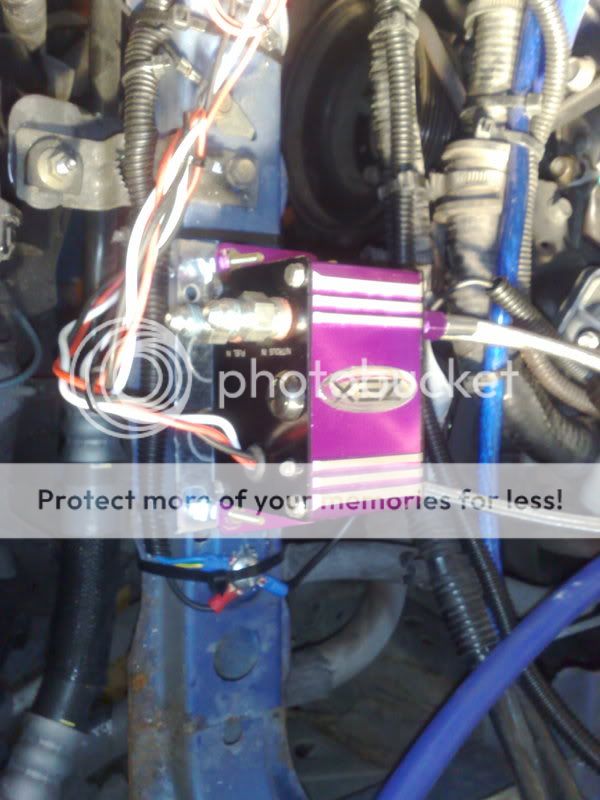
trhen i needed to replace/upgrade fuel line for a 12 bar one and t in to it
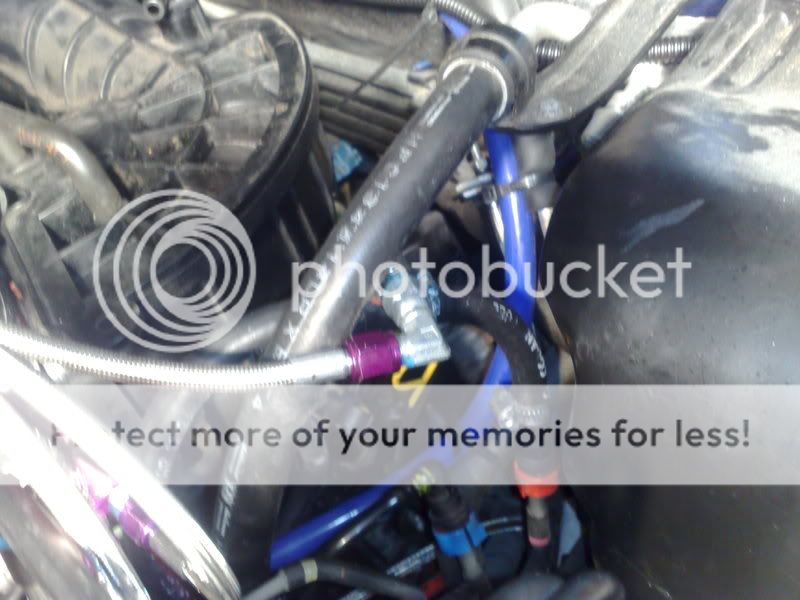
finished with nos
trhen i needed to replace/upgrade fuel line for a 12 bar one and t in to it
finished with nos
01-13-2009, 05:34 PM
#75
CraigRX8
Thread Starter
Join Date: Dec 2007
Location: Belfast, northern ireland
Posts: 259
Likes: 0
Received 0 Likes
on
0 Posts
Bit more progress tonight, Heatshields installed (exhaust and gearbox) this time bolt so no rattles. New earth strap for exhaust fitted.
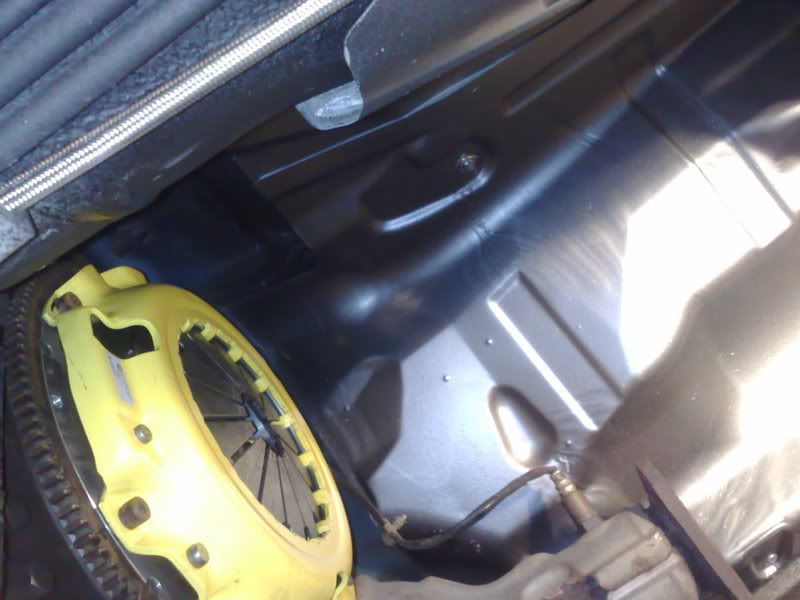

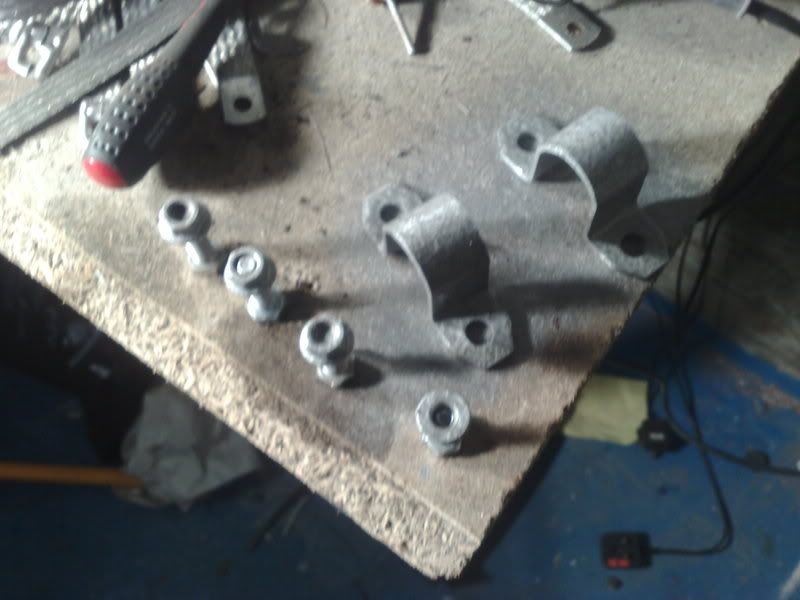
Painted sway bars, and rubbed down the rusted brackets for the sway bars, and then galvanised. nuts as well.
before:
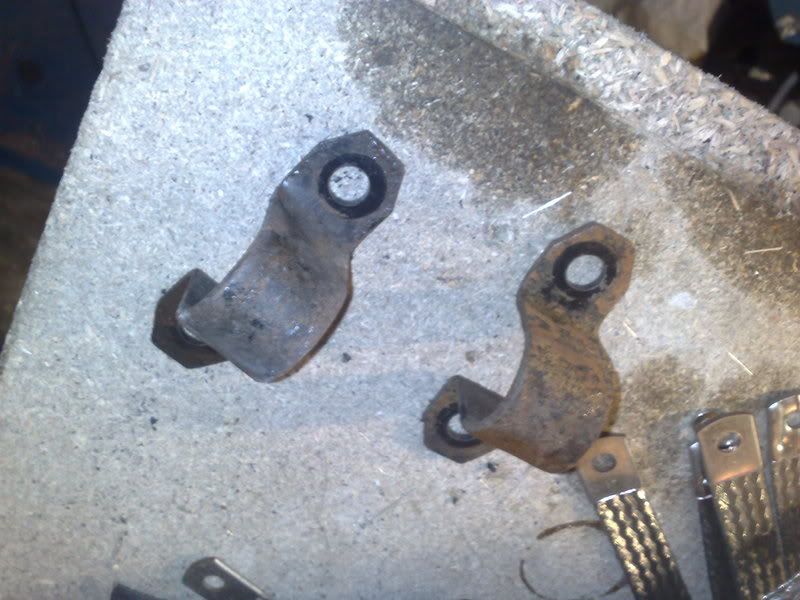
After:
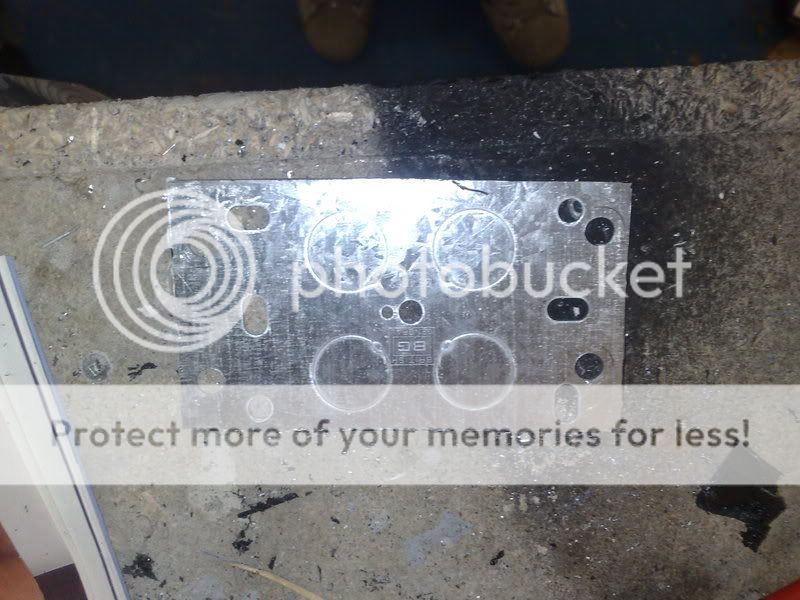
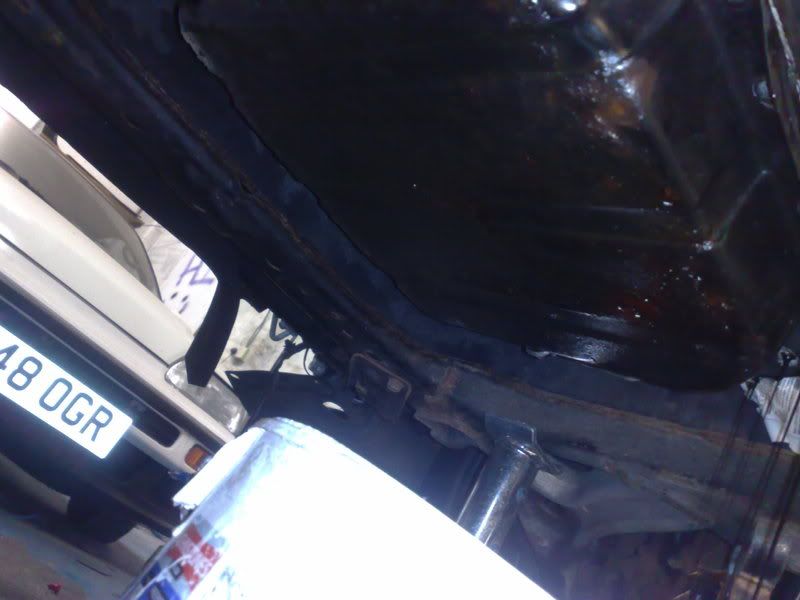
Then, now this made me laugh, not only is it bad enough my 4 year old mazda oil sump has rusted but the 19mm bolt has corroded so much it just ringed. Great. I needed tro remove the sump but this meant MESS. removed all 6mm bolts and i got covered in oil.
Crap pic
Painted sway bars, and rubbed down the rusted brackets for the sway bars, and then galvanised. nuts as well.
before:
After:
Then, now this made me laugh, not only is it bad enough my 4 year old mazda oil sump has rusted but the 19mm bolt has corroded so much it just ringed. Great. I needed tro remove the sump but this meant MESS. removed all 6mm bolts and i got covered in oil.
Crap pic