When you click on links to various merchants on this site and make a purchase, this can result in this site earning a commission. Affiliate programs and affiliations include, but are not limited to, the eBay Partner Network.
Major milestone achieved! The engine and transmission are officially installed!
As expected, the load leveler interfered with the install. Here is the visualization of the interference. It's a race car with bumps and bruises so I don't care too much about the scratches I added. If it was a clean street car, it would bother me.
So when I got to that point, I supported the engine and trans from underneath with my floor jack and swapped the load leveler for a good ole chain. That gave me a lot more clearance as you can see.
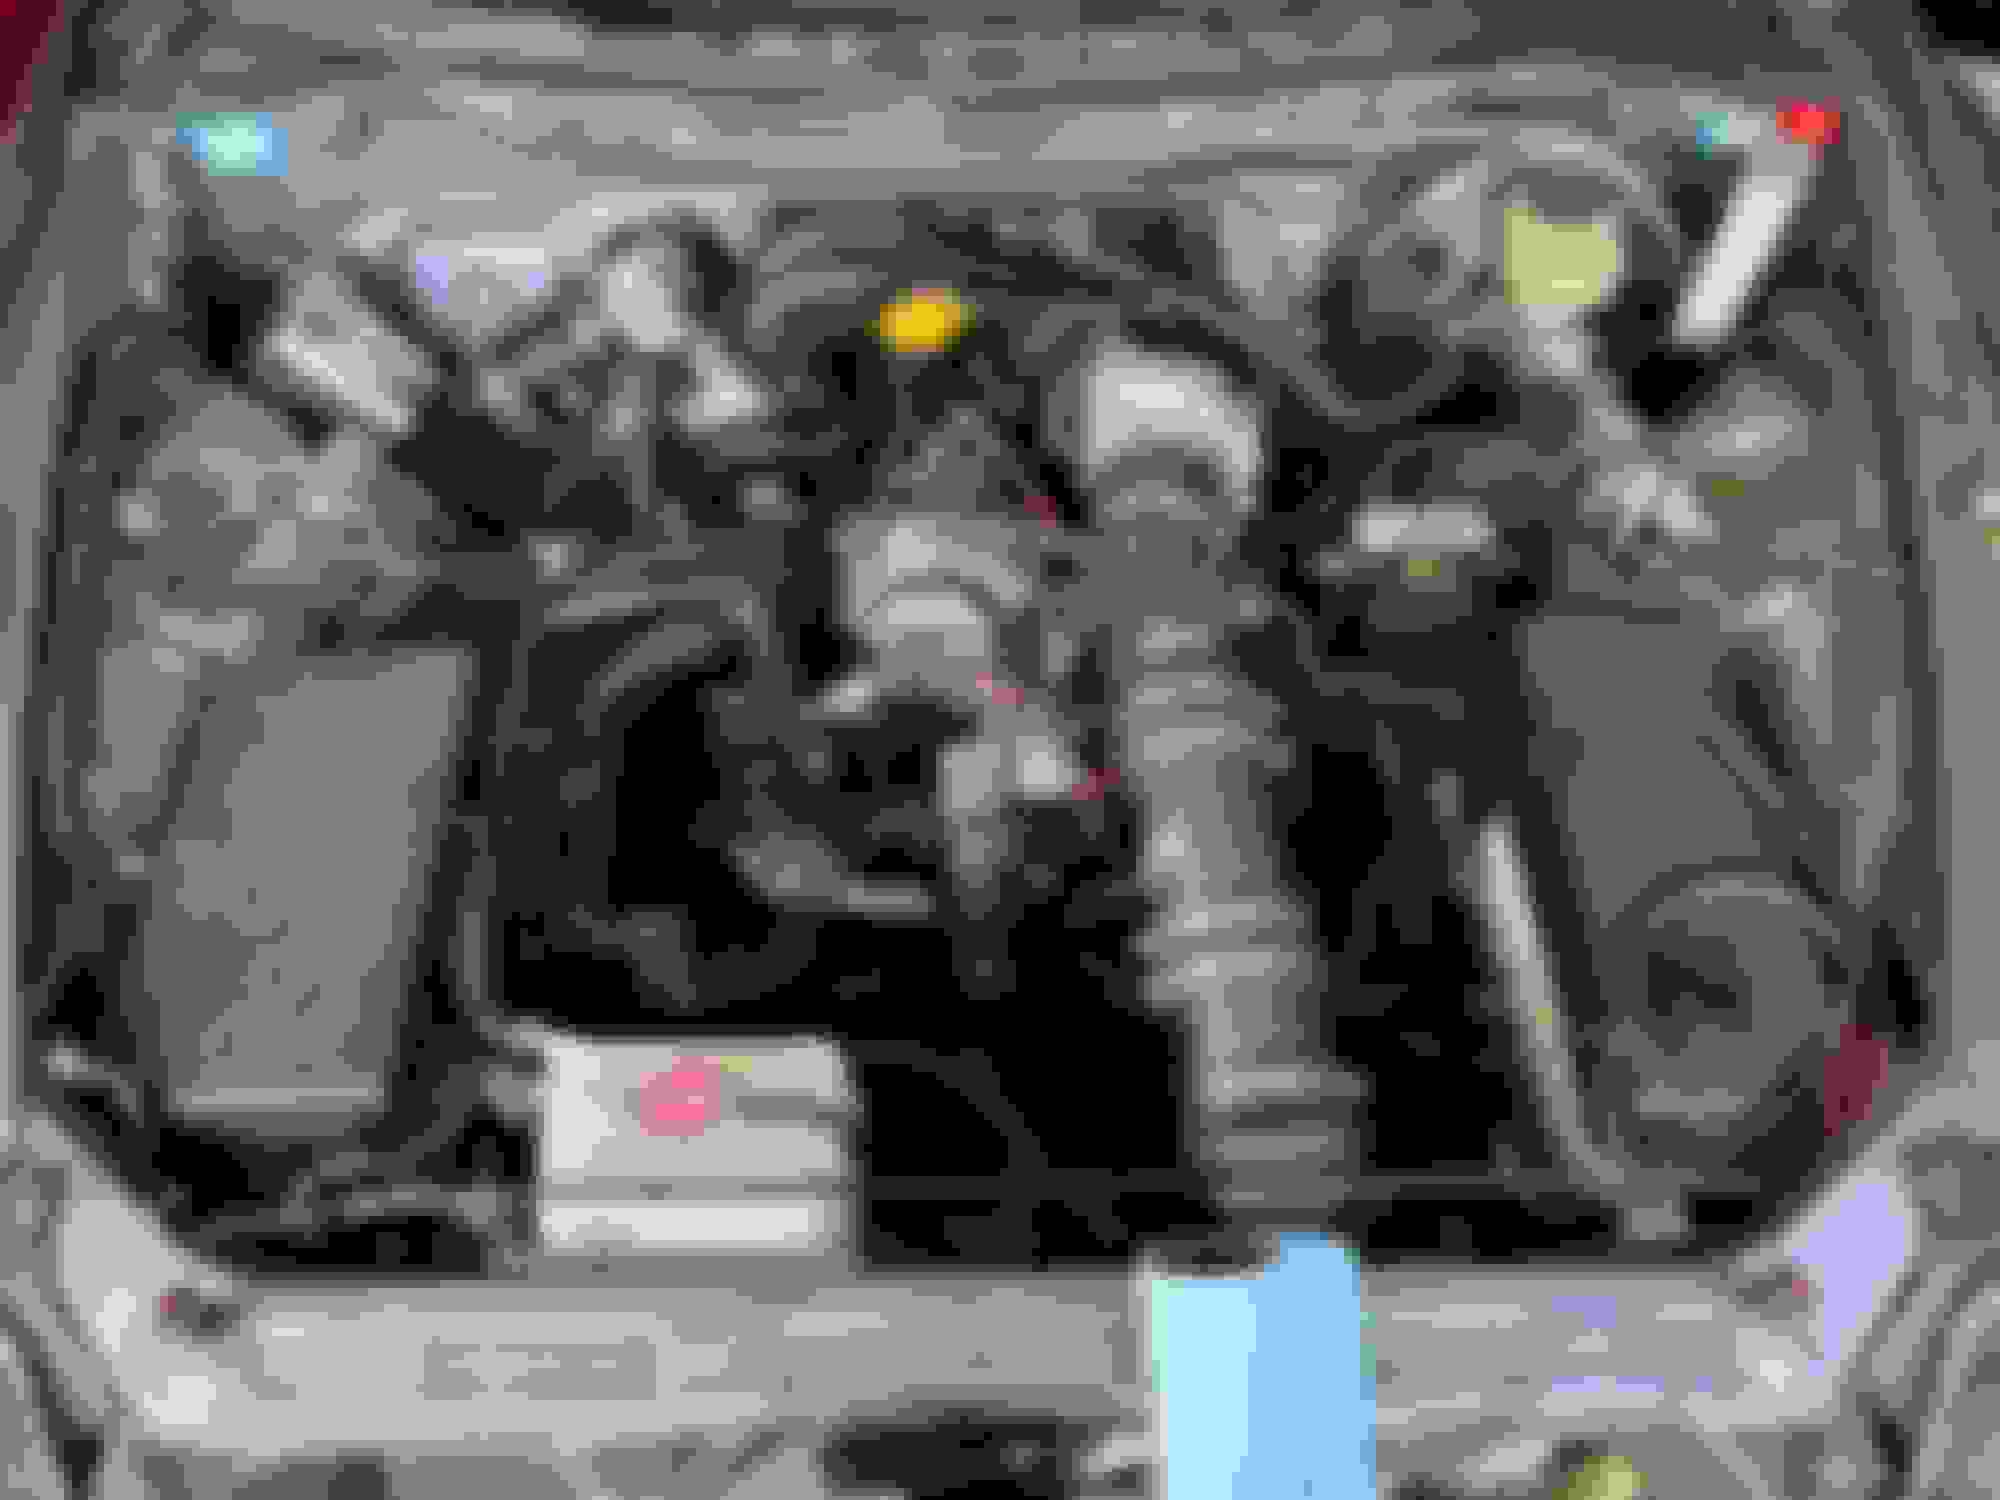
From there just slowly got the engine in position. It was a bit awkward to install. I had to resort to sometimes using the hoist and other times using the jack from underneath but I finally got the engine sitting on it's engine mounts. Took 1:45 working slowly by myself. Not too bad. I lost about 15-30 minutes trying to find what was causing the driver side to not seat into the engine mount. Took me a while to realize that the rubber mount is meant to 'slot' into part of the aluminum bracket and they were interfering with each other. Oops.
The oil filter took a beating so if I ever do this again, I will install w/o the oil filter and cover the area with something like a latex glove.
The PPF is a heavy beast! Much heavier than the NA Miata. I used the jack to lift that into position rather than strain my body.
Installed the starter and started connecting the wiring under the car while it was on jack stands. Now need to get the top end of the engine and 'accessories' assembled...
TO DO list:
- install the UIM
- install the ECU
- figure out which of the various connectors I found on the driver side of the engine are actually still being used and where they go
- coolant hoses
- etc etc
I suspect the electrical connectors are going to be head scratchers. I lost my old disassembly pics and it doesn't exactly match OEM configuration with all the emissions deleted. Hopefully, the FSM can help me sort this out. Thanks for following along.
Last edited by gracer7-rx7; 09-30-2024 at 12:37 PM.
Almost forgot... I weighed the car before installing the engine trans. 2,273 lbs. Ignore the corner weights. Those are not accurate, scales were not level. No engine, trans, exhaust, seat, drive shaft, front bumper, hood.
It does have an unknown quantity of fuel in it still and the rear wing is installed, roll cage, fire system.
Last edited by gracer7-rx7; 09-30-2024 at 12:50 PM.
Made a bunch of progress on the getting the car ready for its first start.
Intake is together.
Started installing the coolant system together. Was able to cut and reuse the 2 stock upper radiator hoses. Will need to do something custom for the lower radiator hose since the stock one won�t fit on this cross flow, dual pass Ron Davis radiator.
i also discovered that I ordered the wrong coolant hose that goes between the thermostat housing and the bottom of the coolant overflow tank. Looks like I�ll have 2 new oem hoses to post for sale soon.
Temporarily installed the new oem coolant tank.
Installed the ecu and related parts in the black box.
I had installed a new clutch slave so decided to bleed that. I tried to suck out the 8 year old brake fluid from the reservoir but couldn�t figure out how to do so. So I tried to flush it out via the driver side caliper. Discovered that the bleeder was clogged so grabbed a bleeder screw off one of my Miata�s spare front caliper. Used my mityvac handheld vacuum pump to suck the reservoir dry via the caliper bleeder screw. Then repeated the process with the slave bleeder. Then refilled the brake reservoir with fresh Motul 660. Repeated the vacuum bleed of the caliper and slave and called it good enough for now. Will bleed and flush the system again more thoroughly later.
I also tackled maintenance on the rear diff. Drained the old oil. Pumped 1/2 quart of oil through it to flush out any old oil. Filled it up with 1 quart of Torco 80-90 and topped up with 1/2 quart of Torco 75-90. The oil came with the car. Magus had a lot of good things to say about this oil so I�m going to try it.
I hate the stench of diff oil�
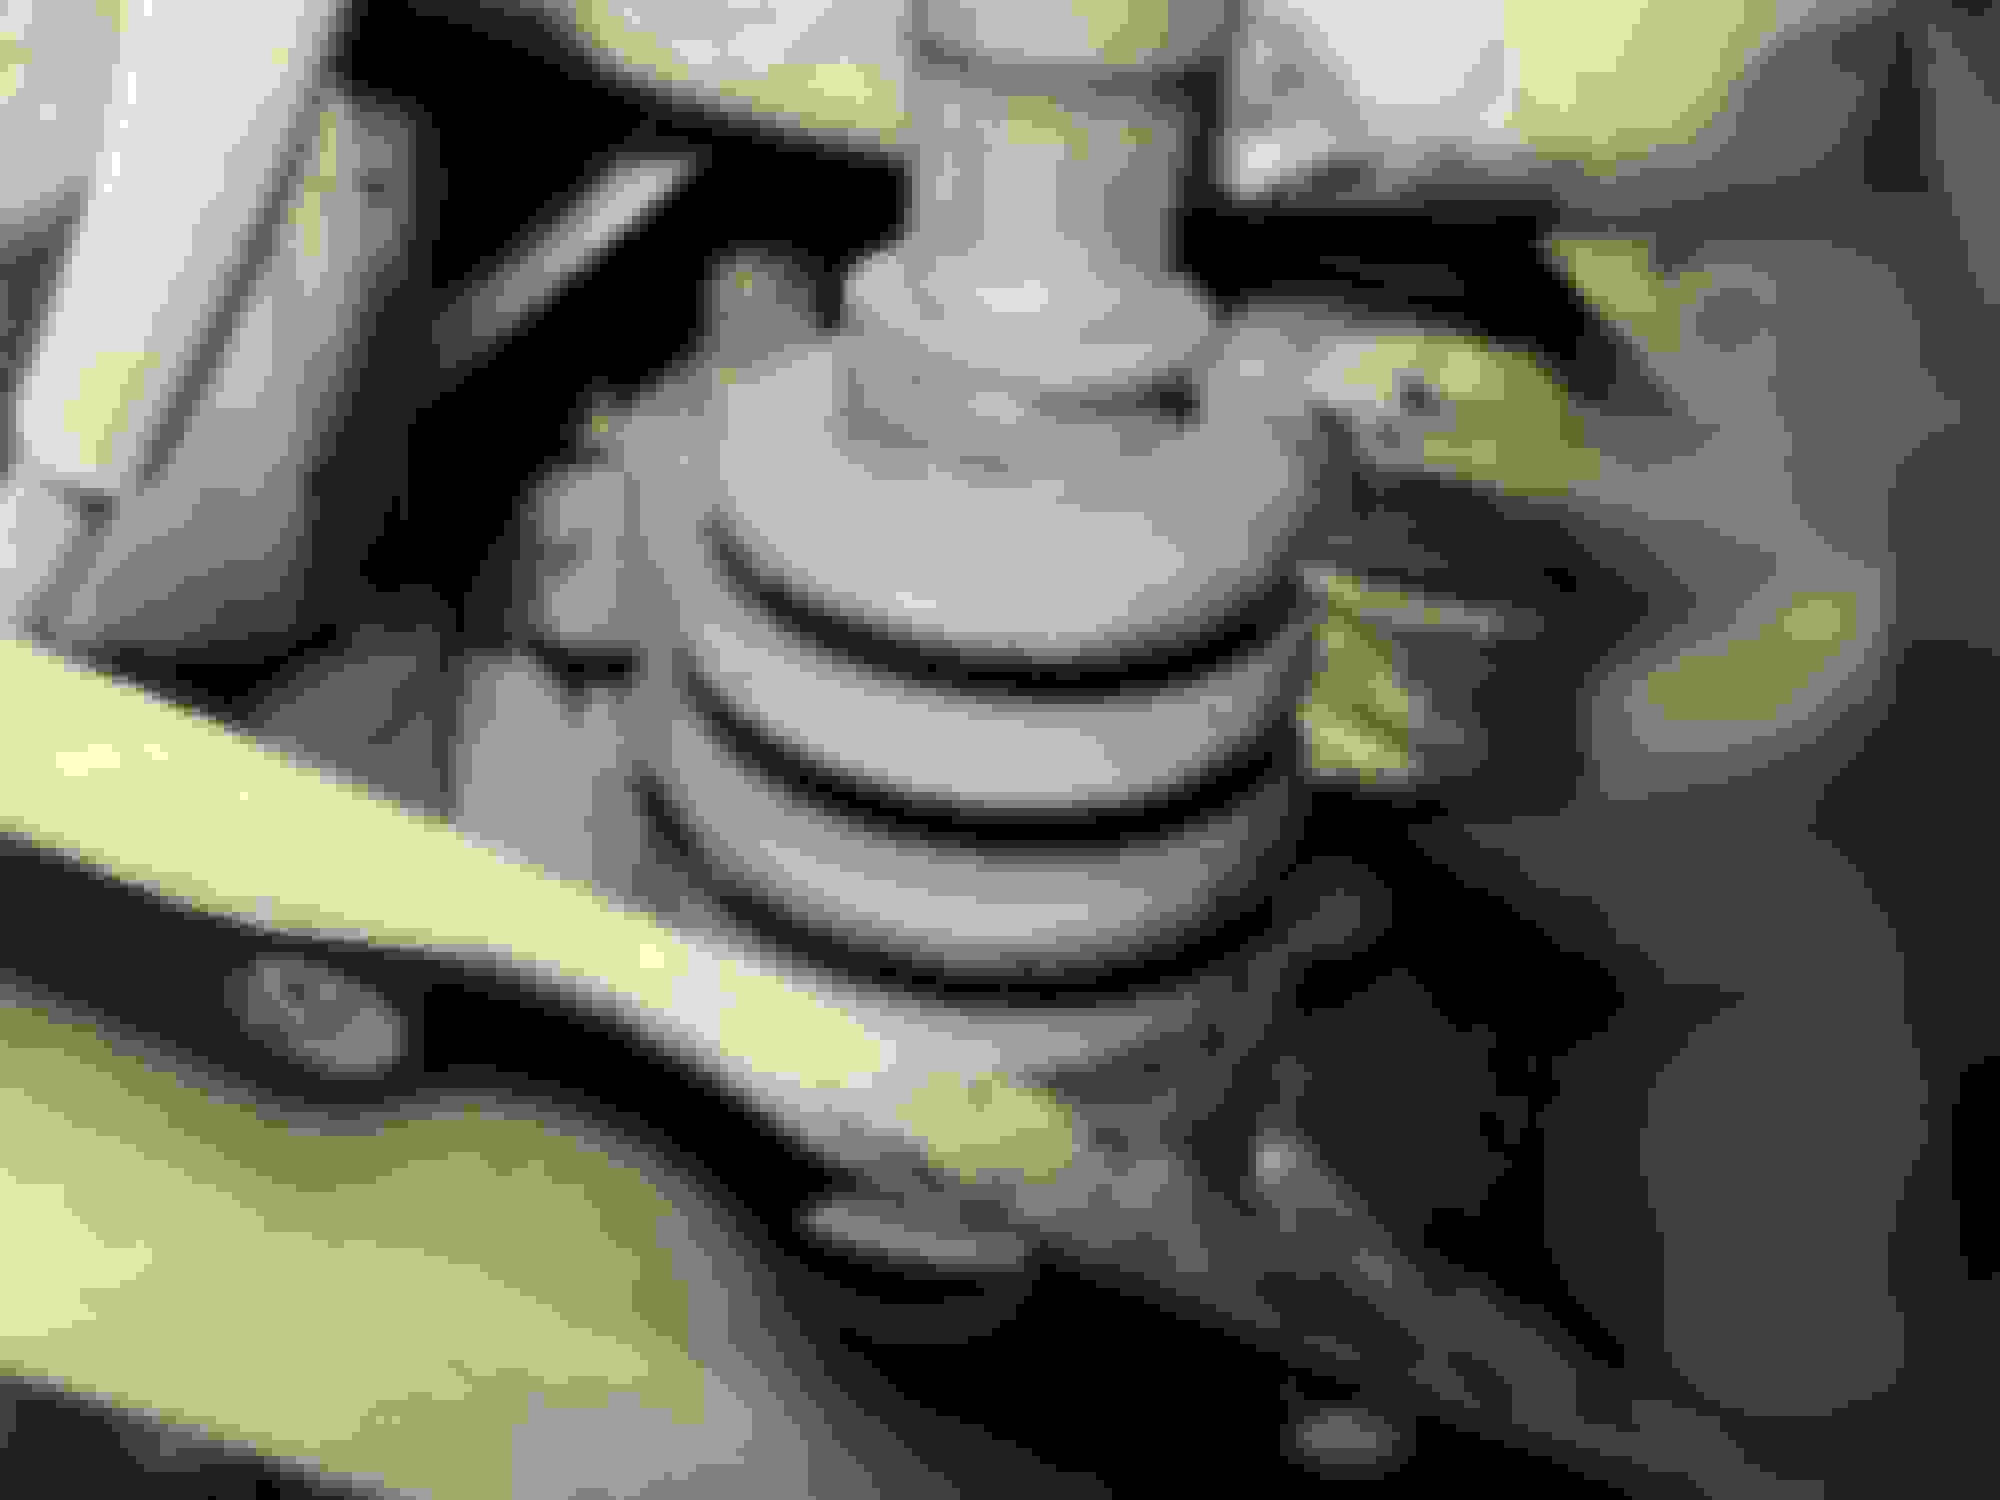
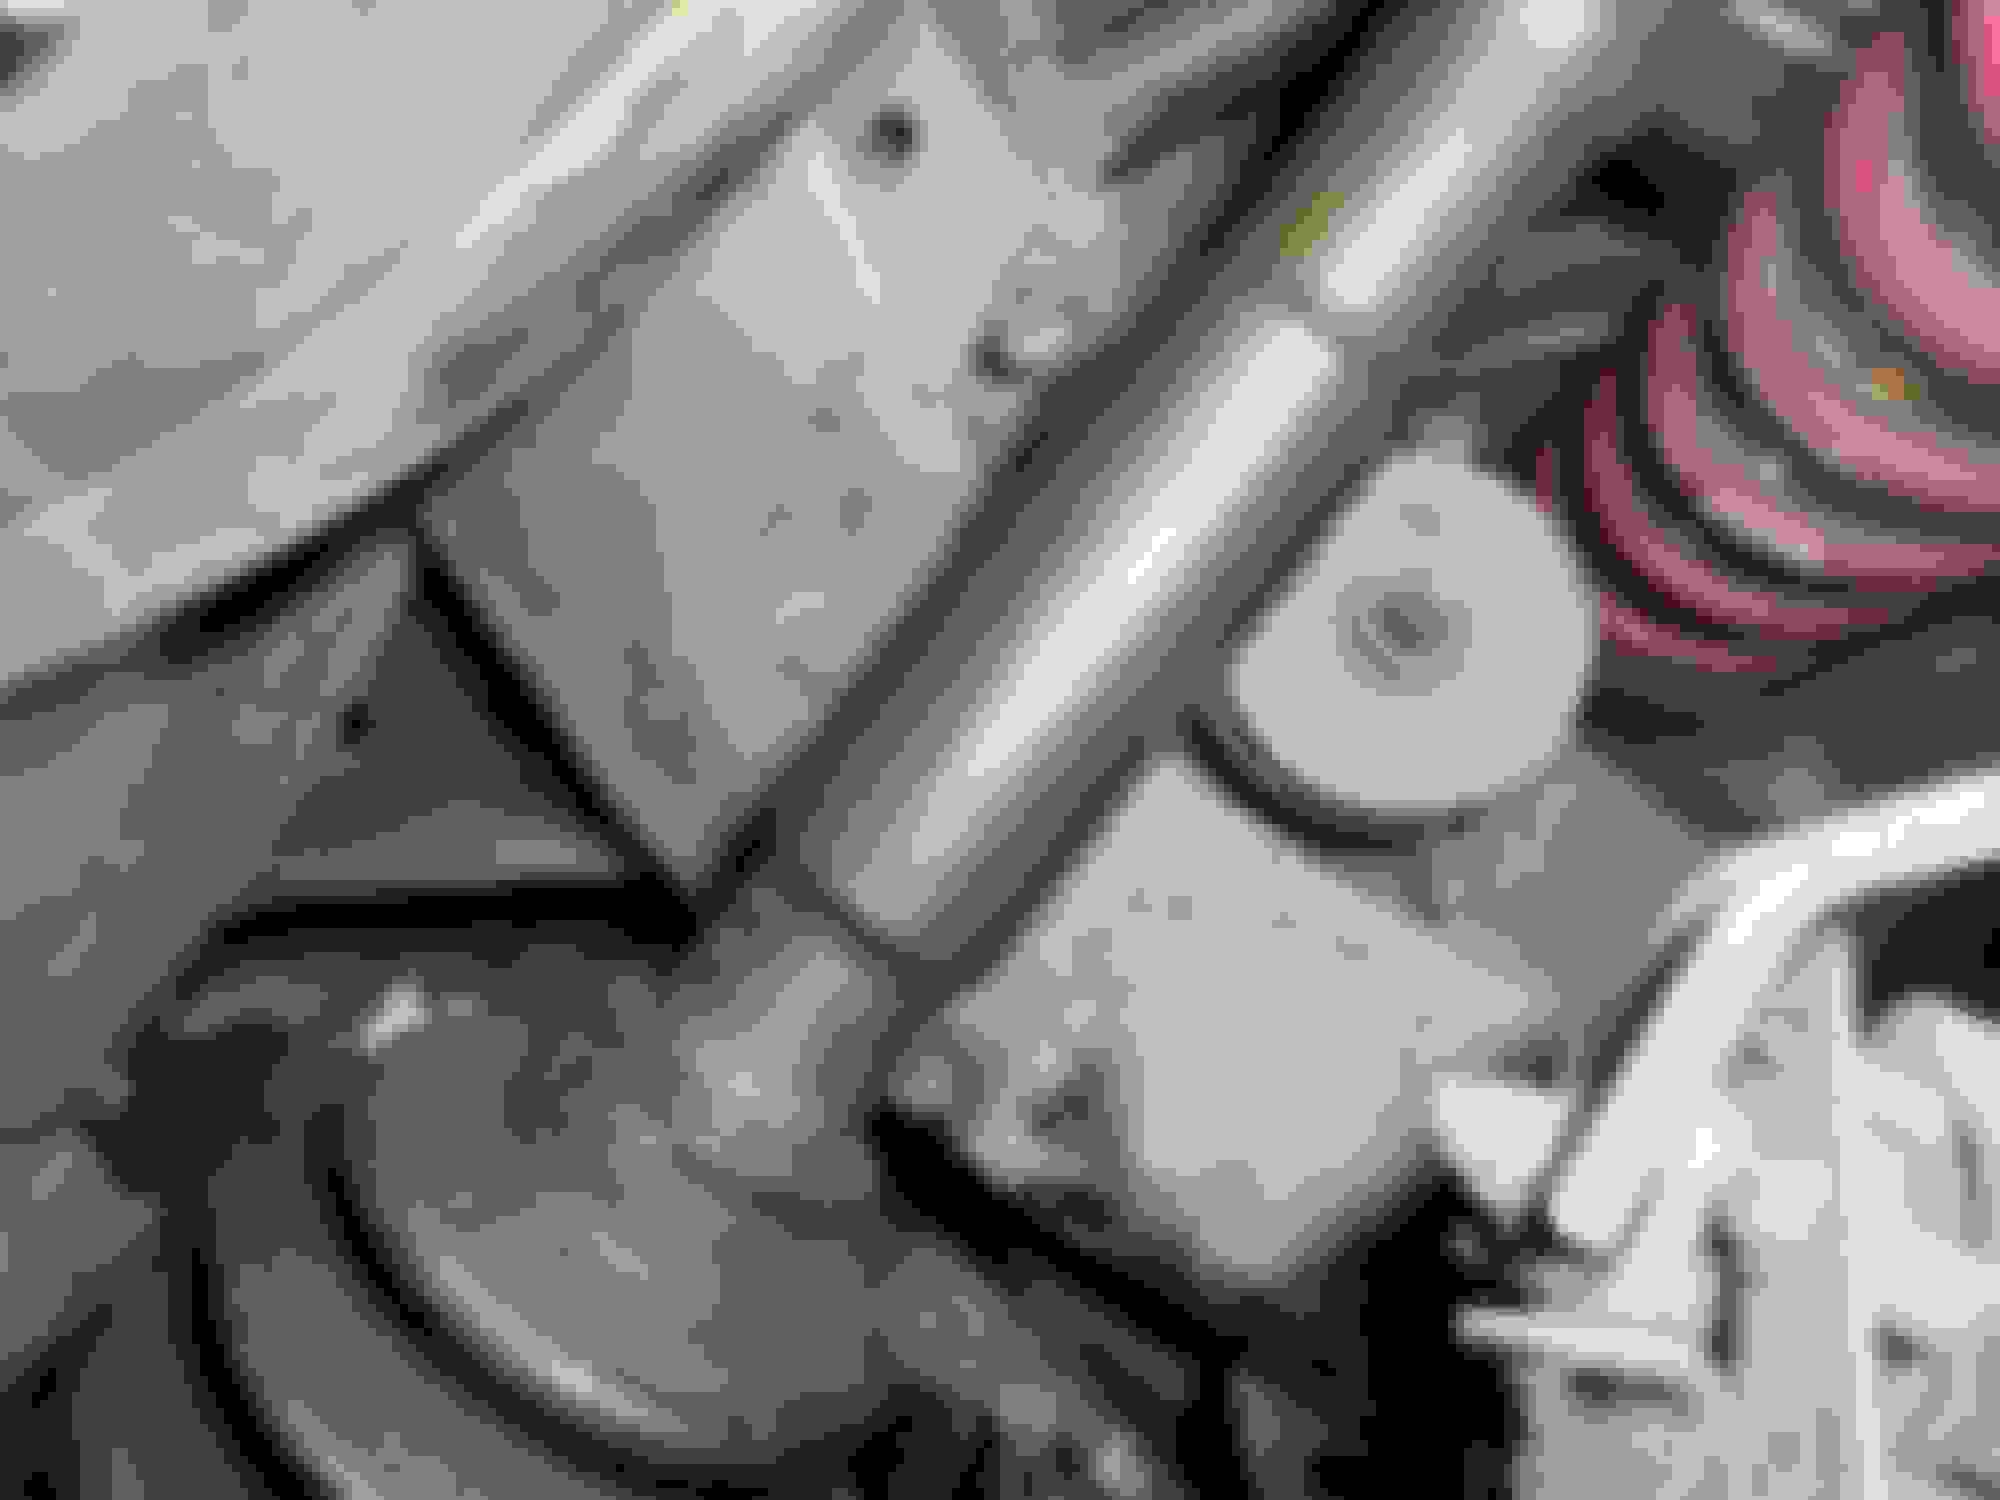
Once I got the diff sealed up, I started looking around in the general area. Discovered something is leaking. Not sure if it�s the seal where the axle inserts into the diff or if there�s something wrong with the axle.
Inspected the diff bushings. Looks kinda like they might be poly. Subframe bushings look like rubber. Can anyone confirm?

 09-30-2024 | 12:21 PM


 Not sure if it�s the seal where the axle inserts into the diff or if there�s something wrong with the axle.