
DIY RX8 Illuminated Logo
 11-25-2012 | 01:43 PM
#1

Thread Starter
Registered
Joined: Dec 2009
Posts: 56
Likes: 0
From: Anglesey North Wales
Saw a youtube clip of an illuminated RX8 logo, it was a good idea if not a little crude in its execution, so I decided to have a go myself.
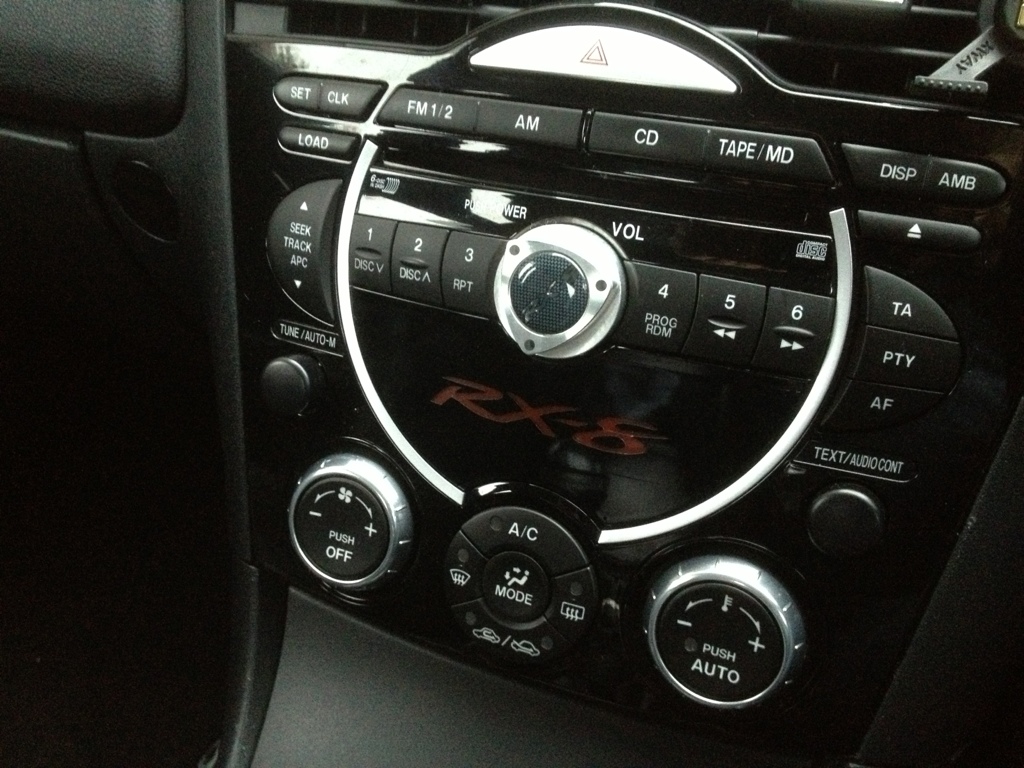
The logo goes on the half moon blanking plate on the head unit and is back lit when the side lights are on.
First step was to cut out a clear rectangle of plastic and I used an old CD cover.
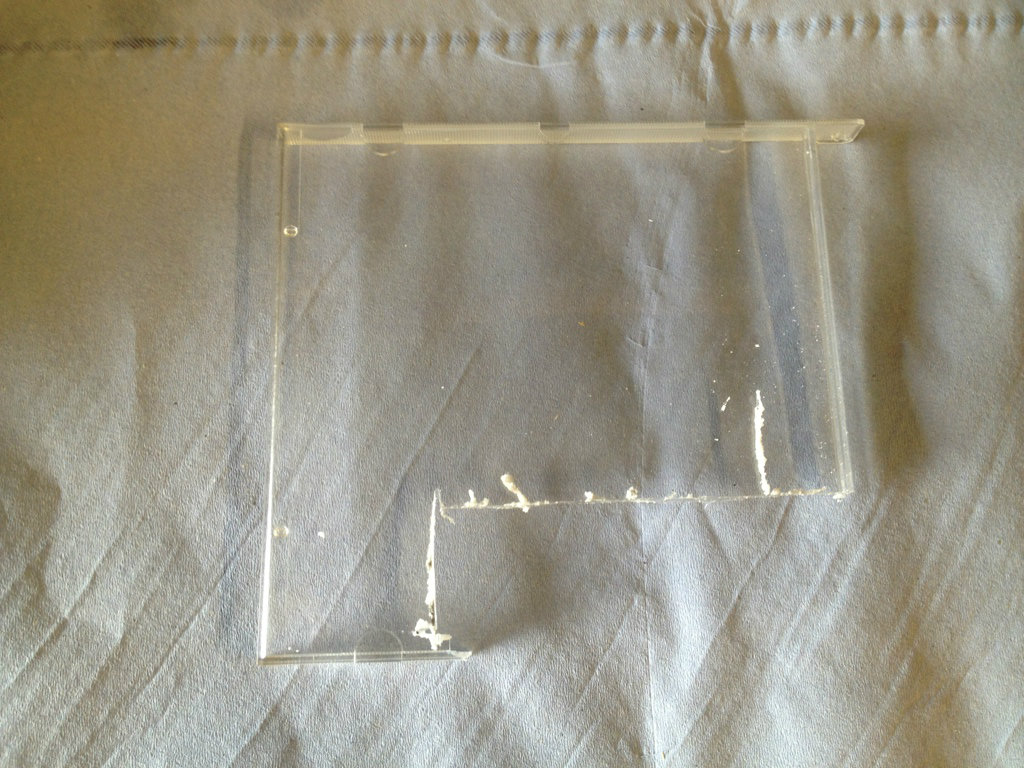
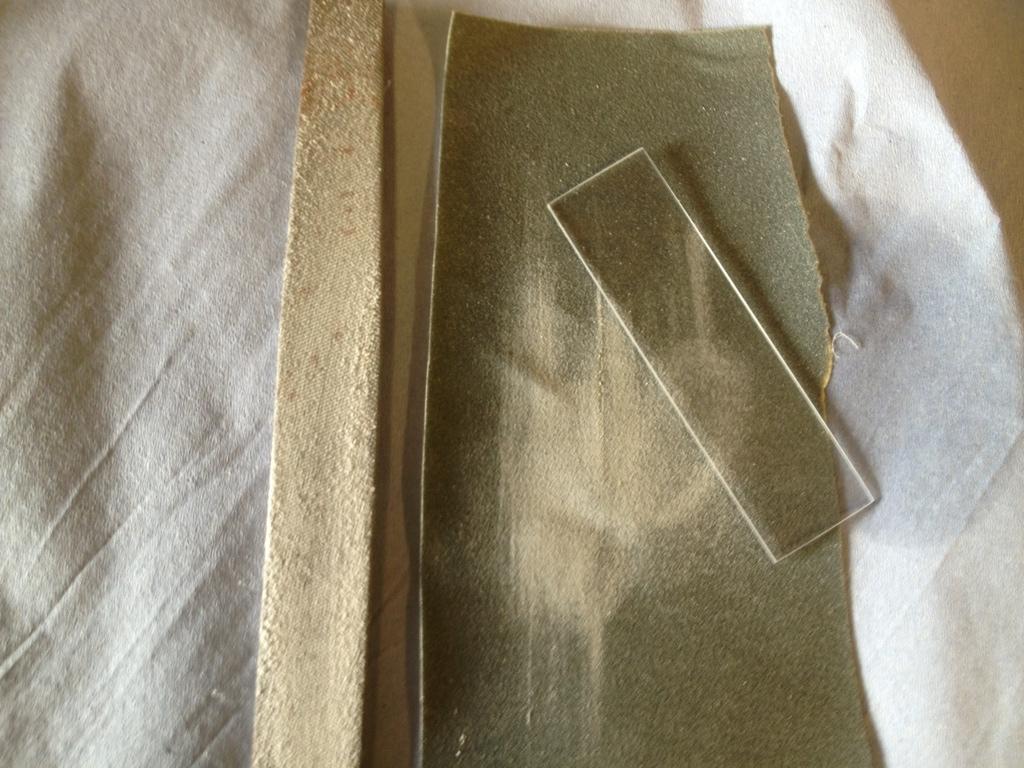
The cut out is then sanded into a neat rectangle.
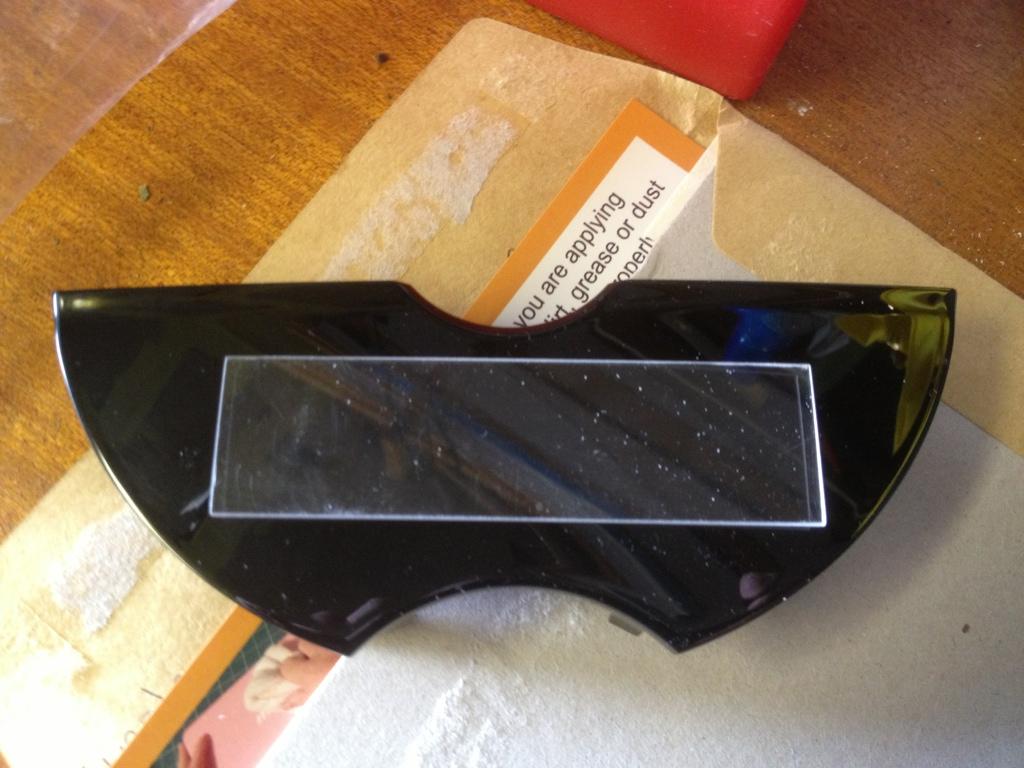
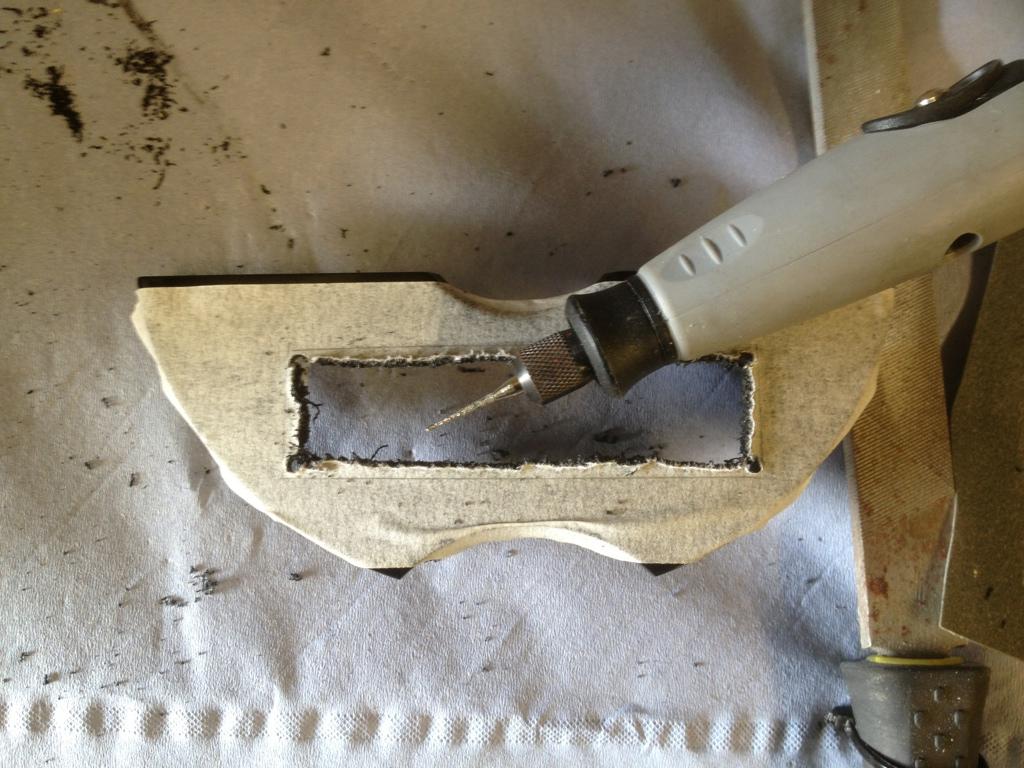
The cut out is then marked out on the half moon cover.
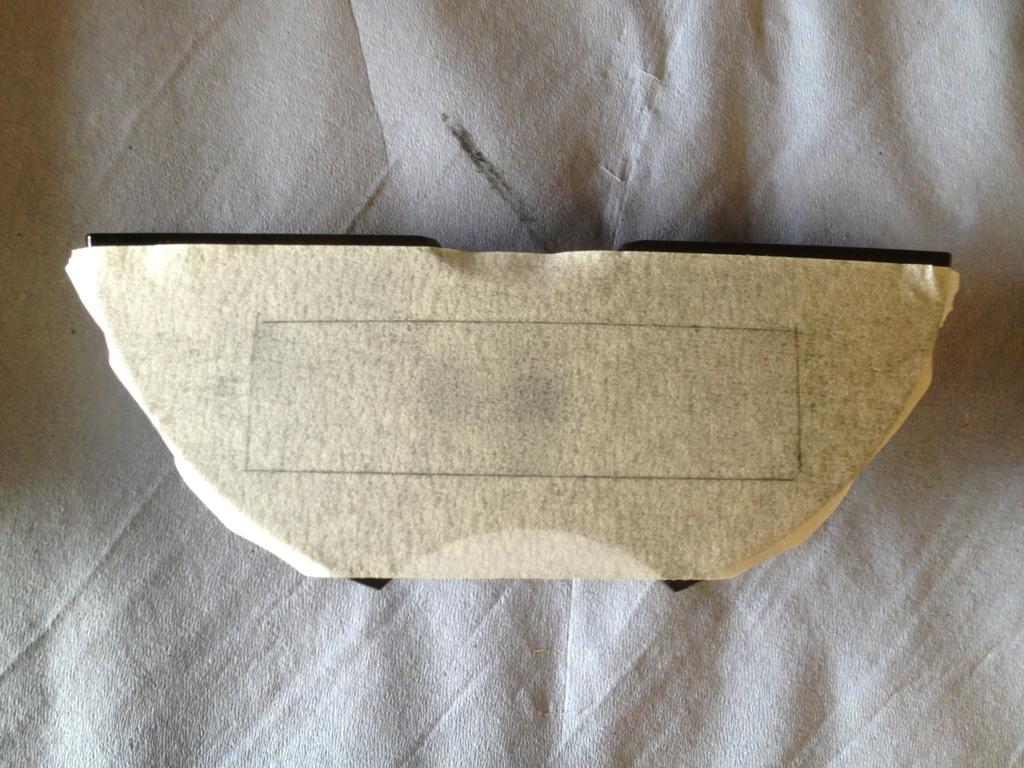
Four holes are drilled in the corners and the hole roughly cut out with a diamond burr set.

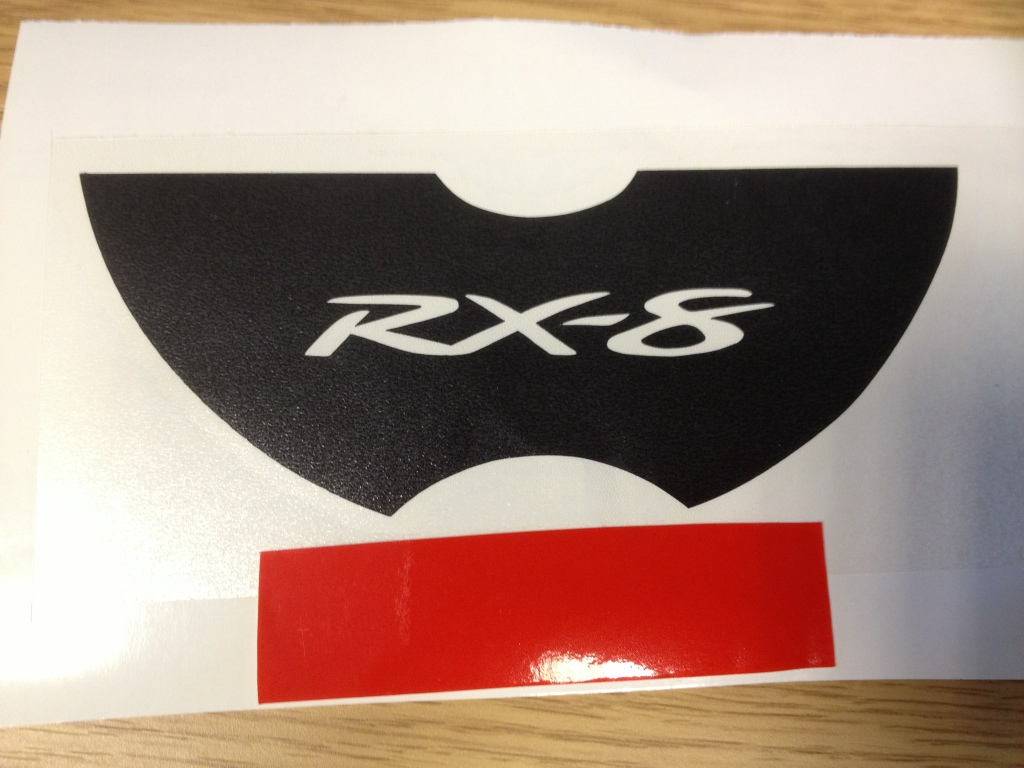
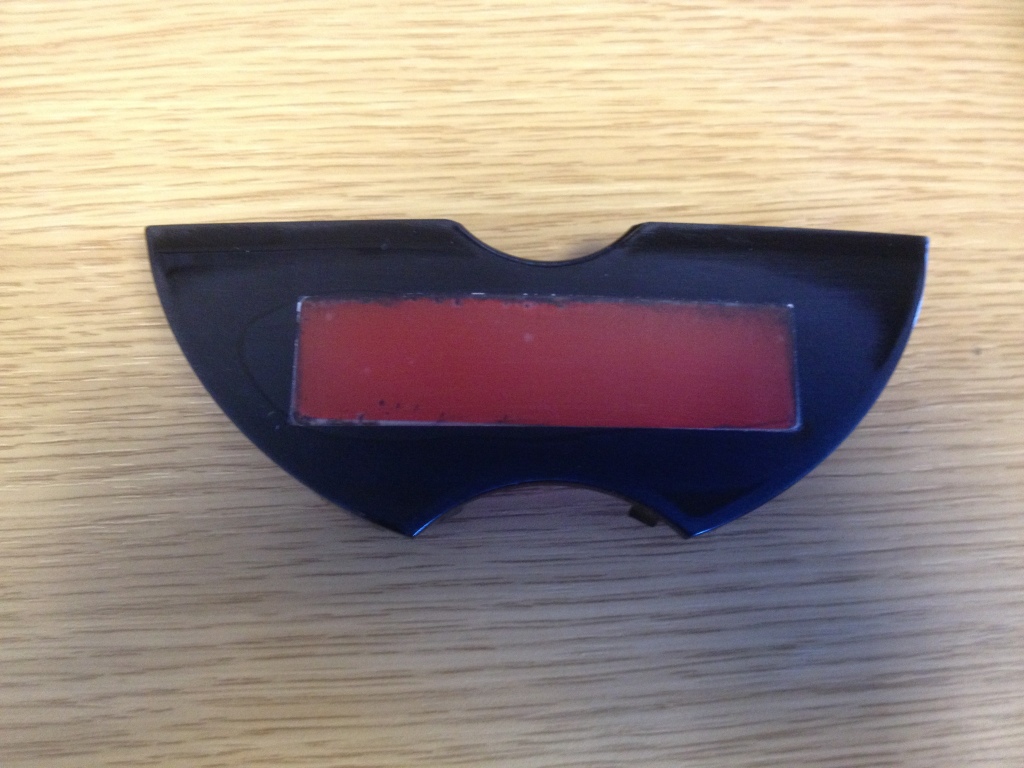
I had some vinyl decals made up, the red rectangle is translucent and sticks to the back of the clear rectangle.
The rectangle is then glued into the cover and the gap filled with resin before being sanded flat.
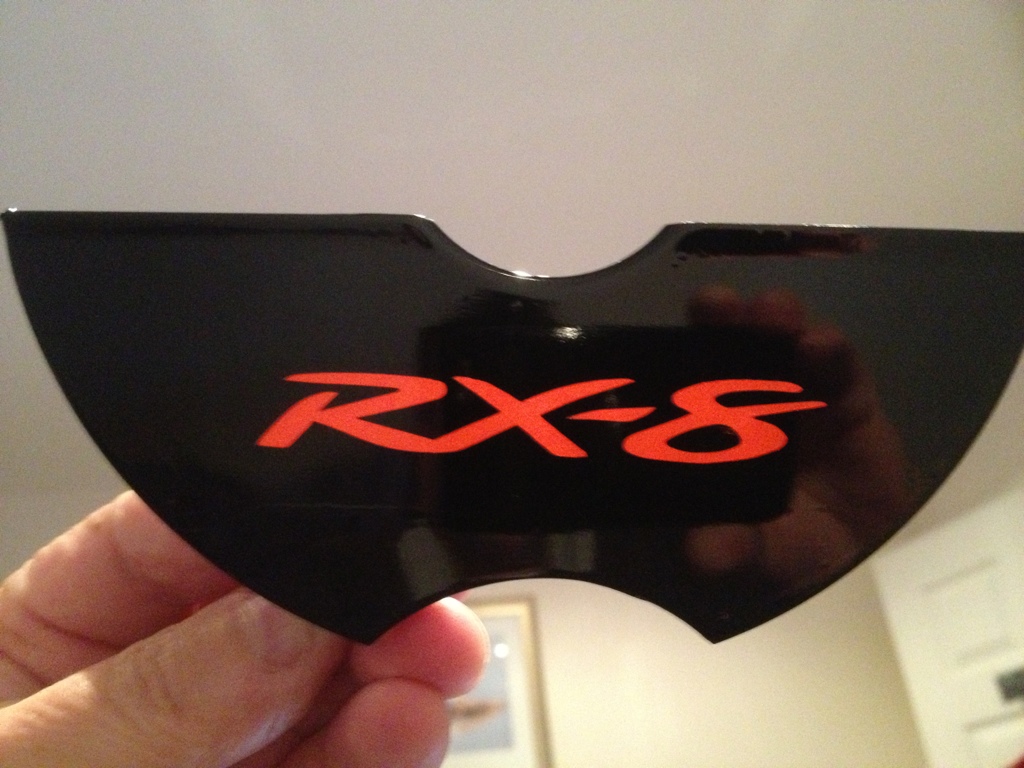
The RX8 decal is then stuck to the cover.
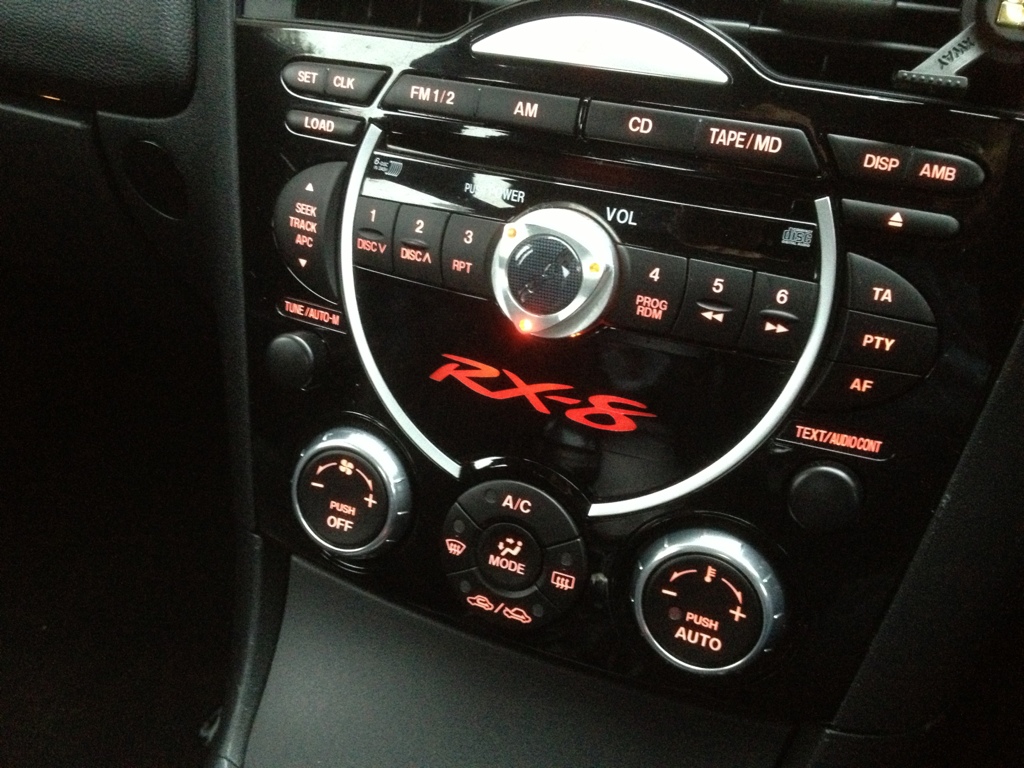
I fitted a small LED strip inside the head unit and wired it into the light circuit from the cigarette lighter and finally fitted the cover.
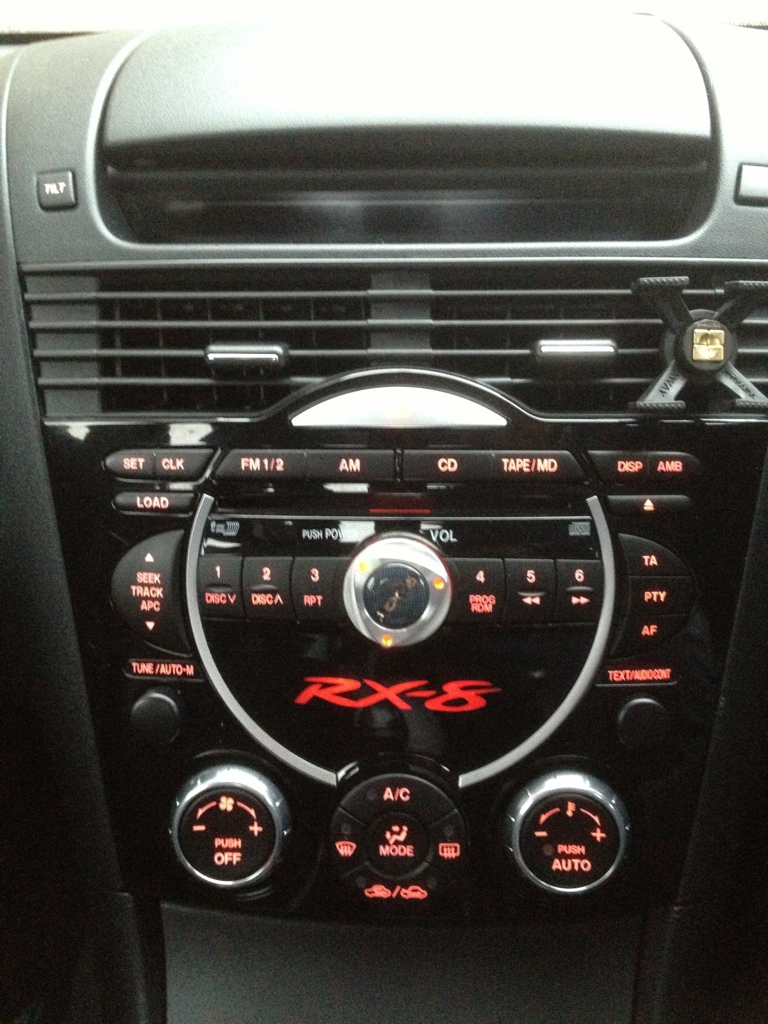
With the lights on the final look is revealed.
A short video of the finished job.
http://youtu.be/RPs6oLNkmpE
The logo goes on the half moon blanking plate on the head unit and is back lit when the side lights are on.
First step was to cut out a clear rectangle of plastic and I used an old CD cover.
The cut out is then sanded into a neat rectangle.
The cut out is then marked out on the half moon cover.
Four holes are drilled in the corners and the hole roughly cut out with a diamond burr set.
I had some vinyl decals made up, the red rectangle is translucent and sticks to the back of the clear rectangle.
The rectangle is then glued into the cover and the gap filled with resin before being sanded flat.
The RX8 decal is then stuck to the cover.
I fitted a small LED strip inside the head unit and wired it into the light circuit from the cigarette lighter and finally fitted the cover.
With the lights on the final look is revealed.
A short video of the finished job.
http://youtu.be/RPs6oLNkmpE
Last edited by dino1now; 11-28-2012 at 10:54 AM.

 04-24-2014 | 02:52 PM
#6

New Member
Joined: Dec 2012
Posts: 7
Likes: 0
Thanks! Sounds easy enough.
You have any idea if you're able to run wires through that space and out the back?
- I'm trying to place a bluetooth dongle on the front of the half moon panel and would ideally like to run the wires back through that space and then plug it into my audio iPod set up.
LoudMouth
You have any idea if you're able to run wires through that space and out the back?
- I'm trying to place a bluetooth dongle on the front of the half moon panel and would ideally like to run the wires back through that space and then plug it into my audio iPod set up.
LoudMouth
04-25-2014 | 03:48 AM
#7
Thread Starter
Registered
Joined: Dec 2009
Posts: 56
Likes: 0
From: Anglesey North Wales
Yes, there is a space at the base big enough to pass wires through. You can get power for the light either from the fuse box on the passenger footwell or under the ashtray and into the cigarette lighter illumination circuit. The Bluetooth cable can run into the glove box or wherever you have your iPod kit.


Thread
Thread Starter
Forum
Replies
Last Post