Custom gauge pod
#1
Custom gauge pod
Heres my attempt
buy cheap gauge pod. mark it up how you want.
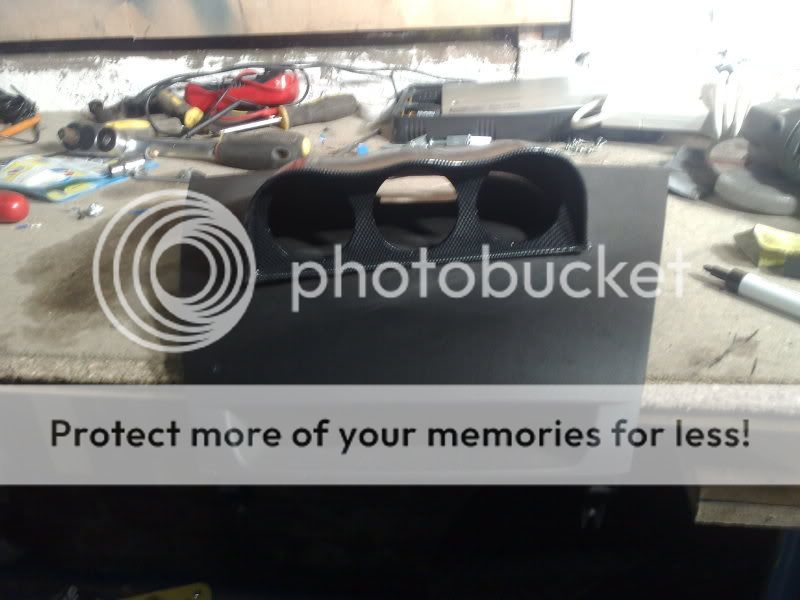
cut off sides
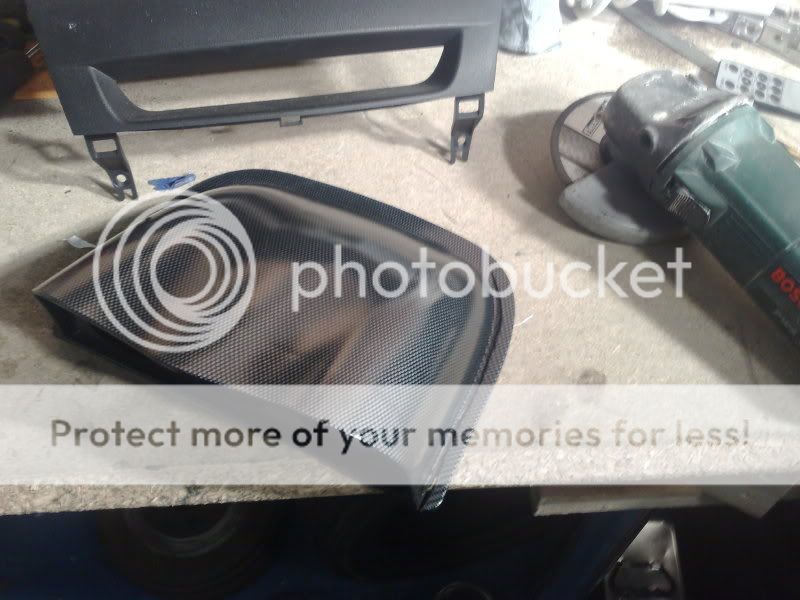
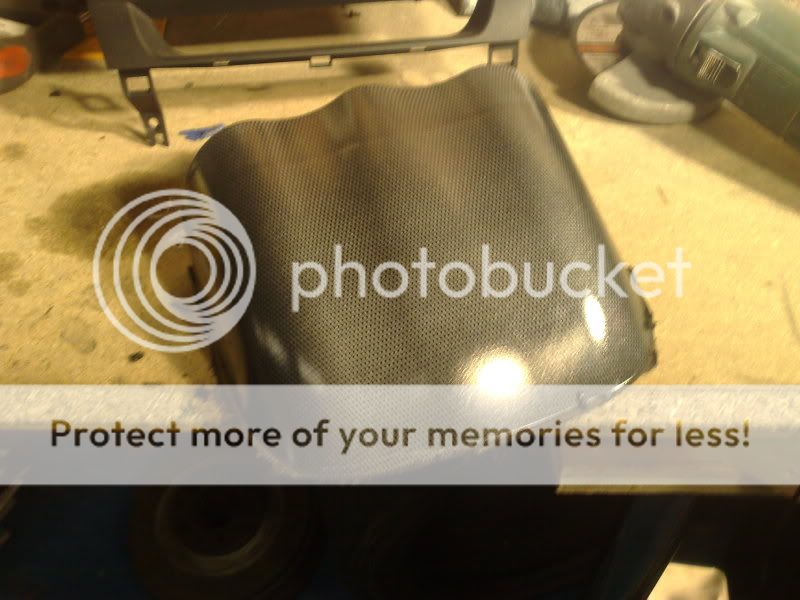
cut

start fibreglassing. dont forget to rub down.
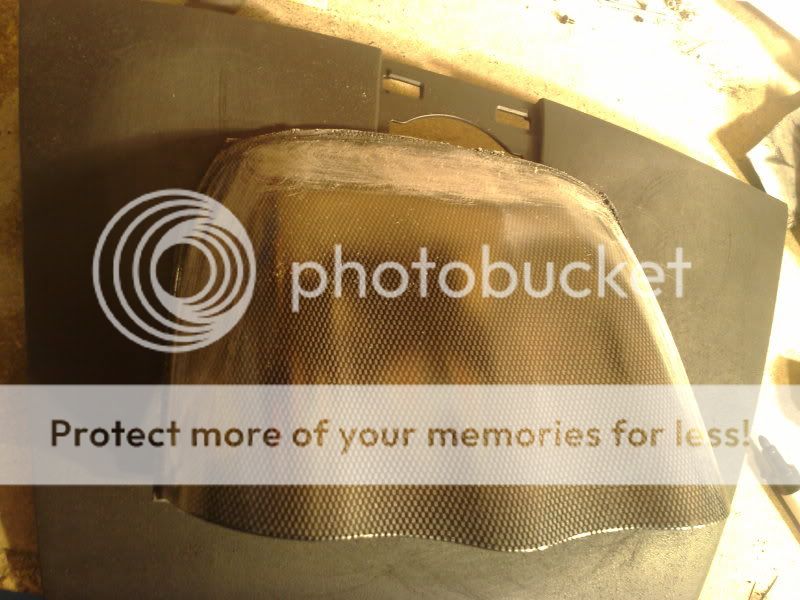
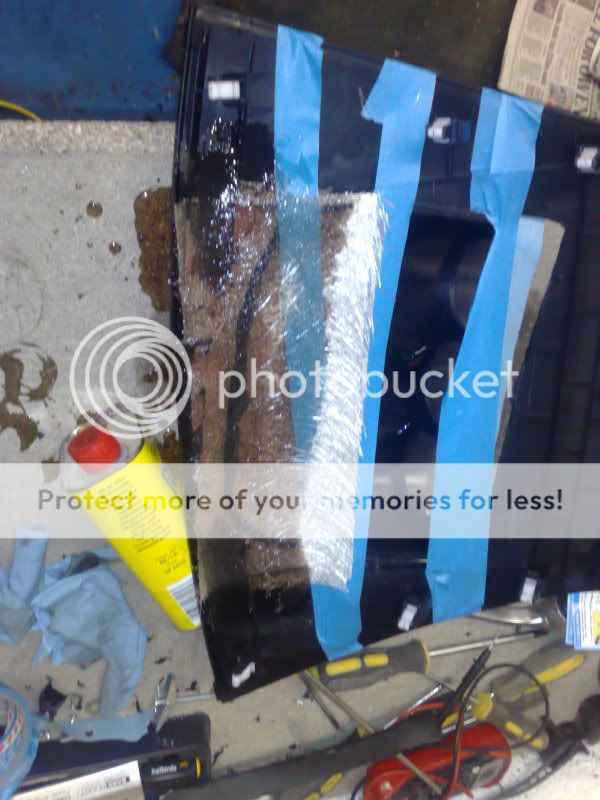
fill in with p38 easy sand, or any body filler

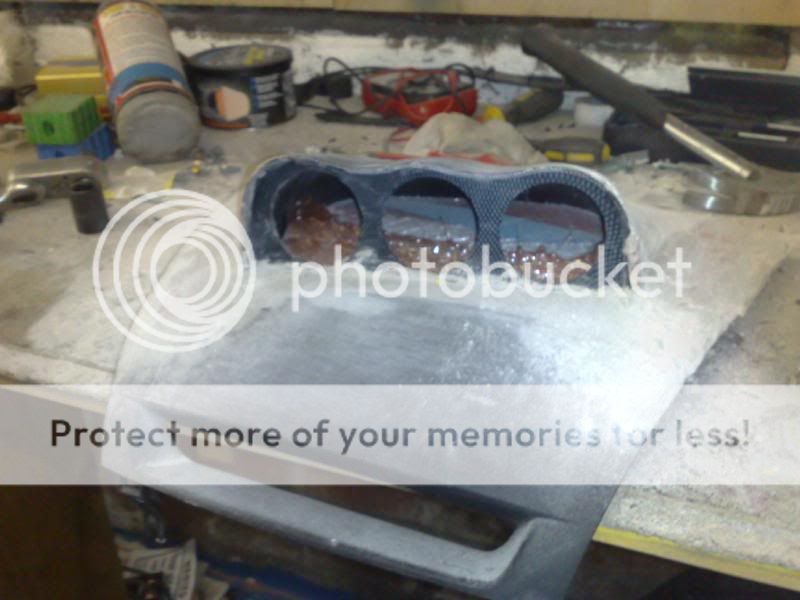
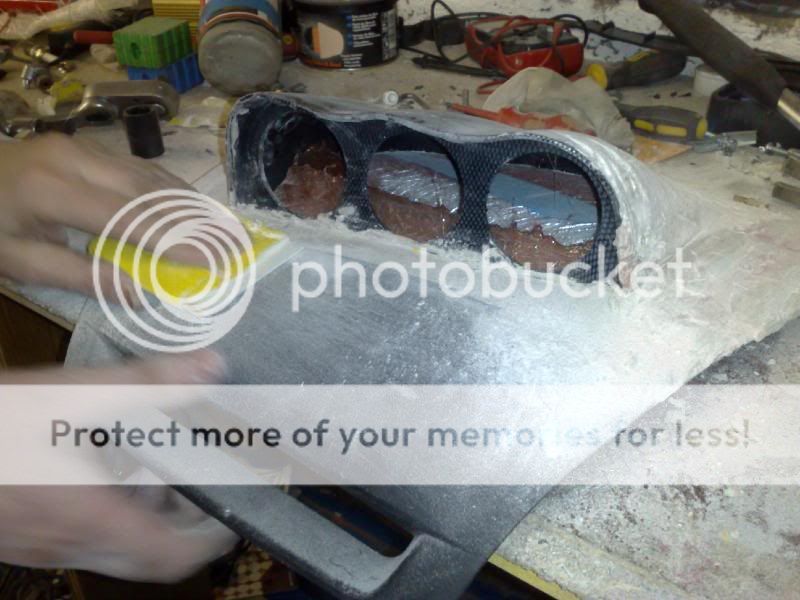
i got time to do a lil work on it today.
So i got it rubbed down, 60 grit, 120 grit, 320 wet and dry, then 600 grit. dont go any higher as you need the 2k or hi build primer to stick. once this is applied you can rub it down with 800, then 1200, then 1500.
so i got my plastic filler primer on.
just one coat so i can see where needs more filler
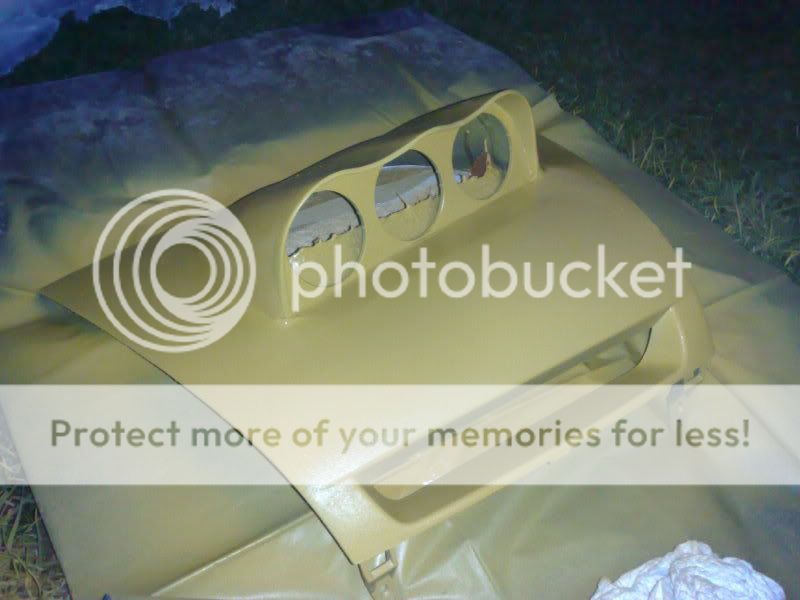
buy cheap gauge pod. mark it up how you want.

cut off sides


cut

start fibreglassing. dont forget to rub down.


fill in with p38 easy sand, or any body filler


i got time to do a lil work on it today.
So i got it rubbed down, 60 grit, 120 grit, 320 wet and dry, then 600 grit. dont go any higher as you need the 2k or hi build primer to stick. once this is applied you can rub it down with 800, then 1200, then 1500.
so i got my plastic filler primer on.
just one coat so i can see where needs more filler

#7
#10
if you want a texture get a heat gun and a satin black spray can. hold the can about 11 " away from what your spraying and point the heat gun at an angle to what your spraying. this will create a dry spray effect and give it somwhat of a texture.
#12
whines all the way home
iTrader: (2)
Joined: Oct 2004
Posts: 7,402
Likes: 2
From: Towson/Baltimore, MD
saw this stuf in AutoZone last week, they didnt have flat black but just pick any color and then sray it with flat black
http://www.thewinningfinish.com/plas...=WrinkleFinish
http://www.google.com/products?hl=en...num=4&ct=title
http://www.thewinningfinish.com/plas...=WrinkleFinish
http://www.google.com/products?hl=en...num=4&ct=title
#16
I use this stuff at work all the time, works great

Texture Coating
Duplicates the original finish on plastic bumpers, instrument panels, dashes, consoles and other textured plastic and vinyl parts. May be topcoated with FLEXIBLE BUMPER COATER, COLOR COAT or most refinish materials. No priming required.
http://www.tcpglobal.com/autobodydep...emno=SEM+39854
#18
ok got the finger out....
drying infront of the oven on under 80oF
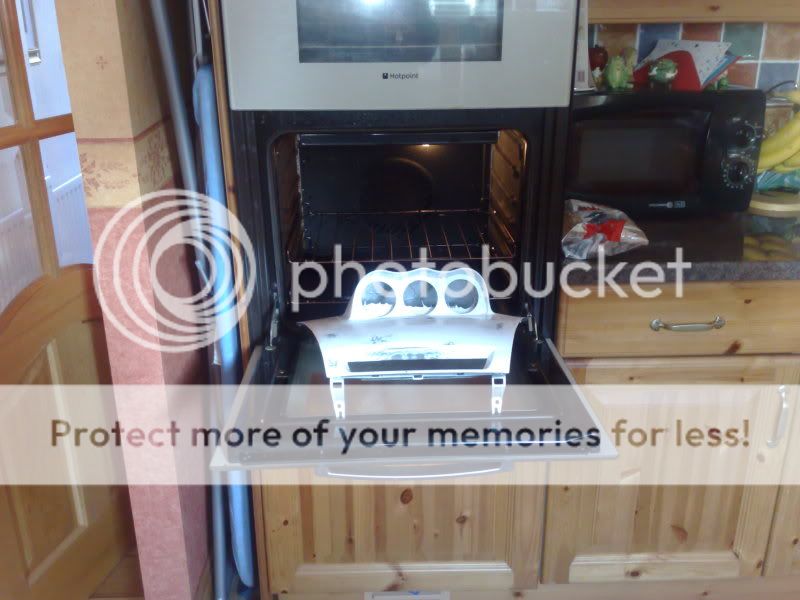
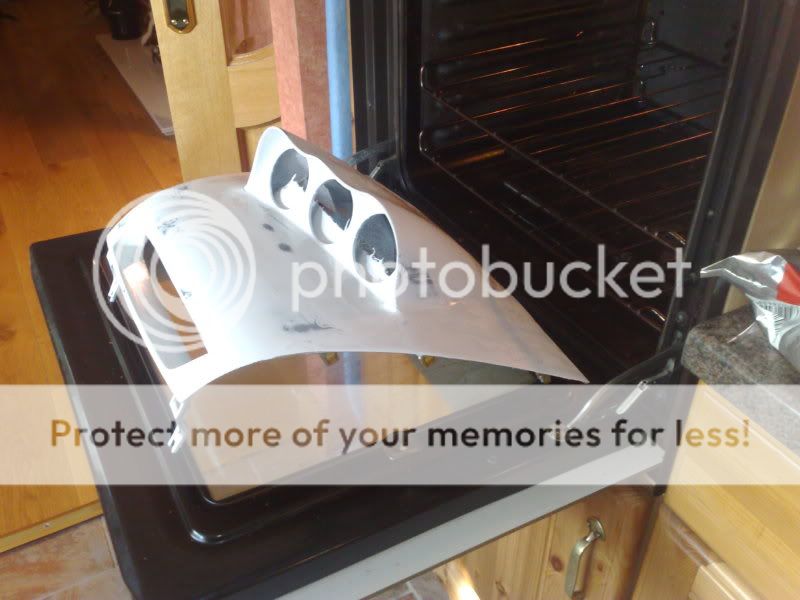
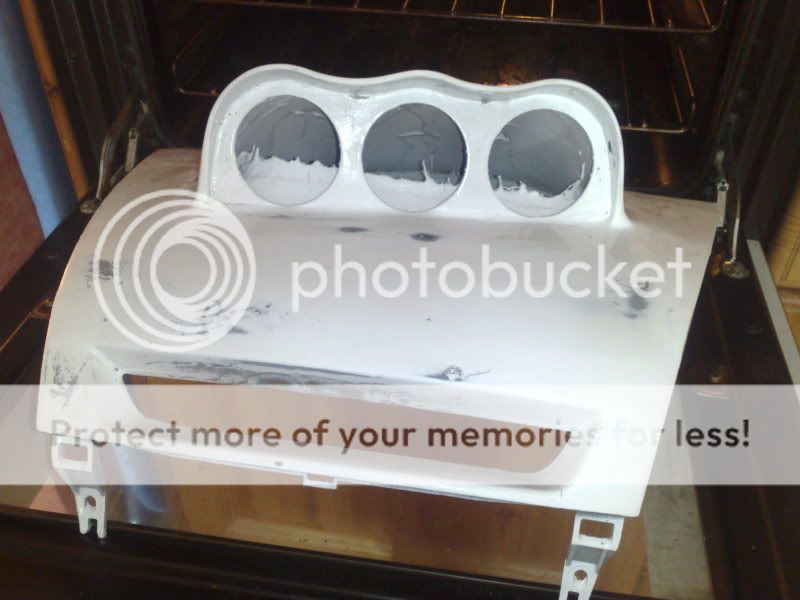
Everthing was really smooth id say ive spend in excess of 7 hours rubbing this thing down.
First of 3 coats of paint, then leaving it for 24 hours before lacquering it
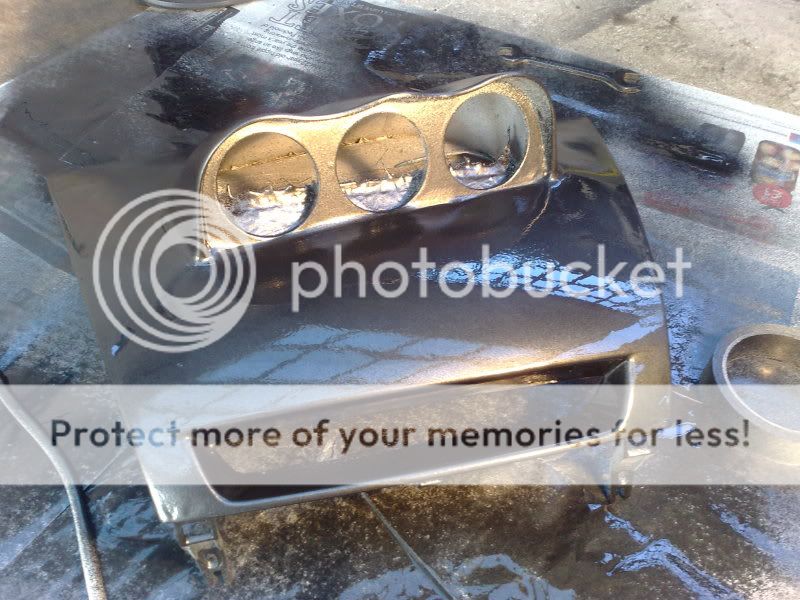
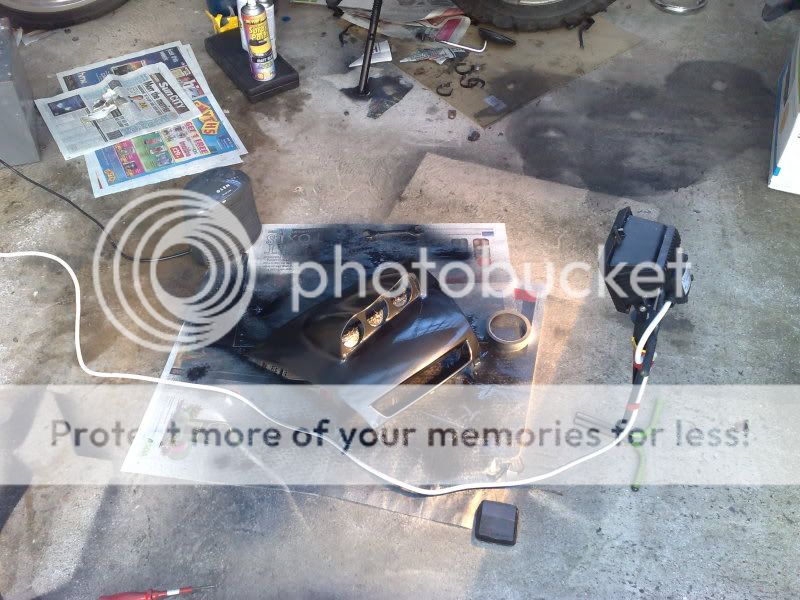
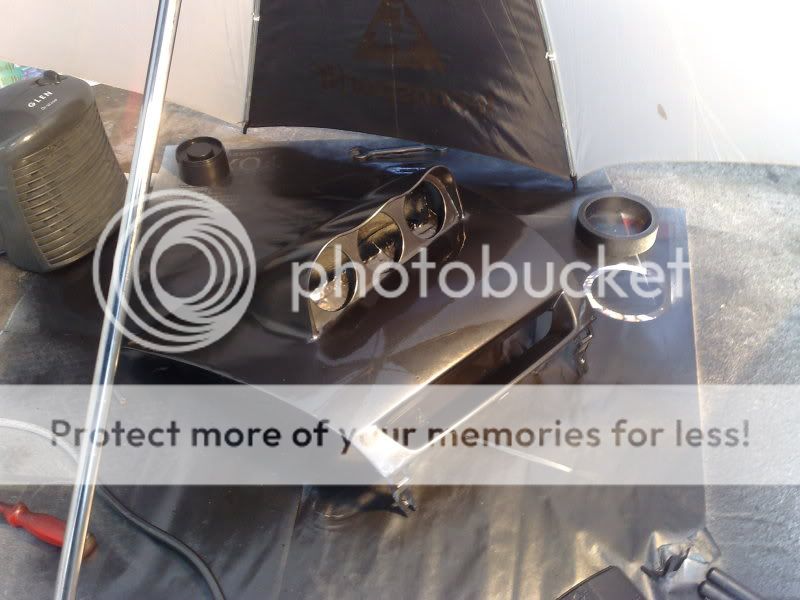
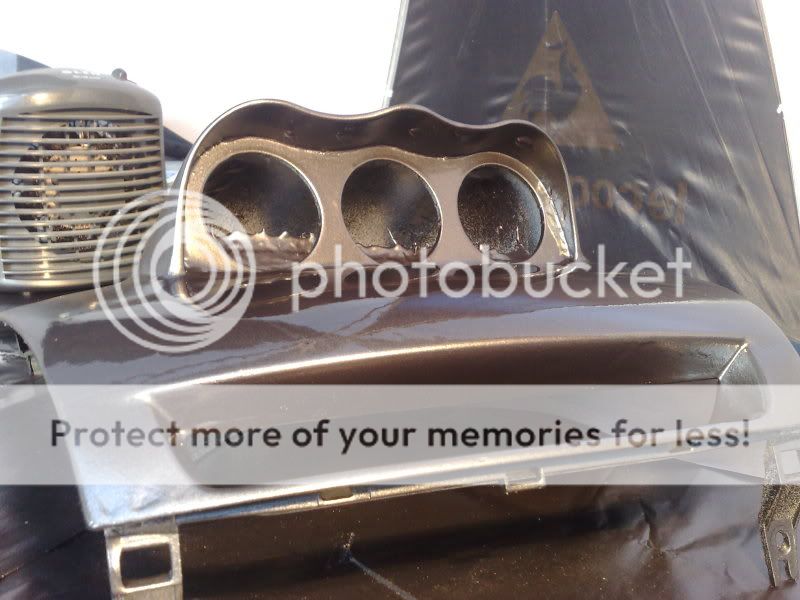
drying infront of the oven on under 80oF


Everthing was really smooth id say ive spend in excess of 7 hours rubbing this thing down.
First of 3 coats of paint, then leaving it for 24 hours before lacquering it


#21
Congratulations on the DIY gauge pod, it looks way better than mine 
if you do flat black, DO NOT use clear coat. If you do the piano black, you might want to paint the air vent as well to match the entire center section.
Here is mine latest version with plain flat black, didn't do a good job of smoothing out the edges (was impatience):
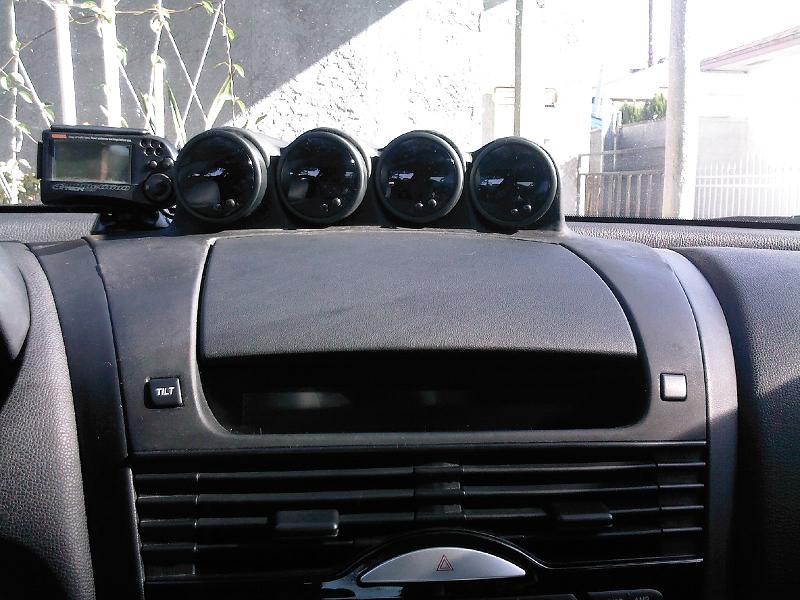
And this is my first version with semi-gloss piano black, interior color matching is way off:
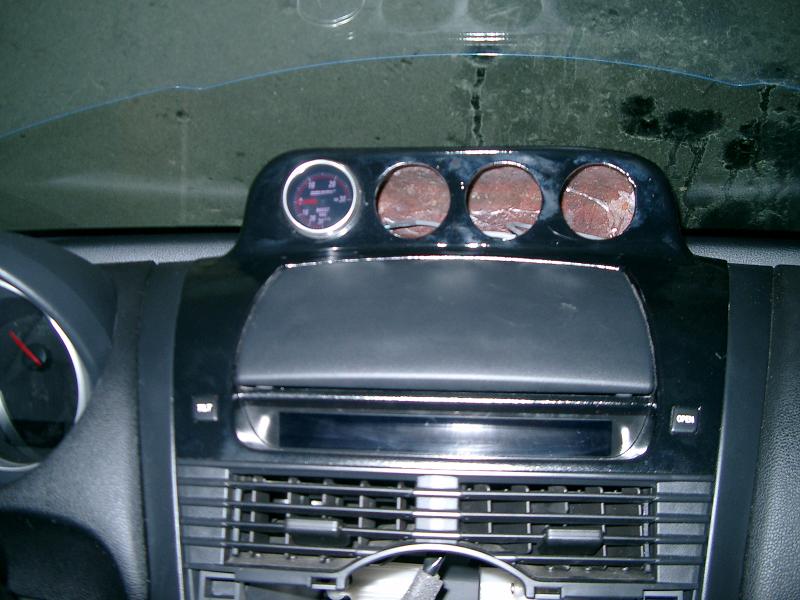

if you do flat black, DO NOT use clear coat. If you do the piano black, you might want to paint the air vent as well to match the entire center section.
Here is mine latest version with plain flat black, didn't do a good job of smoothing out the edges (was impatience):

And this is my first version with semi-gloss piano black, interior color matching is way off:


