When you click on links to various merchants on this site and make a purchase, this can result in this site earning a commission. Affiliate programs and affiliations include, but are not limited to, the eBay Partner Network.
Bit of a thread resurrection,
This is the second time I've removed my fuel pump.
I own the OEM Tools 25156 Fuel Pump Module Spanner Wrench purchased from Amazon, and it works pretty good so removing the fuel pump was no issue.
(the failed fuel pump that is being replaced contains a walbro pump mod)
Replacing the failed pump with my OEM fuel pump went pretty smooth.
Lining up the cap ring to the retainer notch I was easily able to hand tighten the cap a almost a full turn before requiring the spanner tool to complete the tightening.
Using a torque wrench I started tightening the cap ring, then things went sideways.
The retainer ring (the part that the cap screws on to) is turning as I try and tighten the cap to the torque spec.
(I've gone past the 410-500 deg rotation angle as a result of trying to get it tight enough)
Unfortunately it's not tight enough to prevent any fuel leakage.
Has anyone else experienced this situation?
The workshop manual says to replace the retainer however I can't find any instructions on how to do so?
If anyone has done this before I would appreciate some direction.
That�s a good question, but I don't really have an answer for it. It obviously has to be retained on the tank in such a way as to not rotate. It has a notch positioned forward towards the front of the car, the two side tabs, and a rear tab towards the back of the car. It didn�t occur to me to look at or try to replace those when I had the tank out several years ago.
. .
I always assumed one or more of the retainer tabs must interlock with the tank, because the tabs are positioned down inside mating depressions, which either help or serve to prevent rotation. I�d probably try to pry or unclip them up with a flat head screwdriver *if* that�s really the case.
Because the thing is, if the retainer is really turning it seems like those must be broken or providing some indication that it�s actually turning like the tabs are no longer aligned with the depressions, etc.. The last one I did on someone else�s RX8 leaked. Honestly I didn�t follow that procedure, but just tightened it until it was sealed. That�s not always easy to do. The first time I had my pump replaced a shop did it and of course it leaked and I had to take it back. I�ve heard about it happening to others plenty of times as well.
I can�t recall ever hearing of anyone replacing one of those retainers though. So my inclination is to suggest that unless you can confirm that the retainer actually is rotating then it may just need to be tightened more.
However, I do need to open mine up again, but have been putting it off because it�s such a pain in the butt even with the right tools. So I can go pop it off and try to figure it out if you like? Send me a pm.
.
well the forum software or server keeps crashing my browser while trying to edit my post above
looking at it further, I suspect that the prong extensions on the two side tabs are possibly the interlock release for the retainer. There are likely clips under them that interlock to the tank to hold the retainer in place vertically as well as prevent rotation.
kind of guessing though, having a new/replacement retainer in hand might reveal or otherwise make it obvious on what actually retains it to the tank itself.
Thanks Team,
I've broken one of the notched tabs off by accident trying to use a large screwdriver to hold the retainer ring from turning with the cap.
I can try and continue to tighten the cap, actually I'm not even sure if I'll be able to remove it if the retainer keeps moving.
When the tabs on retainer ring lines up with the notched seats in the gas tank I can feel the retainer try and seat in the notch.
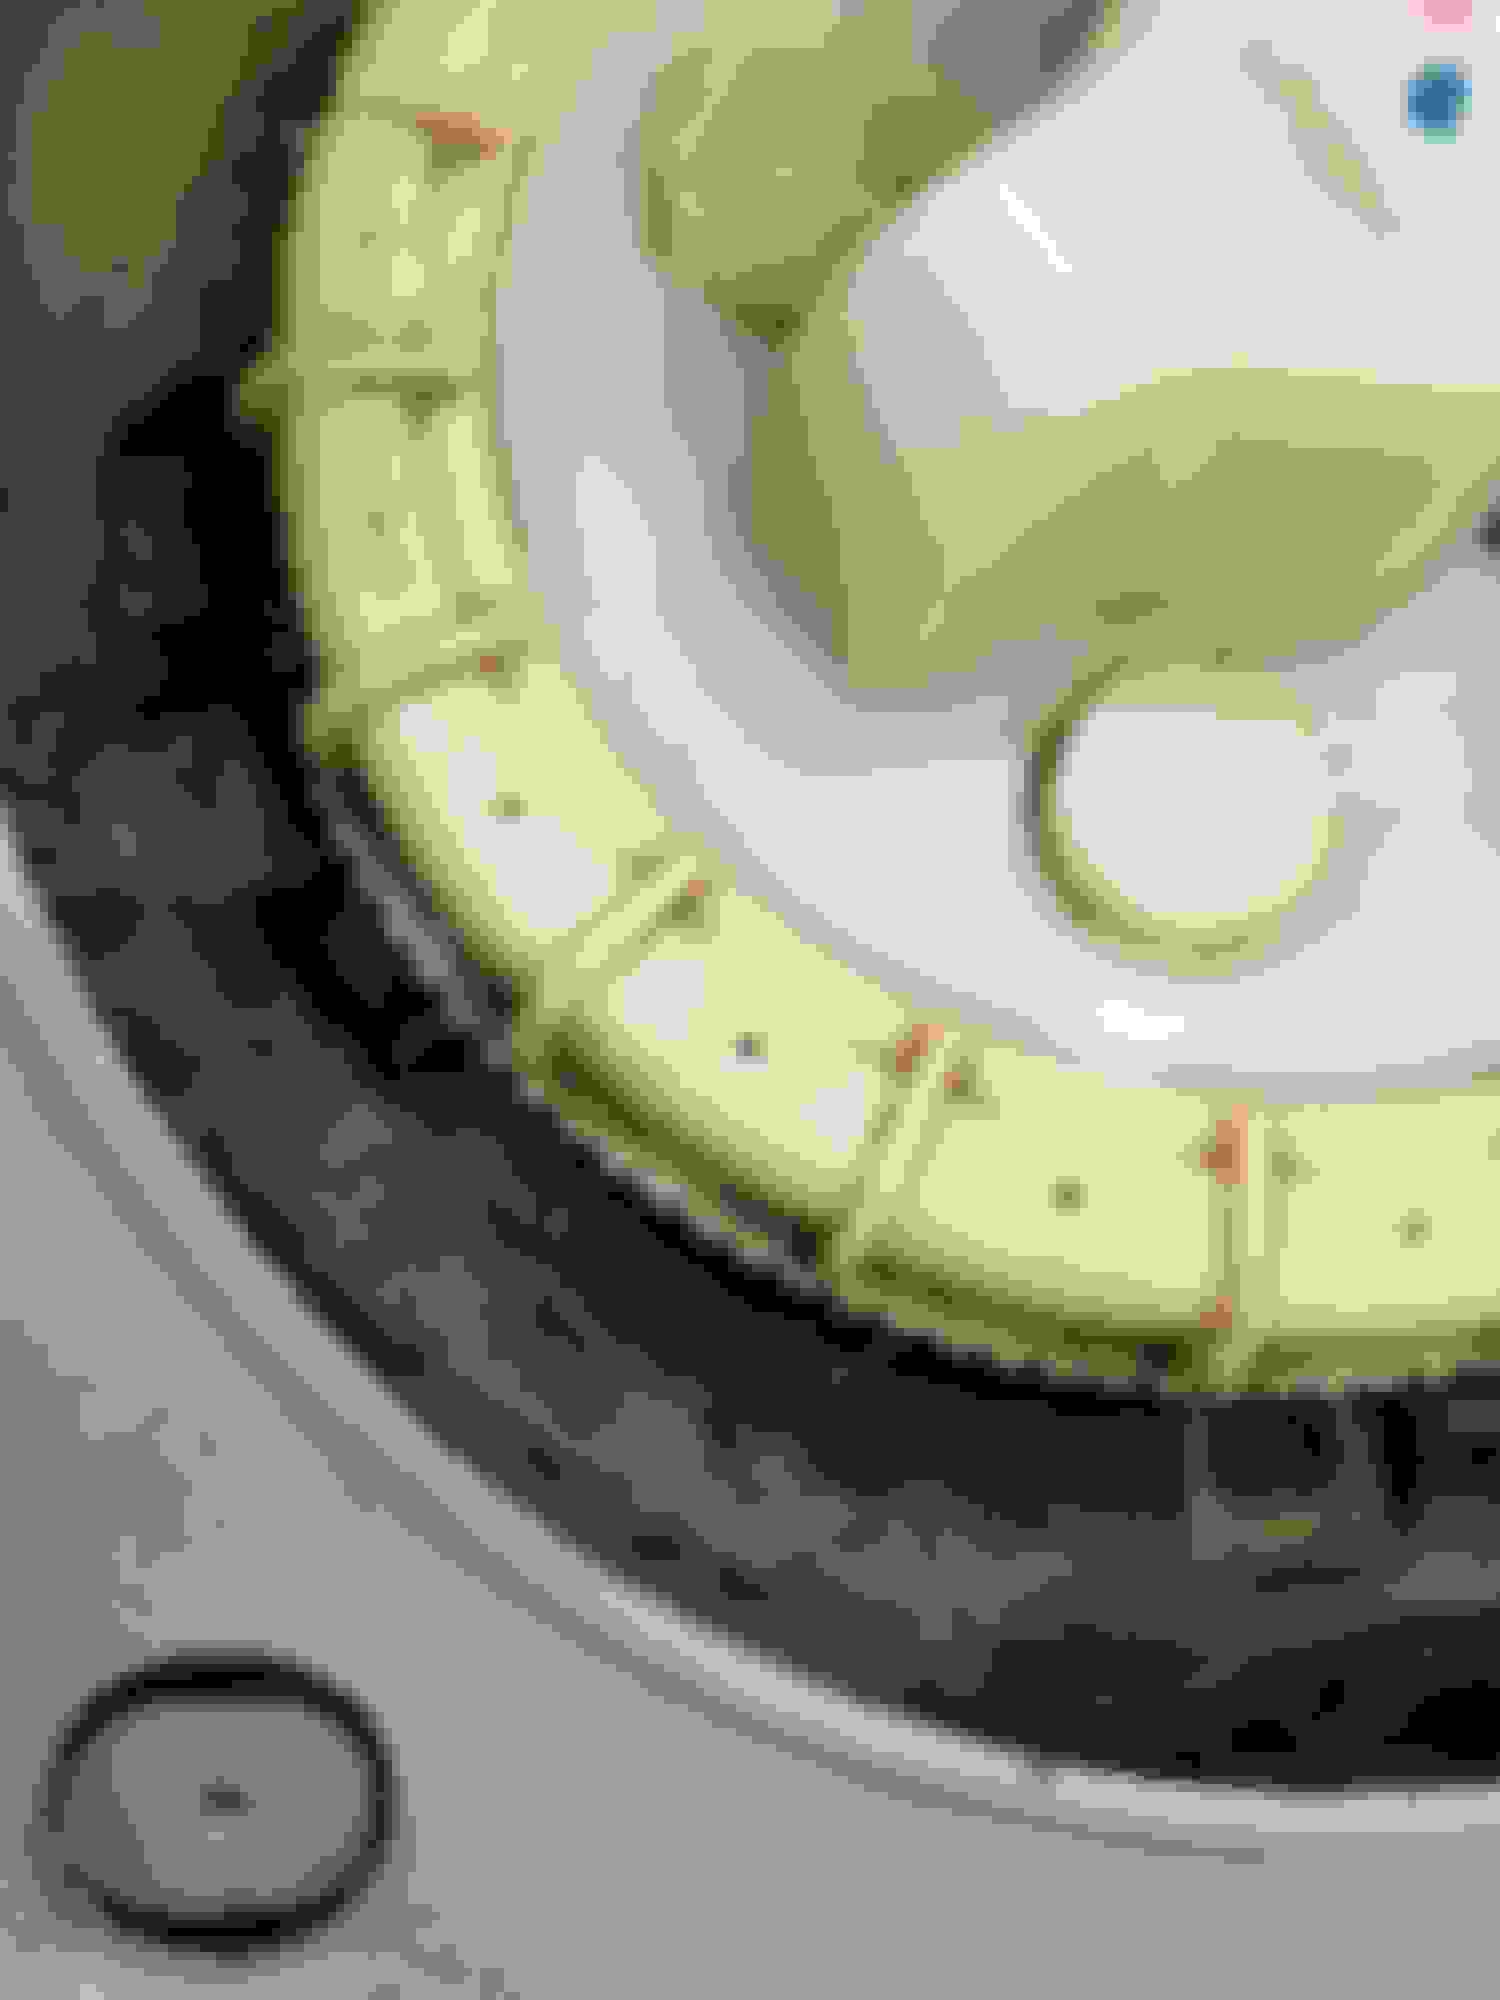
This picture isn't very good sorry, it's getting dark. I'll try and get something better in the morning.
Anyways the front of the car is towards the top of the picture.
At 6:00 position you can see the empty recessed notch in the fuel tank.
The tab with is located at about the 8:00 position.
I replace the black locking ring on mine a while back. From what I remember there is no clip or retainer that keeps it attached to the tank body, the three square tabs just sit in molded recesses in the tank. By design the tabs will lift slightly when the ring is fully tightened. Dirt, road dust, and assorted schmoo will collect in the recesses and if not cleaned out can keep the tabs from fully seating so they are more likely to slip out of the recess when tightening.
See the TSB from Mazda about the fuel pump ring recall for some more details pages 14-15 most specifically: 2004-2008 RX-8 - REPAIR PROCEDURE - RECALL 1017E
I’ll just save him the trouble. He sent me pics of the new one; the “notch” at the front is actually a split in the ring that allows you to pull it out and slip over the tank lip protrusion. Then as you say it drops down into the depressions along with some notches on the ID of it prevent rotation. Then once you start threading on the top ring nut that locks it all in place.
I replace the black locking ring on mine a while back. From what I remember there is no clip or retainer that keeps it attached to the tank body, the three square tabs just sit in molded recesses in the tank. By design the tabs will lift slightly when the ring is fully tightened. Dirt, road dust, and assorted schmoo will collect in the recesses and if not cleaned out can keep the tabs from fully seating so they are more likely to slip out of the recess when tightening.
See the TSB from Mazda about the fuel pump ring recall for some more details pages 14-15 most specifically: 2004-2008 RX-8 - REPAIR PROCEDURE - RECALL 1017E
Hey Thanks Stubbs for the link to the TSB.
That's very helpful. And I think I do have a case of dirt, dust and (LOL) assorted schmoo
Originally Posted by TeamRX8
I�ll just save him the trouble. He sent me pics of the new one; the �notch� at the front is actually a split in the ring that allows you to pull it out and slip over the tank lip protrusion. Then as you say it drops down into the depressions along with some notches on the ID of it prevent rotation. Then once you start threading on the top ring nut that locks it all in place. .
Thanks Team,
(Wow I'm not going to win any hand model contests)
I wanted to get this fixed today and post an update with some pictures of the fuel tank and retainer ring assembly.
Unfortunately I was not able to get the Fuel Pump Ring off (the white piece with all the notches).
The Retainer ring just keeps moving with the Fuel Pump ring, and I was unable to come up with a way to prevent it without an extra set of hands.
So I've enlisted my wife to assisted me tomorrow morning.
I'm going to try and use a very large flat head screw driver to hold against one of the remaining tabs.
Ok, well that was fun (not)
The very large screw driver worked but we did manage to bust off one more tab.
I would align the tabs with the notches in the tank and my wife would push down and against the rotation of the fuel ring direction to hold the retainer ring.
I found it helpful to also press down carefully but with some force to help seat the retainer ring in to the fuel tank notches.
I believe it is very important that people do NOT break off these tabs (as I have read and seen some peeps say to do) because they feel its preventing the Fuel Pump ring from removal.
The reason for this is because it also breaks off the retainer ring tabs that fit in to the fuel tank notches meant to keep the retainer ring stationary. (see pic below)
For the record I did not break mine off for removal. I broke them trying to hold the retaining ring from moving.
The issue I had with the retainer ring moving was due to the build up of "schmoo" (that makes me laugh)
The removal of the retainer ring was very simple, as stated above you simply expand the ring out and remove it over the neck of the fuel tank and voila.
In fact its so easy, I would recommend removing it and cleaning the fuel tank notches every time you remove the fuel pump.
NOTE: Be careful with the o-ring gasket as its easy to stretch. Mine was a bit dirty so I wiped it off and it no longer fit as well (likely why it may have leaked). A new o-ring gasket was 160$ CDN plus taxes more than both the Fuel Ring and the Retainer Ring.
I've got to be quick as I have an appointment at 6:30am that I need to get ready for so here are the pics
Broken retainer ring - removed
Notice the tabs that have been broken off, will no longer seat in to the fuel tank notch to prevent rotation of the retainer ring
Close up of broken retainer ring
Schmoo in notches of the fuel tank.
Up is towards the rear of the car
Driver side:
Passenger side
When I get back this afternoon I will put everything back together and post an update.
Just in the process of re-installing every thing.
So in that process I'm reading the TSB Stubbs provided and while I do have a lot schmoo on the fuel tank I just read this ....
yeah, check out my before/after fuel tank removal pics. The overall grime, sand and gravel buildup was a bit surprising. Don’t really have a lot of miles, but a lot of places where the car is driven are not always the cleanest of surfaces.
.
Quick update.
Thank you to everyone that has contributed to this thread.
I’ve gone out and done two fuel leak tests the tank is half full now and no sign of any issues.
(other than the AFR is a tad rich at @WOT now, wonder how long that Walbro pump had been failing me)
Everything went back together so smoothly I was worried.
To sum it up, don’t break the tabs off, remove the retainer ring while you have the pump out and clean up the debris, and be very careful handling the o-ring ( do not stretch it)
I know you have your own solution. I found after trying aftermarket pumps from Walbro and others, my best fuel pump solution was installing a second-generation OEM fuel pump in my 2008 40th Anniversary Edition RX8. The DYI is in threads in the club and with some minor adjustments it fits great and solved all my fuel pump issues, including for light track duty.
I know you have your own solution. I found after trying aftermarket pumps from Walbro and others, my best fuel pump solution was installing a second-generation OEM fuel pump in my 2008 40th Anniversary Edition RX8. The DYI is in threads in the club and with some minor adjustments it fits great and solved all my fuel pump issues, including for light track duty.
Sweet thanks,
I've still not decided exactly on the solution I'm going to implement moving forward so I'll definitely have a look at that mod.
For now the OEM from 2005 is filling the gap and doing fine (knock on wood)
Sweet thanks,
I've still not decided exactly on the solution I'm going to implement moving forward so I'll definitely have a look at that mod.
For now the OEM from 2005 is filling the gap and doing fine (knock on wood)
The OEM 2005 pumps will fail over time and use, they do. That is why Mazda went to a completely different pump from a different manufacturer for the Series 2 RX8s. The Series 1 pumps can leave you high and dry on the road, they tend to overheat with extended driving and will shut down. IMHO, just a real liability and weak point to use the Series 1 OEM fuel pump. Cheers
We had a recall here in Greece for fuel pump. I'm fairly certain that along with the rings they replaced the actual pump which pumps more than the old one as I was told. Only the outer shell of the assembly is retained. It is a quite new recall, I did it on 2019. On the shop's receipt it reads fuel pump replacement, we actually took it out and put an old good one in for some time to check some problems I had and I can confirm it was a new pump. I've searched quickly for similar recalls in the US but I did not find something.
Sorry if I missed it somewhere on this thread but I find it odd if mazda usa didn't issue the recall.
Let me know if you need a better understanding of swapping an S2 fuel pump in. The DIY thread is a bit convoluted wrt to how it progressed over the years and it’s a bit easier than from when it first started.
All you need is the proper wiring connector for the S1 fuel sensor to plug into the S2 pump; which somebody figured out can be had reasonably cheap buying a used part from a Mazda 3 or some other model and swapping it over. I don’t recommend modifying the connector like some people did to be a good solution.
Then the nylon siphon hose from the other saddle bag side can just have some submersible fuel hose with SS clamps clamped on between it and the fuel pump after cutting off the fitting rather than hassle with replacing the connector to a different size. All the line does is siphon fuel from the other side under a low vacuum pressure. It’s not under any pressure. Wish I had recognized this when doing mine the first time. Hindsight is 20/20.
.
My Rotary shop had no issues doing the swap to the Series 2 pump following the DIY instructions with slight mods posted here in the group. But hey if Team RX8 has found an easier way to do it, he is a knowledgeable veteran here and you can trust his advice. I have had perfect performance since the swap back in 2017 into my 2008 40th Anniversary Edition RX8.
Cheers and just do it. .
Last edited by gwilliams6; 06-11-2021 at 08:23 AM.
Which whole did you exactly open up to let the fuel pressure flow much better ?
was it the siphon inlet from the left side of the tank?
Or was it the inlet from pump?
depends on your goal, most people will suffice with an S2 pump module swap
one of the issues with the S1 pump module is that you can only replace it to get a new fuel filter, but the S2 pump parts they sell separately so that you can replace any component; pump, filter, sock, FPR, siphon assy. etc., it also doesn’t require any internal mods, and uses the better (imo) Denso 65C pump. The fuel feed hole/flap is better and it doesn’t starve as easily on low tank volume.
or the alternative for higher hp needs is the S2 pump swap feeding a Radium type surge tank/pump assembly, but you have to have some backpressure on the in-tank pump or the siphon won’t draw fuel out of the RH saddle tank and the engine will run out of fuel with ~1/4 tank showing on the fuel gauge.
 05-31-2021, 11:22 AM