Greddy Turbo Upgrade - Upgrade.....
 08-04-2008, 02:29 AM
#1

Greddy Turbo Upgrade - Upgrade.....
Ok; some people have asked me what is the deal with my sweet 3071R.
Given the issues I had with my exhaust heating; I decided to go ahead and break down - take it all off in order to coat everything + ceramic paint etc...
So here you go - enjoy.
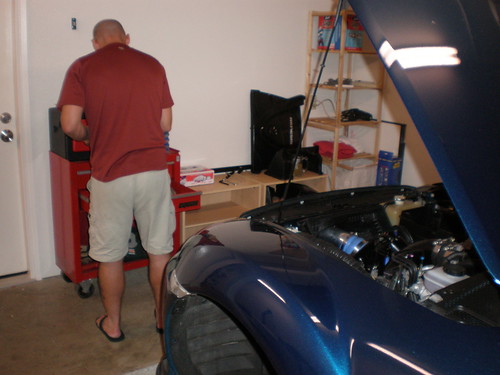
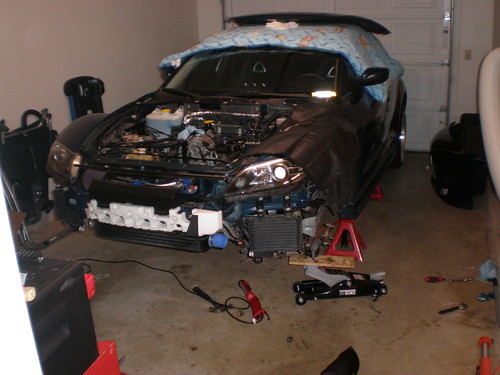
My NEW and IMPROVED working area.
Step One - Intake and UIM

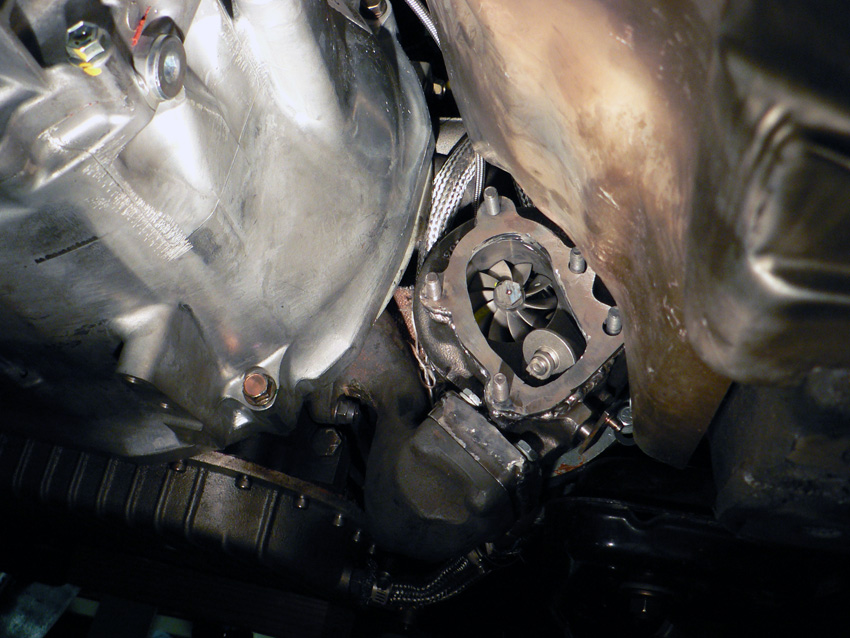
Step Two - this little guy...
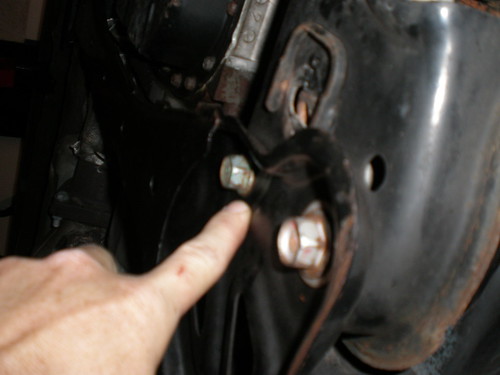
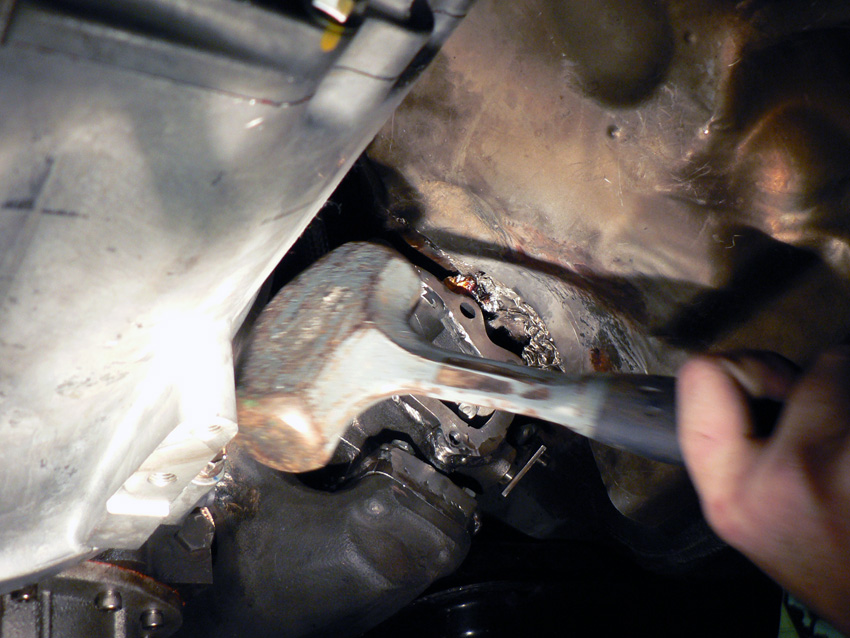
The nut broke inside the frame..... so we had to get it off and reweld the nut.
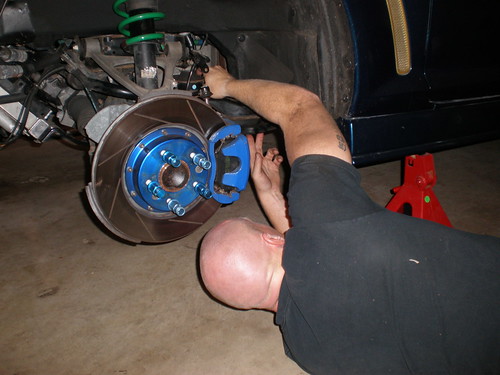
ALL The Drivers side suspension has to go to get at the subframe...
And 1.5 days of work for 11 seconds of welding.
So subframe brace is off; suspension is off; fixed the nut; turbo and manifold is out (we dropped both motor mounts and brackets).
ALL to fix THIS!!!!
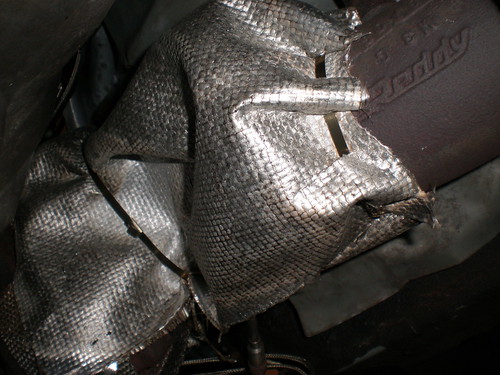

Turbo in its blanket - so far so good.... but wait there is more.
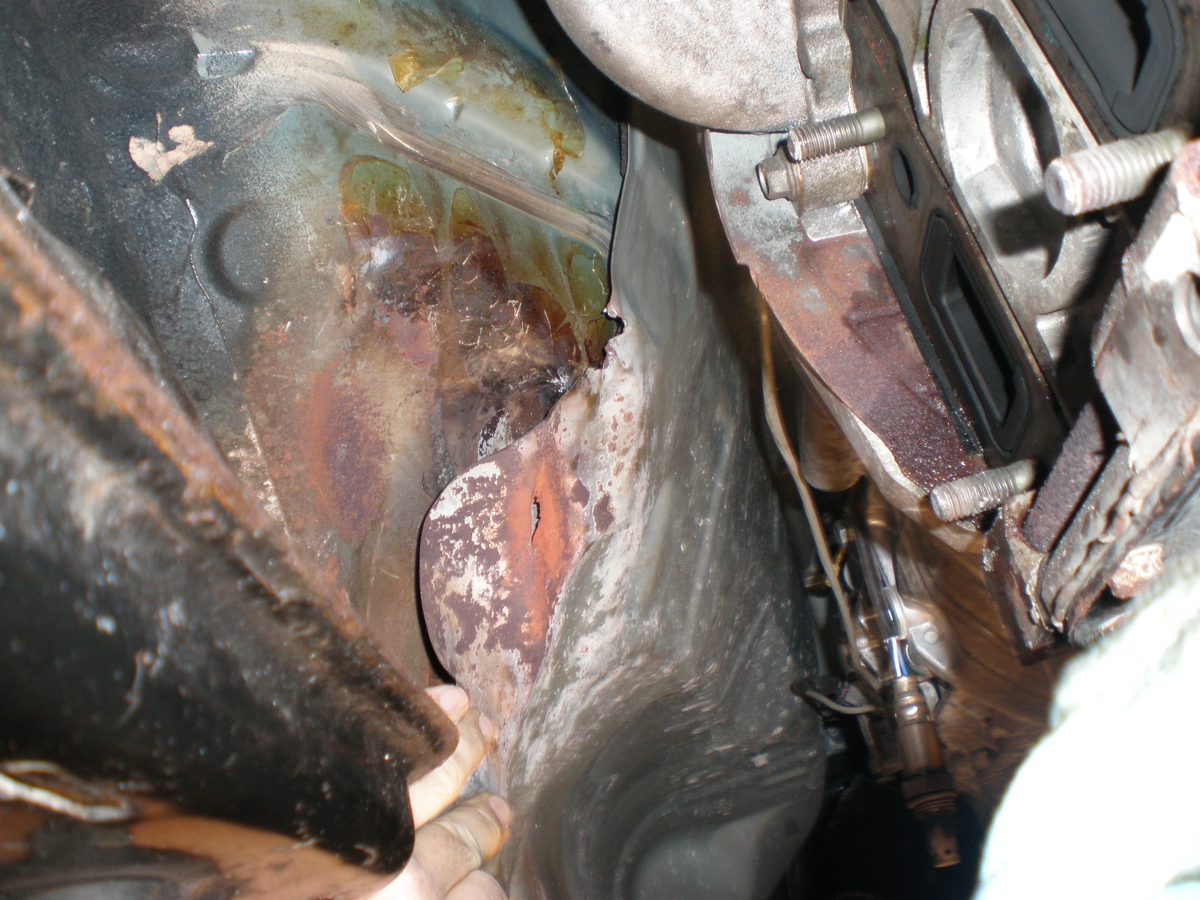
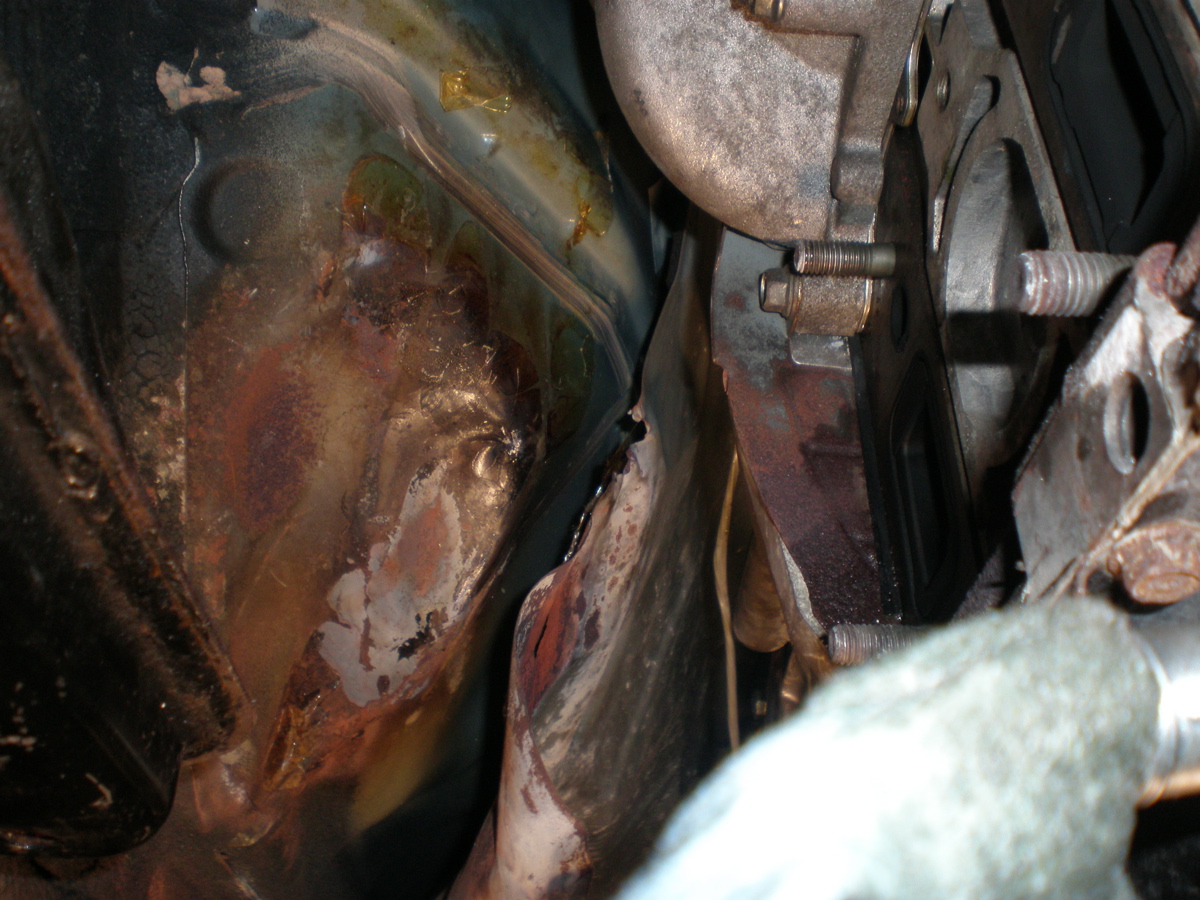

The downpipe was the culprit - it had burned through the turbo blanket; aluminum shield and was working on the body of the car.
Given the issues I had with my exhaust heating; I decided to go ahead and break down - take it all off in order to coat everything + ceramic paint etc...
So here you go - enjoy.
My NEW and IMPROVED working area.
Step One - Intake and UIM
Step Two - this little guy...
The nut broke inside the frame..... so we had to get it off and reweld the nut.
ALL The Drivers side suspension has to go to get at the subframe...
And 1.5 days of work for 11 seconds of welding.
So subframe brace is off; suspension is off; fixed the nut; turbo and manifold is out (we dropped both motor mounts and brackets).
ALL to fix THIS!!!!
Turbo in its blanket - so far so good.... but wait there is more.
The downpipe was the culprit - it had burned through the turbo blanket; aluminum shield and was working on the body of the car.
Last edited by Kane; 08-04-2008 at 03:50 PM.

 08-04-2008, 02:46 AM
#4
The hardest part of all of this; it to keep from fixing / upgrading everything while the car is up... when I started thinking about acid dipping and powedercoating the PPF and control arms... I knew it was time to slow my roll!
Hopefully; I'll have BHR's ignition; SSV valve fixed; tranny wrapped; body ceramic painted and heat shielded; manifold + hot side + downpipe ceramic coated, painted and wrapped. Tranny flushed along with the rear differential. And a new MAF housing to boot.
Plus whatever else I decide to do while I am down there.
Plus the body work from Faille dropping something on my door!
 08-04-2008, 03:11 AM
#7
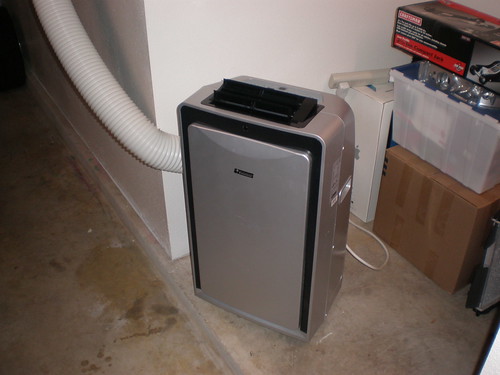
omg,
it was an ac unit!!!!!!
i guess i am half a man as i have no ac in my garage..
please dont play the geography card on me.. as you will lose to me and others.
i would play the kimi card. it is your only hope!!!!
but thanks for the update!!!! the heat patterns are amazing!
beers
it was an ac unit!!!!!!
i guess i am half a man as i have no ac in my garage..
please dont play the geography card on me.. as you will lose to me and others.
i would play the kimi card. it is your only hope!!!!
but thanks for the update!!!! the heat patterns are amazing!
beers

 08-04-2008, 01:11 PM
#11
Step one is to test the actuator and mechanism by hand (done); then the solenoid (swapped with the Air Pump Solenoid) -
Then the vacuum of the lines (once I get my vacuum pump back).
If all of that is good - then I'll start worrying about the EMS issues.
Then the vacuum of the lines (once I get my vacuum pump back).
If all of that is good - then I'll start worrying about the EMS issues.


 08-04-2008, 03:44 PM
#17
Could be the mounts; the flange - who knows.
The hot side was clocked correctly - and it cleared everything - only the downpipe got that close to the car.
I'll post more pics tonight so you all can see exactly where it hit (and my repairs); nothing a few raps with a hammer didn't fix.
Taj - like anything; when you drive it around for a few miles upon initial install - take it back home; and check everything out (lather, rinse, repeat).
I had a super small oil leak initially - which I fixed; then I had some other minute issues that I fixed over the next month or two; this one I just got lazy (didn't want to take everything out)/ wanted to be in my new garage before I tackled; so the level of burning is due to it being on there for 200 miles instead of 20 miles.
Last edited by Kane; 08-04-2008 at 03:48 PM.