
RWD+LSD=Zoom gets THE BOOST


 LOL that should go in my Sig...
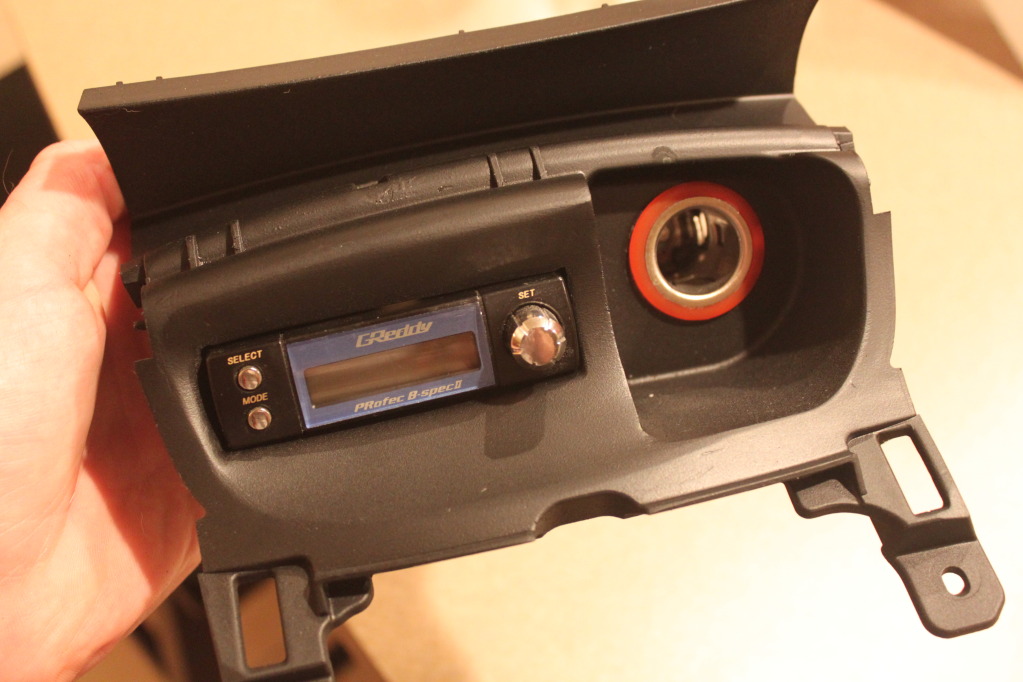

 07-17-2012, 09:54 AM
#412
I havent seen it person yet, I am truely excited, don't forget to bring it with you when you come over later, kyle!!!!
I have the new paper gasket for the sohn so we should be able to get the car back together.
Havent driven the car in awhile.... must be done soon!!!
I have the new paper gasket for the sohn so we should be able to get the car back together.
Havent driven the car in awhile.... must be done soon!!!
07-17-2012, 11:42 PM
#413
SPOOLN8
iTrader: (1)

Join Date: Nov 2008
Location: Edmonton, Alberta, Canada
Posts: 2,251
Received 220 Likes
on
165 Posts


Dude could you PM me a short DIY on what you all did to make that look so clean... I plan on doing my boost controller very, very soon (Next week) and this is the part I have been most hesitant on trying to do on my own.... greatly appreciated!!
07-18-2012, 09:40 AM
#414
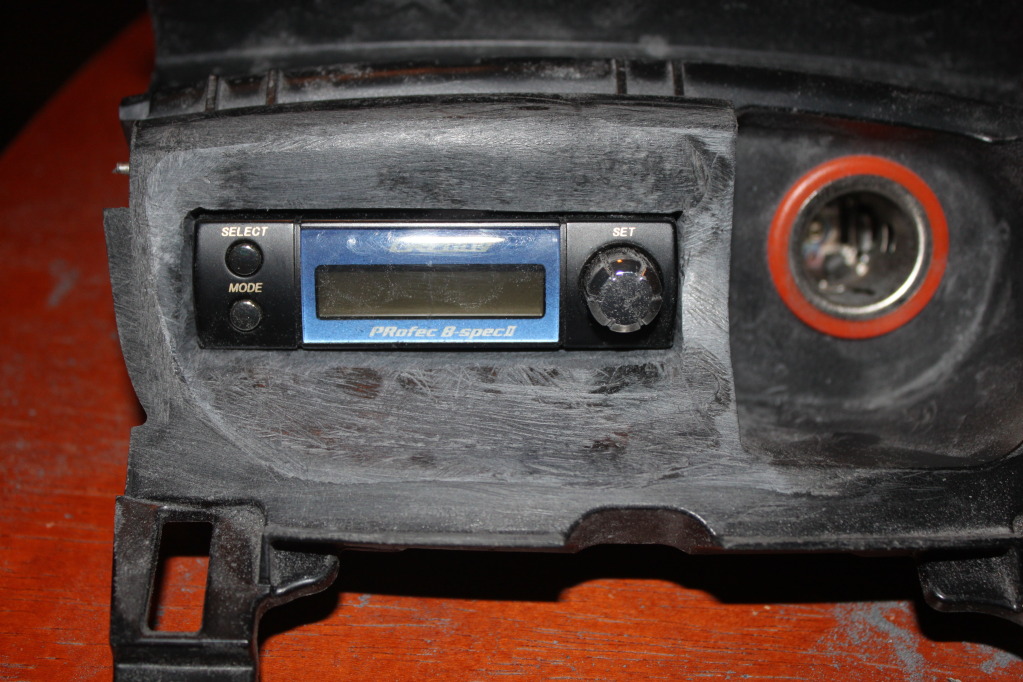
cant wait to hook it all up and see what it looks like running 
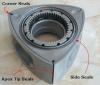
This is the second mold Kyle has ever done with the Apoxie Scuplt. From what I hear, the product is super easy to work with. I personally do not have any experience with the stuff. Best part is, if you mess up just start over
This is the second mold Kyle has ever done with the Apoxie Scuplt. From what I hear, the product is super easy to work with. I personally do not have any experience with the stuff. Best part is, if you mess up just start over
07-18-2012, 05:46 PM
#415
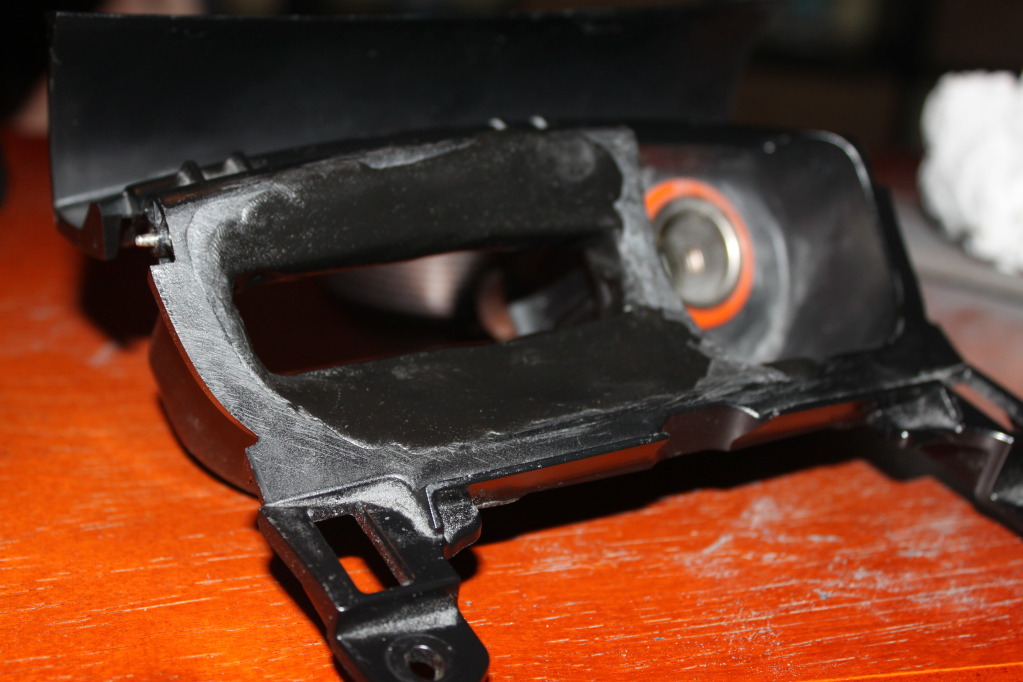
Tools used...
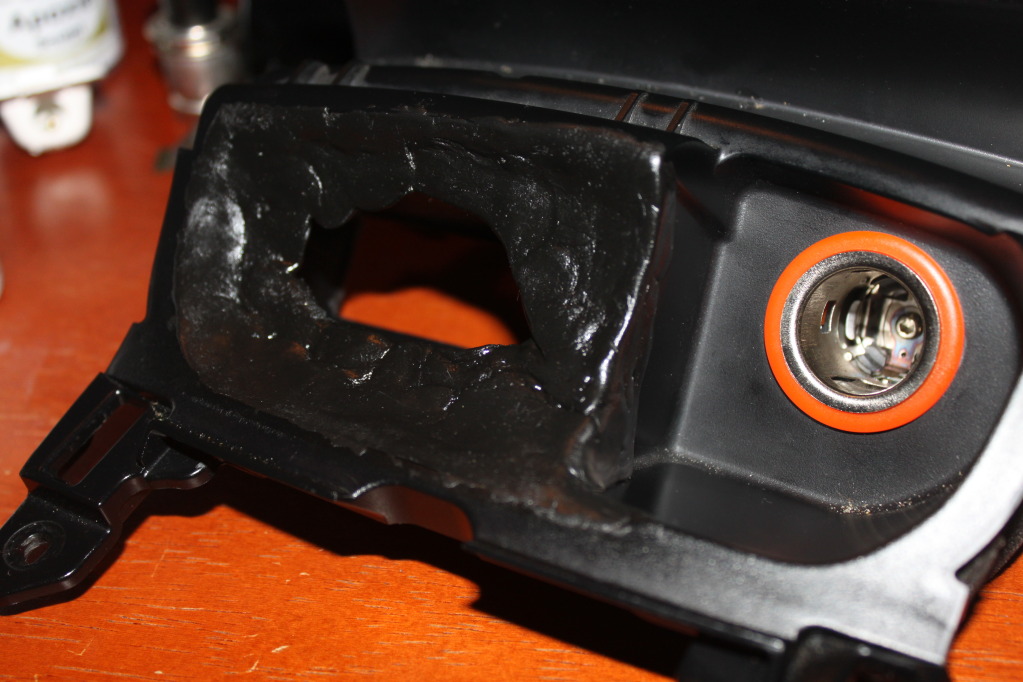
- A dremel with a cutting wheel to cut out the back of the ashtray and to cut the initial opening for the Boost Controller
- Two different files one rough, one smooth
- A few different grades of sandpaper
Here's the initial step building up the structure...

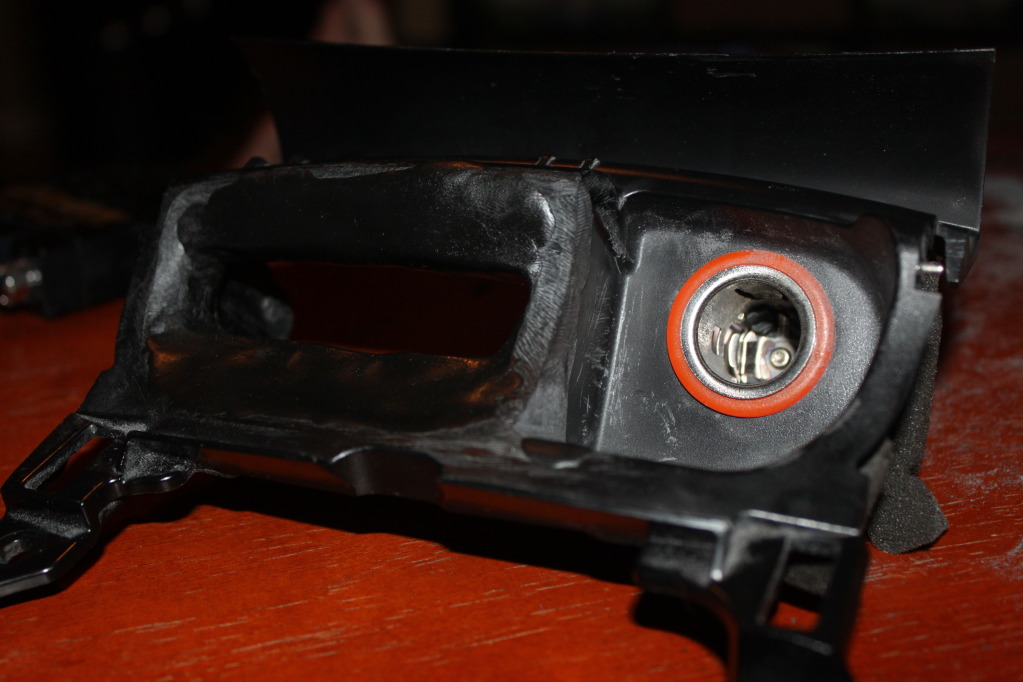
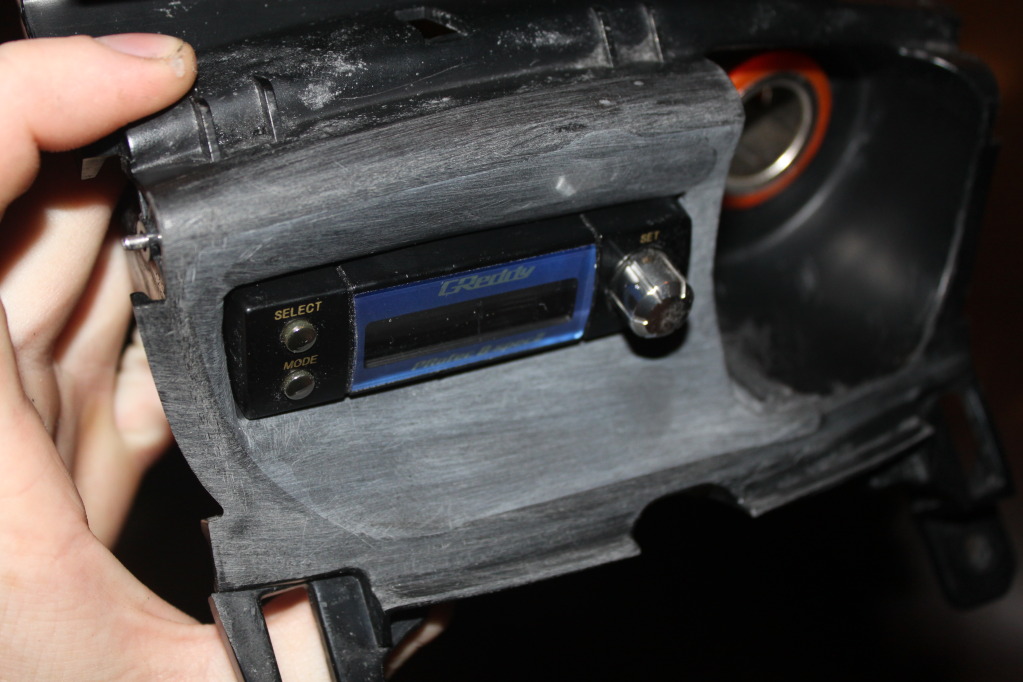
Next cutting the rough opening to fit the Boost Controller and some rough filing...
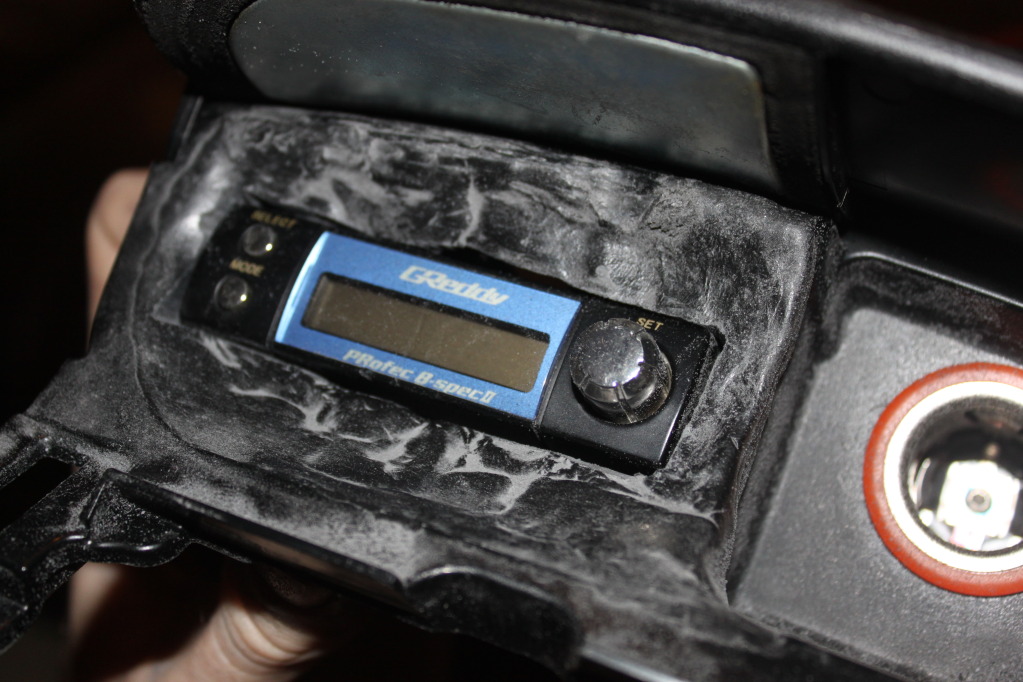
Nest Step, Adding an additional layer of Apoxie Sculpt to smooth things out and build a lip inside for the Boost Controller...
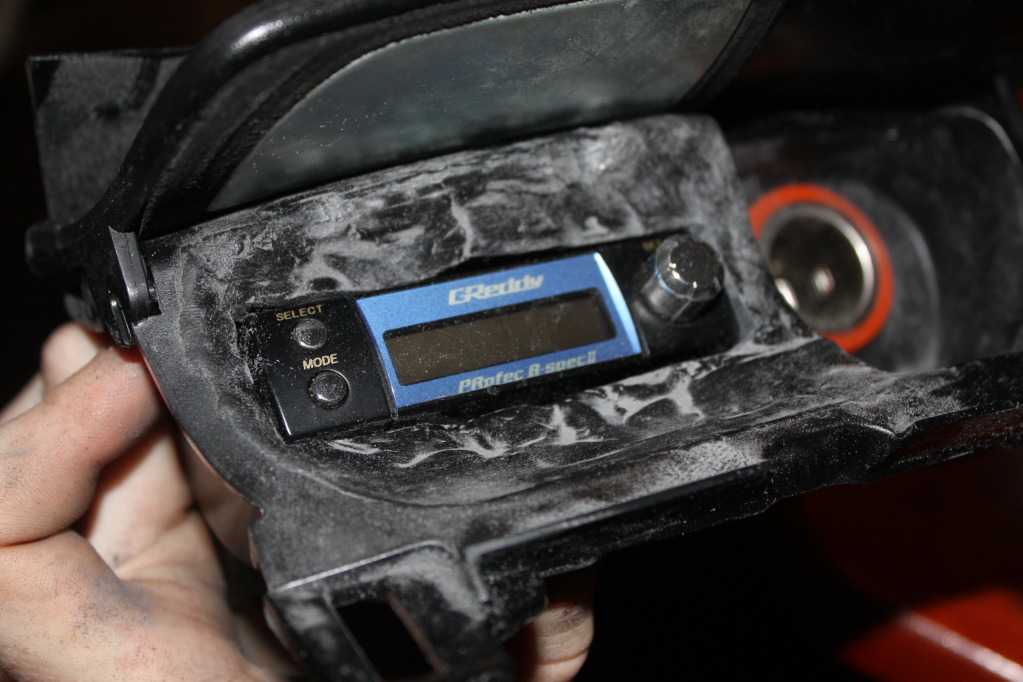
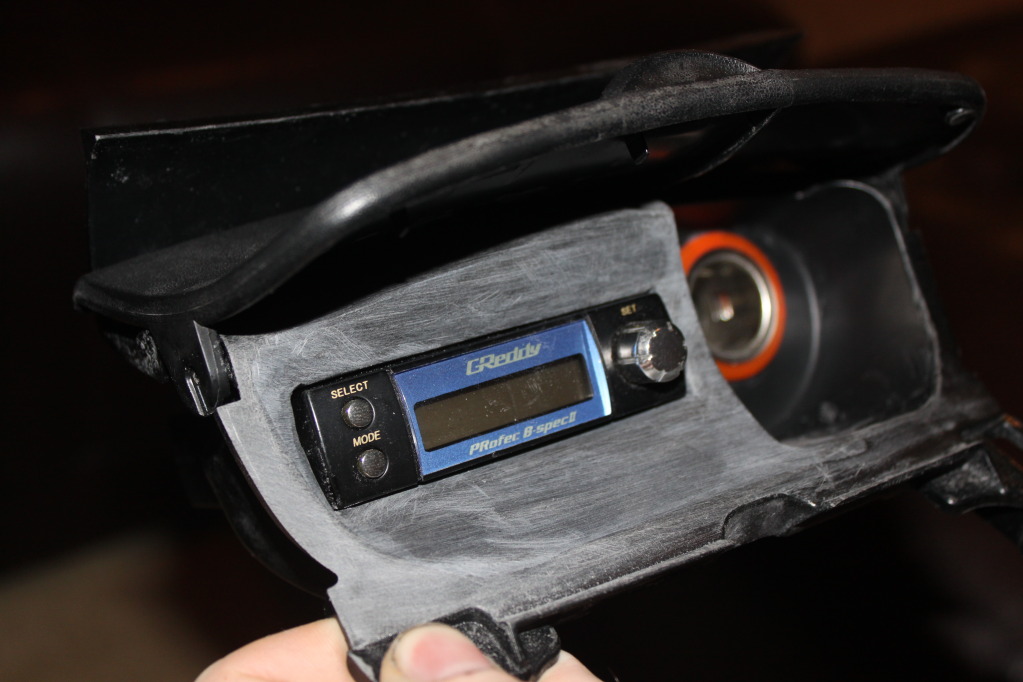
More Filing and Sanding, all done by hand at this point. I slowly filed the opening for the boost controller until it fit but was still snug...
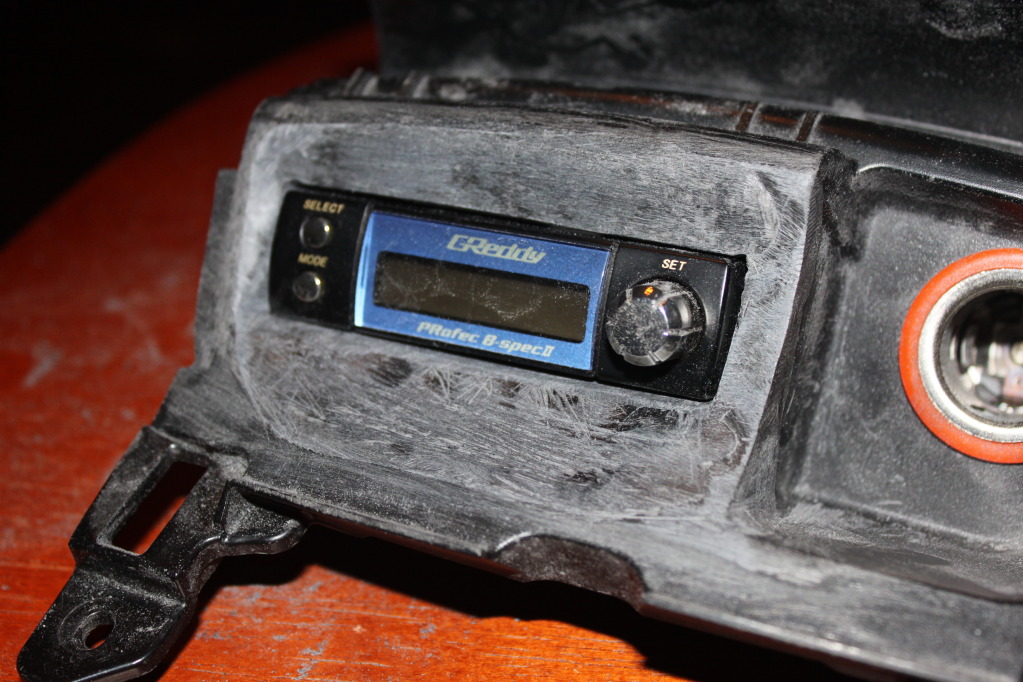
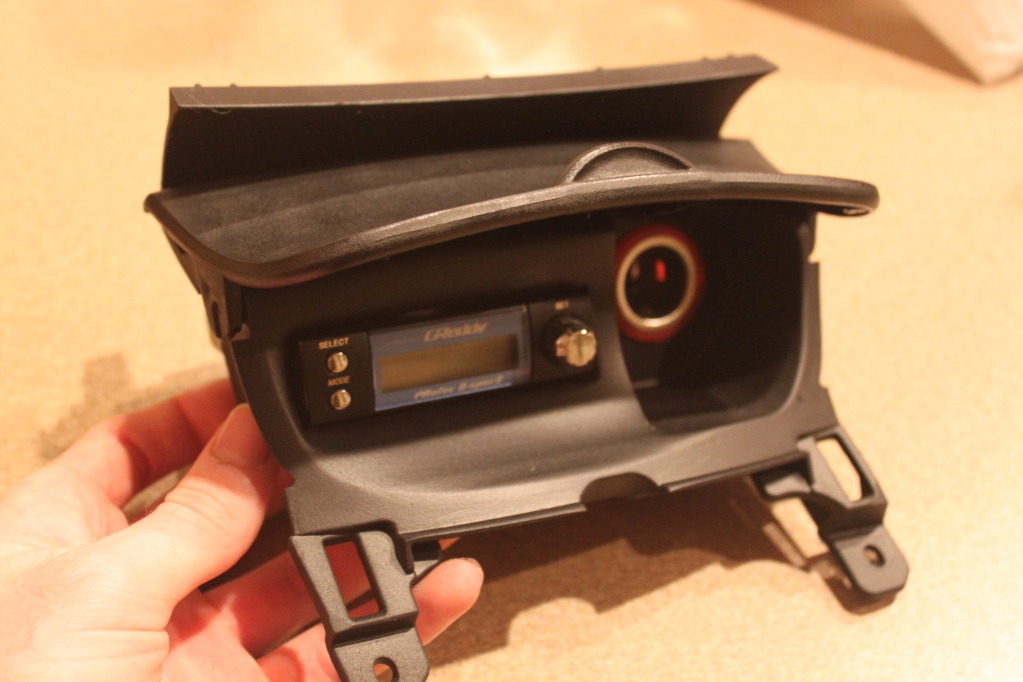
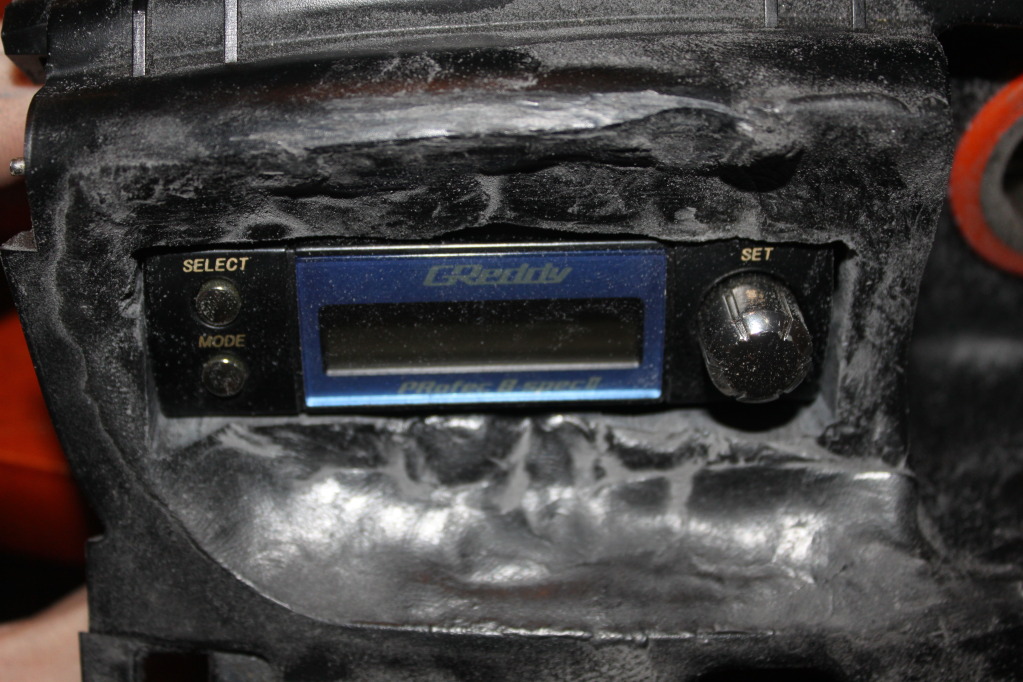
Finish Sanding...
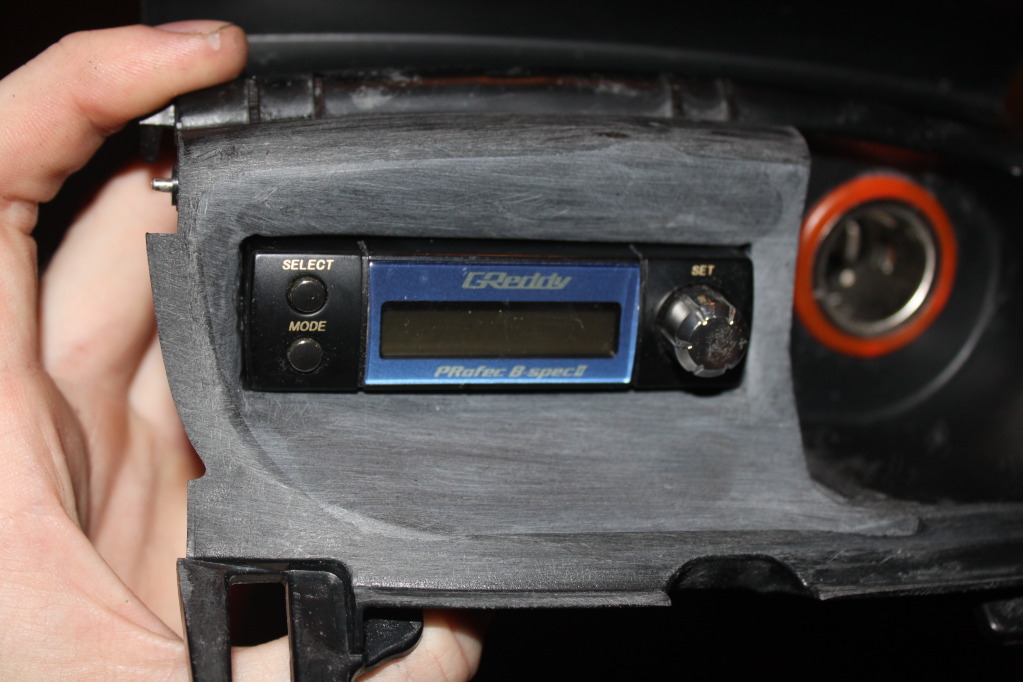
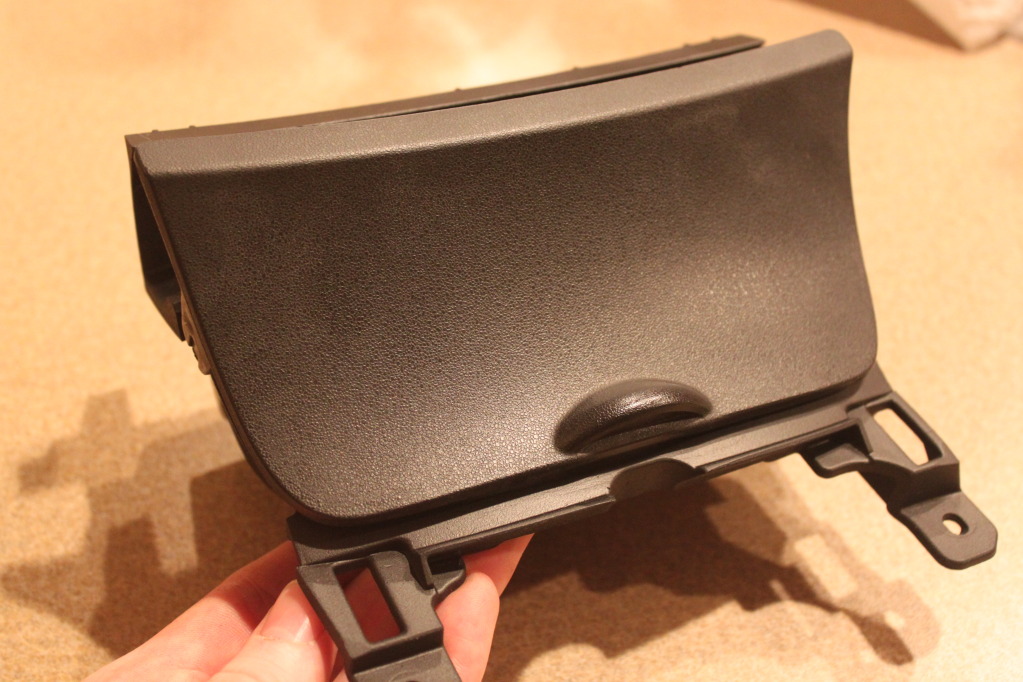
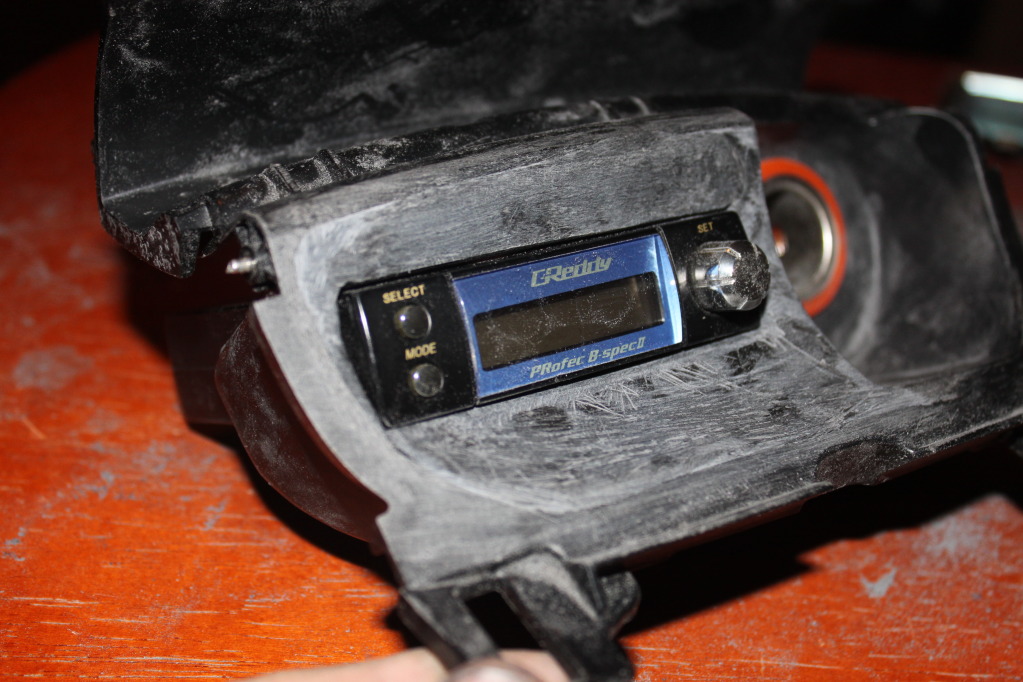
Finished...


Note: Make sure you pay attention to the angle of the boost controller, if it's too steep the vacuum nipple on the back will hit sheet metal behind the ashtray. Test fit it throughout the process!
Tip: You can put the part in a toaster oven or something at about 100 degrees for 10 min and then take it out and let it cool, this will make it cure a lot faster and save you some time(Otherwise it takes 24hrs to cure). You could also use a hair dryer or a heat gun on low. For the Gauge pod I made I threw it in the toaster oven but for the Ashtray I used a hair dryer cause I didn't want to put the whole assembly in the oven.
Hmmm maybe I should post that as an actual DIY lol
cant wait to hook it all up and see what it looks like running
This is the second mold Kyle has ever done with the Apoxie Scuplt. From what I hear, the product is super easy to work with. I personally do not have any experience with the stuff. Best part is, if you mess up just start over
This is the second mold Kyle has ever done with the Apoxie Scuplt. From what I hear, the product is super easy to work with. I personally do not have any experience with the stuff. Best part is, if you mess up just start over
 Meh it basically turned into a full on DIY haha
11-01-2012, 11:53 AM
Meh it basically turned into a full on DIY haha
11-01-2012, 11:53 AM
#420
Registered

Join Date: Aug 2008
Location: Tampa, FL
Posts: 667
Likes: 0
Received 0 Likes
on
0 Posts
What's up Chris? Don't know if you remember me, but I came to a meet a few years back. Just been lurking here and there on the site since I sold the 8, and came across your build thread. Just wanted to drop a line and tell you the car looks good.

Thread
Thread Starter
Forum
Replies
Last Post
JimmyBlack
Series I Major Horsepower Upgrades
273
02-10-2020 10:23 PM
yurcivicsux
Series I Major Horsepower Upgrades
192
09-12-2017 10:54 PM
05rx8mazda
RX-8 Parts For Sale/Wanted
18
11-28-2015 09:42 AM
JantzenRX-8
RX-8 Parts For Sale/Wanted
1
10-04-2015 11:30 PM