Zex 55 shot Nitrous install
#1
Zex 55 shot Nitrous install
Wanted a cheap way to add some decent horsepower to the 8. Couldn't have picked a better option. The entire job took me 11 hours straight, haha i would recommend taking a day off or a weekend to do this project. I just did it after work, started at 6pm and finished at 5:30am haha. Although keep in mind i consider myself to be a beginner mechanic, i know my way around but it does take me longer than most to do a job.
I started the job when i did the clutch and flywheel a few days earlier. I started by running the nitrous line under the car since i had access to a lift and could make it all nice and tidy I used the gromit in the trunk to run the nitrous line and made a small slit in the carpet of the trunk to feed the line through. Next i mounted the bottle, went and bought a few self tappers and used them to drill the brackets down in the middle of the trunk. sorry i didn't take pictures of every step, but here is what it looked like when i was finished with the line and the bottle mount...
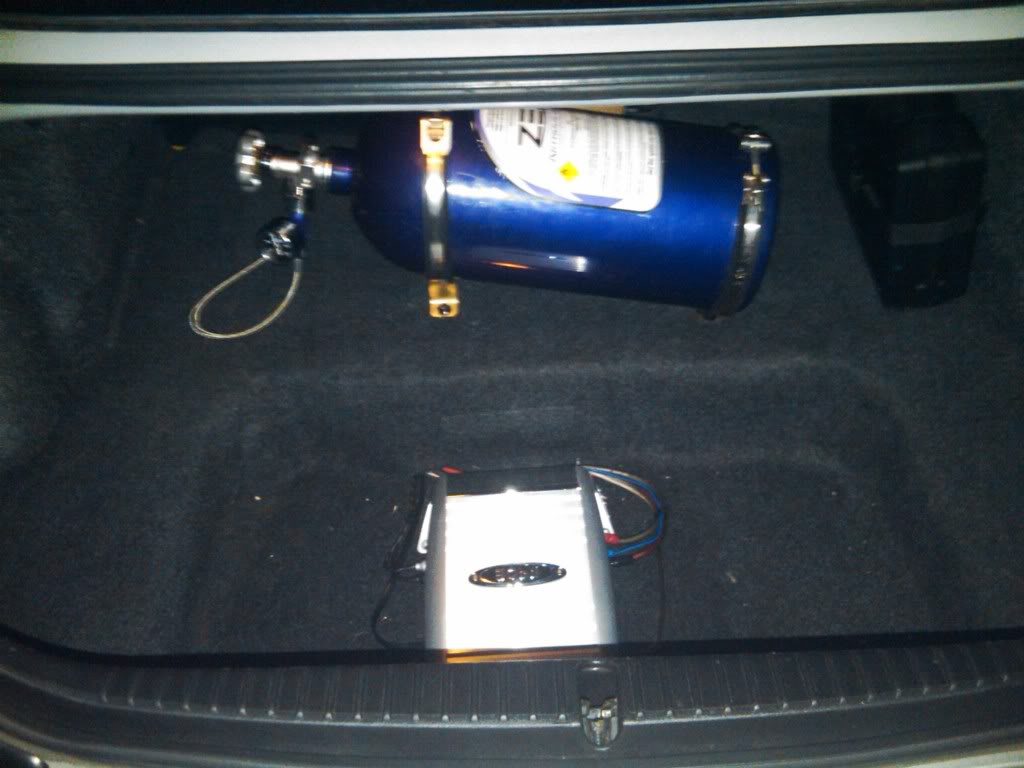
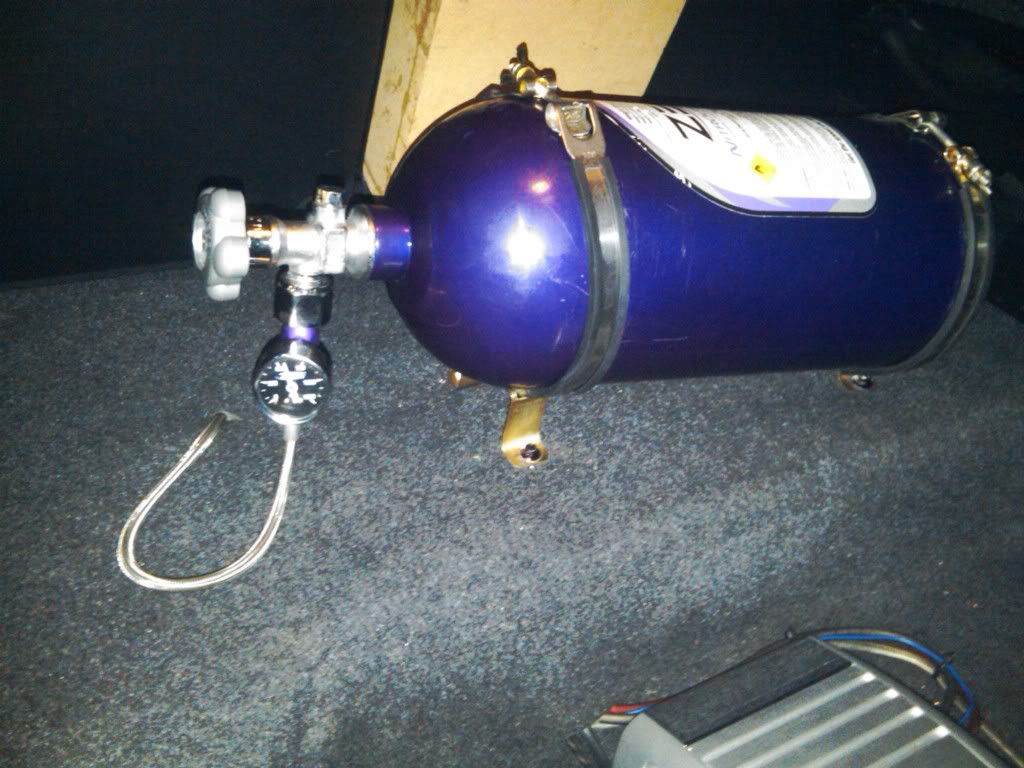
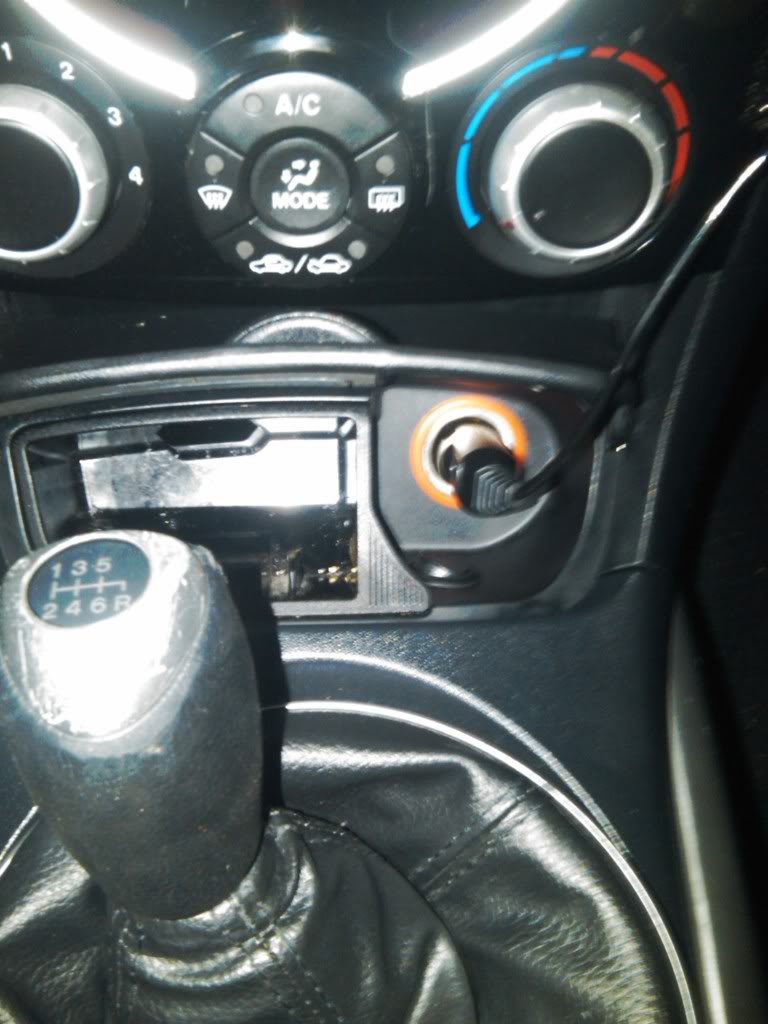
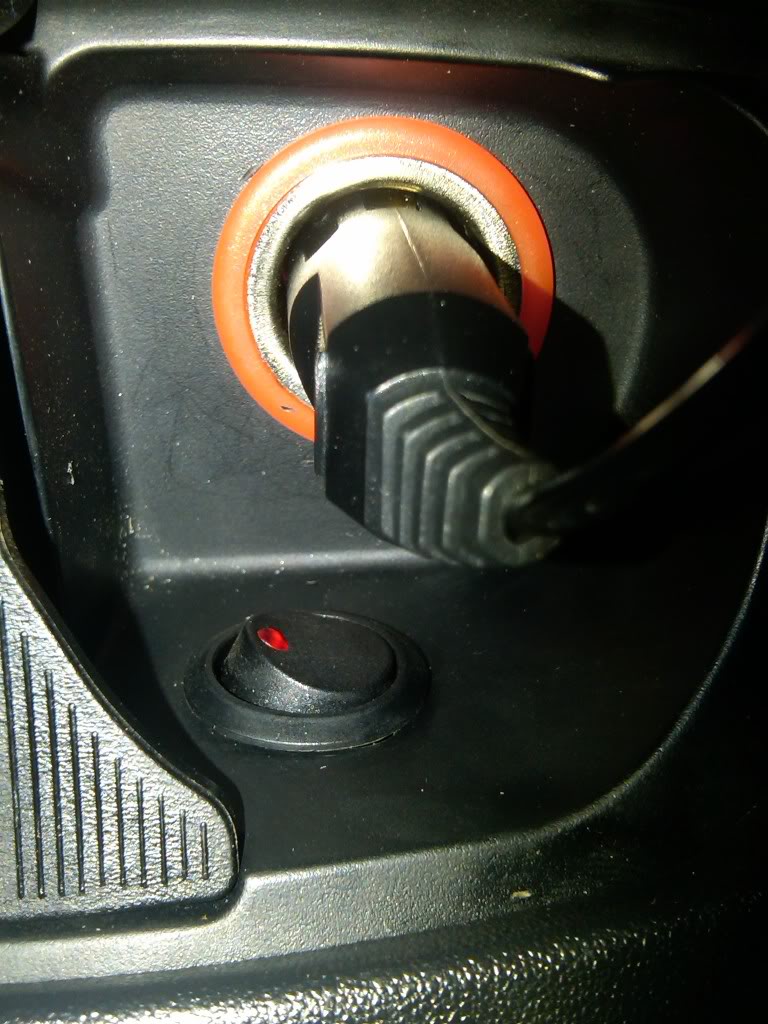
The next step is important to do before anything else. I then mapped out where i wanted everything and how i wanted it. I wanted my set up to be clean and not look goofy. So i ran all the lines in the engine bay how i wanted them. The next step was to tap into the fuel line. I used another nitrous install thread to guide me through some of it and just changed some of the steps so i got my own personal set up. I found the fuel line (by the way, mazda sure did a nice job of using all of the space in the engine bay. i had no room to work!), and cut it. big mistake. It is crucial to plan everything before you actually do it. I obviously learned this the hard way. I cut the fuel line then realized I didn't have the right fittings. So i spent the next couple hours figuring out how I was going to tap the fuel line. It all ended up okay.. but it sure was a hassle. Finally I ran all the electrical, and purchased a low profile switch instead of the big obvious red one.
Then with the help of my brother, we made a custom bracket to mount the NMU in basically the only secluded space possible. Which was right in front of the windshield washer fluid reservoir. We just made it out of zinc plated sheet metal, and used the existing bolts on the reservoir to mount it. then painted it black so it would blend in a little better
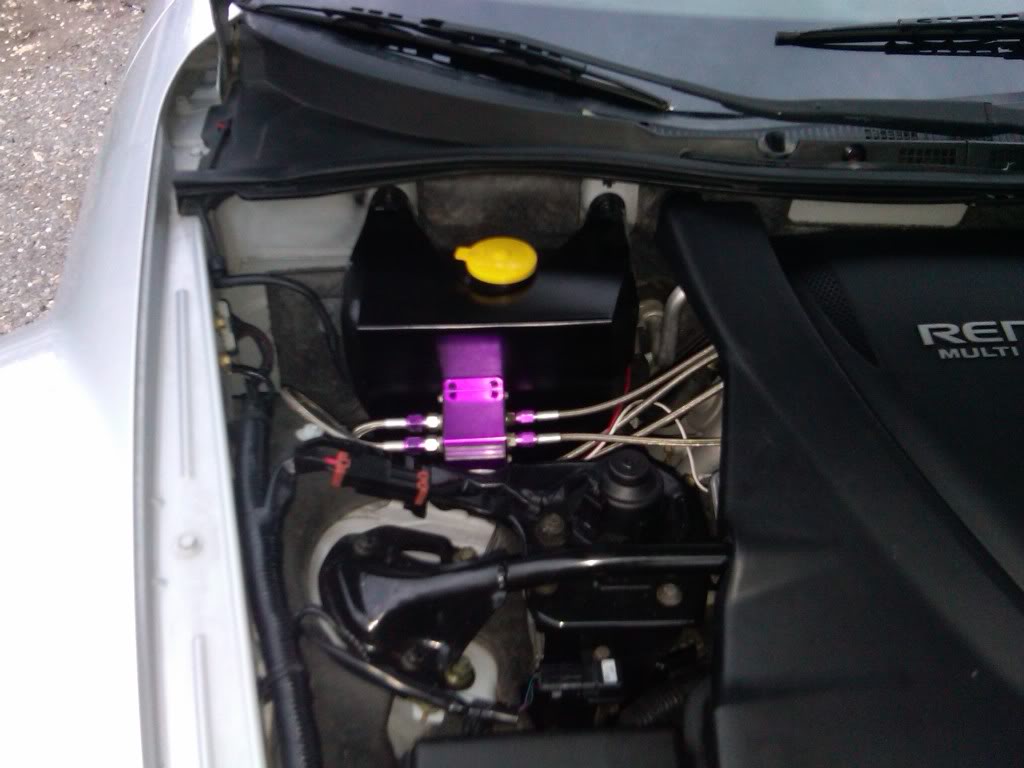
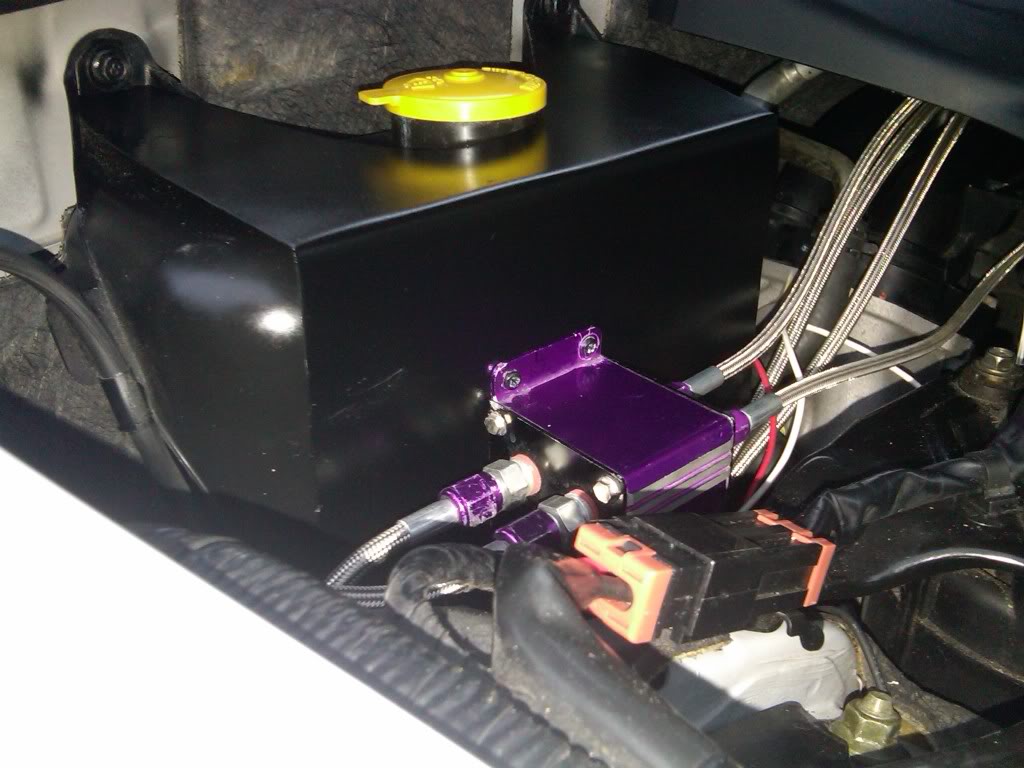
Clean Finished Job
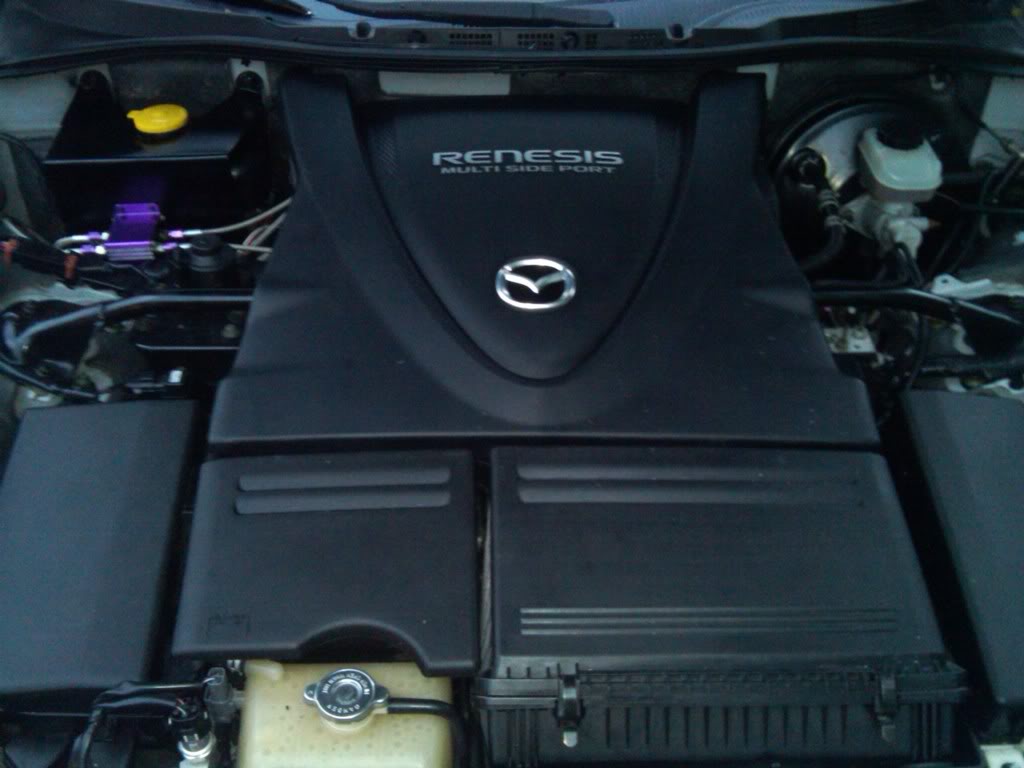
Thats all I really have time for at the moment. but i wanted to get this up, and i'll get more detailed and more pictures up in the next couple days
I started the job when i did the clutch and flywheel a few days earlier. I started by running the nitrous line under the car since i had access to a lift and could make it all nice and tidy
 I used the gromit in the trunk to run the nitrous line and made a small slit in the carpet of the trunk to feed the line through. Next i mounted the bottle, went and bought a few self tappers and used them to drill the brackets down in the middle of the trunk. sorry i didn't take pictures of every step, but here is what it looked like when i was finished with the line and the bottle mount...

The next step is important to do before anything else. I then mapped out where i wanted everything and how i wanted it. I wanted my set up to be clean and not look goofy. So i ran all the lines in the engine bay how i wanted them. The next step was to tap into the fuel line. I used another nitrous install thread to guide me through some of it and just changed some of the steps so i got my own personal set up. I found the fuel line (by the way, mazda sure did a nice job of using all of the space in the engine bay. i had no room to work!), and cut it. big mistake. It is crucial to plan everything before you actually do it. I obviously learned this the hard way. I cut the fuel line then realized I didn't have the right fittings. So i spent the next couple hours figuring out how I was going to tap the fuel line. It all ended up okay.. but it sure was a hassle. Finally I ran all the electrical, and purchased a low profile switch instead of the big obvious red one.


Then with the help of my brother, we made a custom bracket to mount the NMU in basically the only secluded space possible. Which was right in front of the windshield washer fluid reservoir. We just made it out of zinc plated sheet metal, and used the existing bolts on the reservoir to mount it. then painted it black so it would blend in a little better


Clean Finished Job


Thats all I really have time for at the moment. but i wanted to get this up, and i'll get more detailed and more pictures up in the next couple days

Last edited by Kinky_Kelsey; 10-07-2010 at 04:16 AM.
#3

I've had the kit installed for less than 24 hours and I already want to upgrade to a 75 shot... just be warned... it's addicting

#4
Maybe this is a dumb question but what happens if you run out of nitrous with the system engaged and go WOT? Does it still inject fuel? Surely this will make it super rich. I would appreciate a serious answer. Thanks.
#5
Yes.
#10
No it wouldn't. A properly jetted nitrous setup does not require any tuning adjustments.
Certain jetting size increases require a timing adjustment but there are not currently any methods to accomplish that and keep good power when not spraying. As such, it's best to just use the 55 shot Zex size jets.
Certain jetting size increases require a timing adjustment but there are not currently any methods to accomplish that and keep good power when not spraying. As such, it's best to just use the 55 shot Zex size jets.
#19
#23
The red fuel feed line on the drivers side, I suggest using the Aeromotive fitting sold at www.blackhaloracing.com.
check my thread for some additional info.
https://www.rx8club.com/series-i-major-horsepower-upgrades-93/general-nitrous-questions-201797/
check my thread for some additional info.
https://www.rx8club.com/series-i-major-horsepower-upgrades-93/general-nitrous-questions-201797/
#24
Thread
Thread Starter
Forum
Replies
Last Post
JimmyBlack
Series I Major Horsepower Upgrades
273
02-10-2020 10:23 PM
Jelliott5384
Series I Interior, Audio, and Electronics
2
10-26-2016 05:15 PM


