When you click on links to various merchants on this site and make a purchase, this can result in this site earning a commission. Affiliate programs and affiliations include, but are not limited to, the eBay Partner Network.
Just a log of things I'm doing to the car pretty soon. I had hoped that the current engine would last long enough for me to save up for a LS swap but it's deteriorating too quickly for that. If I still have the car by the time I have $10k saved up, it's going to get a V8. My eventual idea is to build a motor with a LS3 block and LR4 crank. With the right top-end, it should be able to spin to 8k RPM.
But first, the history:
Purchased new in 2006, it's a 2005 6MT Base with Sport Package in Sunlight Silver (and cone rash). I went back to school to finally get a degree in 2010 and ended up selling it to a friend in my car club in 2012 (p-chem = no time for anything but p-chem). When I finished, I searched around for a new autocross/track toy and settled on a NA Miata. Then, for reasons defying logic, I sold the perfectly reliable, hella fun Miata after a year and bought my '8 back from a different friend in the same club (2015).
I ordered one through MazdaSwag (a.k.a. Scherer Mazda in Peoria, IL) for $2871.58 + tax. I'm paying in-state tax on it because it works out to pretty close to the same price as having the reman shipped to me and then having to ship my engine back to the dealer. This way, I can strap my old engine to my tire trailer, tow it behind my CX-3 and just swap the two engines.
I plan on doing a bunch of extra stuff at the same time:
I'm adding oil temperature and pressure sensors as well as a fuel pressure sensor. They will be feeding into a GoodBox Gauge. I ordered
and hopefully they'll be close enough that I can just add a SPDT rocker switch to share one of the 5v analog inputs on the GoodBox. The other analog input will be connected to a
Good luck! Bonus compression points for the hot pink parts bucket.
Also from the GoodBox thread.. you know they make CanBus Arduino shields, if you wanted to experiment. With Arduino's own inputs, you might be roll your own PreppyBox?
Good luck! Bonus compression points for the hot pink parts bucket.
Also from the GoodBox thread.. you know they make CanBus Arduino shields, if you wanted to experiment. With Arduino's own inputs, you might be roll your own PreppyBox?
Do not mock the pink parts bucket!
I'm not sure I feel like re-engineering the display output. I suppose I don't really even have to integrate with the factory LED display or OBD. It's just a matter of making something to take 2-3 analog inputs and display them somehow. I'll probably end up doing that.
Interestingly, the reman came with a new overhaul gasket set and a thermostat (in addition to the expected water pump). When you strip down your engine for core return, you remove everything from the keg except the flywheel, e-shaft pulley, water pump, hoist brackets and oil level sender.
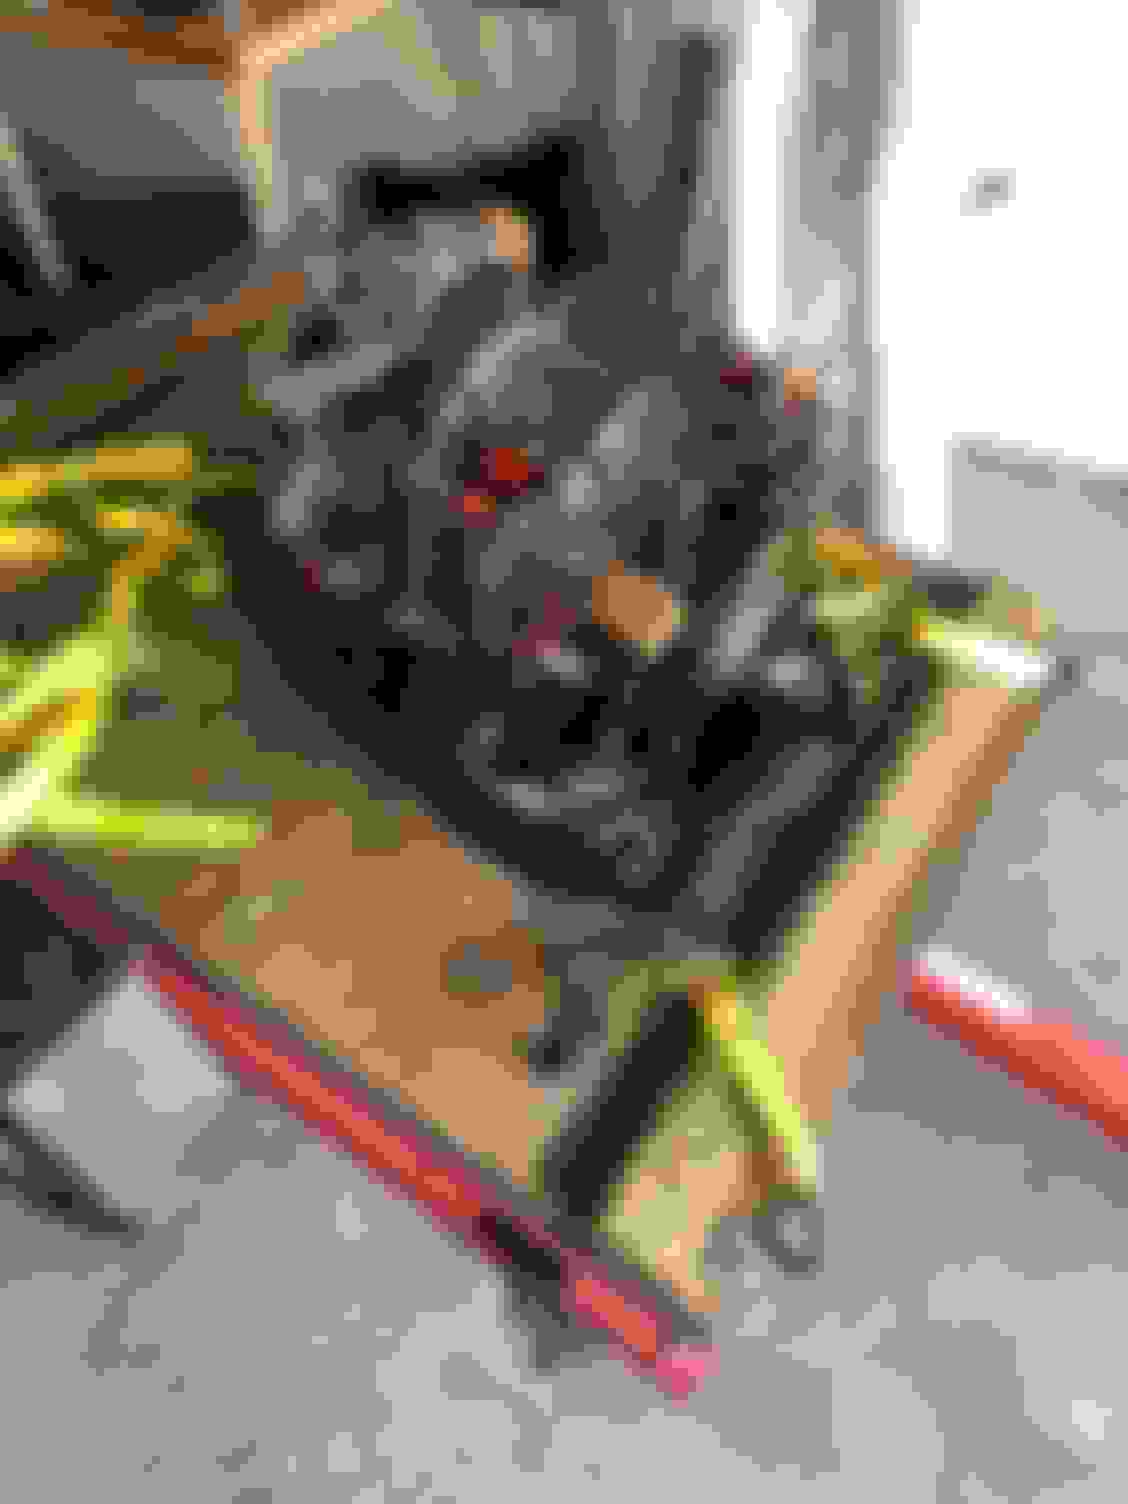
The engine hand-off...
Engine at home waiting for me to get all of the cleanup work done before installing.
So far, check valve at the UIM vacuum reservoir and two solenoids test good (hold vacuum and respond correctly to applied voltage). The third solenoid doesn't hold vacuum.
Sadly, three of the four oil injectors won't hold vacuum. Since it will take several business days to get new ones here, this means I won't be able to get the car back on the road until next week. Oh well, more time to deal with cleaning up grounds, wiring and some engine bay rust.
They look fine externally but I haven't separated them from the OMP to test. Not even sure how to check them. I might have to steal some supplies from work (pipets and syringes).
I'm not overly concerned since the OMP is a positive displacement pump. I can't imagine what would get in the lines that the OMP couldn't force out.
More cleanup. Redid the wiring for the neutral and reverse switches since they got a little melty a while back. Cleaned the crossmember above the radiator and gave it a few coats of POR15 since it was getting rusty.
Also cleaned up oil coolers. That was tedious. Note to self: make some screens for those.
Sat down with my Arduino Uno and related parts yesterday. Despite never seeing one in-person before, I got everything working in about 4 hours. So, I'll have oil temp, oil pressure and fuel pressure output to a 20x4 LCD screen. If there's any interest, I'll do a DIY.
$10 knock-off Arduino Uno
$12 20x4 LCD with backpack serial comm module
$20 150 psi 5v pressure transducers x 2
$15 k-type thermocouple (listed as being for EGR) with MAX6675 thermocouple analog-to-digital converter.
$8 for five buck converters to power everything.
$60 for Aeromotive 15120 fuel line adapter.
Just have to figure out how/where to mount it. The screen is just a bit too big to fit over the blank radio plate. I may pull the ashtray and put it there.
At some point in the future, I'll probably get a CANBUS shield for it and see if I can access the sensor data via OBD. If that's possible then I can access it via OBD Fusion (which allows custom PIDs).
This is a bit out of my area of expertise, but could the same thing be accomplished with a Android "headunit"? Something like using the Odroid single board pc, 7inch touch screen. Order a mounting box that slides into the double din...mount it all with the Metra kit?
Probably but Android... Ugh, I feel dirty just typing it.
Just kidding.
Actually, I don't see a reason why you couldn't use an Odroid, Raspberry Pi or any of the similar microcomputer systems to accomplish this and get more functionality. The key issue is being able to read from external analog/digital signals.
The arduino is the right fit for me because it's simple and easy and doesn't require that I figure out the factory radio harness and such.
Last edited by NotAPreppie; 03-05-2018 at 01:38 PM.
As a chemist, I've used a lot of pipets. Basically, they're highly accurate glass turkey basters. Except until the 1970's (and possibly into the 1980's), they didn't use a rubber bulb to draw up the liquid. They put their mouths on the end of the pipet and sucked up the liquid like it was a straw. Nobody knows how many chemists (and chemistry students) were poisoned this way but I'm guessing it was a lot.
Well, I took a page from the playbook of those old chemists when testing my OMP lines. After removing them from the OMP, I cleaned the fittings thoroughly. Then I carefully sealed my lips against the tubes (not letting the fitting itself touch the inside of my mouth) and blew really hard through them.
OMP juice flowed from all four and I probably knocked a year or five off my life expectancy.
Reassembly has started and I'm deliberately going very slowly. The front OMP injector hole had some pretty rough threads. I spent an hour very carefully running a tap down the threads in small increments. With each increment, I cleaned the chips out very carefully each time before continuing.
I also fabbed up a new bracket to hold my OMP tank. I have the Epitrochoid kit and was tired of having to refill the washer fluid every time it rained/snowed/overcast/sunny... The oil tank now lives near the OEM battery location and I can reinstall my factory washer fluid.
I still need to come up with a better solution for the gasket in oil tank cap. It's a notched gasket to allow air to be drawn in as the oil is pumped out. Of course, under high-G cornering, it leaks (ask Mr. Pockets about his giant plume of smoke during a NASA TT session). I think I'm going to drill a very small hole in the cap and glue some kind of filter media over it.
It's a shame you didn't even get two years of trouble free use out of the rebuild. Do you know what was done to it? Sounds like they just slapped new seals in it.
Hopefully you get a decent core from Mazda. From what I have read, the rebuilds they are pumping out today are a lot better then years past.
When I rebuilt my 6 port last summer, I only had one oil injector that would hold vacuum. I know you bought new ones but if you are interested in cleaning yours for spares, I found that a small ultrasonic cleaner with mild degreaser works VERY well.
Maybe but I don't know if I have enough space between the hood and the cap. I may just drill a hole in the cap and install a check valve with a 90� elbow and a small filter.
Originally Posted by Dave04
It's a shame you didn't even get two years of trouble free use out of the rebuild. Do you know what was done to it? Sounds like they just slapped new seals in it.
Hopefully you get a decent core from Mazda. From what I have read, the rebuilds they are pumping out today are a lot better then years past.
When I rebuilt my 6 port last summer, I only had one oil injector that would hold vacuum. I know you bought new ones but if you are interested in cleaning yours for spares, I found that a small ultrasonic cleaner with mild degreaser works VERY well.
Good luck, keep us updated.
David
Thanks for the advice. I may invest in a small sonicator in the near future.
Maybe but I don't know if I have enough space between the hood and the cap. I may just drill a hole in the cap and install a check valve with a 90� elbow and a small filter.
FWIW, if the hole is in centered to the container, it should be fine. Mine is just a 1/16" hole drilled through the top of the cap, and the filtering happens in the line that goes to the OMP (since I can't promise I won't drop crap into the container while filling it anyway).
Maybe but I don't know if I have enough space between the hood and the cap. I may just drill a hole in the cap and install a check valve with a 90� elbow and a small filter.
Thanks for the advice. I may invest in a small sonicator in the near future.
FWIW, if the hole is in centered to the container, it should be fine. Mine is just a 1/16" hole drilled through the top of the cap, and the filtering happens in the line that goes to the OMP (since I can't promise I won't drop crap into the container while filling it anyway).
I like this plan...
What did you end up using for your filter?
Last edited by NotAPreppie; 03-09-2018 at 12:53 PM.
However, it's not a happy camper. There's a pretty big vacuum leak (hunting/loping idle, +25% STFT and AFR in the 18+ range) and some extra noise coming from the exhaust. I think I have an idea where it is but I didn't have time last night to dig into it.
The UIM is coming back off today so I can verify the vacuum hoses and solenoids. Also going to check the SAIP where it connects to the exhaust.
I ordered one through MazdaSwag (a.k.a. Scherer Mazda in Peoria, IL) for $2871.58 + tax. I'm paying in-state tax on it because it works out to pretty close to the same price as having the reman shipped to me and then having to ship my engine back to the dealer. This way, I can strap my old engine to my tire trailer, tow it behind my CX-3 and just swap the two engines.
So you're saying you had mazda swag ship it to your local dealer and you dropped the dealer the core at pick up? that is brilliant!

 02-20-2018, 08:45 AM