Where did you mount your Battery?
#1
Thread Starter
Son what is your Alibi?
iTrader: (1)
Joined: Sep 2002
Posts: 2,205
Likes: 2
From: Washington, DC
Where did you mount your Battery?
See the picture below, I'm aware that I could just make some cleaver mount, but to save me hours of bending and re-bending could someone post some pictures of how you did yours?
PS you can see my remote terminal and master cut off switch mount by the air pump.
PS you can see my remote terminal and master cut off switch mount by the air pump.
#2
Thread Starter
Son what is your Alibi?
iTrader: (1)
Joined: Sep 2002
Posts: 2,205
Likes: 2
From: Washington, DC
Well heres what I did after figuring it out on my own.
Turns out that if you take the Metal Jacket off the odyssey pc680 and tilt it down into to the stock battery tray terminals facing the rear of the car the fit is so snug that I don't think you need any sort of tie down. Here is a little mini-diy of my relocate.
All cables I made with quick car racewire placed into ring terminals with molten silver solder inside, than crimped, and heat shrink placed over.
I cut up the stock positive cable EPS fuse holder and assembly to allow me to attach a positive wire extension from the stock stuff up to by the washer fluid bottle.
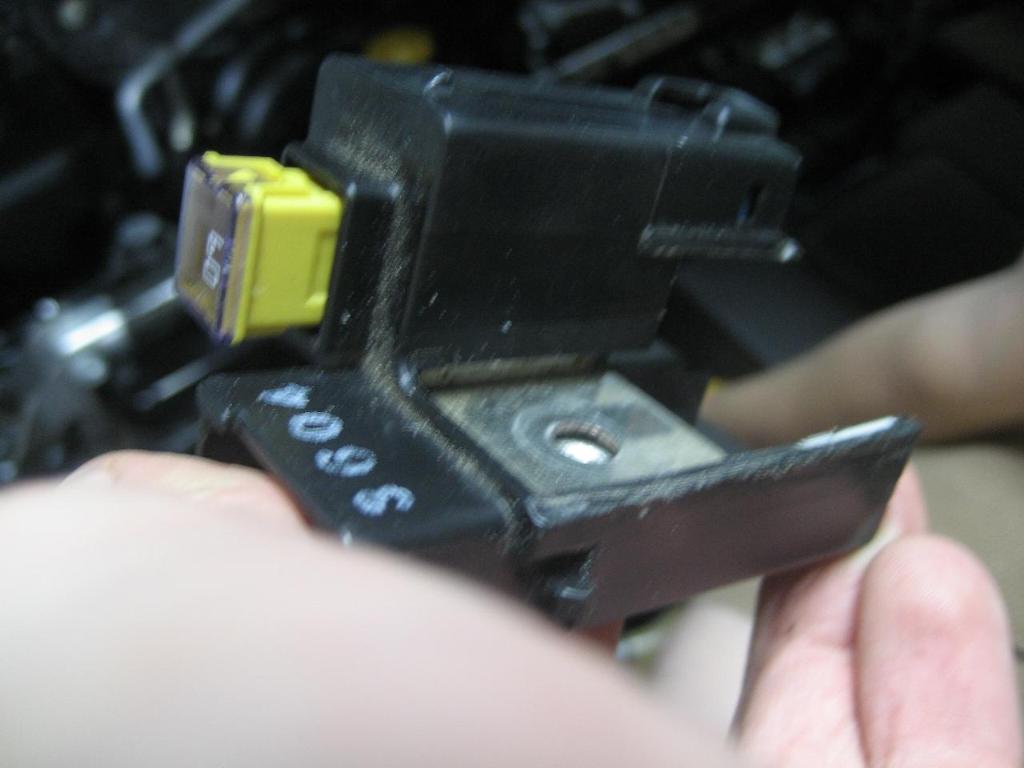
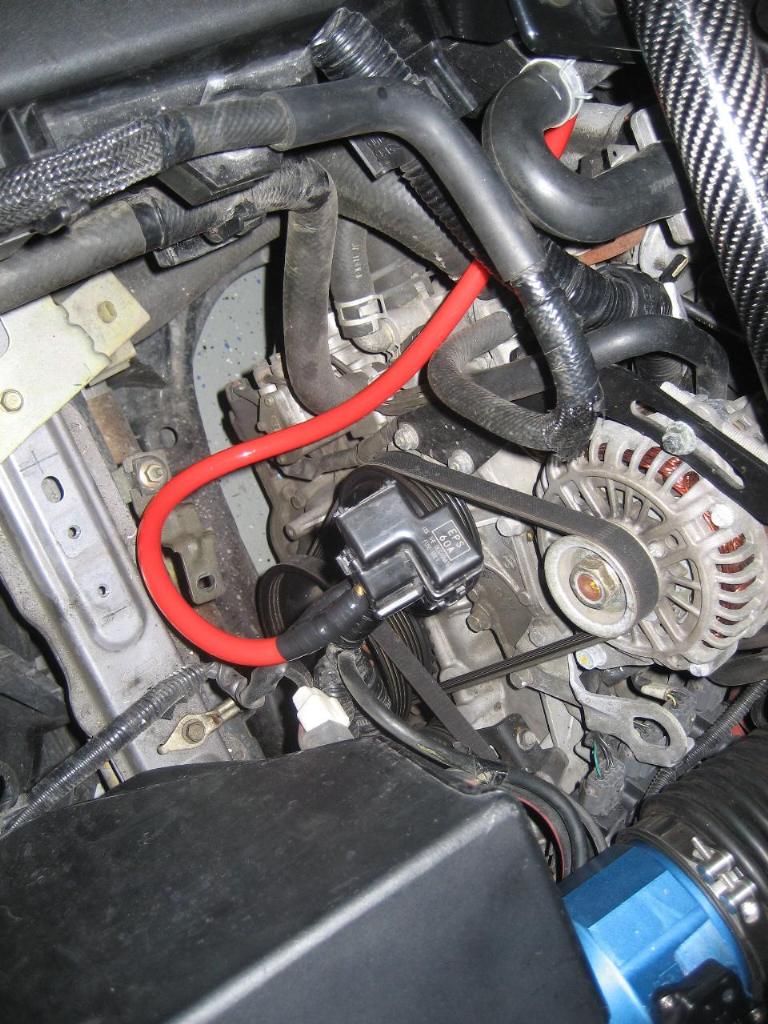
You'll see pictured two positive cables one to run to the positive terminal on the battery with 250amp ANL fuse; and one running from the positive OEM assembly.
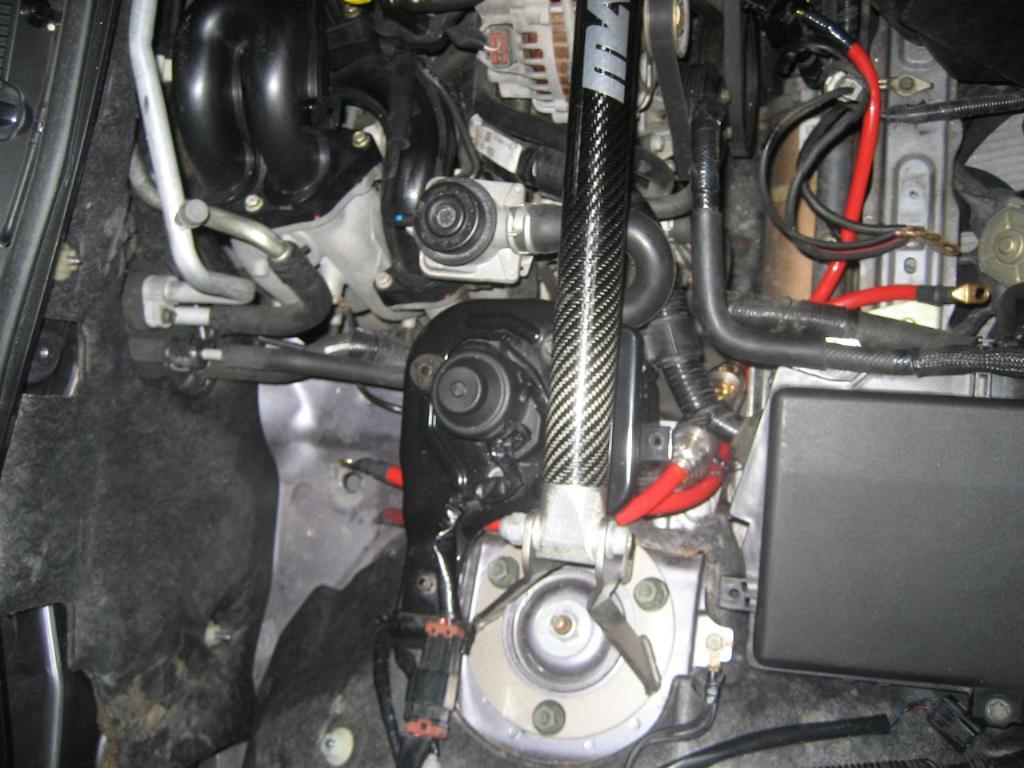
Like I mentioned the OE battery box fits the PC680 perfectly so theres not need to really mount it any other way, less your feeling industrious. Here I cut holes in the bottom of the box and in the side for the terminals to come through.
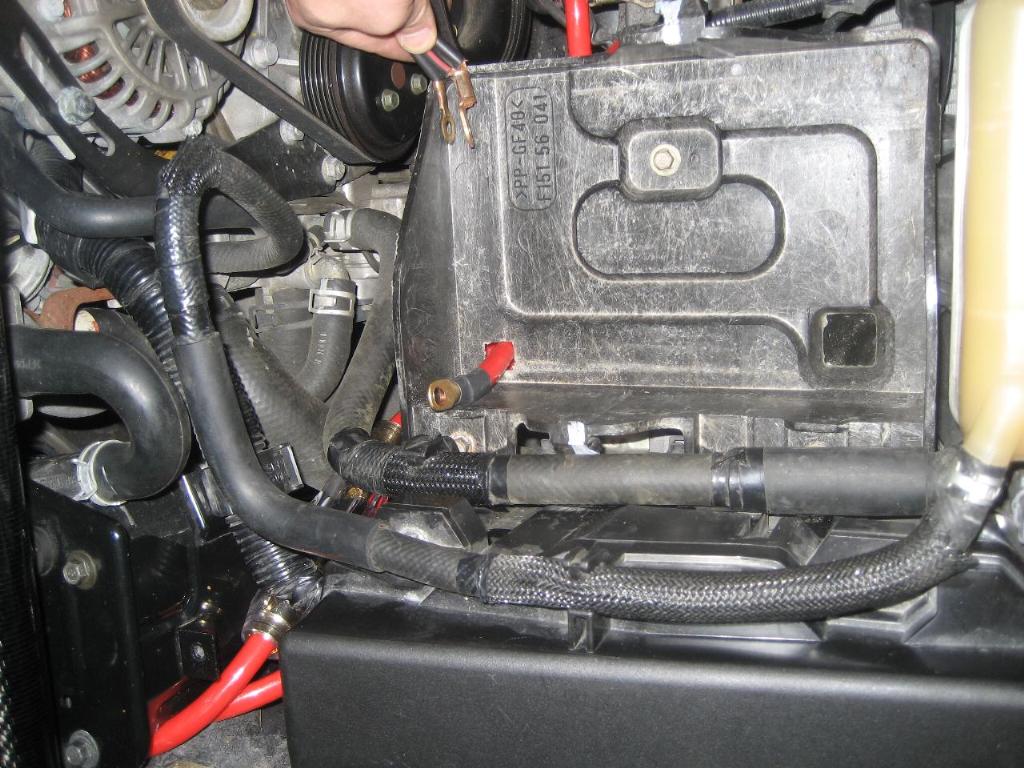
Here you can see my battery siting snugly in the stock box.
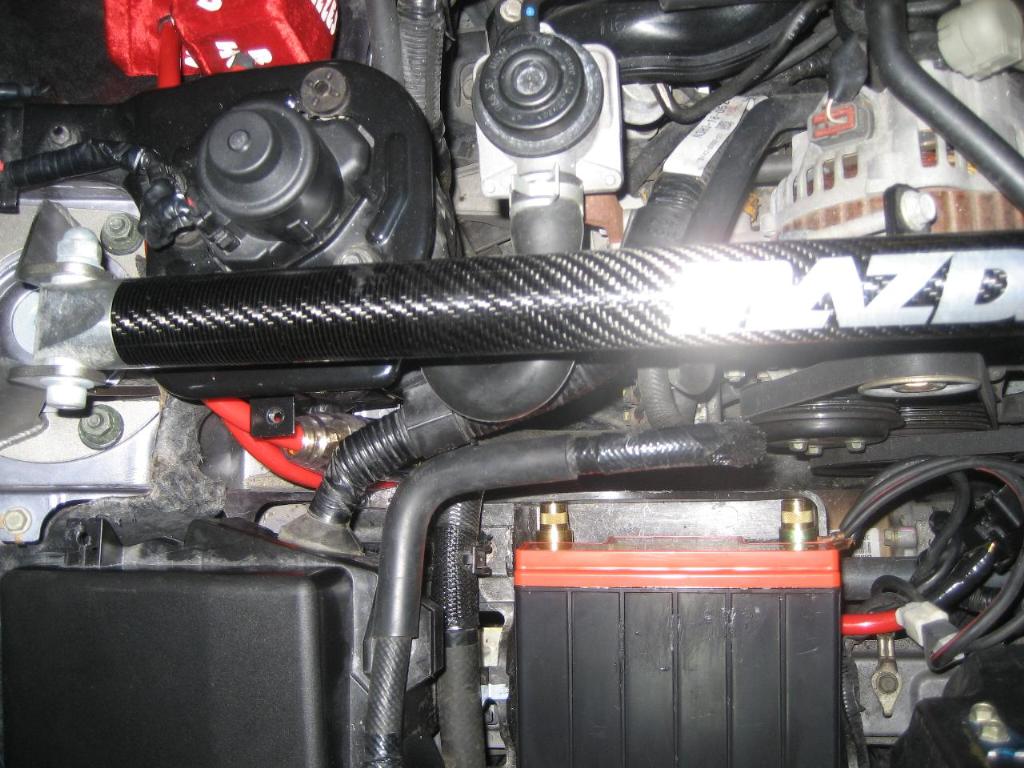
Turns out that if you take the Metal Jacket off the odyssey pc680 and tilt it down into to the stock battery tray terminals facing the rear of the car the fit is so snug that I don't think you need any sort of tie down. Here is a little mini-diy of my relocate.
All cables I made with quick car racewire placed into ring terminals with molten silver solder inside, than crimped, and heat shrink placed over.
I cut up the stock positive cable EPS fuse holder and assembly to allow me to attach a positive wire extension from the stock stuff up to by the washer fluid bottle.


You'll see pictured two positive cables one to run to the positive terminal on the battery with 250amp ANL fuse; and one running from the positive OEM assembly.

Like I mentioned the OE battery box fits the PC680 perfectly so theres not need to really mount it any other way, less your feeling industrious. Here I cut holes in the bottom of the box and in the side for the terminals to come through.

Here you can see my battery siting snugly in the stock box.

#3
Thread Starter
Son what is your Alibi?
iTrader: (1)
Joined: Sep 2002
Posts: 2,205
Likes: 2
From: Washington, DC
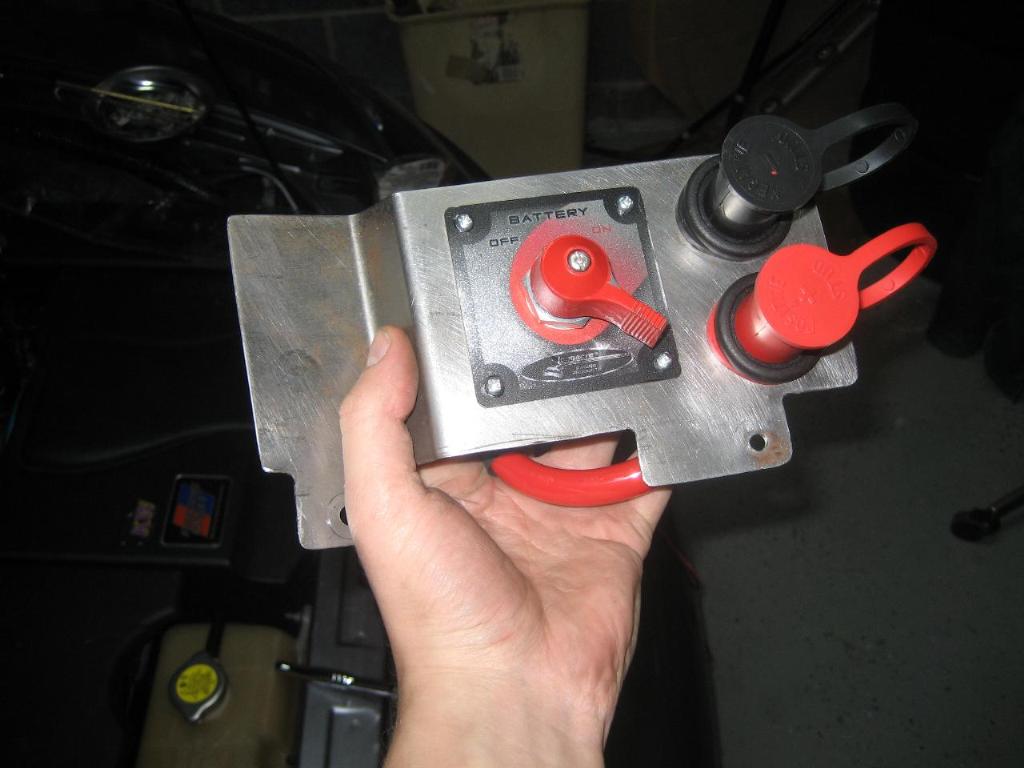
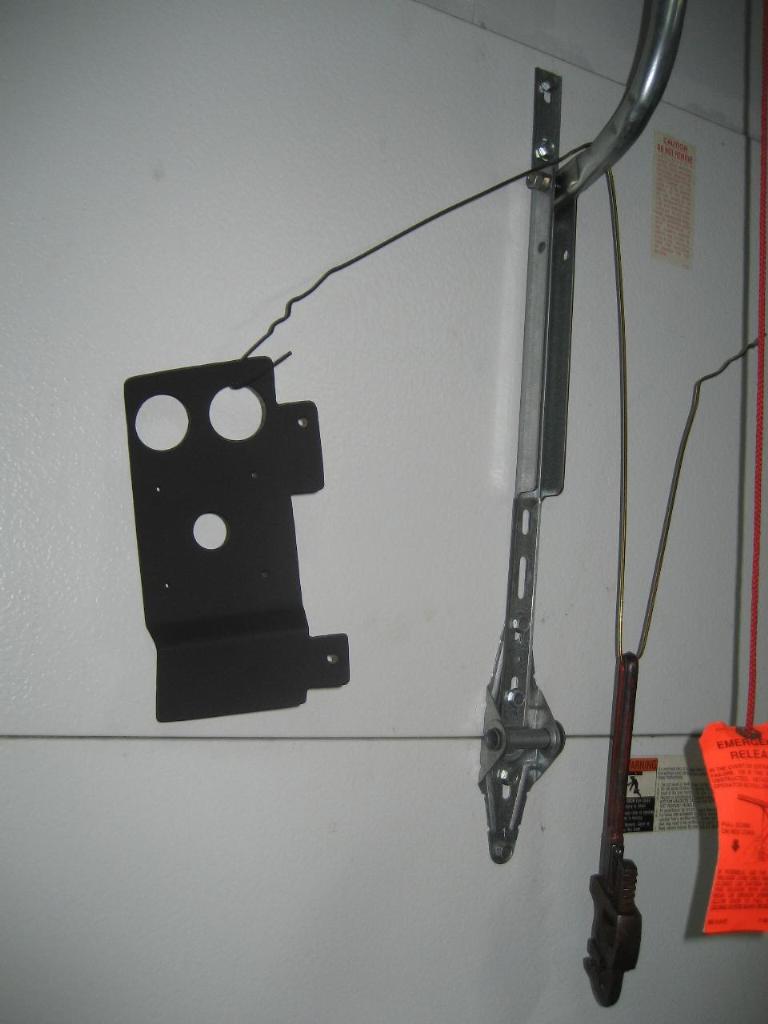
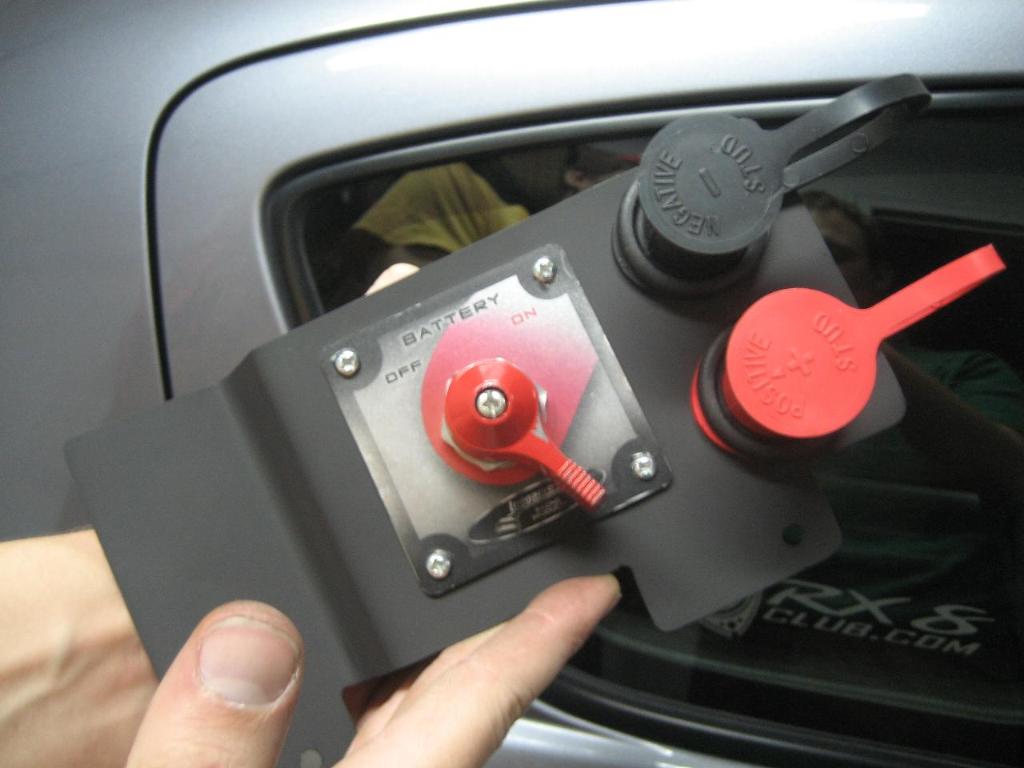
This is my first bit of metal fabrication ever (okay second after I fudged up the "rough" version of this about 9 months ago). It has positive and negative charging posts, and a master disconnect.
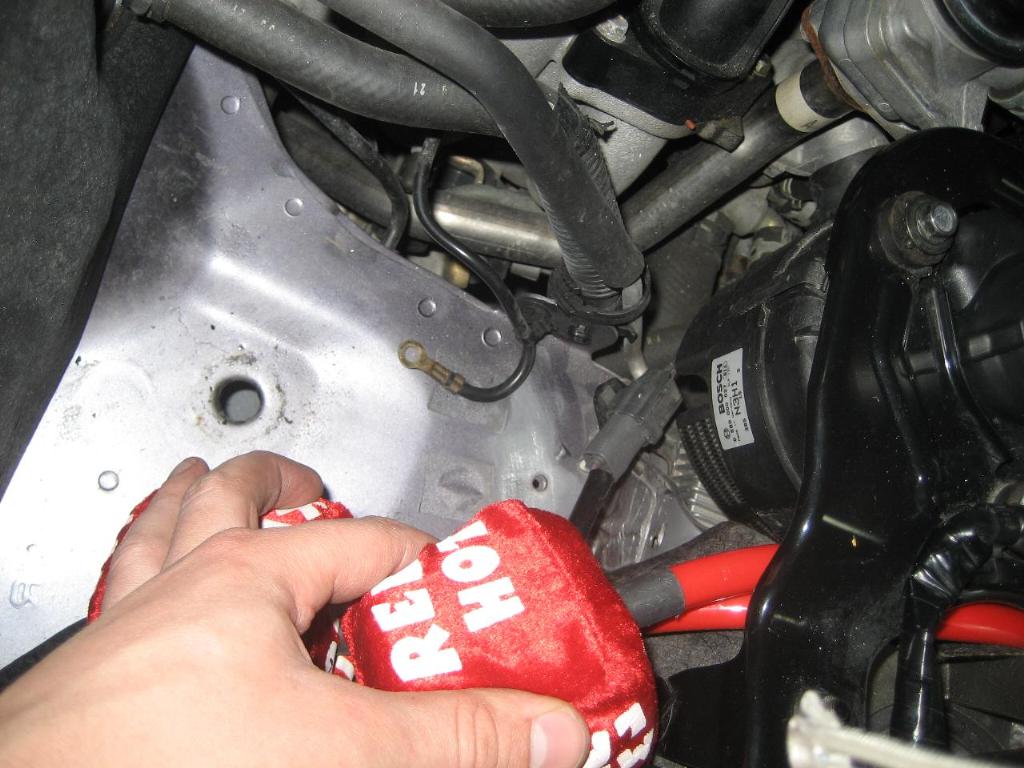
Down by the washer fluid tank hole i sanded a grounding hole for the negative charing post.
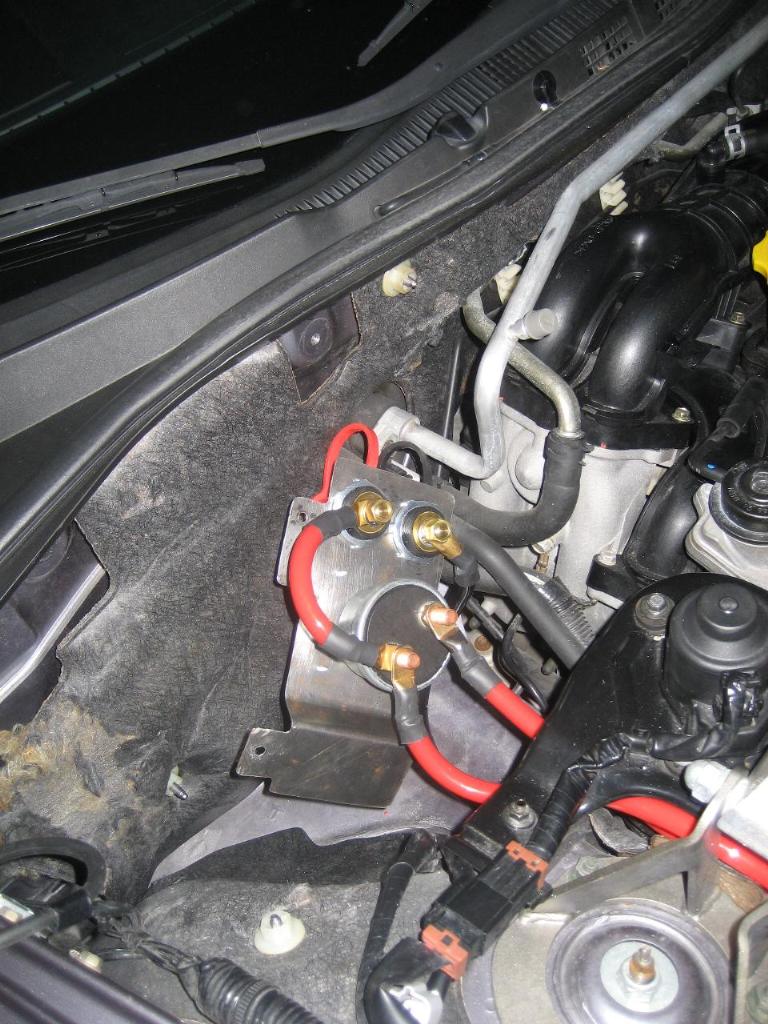
Here it is all wired up, you see that negative charging post has a cable going down to the sanded hole pictured above. The positive charging post connecting to one side of the Master switch, the positive terminal on the battery connecting to that same side. Then on the opposite side of the MS is the positive OEM extension cable.
Painted a nice flat black
Assembled

Down by the washer fluid tank hole i sanded a grounding hole for the negative charing post.

Here it is all wired up, you see that negative charging post has a cable going down to the sanded hole pictured above. The positive charging post connecting to one side of the Master switch, the positive terminal on the battery connecting to that same side. Then on the opposite side of the MS is the positive OEM extension cable.

Painted a nice flat black

Assembled

#10
I put the stock battery in the trunk. I am waiting for the odyssey pc680MJT to be available (back ordered nation wide) so I can save some weight. I weighed my stock battery and it was 35 LBS plus 3 lbs for the box and hold down. The weight of the new positive cable was only 3.5 LBS, I reused one of the stock negitive cables to ground it in the truck and no problems so fair. The odyssey pc680MJT (metal jacket with SAE terminals) says 15.6LBS I believe and the hold down is less then 1 lbs so total weight is roughly 16.5LBS. So i took 38LBS from the front right and put 20LBS on the right rear. 18LBS less and better balance. for about 2 hours of work and $250.
#11
Here is my battery remount.
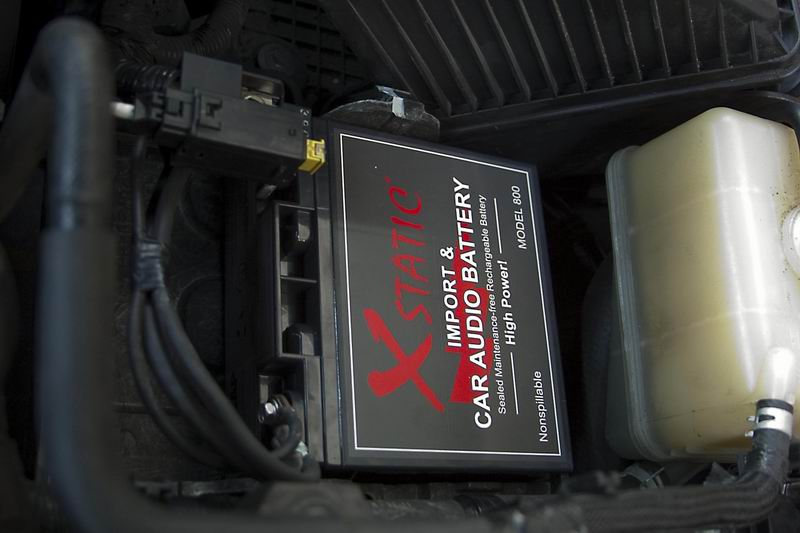
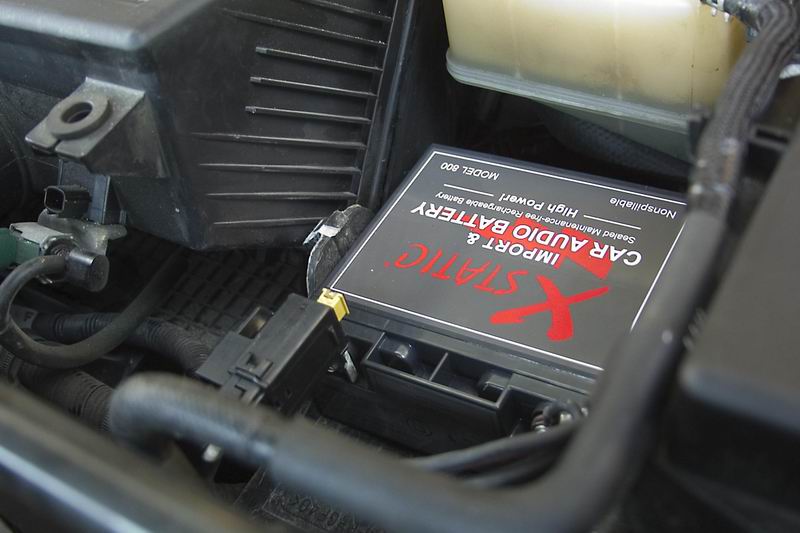
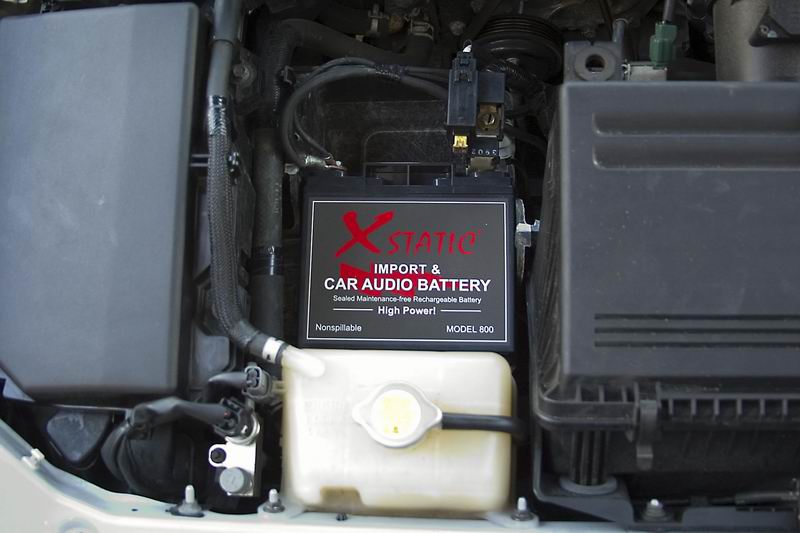
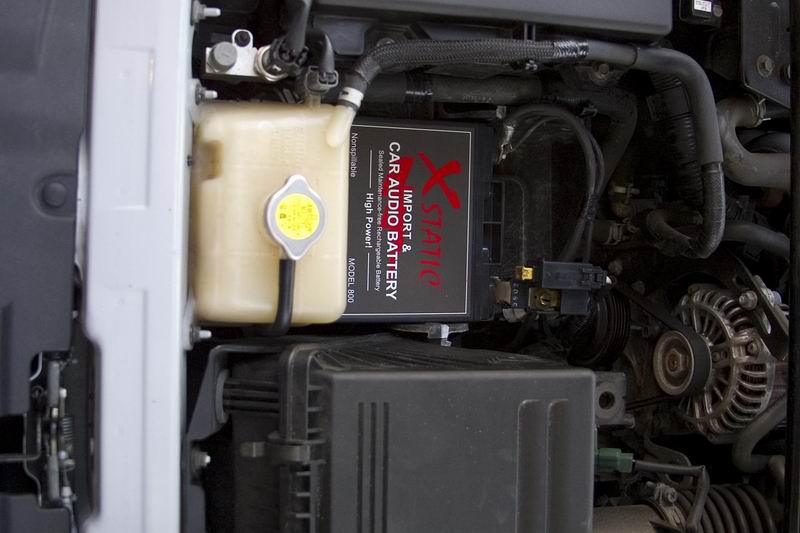
The battery fits snugly into the original bottom of the battery tray. I remove all the extra battery connections to further reduce weight. So far, it has run great. I just had my engine replaced at Mazda and they did not say anything about it.


The battery fits snugly into the original bottom of the battery tray. I remove all the extra battery connections to further reduce weight. So far, it has run great. I just had my engine replaced at Mazda and they did not say anything about it.
Thread
Thread Starter
Forum
Replies
Last Post
Shankapotamus3
Series I Trouble Shooting
28
03-14-2021 04:53 PM
Evan Gray
Series I Trouble Shooting
0
09-26-2015 01:30 PM


