Prosport Gauges, Custom Lotek, S2, Big Pics
#1
Prosport Gauges, Custom Lotek, S2, Big Pics
Product List
I will fill this first post better when I get back, but here are some crappy pics from my phone. Gotta run to dinner, but I will take better pics with my real camera tomorrow
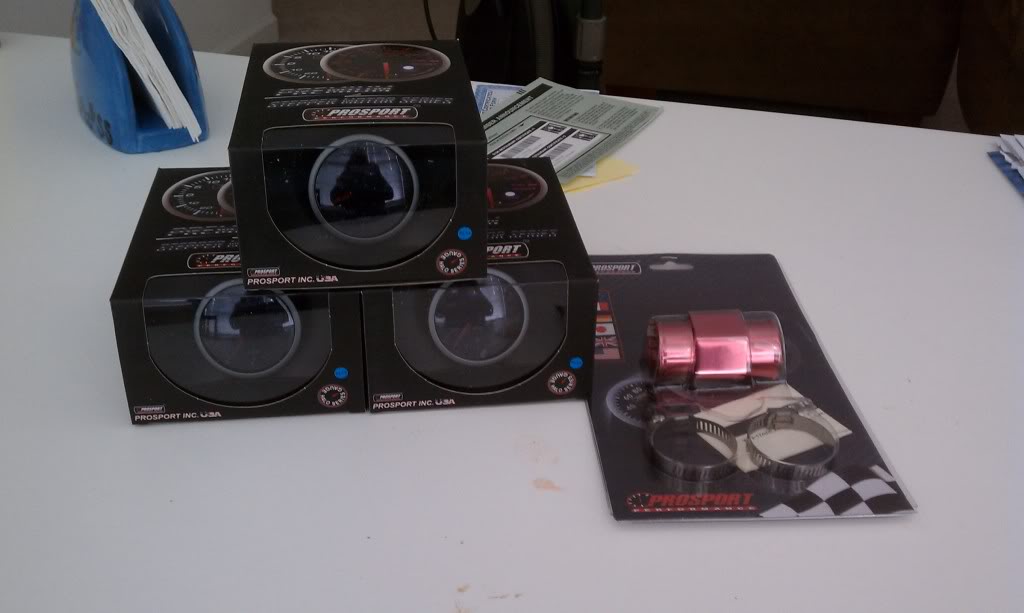
Gauges
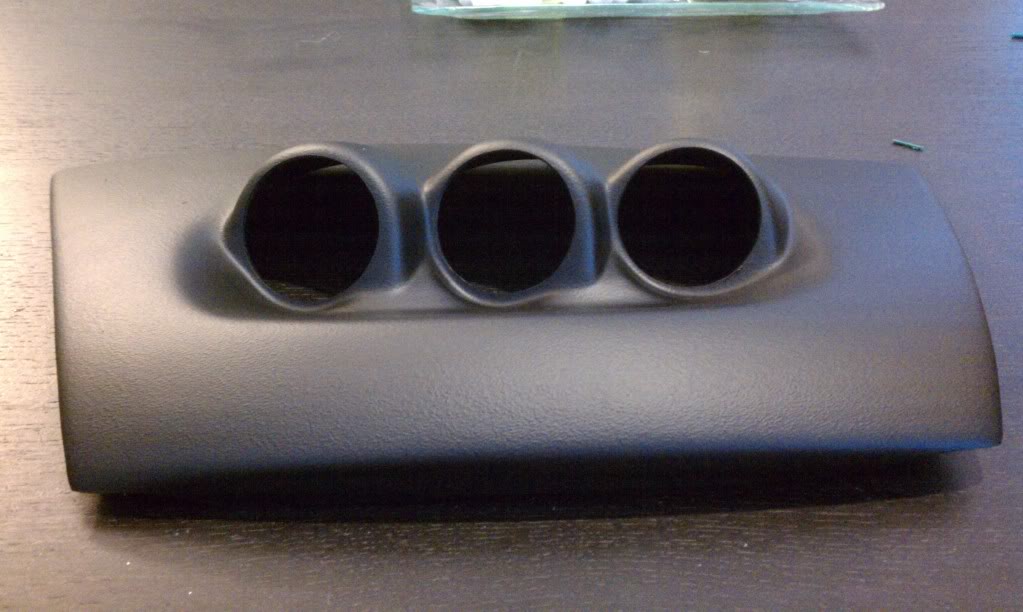
Original Lotek for S1
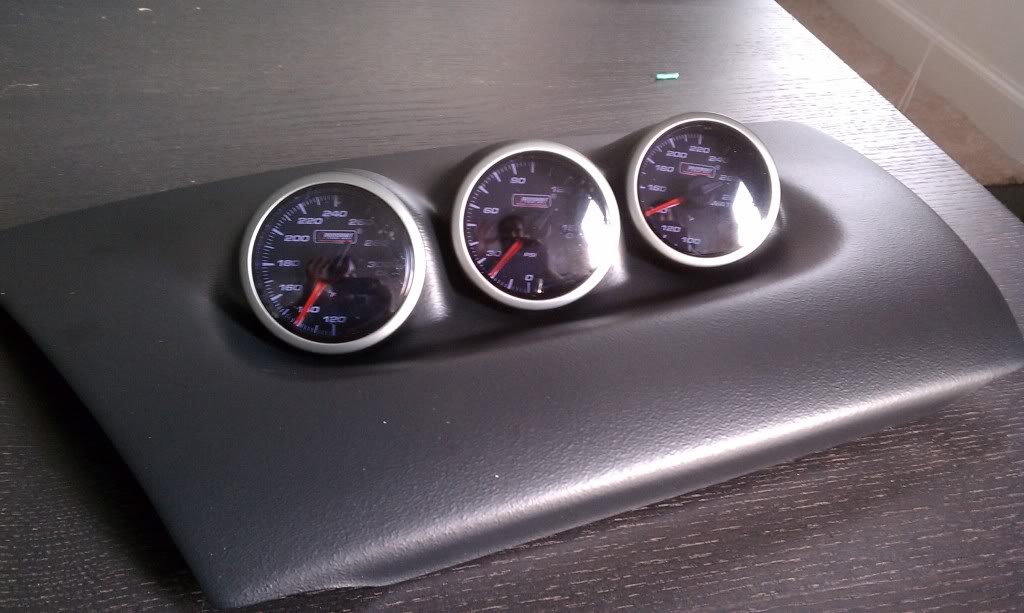
Mounted gauges
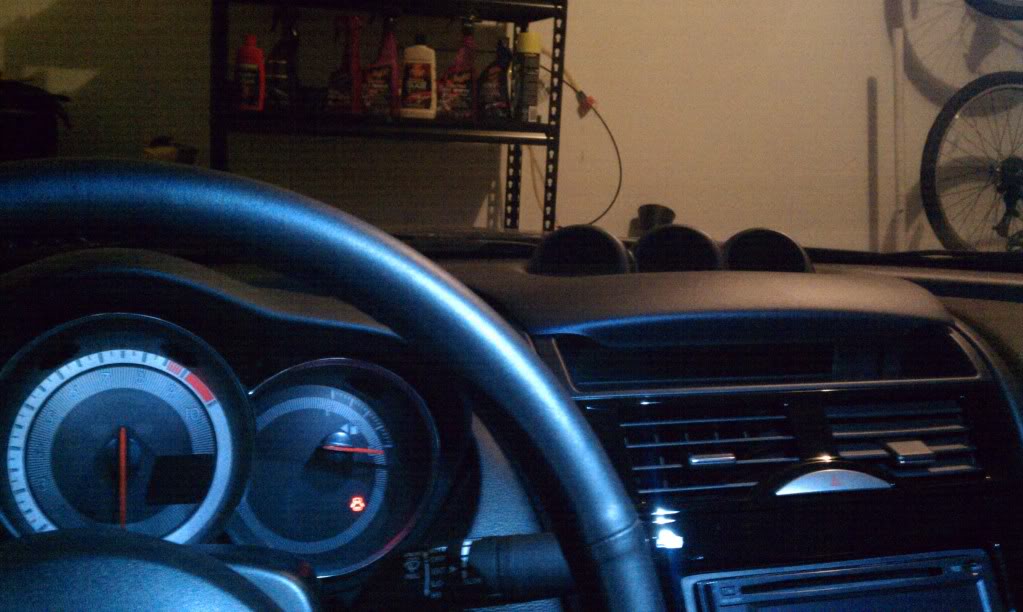
Plan on mounting here
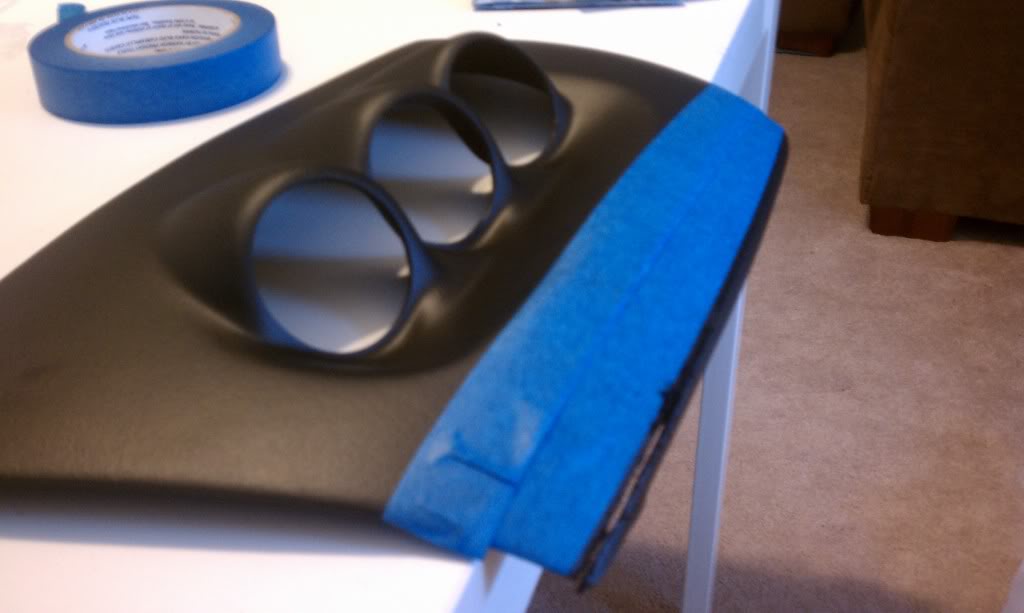
Ready to start cutting
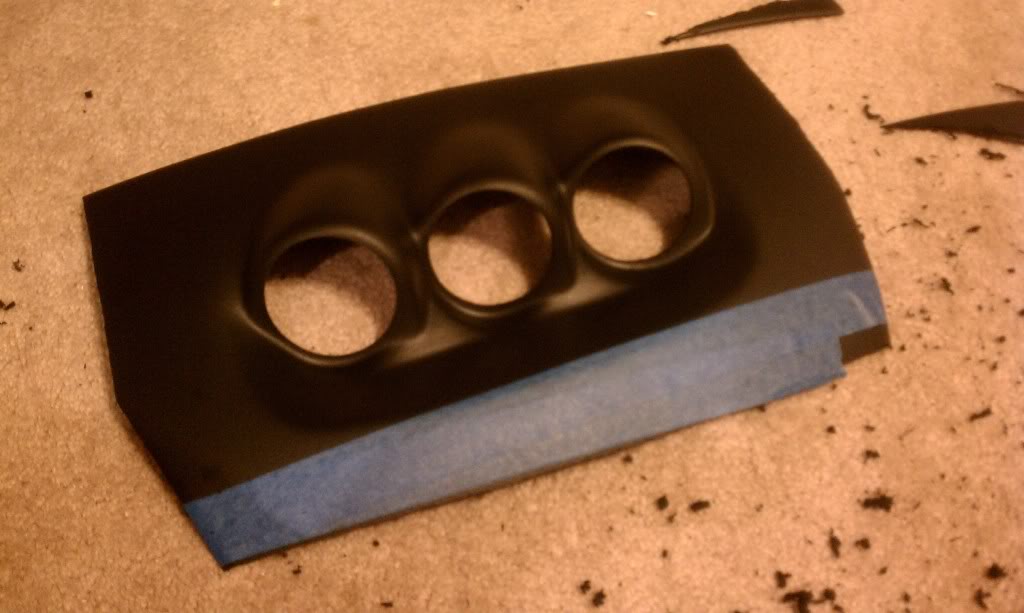
Cut cut cut
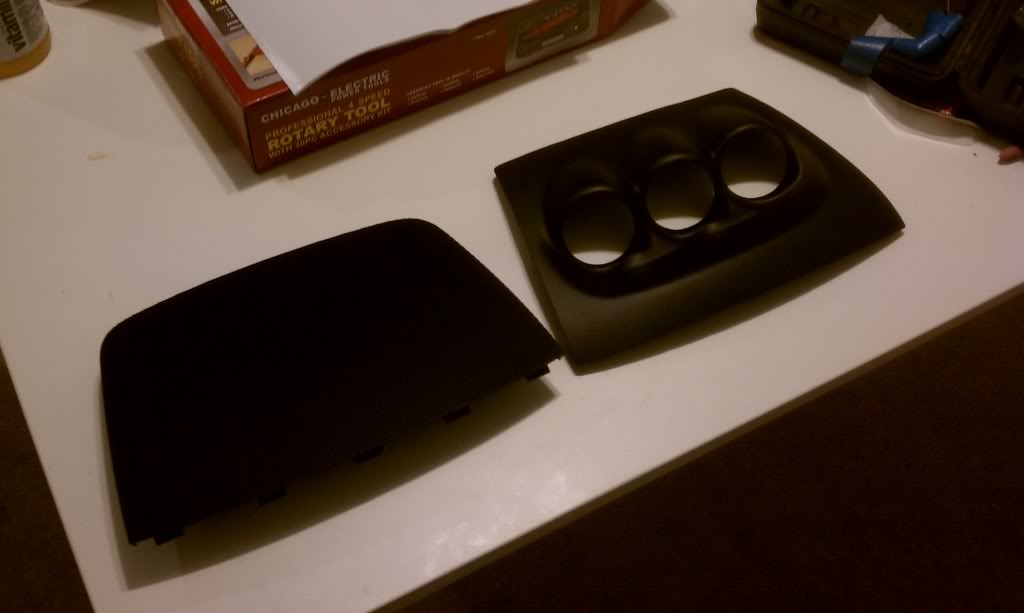
Finished Product
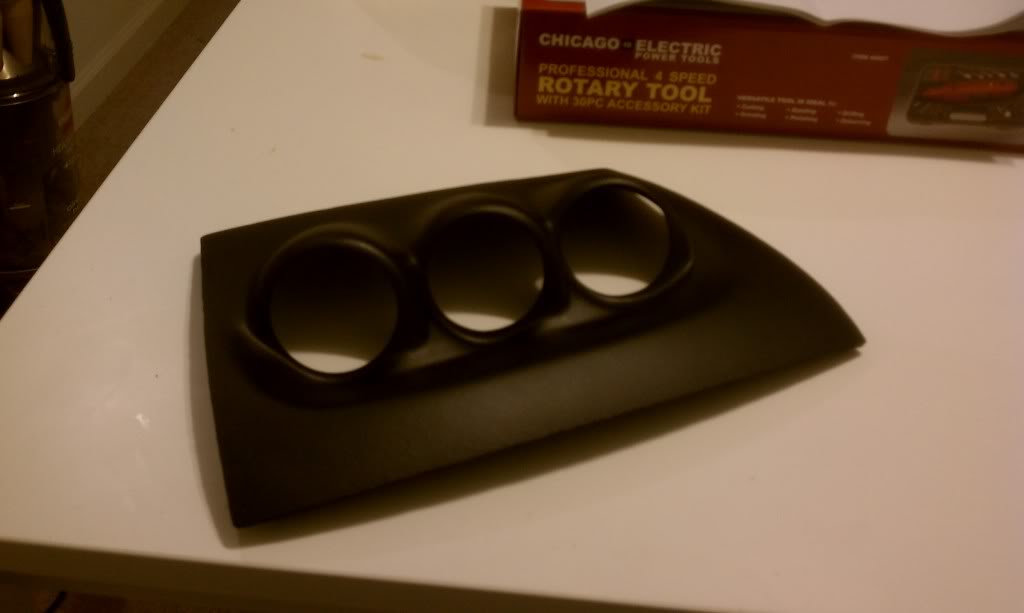
Another
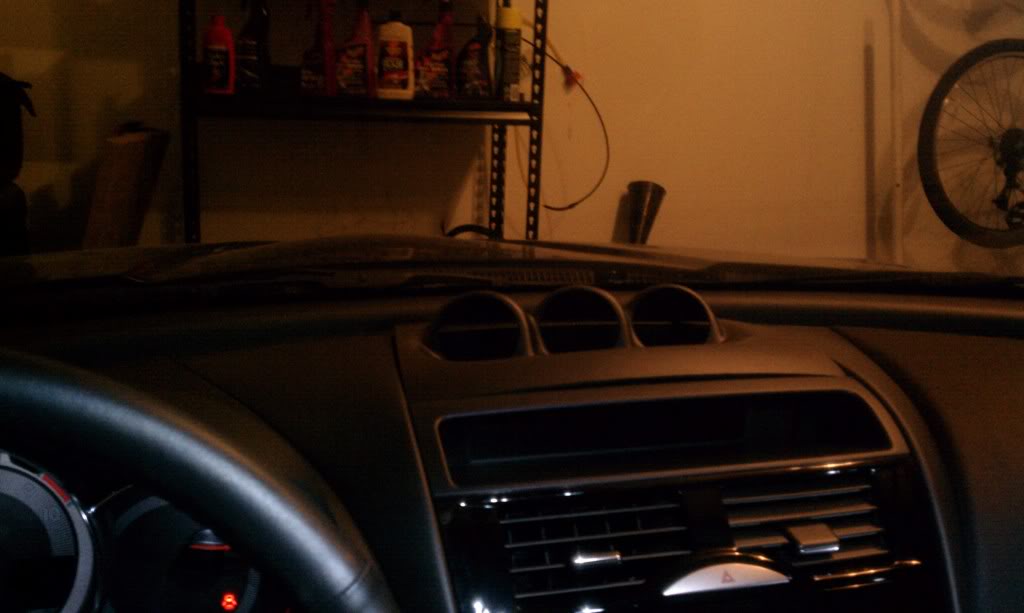
Dry mount
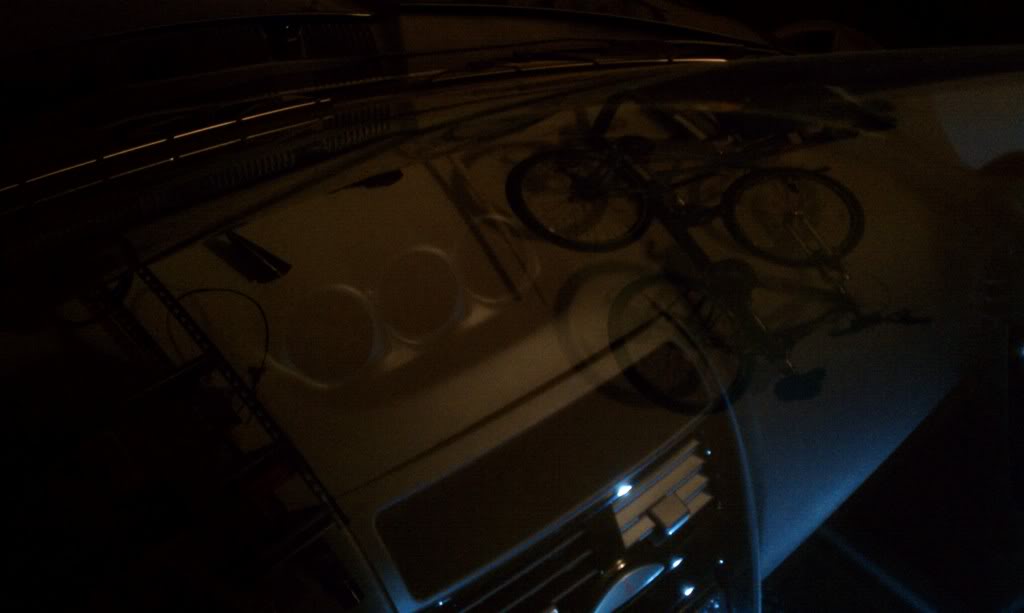
From outside
Havn't decided how I am gunna strap it down yet ... Maybe industry strength velcro for easy access .. not sure..more soon
- Prosport Halo Oil Temp Gauge - http://prosportgauges.com/halo-oil-t...ure-gauge.aspx
- Prosport Halo Oil Pressure Gauge - http://prosportgauges.com/halo-oil-pressure-gauge.aspx
- Prosport Halo Water Temp Gauge - http://prosportgauges.com/halo-water...ure-gauge.aspx
- Prosport Water Temp Adapter (Red) - http://prosportgauges.com/water-temp...e-adaptor.aspx
- Lotek Gauge Pod - http://www.gaugepods.com/
- Extra Speaker Grill (to hack up for a template) - Mazmart
- Metric Adapter For Oil Pan (To take average oil temp) - http://www.summitracing.com/parts/ATM-2267/
I will fill this first post better when I get back, but here are some crappy pics from my phone. Gotta run to dinner, but I will take better pics with my real camera tomorrow

Gauges

Original Lotek for S1

Mounted gauges

Plan on mounting here

Ready to start cutting

Cut cut cut

Finished Product

Another

Dry mount

From outside
Havn't decided how I am gunna strap it down yet ... Maybe industry strength velcro for easy access .. not sure..more soon
Last edited by paimon.soror; 02-05-2011 at 08:46 PM.
#3
The thing is i want to be able to easily remove the pod if i need to, i have my gps and xm antenna down there and in the event that i need to remove a gauge or something. If i use 3m im gunna leave shmeg behind when i pull up the pod  .
.
FYI i am not using my speaker grill if thats what you were thinking
 .
.FYI i am not using my speaker grill if thats what you were thinking
#6
#7
#11
Question. Can I tap the gauges wires to the radio harness? The wires are pretty damn short.
Edit: eff it, I will go to pick up some wires and an add a fuse
Edit: eff it, I will go to pick up some wires and an add a fuse
Last edited by paimon.soror; 01-08-2011 at 01:52 PM.
#12
I extended all my wires. Red to add-a-fuse (room fuse), orange to the glovebox light (which I chose because it doesn't dim, white to the yellow cig lighter wire, and black to black cig lighter wire.
#16
^^ Perfect, thanks. Any suggestions for the orange wire down in the drivers fuse box? I have everything else wired up and tested the gauges and was able to get the "opening ceremony", just need a good place for the acc wire. I have 3 add a circuits. I have red on ROOM, White on Cig Lighter, Black wrapped around some bracket under the steering column. I routed all my wires and bundled them down there so unfortunately i cant use the glove box or anything.
#17
http://www.youtube.com/watch?v=lRC0sWGgKyE
First boot... just gotta set up orange wire and i should be good to start sender wiring
First boot... just gotta set up orange wire and i should be good to start sender wiring
#18
Firewall routing is all set, now just the senders which I will have to do tomorrow. I see what you mean now Aipex about wiring to the glove box since it doesn't dim with the dimmer. I will have to just route my orange in there at some point.
#19
#20
Combo of 3m outdoor (heavy duty) tape and some industry strength velcro. I will take detail pics tomorrow  . I will also try and make a stencil for the lotek pod for others
 . I will also try and make a stencil for the lotek pod for others
Last edited by paimon.soror; 01-08-2011 at 11:41 PM.
#21
I guess I might be the only one that thinks it looks off. It's angled too high, but if you are tall I guess it's okay.
Good effort on the cutting and fitting, but take it a step further and line up the sides to the rest of the dash. It would make it a lot cleaner.
Good effort on the cutting and fitting, but take it a step further and line up the sides to the rest of the dash. It would make it a lot cleaner.
#22
Once I get the final mount it should all be flush against the dash. As far as height goes. I can see the gauges fine from where I sit so I don't know. Hopefully once I get some good daytime shots you guys can see the fitment
#24
I promise to get better videos, these were just some test shots. Oil Press left, water right.
http://www.youtube.com/watch?v=veLFZvR9q1g
BTW getting that god damn sender in the oil pressure spot on the S2 motor is one hell of a task. The sender's from prosport come with the crud on the threads to seal it up nice when you screw it in (same garbage that is on the stock plug). Being that it is in a rediculous spot, and that you needed like 15ft/lb of freaking force (not accurate) I was only able to get it in half way. I checked for leaks though so i think it will be fine the way it is.
Last edited by paimon.soror; 01-09-2011 at 05:24 PM.
#25
Driving to work today was promising, i think the readings are coming out fine. I get a range of 80-130psi oil street driving while highway gives about 80-90. Temps on highway today were 135ish @ 23F outside, while street was more around 160


