
DIY: Fix your MAF screw holes for $2.26
 02-26-2013, 07:27 PM
#1
meh.
Thread Starter

Join Date: Oct 2006
Location: fwb, fl
Posts: 1,658
Likes: 0
Received 0 Likes
on
0 Posts
DIY: Fix your MAF screw holes for $2.26
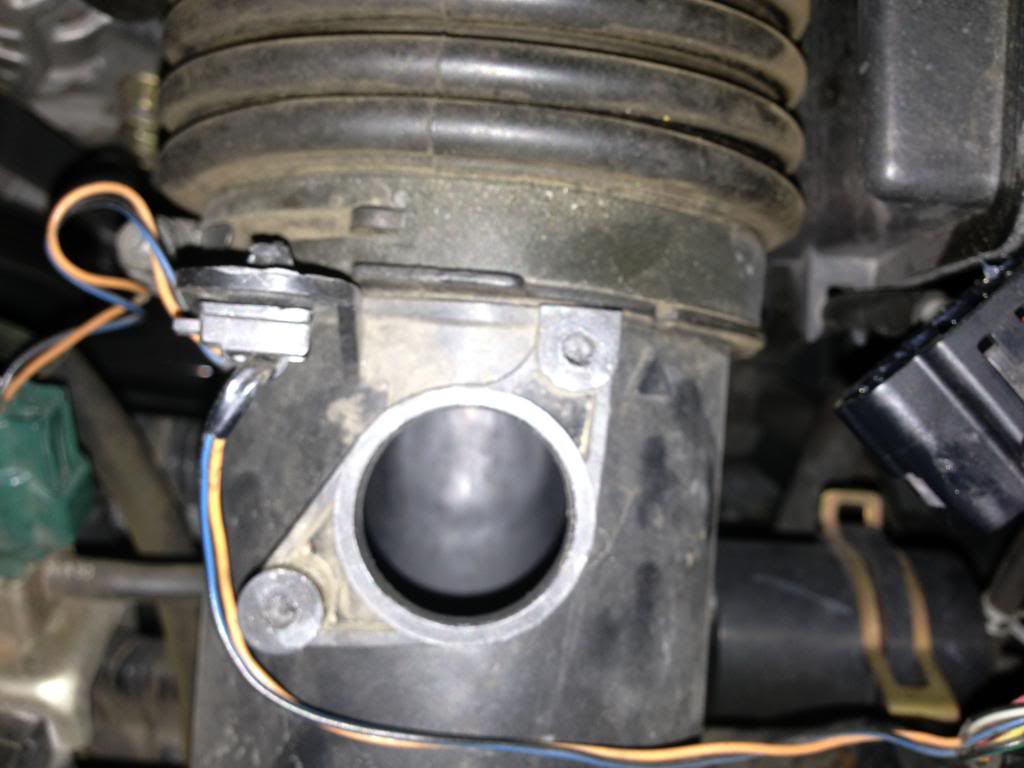
Anyone who has removed their MAF more than once has toyed with the idea of getting an aftermarket intake for the sole purpose of not having to deal with the stripped out plastic screw holes. Now you can fix it extremely easily, and on the cheap.
Tools Required:
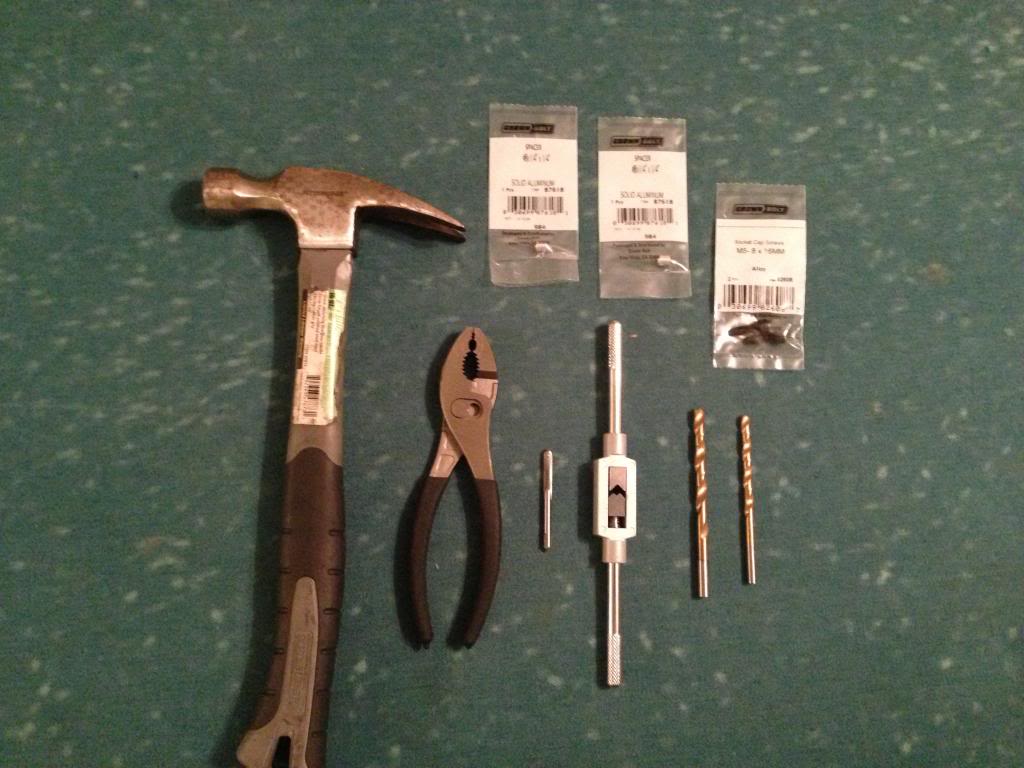
1. Hammer
2. Slip-joint pliers or vice-grips
3. M5-.8 tap
4. Tap Handle
5. 1/4 drill bit
6. 13/64 drill bit
7. Drill
Purchased Parts:
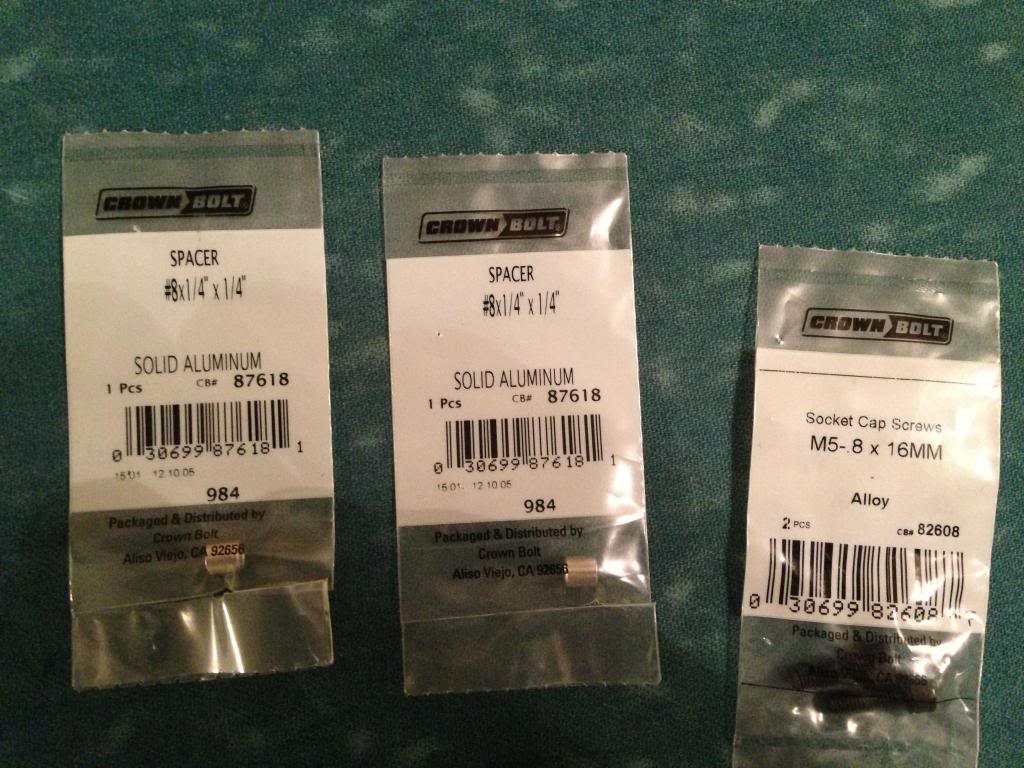
1. #8x1/4x1/4 aluminum spacer (2 required)
2. M5-.8 x 16mm hex cap screws
We got ours at Home Depot. Any hardware store should have similar items.
Begin by tapping the aluminum spacers. This is a fairly straightforward process.
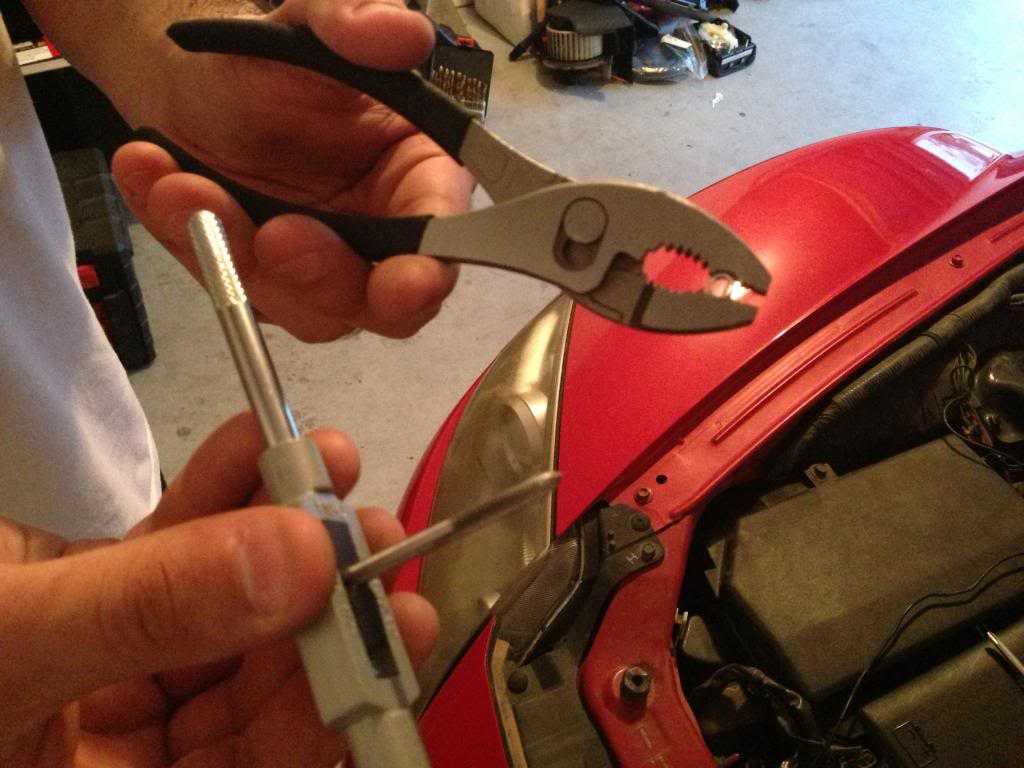
Dont be afraid of crushing the spacer. If you begin to crush it, simply turn it 90deg and continue.
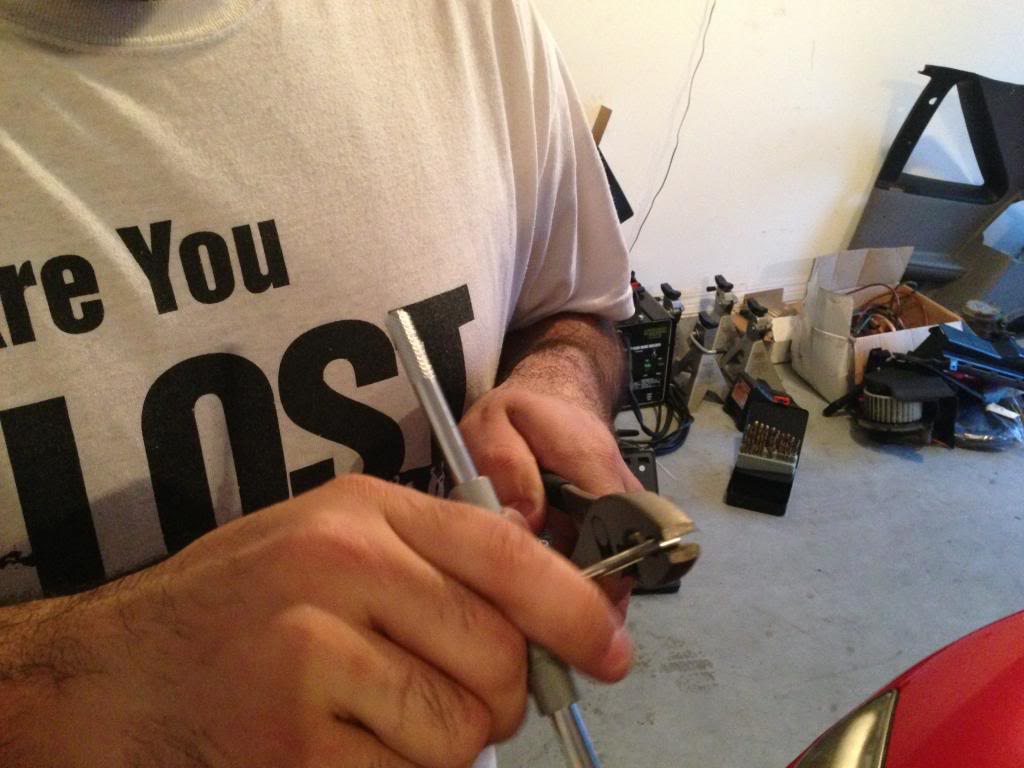
Once the two spacers are tapped set them aside.
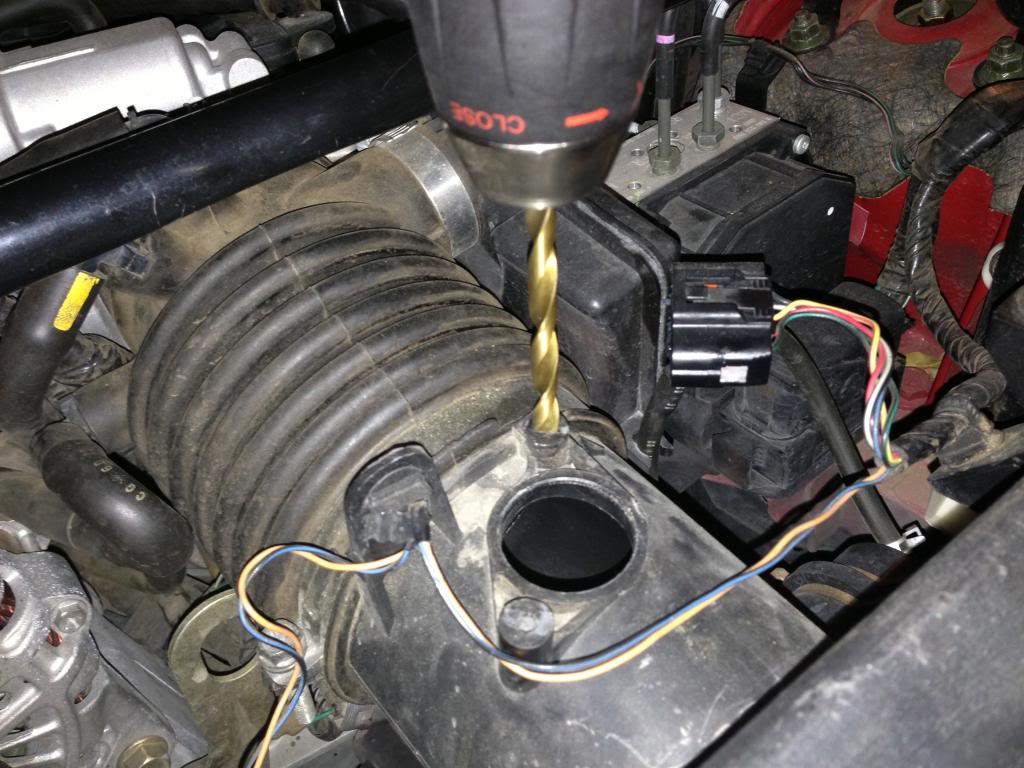
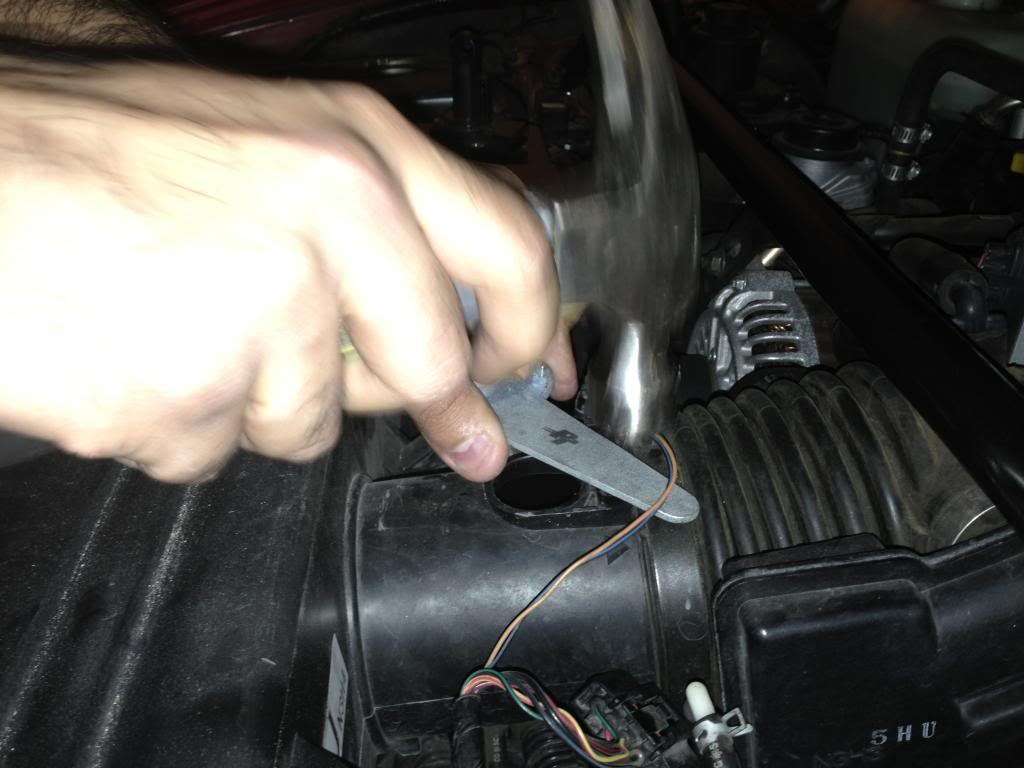
Next, use the 1/4" drill to bore the stripped out screw holes. These holes do not go all the way through the intake tube, so be careful not to break through. You do not have to go very deep at all. Use a small drill bit or similar to gauge the depth of the hole prior to drilling.
Here is a comparison shot:
Then thread the screw into the tapped spacer fully, and tap it about halfway into the drilled holes. The fit should be fairly snug. If it is loose be sure you did not grind the outer diameter of the spacer by turning it inside the pliers or vice grips with the tap. We did this.
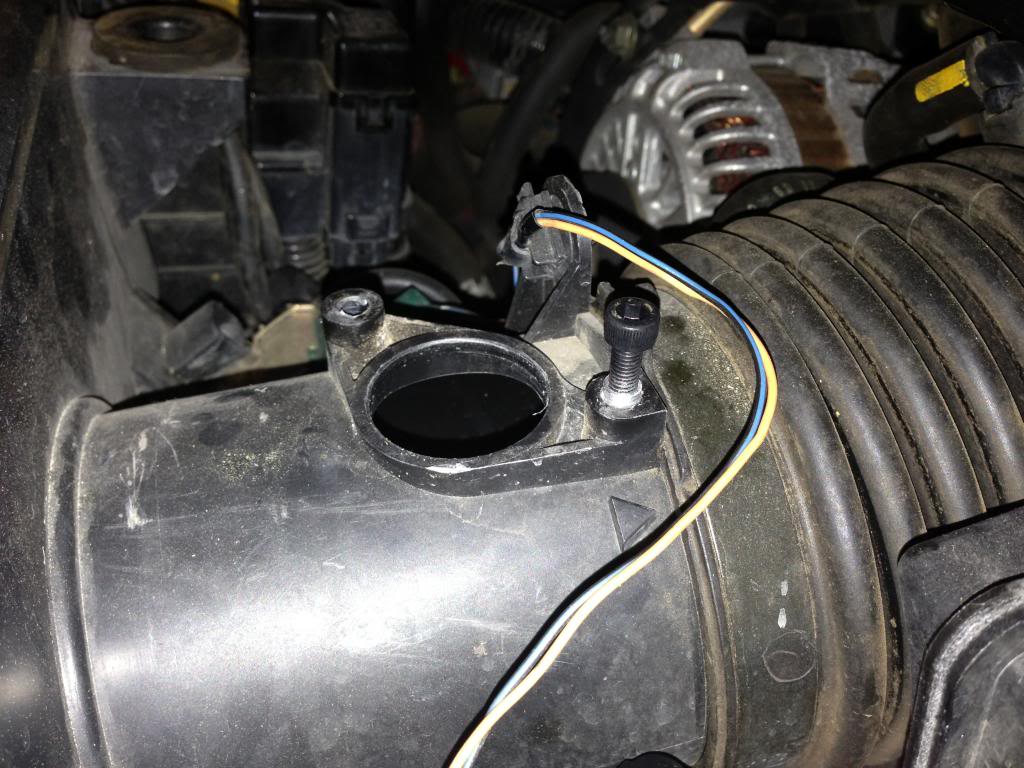
On the rear hole you will need some sort of flat to hit, since there is a lip for the accordion tube that prevents the hammer from getting in there all the way.
Gently tap the inserts to flush.
Lastly, if you follow this DIY exactly, the M5 screws will just ever so slightly larger than the holes in the MAF sensor itself. Use the 13/64 drill to open the holes up ever-so-slightly. This removes almost no material at all. Little to no drilling force is required. Don't be scared.

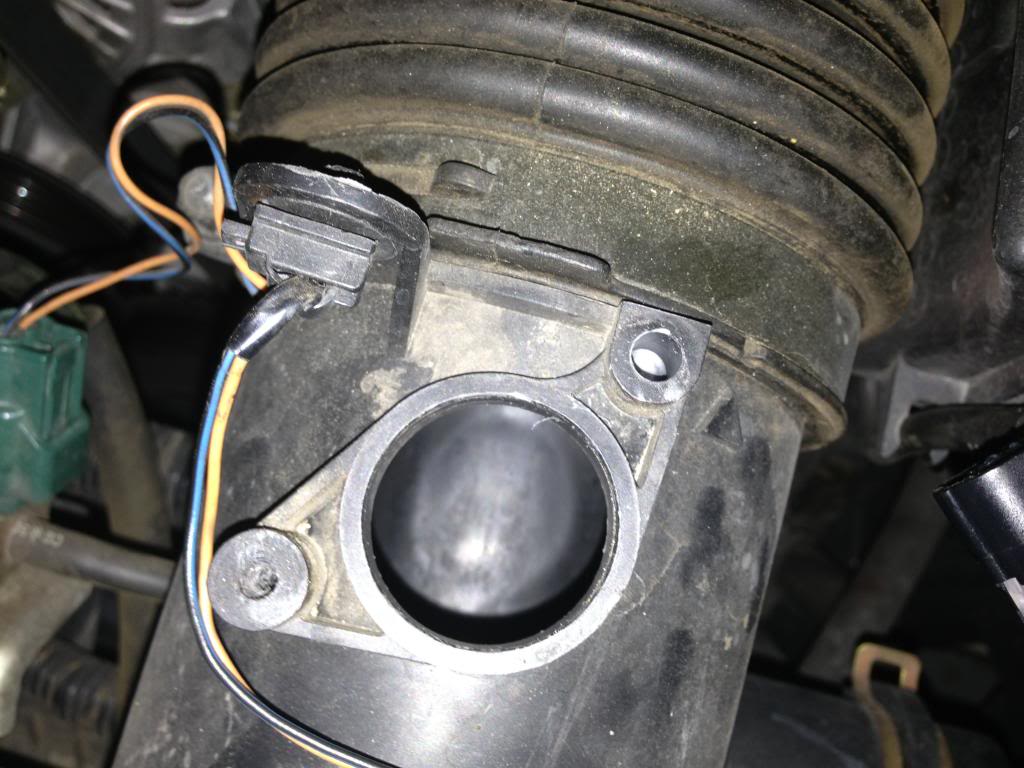
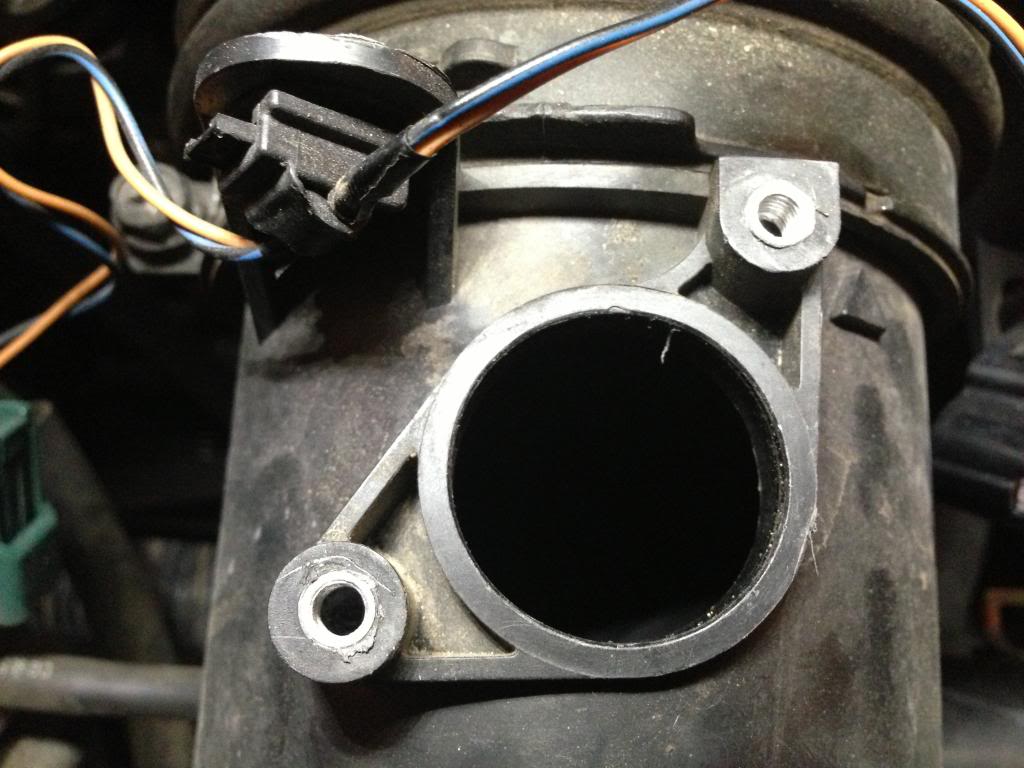
Here are the inserts as finished:

These have been installed in two cars for a few days now with no issues whatsoever. Like I said the fit is very snug. But in the event they do come out, a dab of super glue will keep the inserts in place.
Of course the process can be varied to fit whatever spacers, taps, and inserts you have available to you. Although i would not drill a hole larger than 1/4" into the intake tube itself.
Tools Required:
1. Hammer
2. Slip-joint pliers or vice-grips
3. M5-.8 tap
4. Tap Handle
5. 1/4 drill bit
6. 13/64 drill bit
7. Drill
Purchased Parts:
1. #8x1/4x1/4 aluminum spacer (2 required)
2. M5-.8 x 16mm hex cap screws
We got ours at Home Depot. Any hardware store should have similar items.
Begin by tapping the aluminum spacers. This is a fairly straightforward process.
Dont be afraid of crushing the spacer. If you begin to crush it, simply turn it 90deg and continue.
Once the two spacers are tapped set them aside.
Next, use the 1/4" drill to bore the stripped out screw holes. These holes do not go all the way through the intake tube, so be careful not to break through. You do not have to go very deep at all. Use a small drill bit or similar to gauge the depth of the hole prior to drilling.
Here is a comparison shot:
Then thread the screw into the tapped spacer fully, and tap it about halfway into the drilled holes. The fit should be fairly snug. If it is loose be sure you did not grind the outer diameter of the spacer by turning it inside the pliers or vice grips with the tap. We did this.
On the rear hole you will need some sort of flat to hit, since there is a lip for the accordion tube that prevents the hammer from getting in there all the way.
Gently tap the inserts to flush.
Lastly, if you follow this DIY exactly, the M5 screws will just ever so slightly larger than the holes in the MAF sensor itself. Use the 13/64 drill to open the holes up ever-so-slightly. This removes almost no material at all. Little to no drilling force is required. Don't be scared.
Here are the inserts as finished:
These have been installed in two cars for a few days now with no issues whatsoever. Like I said the fit is very snug. But in the event they do come out, a dab of super glue will keep the inserts in place.
Of course the process can be varied to fit whatever spacers, taps, and inserts you have available to you. Although i would not drill a hole larger than 1/4" into the intake tube itself.
Last edited by deadphoenix52; 02-26-2013 at 07:46 PM.

 02-26-2013, 10:19 PM
#4
Registered

Good idea but it is only that cheap if you have the tools already. Most of them people will have but maybe not the taps depending on the person.
I fixed mine even cheaper. I just found 2 screws that had slightly larger threads on them than the stock ones and cut them down to the right size.
I fixed mine even cheaper. I just found 2 screws that had slightly larger threads on them than the stock ones and cut them down to the right size.
02-27-2013, 05:06 PM
#5
meh.
Thread Starter
Join Date: Oct 2006
Location: fwb, fl
Posts: 1,658
Likes: 0
Received 0 Likes
on
0 Posts
Good idea but it is only that cheap if you have the tools already. Most of them people will have but maybe not the taps depending on the person.
I fixed mine even cheaper. I just found 2 screws that had slightly larger threads on them than the stock ones and cut them down to the right size.
I fixed mine even cheaper. I just found 2 screws that had slightly larger threads on them than the stock ones and cut them down to the right size.
this is much more permanent.
03-07-2013, 09:39 AM
#6

Buy taps from AutoZone. Return after use. Bingo. That's if you want to be cheap. Taps are quite handy especially since our cars are getting to the point where we start snapping and stripping bolts/nuts. Even the cheap stuff you get from parts stores will work.
 03-10-2014, 05:03 PM
#8
Registered

Join Date: Jan 2013
Posts: 30
Likes: 0
Received 0 Likes
on
0 Posts
Hello everyone.
I would love to do this fix, but as a European, I get a little confused by the difference in units. I would be very thankful if someone could just take 1 minutes of their time to go through the parts I've found and see if they are the right ones.
Spacers: #8 x 1/4" Aluminum Spacers | WidgetCo
Drill bits: HSS LONG PROFESSIONAL DRILL BIT - FULLY GROUND DRILLS - SUPER PRICE DRILL BITS! | eBay (6.4mm (1/4") x 148mm and 5.2mm (13/64") x 132mm)
Screws: K�p INSEXKANTSCYLINDERSKRUV DIN 912 M5X 16 hos - Conrad.se Skruvar med cylindriskt huvud (M5, lenght: 16mm)
Thank you!


Thread
Thread Starter
Forum
Replies
Last Post
Danield97
Series I Trouble Shooting
1
09-30-2015 05:59 PM
Evan Gray
Series I Trouble Shooting
0
09-26-2015 12:30 PM