
DIY: KEI Eyelid Painting
 03-23-2013, 07:25 PM
#1
DIY: KEI Eyelid Painting
Hey folks, just figured I would go through the process of how I painted my KEI eyelids in case anyone ends up buying magic-r or kei-office unpainted ones.
Mine were KEI eyelids I purchased from a forum member who decided not to paint them.
What will you need? First you need to find out whether or not your color is 2-coat or tricoat system. You can go to Touch Up Paint from PaintScratch.com , enter your color-code, and it will let you know if you need a mid-coat paint for your application.
Aside from finding that out, you will need:
-Adhesive Promoter (Optional)
-good fiberglass primer
-base coat aerosol
-mid coat aerosol (only if tri-coat)
-clear coat aerosol
-sand paper (my primer can says anywhere from 350-600 is recommended for primed surfaces. I believe this is unique to the individual. I have read many mixed articles about sanding preferences)
-spray-bottle with water and dish soap
-something to spray on and a few clean cloths
-your unpainted eyelids
-you
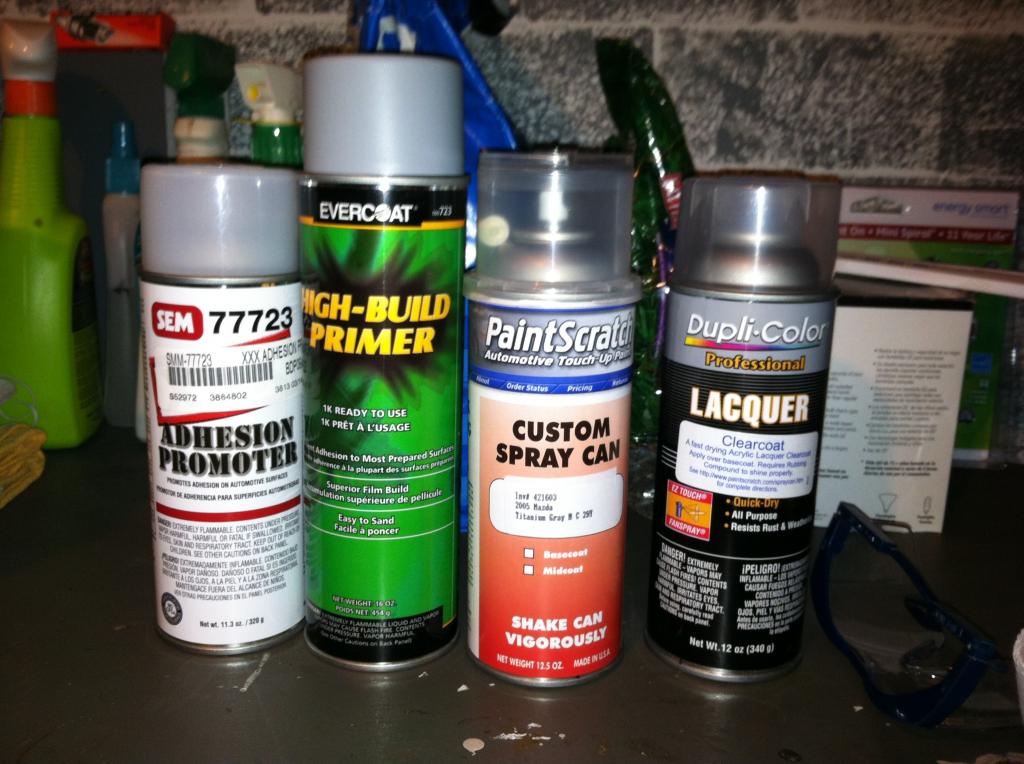
This is the selection of paint I used:
Step 1: (Setup)
Find a good surface to lay down some newspapers and some cloths to lay your eyelids on face-up. If you can, have the eyelids angled a bit (topside off the surface). It will make spraying the curves a bit easier.
Step 2: (Clean the surface)
Get a spray bottle and fill it with water and a hint of dish soap. You can spray the unpainted eyelids, sand it if you wish, and whipe it with a cloth dry. I sprayed it twice with clean water so there would be no soap left over on the eyelid. My eyelids came prepped and very clean. I saw no reason to do anything more.
Step 2.5 (optional): (Adhesive Promoter)
Using adhesive promoter is purely your call. I heard good things about them, so I used SEM adhesive promoter. I sprayed one very light coat over the front of the eyelids, and then waited 10 minutes. After 10 minutes, I sprayed a full coat on the eyelids and waited 15 minutes before applying the primer.
Step 3: (Primer)
I used 3 coats of evercoat fiberglass primer. I did 3 wet coats and waited 15 minutes inbetween each coat per the instructions. The can says to wait 1 hour before applying the base-coat.
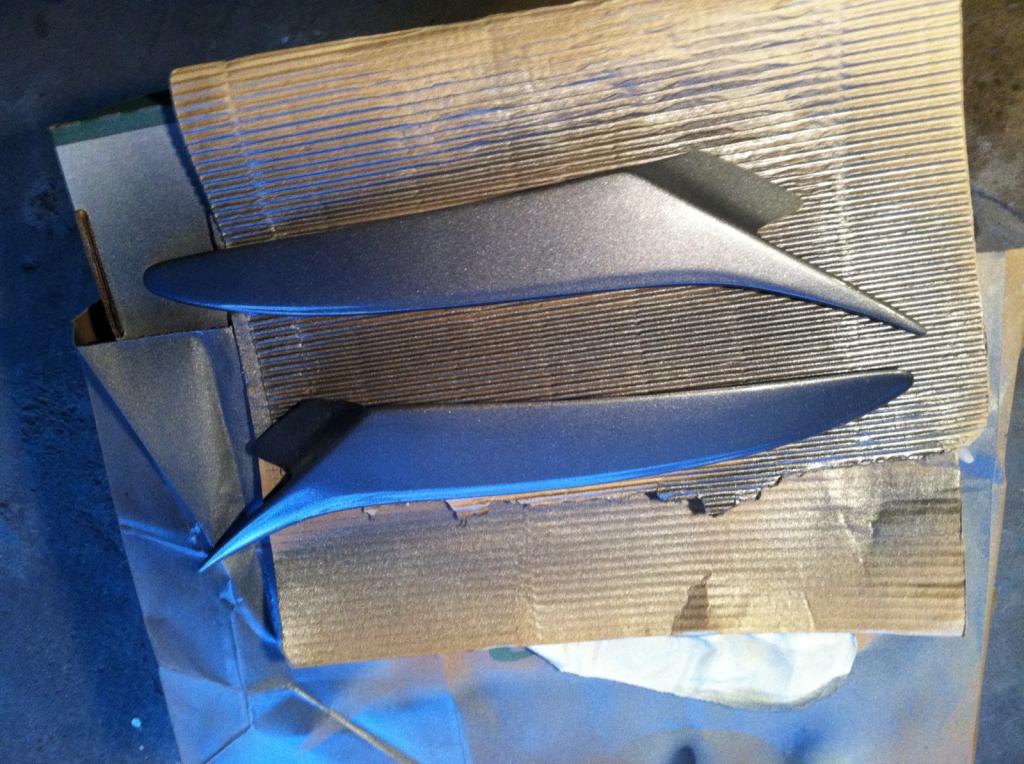
Step 4: (Base-Coat)
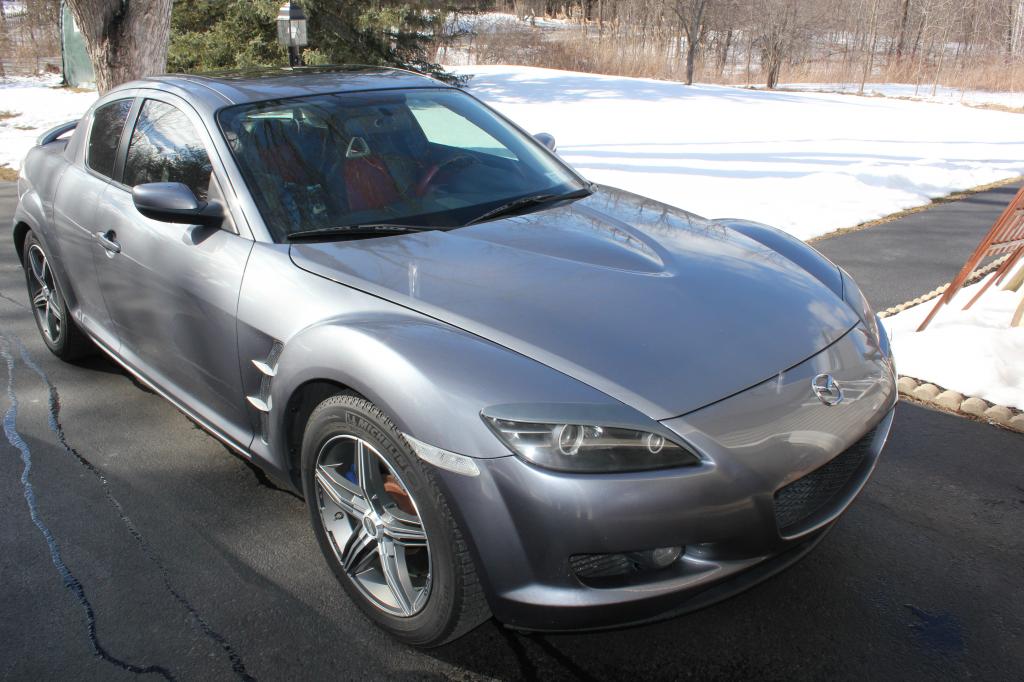
I started off with a very light mist-coat just to get a feel for how it was going to look and set. I followed with 3 more coats. I waited until the paint got a bit tacky to apply the next coat. This paint was very fast-drying, and I moved onto the clear coat 45 minutes later. I'd recommend having a panel or your car close-by to do a color-check. If your paint-system is a tri-coat however, you will be required to do some blending to get the correct color.
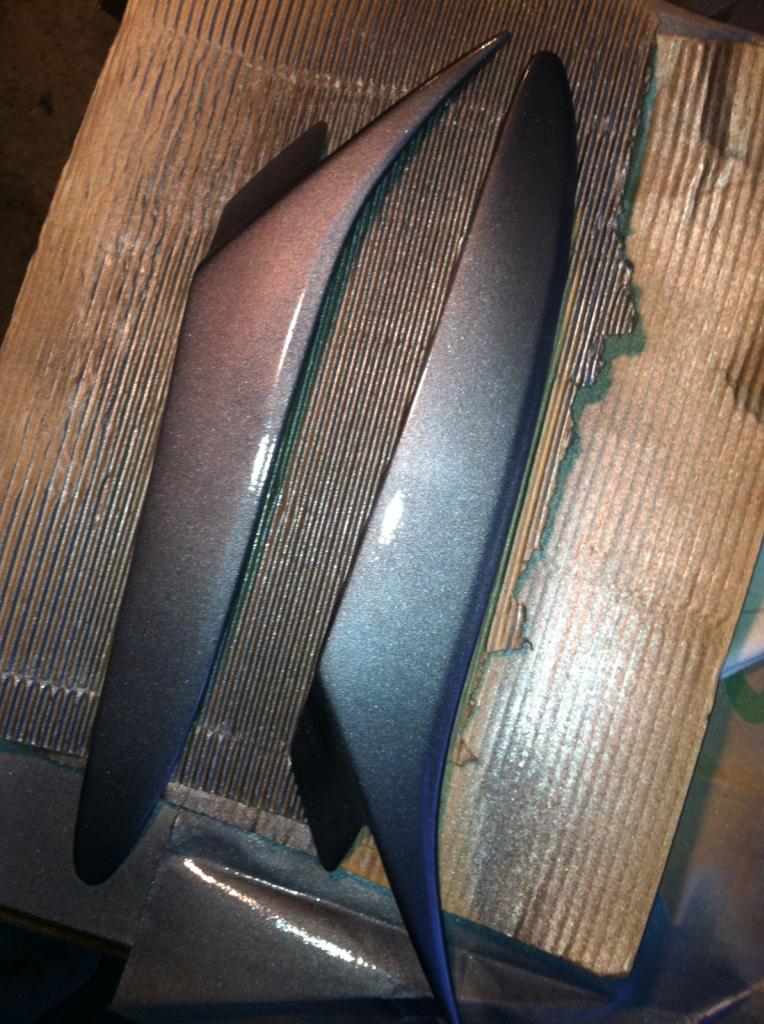
Step 5: (Clear-Coat)
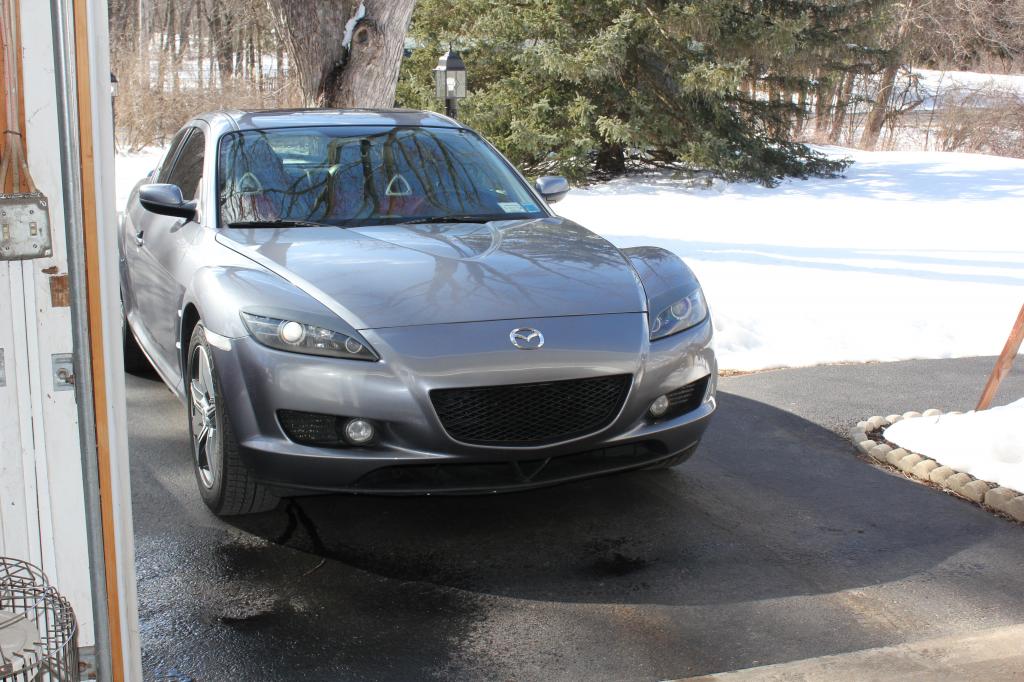
I ended up doing 3 coats of this on the eyelids separated by 15 minutes-a-piece. They have a nice gloss, and throughout the whole process remained super-smooth. I only did an initial wet-sand before the adhesive promoter and saw no orange-peel effect. They look great.
You can also use a clear coat rubbing compound such as "Presta Ultra Cutting Creme". I saw no reason to seeing as they came out just as I wanted to.
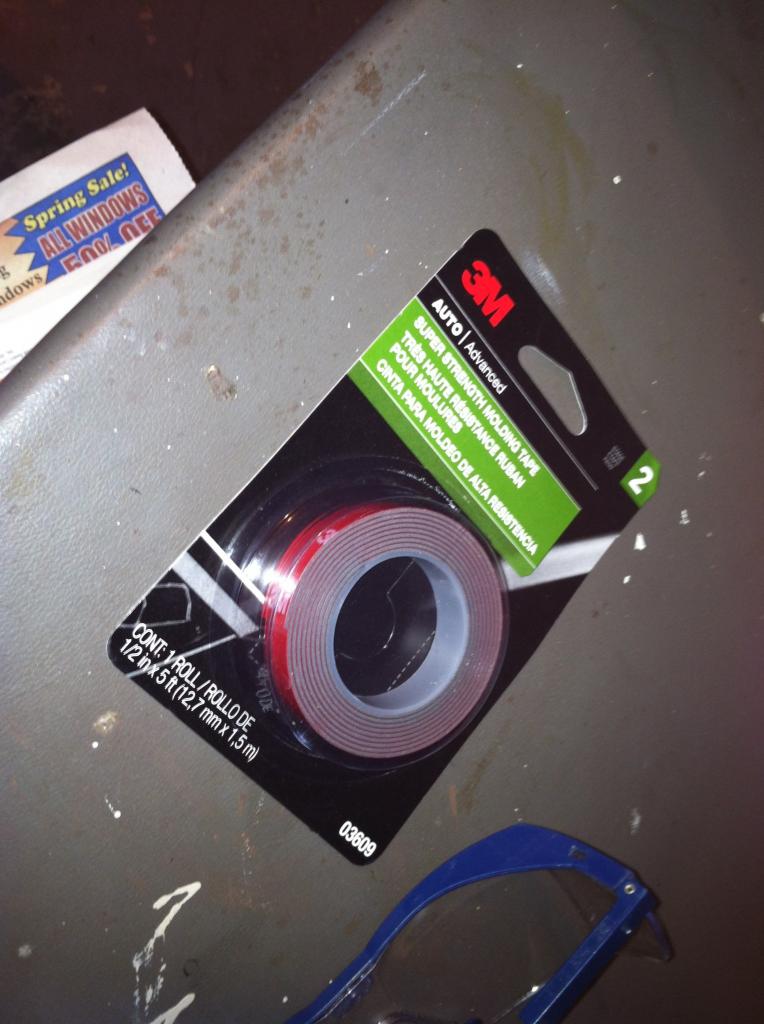
Here is the tape I will be using to apply these eyelids as well.
I feel now like painting is very subjective. As long as it comes out the way you want it to, job-well-done I say.
Mine were KEI eyelids I purchased from a forum member who decided not to paint them.
What will you need? First you need to find out whether or not your color is 2-coat or tricoat system. You can go to Touch Up Paint from PaintScratch.com , enter your color-code, and it will let you know if you need a mid-coat paint for your application.
Aside from finding that out, you will need:
-Adhesive Promoter (Optional)
-good fiberglass primer
-base coat aerosol
-mid coat aerosol (only if tri-coat)
-clear coat aerosol
-sand paper (my primer can says anywhere from 350-600 is recommended for primed surfaces. I believe this is unique to the individual. I have read many mixed articles about sanding preferences)
-spray-bottle with water and dish soap
-something to spray on and a few clean cloths
-your unpainted eyelids
-you
This is the selection of paint I used:
Step 1: (Setup)
Find a good surface to lay down some newspapers and some cloths to lay your eyelids on face-up. If you can, have the eyelids angled a bit (topside off the surface). It will make spraying the curves a bit easier.
Step 2: (Clean the surface)
Get a spray bottle and fill it with water and a hint of dish soap. You can spray the unpainted eyelids, sand it if you wish, and whipe it with a cloth dry. I sprayed it twice with clean water so there would be no soap left over on the eyelid. My eyelids came prepped and very clean. I saw no reason to do anything more.
Step 2.5 (optional): (Adhesive Promoter)
Using adhesive promoter is purely your call. I heard good things about them, so I used SEM adhesive promoter. I sprayed one very light coat over the front of the eyelids, and then waited 10 minutes. After 10 minutes, I sprayed a full coat on the eyelids and waited 15 minutes before applying the primer.
Step 3: (Primer)
I used 3 coats of evercoat fiberglass primer. I did 3 wet coats and waited 15 minutes inbetween each coat per the instructions. The can says to wait 1 hour before applying the base-coat.
Step 4: (Base-Coat)
I started off with a very light mist-coat just to get a feel for how it was going to look and set. I followed with 3 more coats. I waited until the paint got a bit tacky to apply the next coat. This paint was very fast-drying, and I moved onto the clear coat 45 minutes later. I'd recommend having a panel or your car close-by to do a color-check. If your paint-system is a tri-coat however, you will be required to do some blending to get the correct color.
Step 5: (Clear-Coat)
I ended up doing 3 coats of this on the eyelids separated by 15 minutes-a-piece. They have a nice gloss, and throughout the whole process remained super-smooth. I only did an initial wet-sand before the adhesive promoter and saw no orange-peel effect. They look great.
You can also use a clear coat rubbing compound such as "Presta Ultra Cutting Creme". I saw no reason to seeing as they came out just as I wanted to.
Here is the tape I will be using to apply these eyelids as well.
I feel now like painting is very subjective. As long as it comes out the way you want it to, job-well-done I say.
Last edited by jamesf; 03-26-2013 at 06:47 AM.


 04-17-2013, 03:29 PM
#7
Registered
iTrader: (1)

Join Date: Mar 2012
Location: Houston, TX
Posts: 156
Likes: 0
Received 0 Likes
on
0 Posts
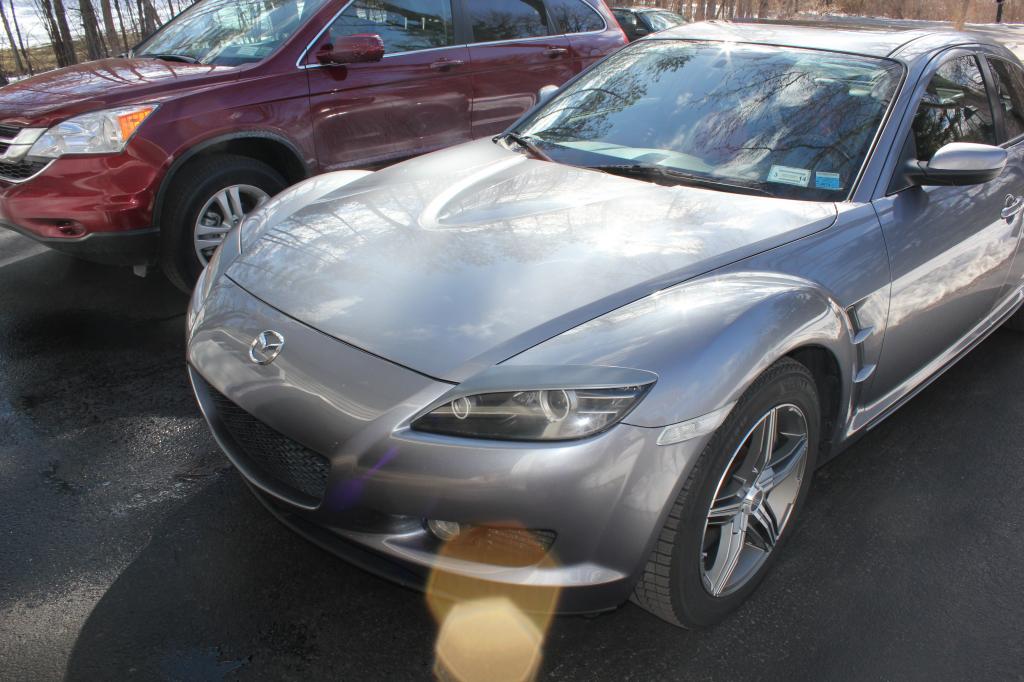
I'm sorry you feel offended about my comment, but I base it upon what I see on the pictures you posted, maybe it's different in person.
Next time put a disclaimer that you don't want any comments which don't agree with you.
But FYI:
Car:
R 154
G 171
B 189
Eyelid:
R 117
G 135
B 155
Next time put a disclaimer that you don't want any comments which don't agree with you.
But FYI:
Car:
R 154
G 171
B 189
Eyelid:
R 117
G 135
B 155
04-18-2013, 08:42 AM
#8
I'm sorry you feel offended about my comment, but I base it upon what I see on the pictures you posted, maybe it's different in person.
Next time put a disclaimer that you don't want any comments which don't agree with you.
But FYI:
Car:
R 154
G 171
B 189
Eyelid:
R 117
G 135
B 155
Next time put a disclaimer that you don't want any comments which don't agree with you.
But FYI:
Car:
R 154
G 171
B 189
Eyelid:
R 117
G 135
B 155
lol not at all offended, just mildly surprised. Thank you for the informative post. I appreciate it.

 04-19-2013, 09:37 AM
#11
well it wasn't so much a money saving attempt. They just happen to come unpainted to me and I wanted to try my hand at it. For example, the cost that I spent was around 80.00 for everything. However, some of the stuff I used like adhesive promoter is optional so you could save there

Thread
Thread Starter
Forum
Replies
Last Post