When you click on links to various merchants on this site and make a purchase, this can result in this site earning a commission. Affiliate programs and affiliations include, but are not limited to, the eBay Partner Network.
DIY: Remote clear plastic stone/rock guard on rear quarter
Hey guys -
Did this on all the rock guard/stone guard/clear protection stuff over the past weekend. There are the 2 large patches on either side just behind the rear doors then 2 small patches that wrap around beneath the rear doors and wrap into the inside of the car.
My car is a 2005 Brilliant Black, about 137,000 miles. Mine were VERY cracked and crappy looking. From what I can tell my car hasn't been wrecked or repainted, everything is original. If your car has had work done some of this may be different - the paint may not be as hardy or they could have used a different vinyl on those spots.
You will need:
- Heat gun (not a hair dryer) - I have a cheapie Harbor Freight one that did great
- Can of Goo-Gone. I used the Pro Power that sprays out, I prefer that over the liquid only version.
- Plastic razor blades. You can also use the plastic scraper built into the top of the Goo Gone can or probably an old credit card. Don't use a metal razor blade, it will scratch the paint.
- 3M Pinstripe Remover Tool. It's basically an eraser with a drill chuck in the middle. Available on Amazon or shops that specialize in supplies for body shops.
- Paper towels
- Microfiber towel that you will throw out when done
Unfortunately I thought about taking pictures of this on the very last one, I wish I had pictures of the big ones. But here we go....
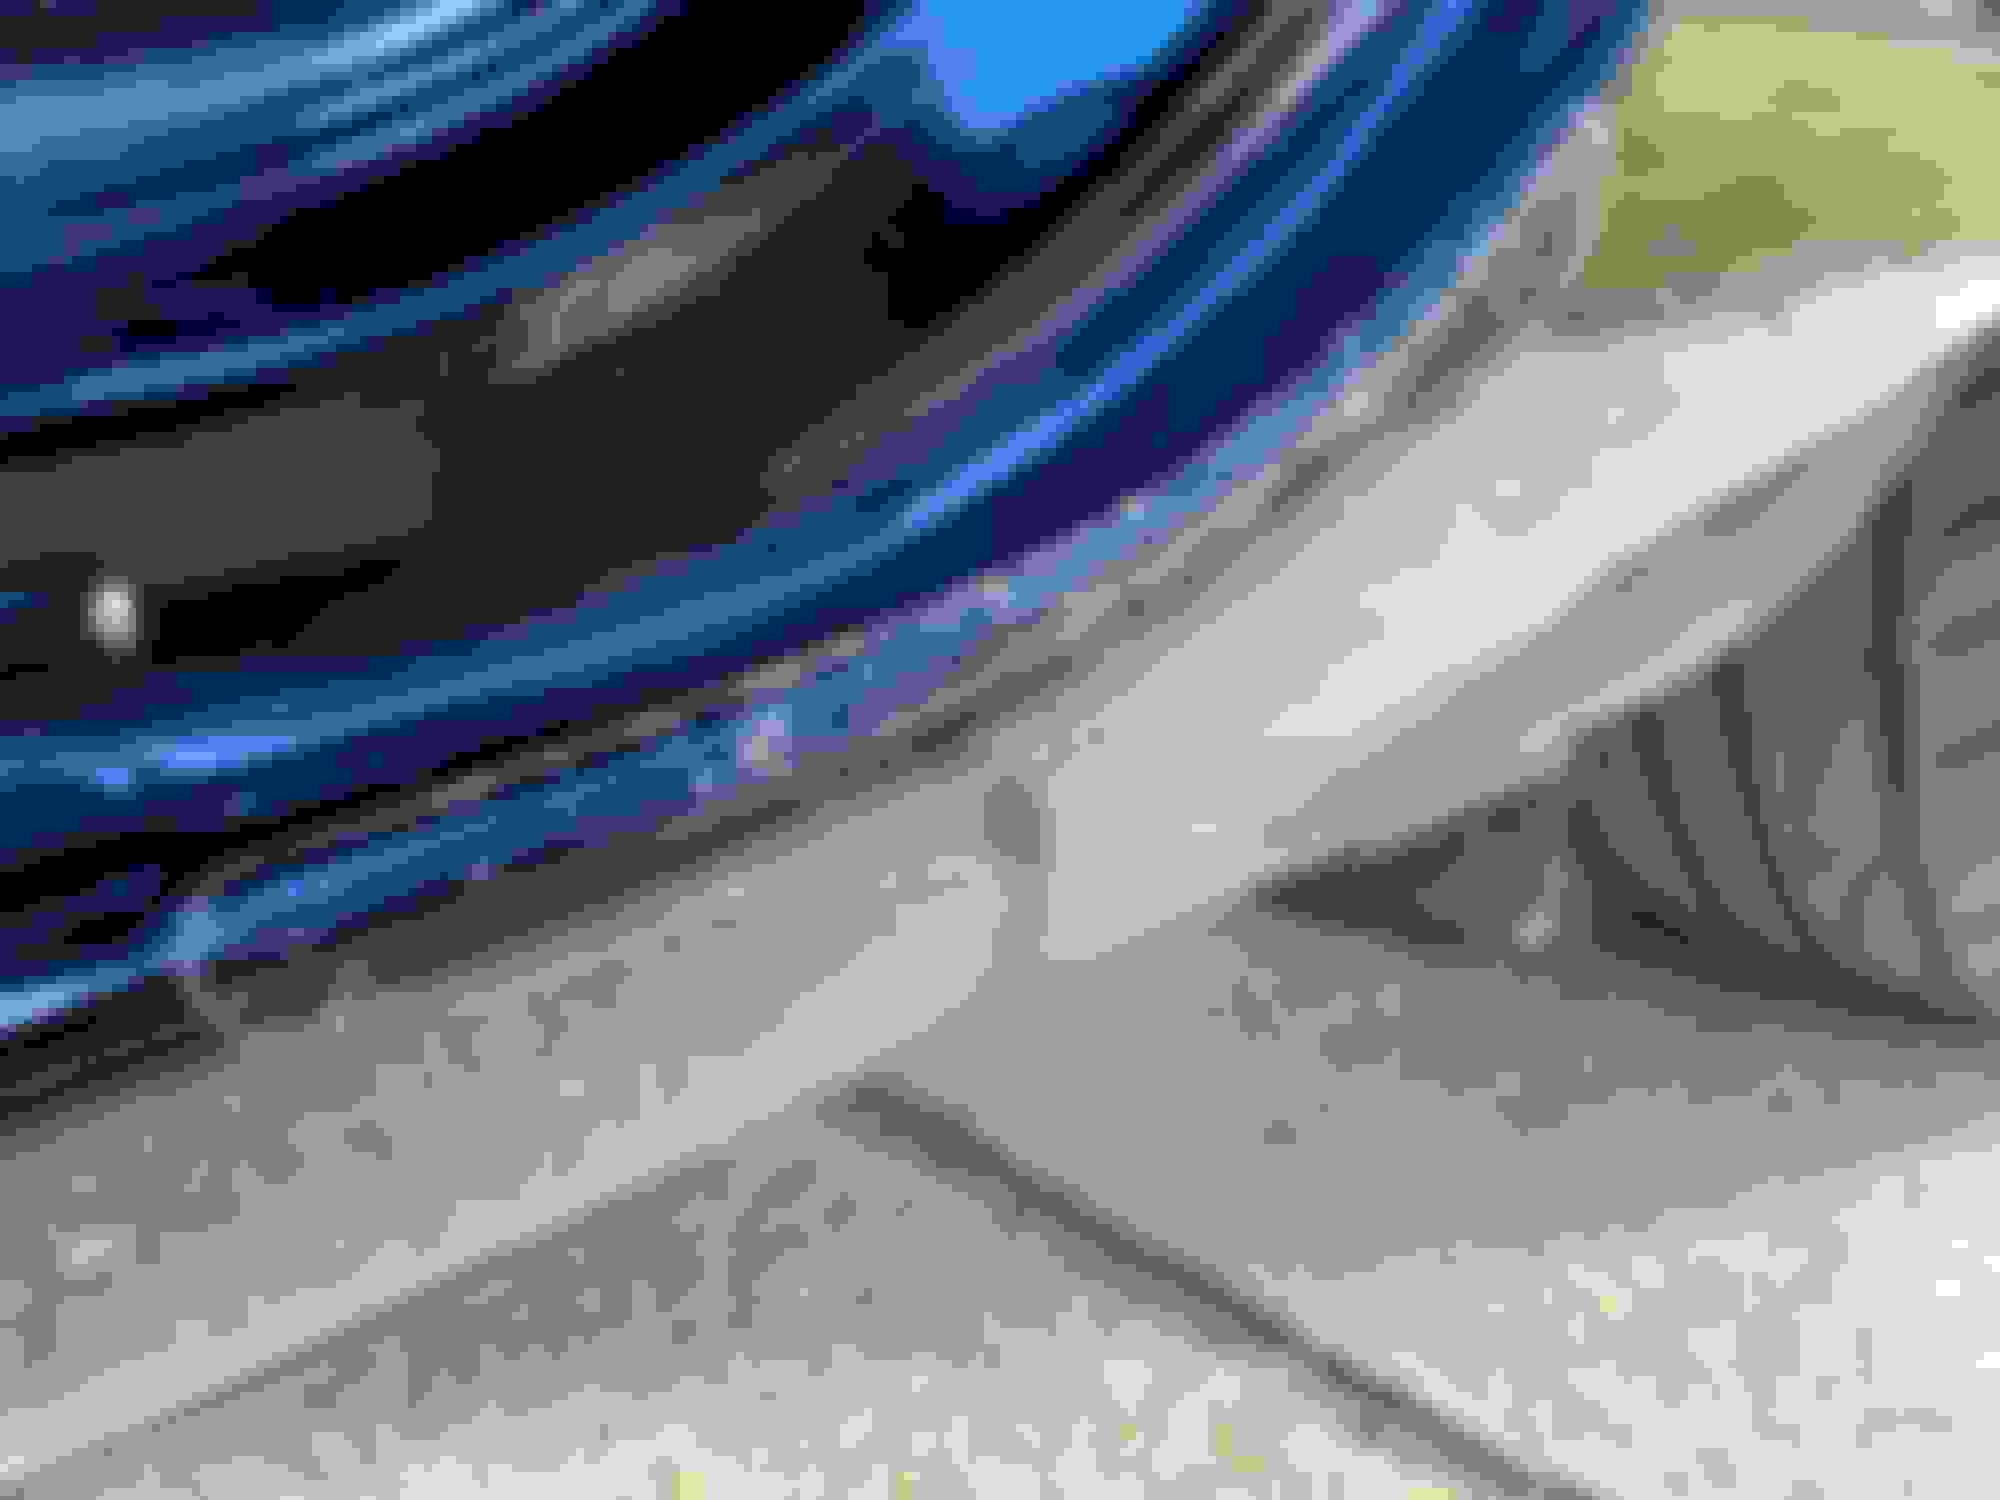
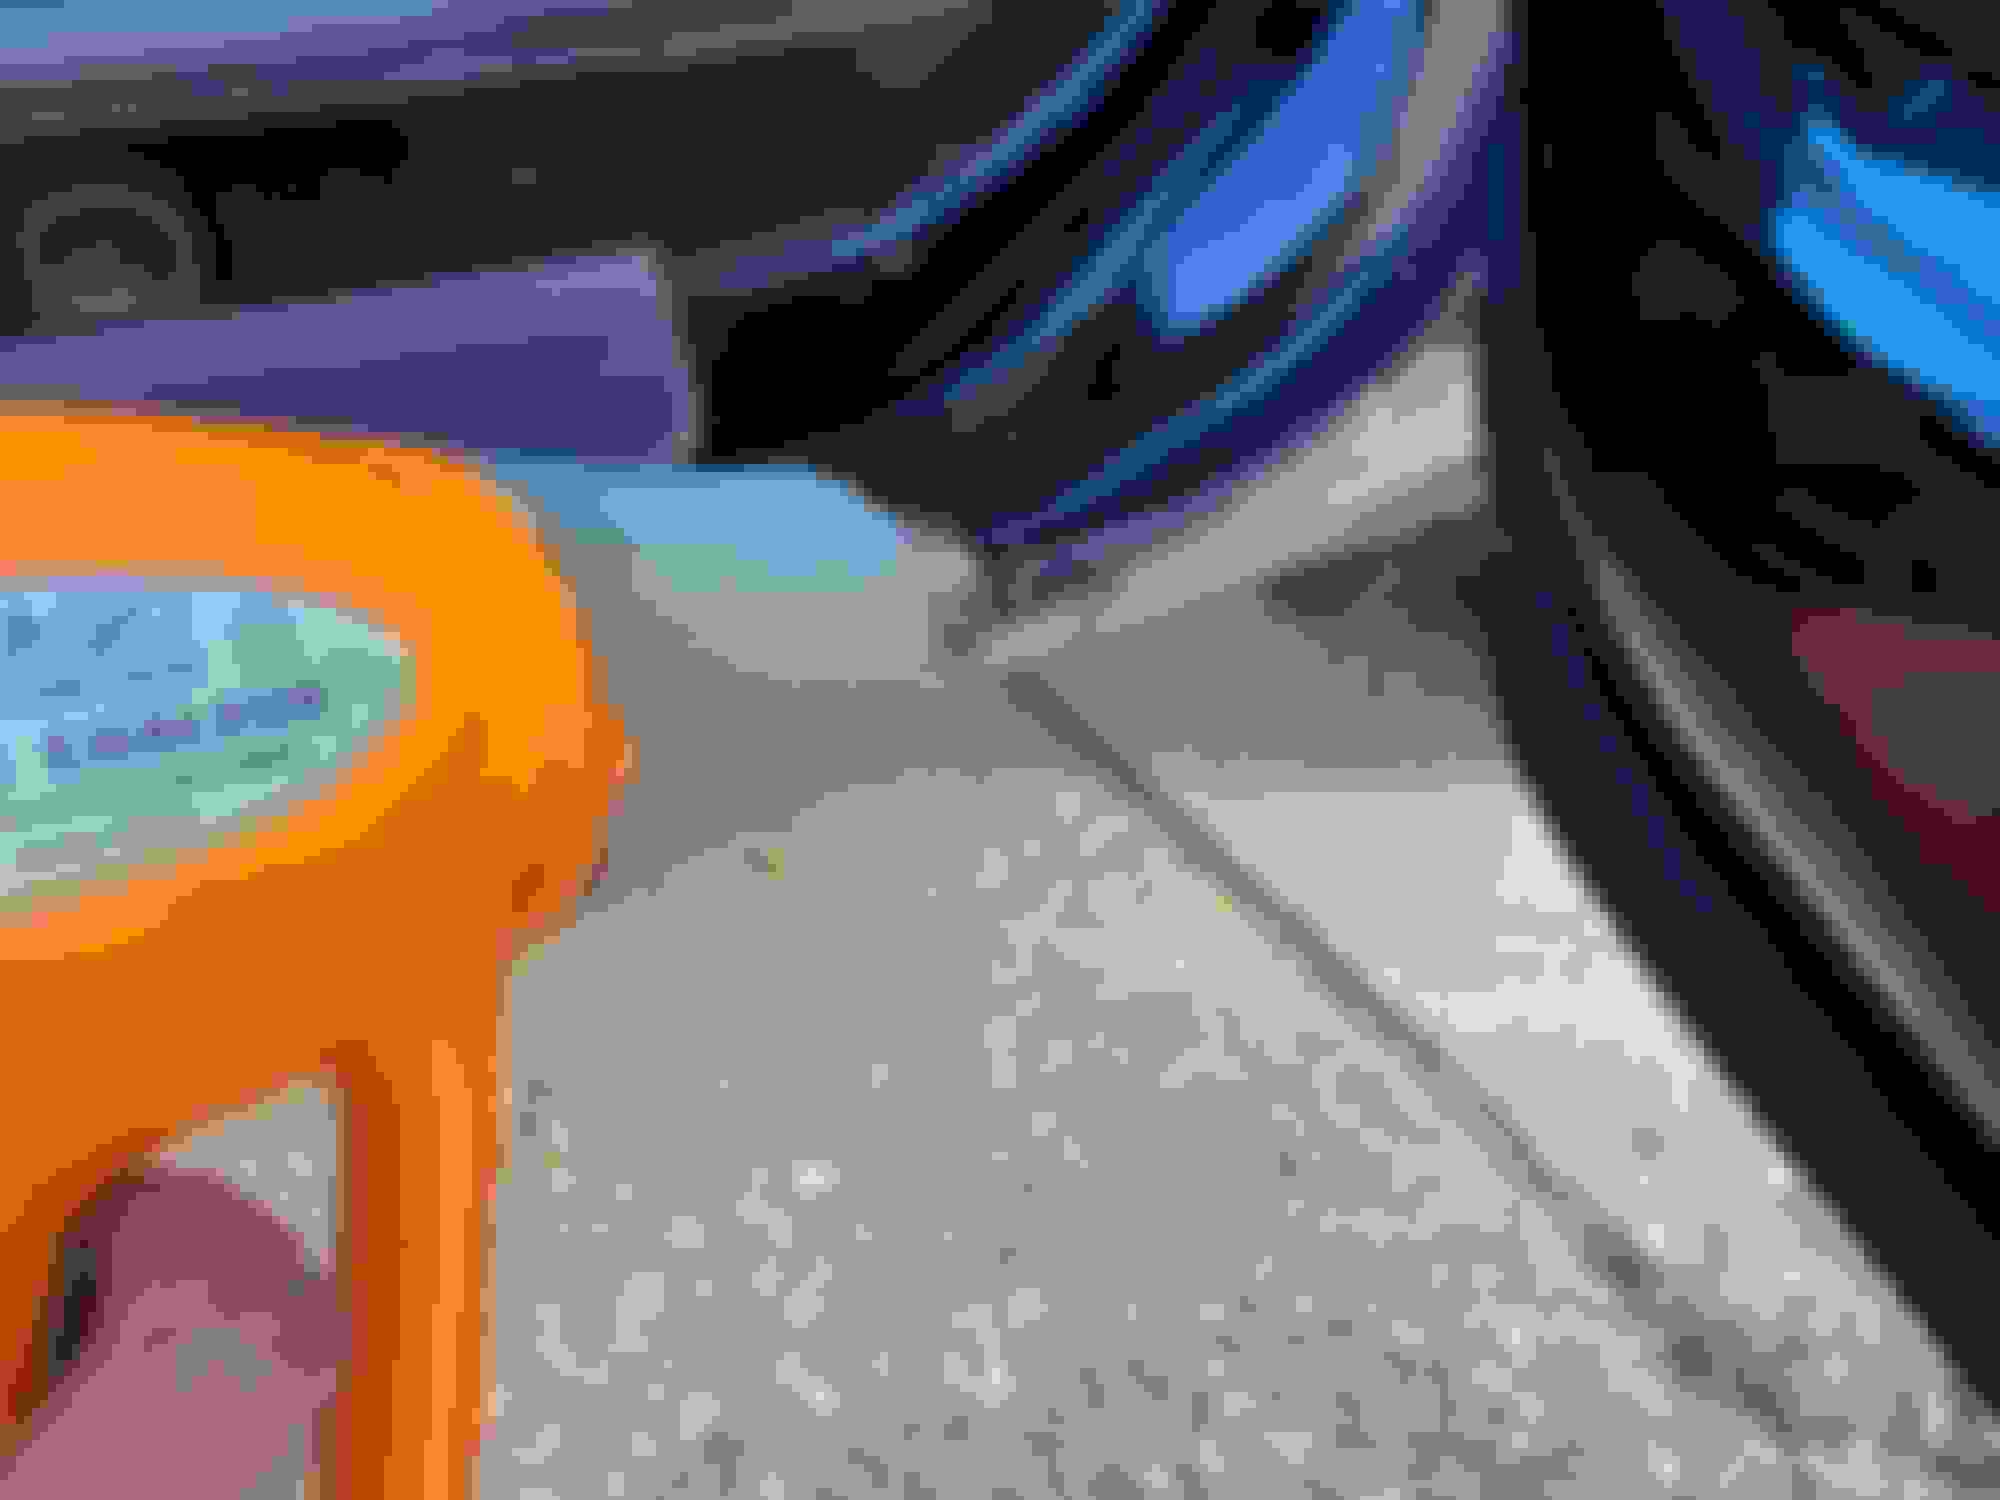
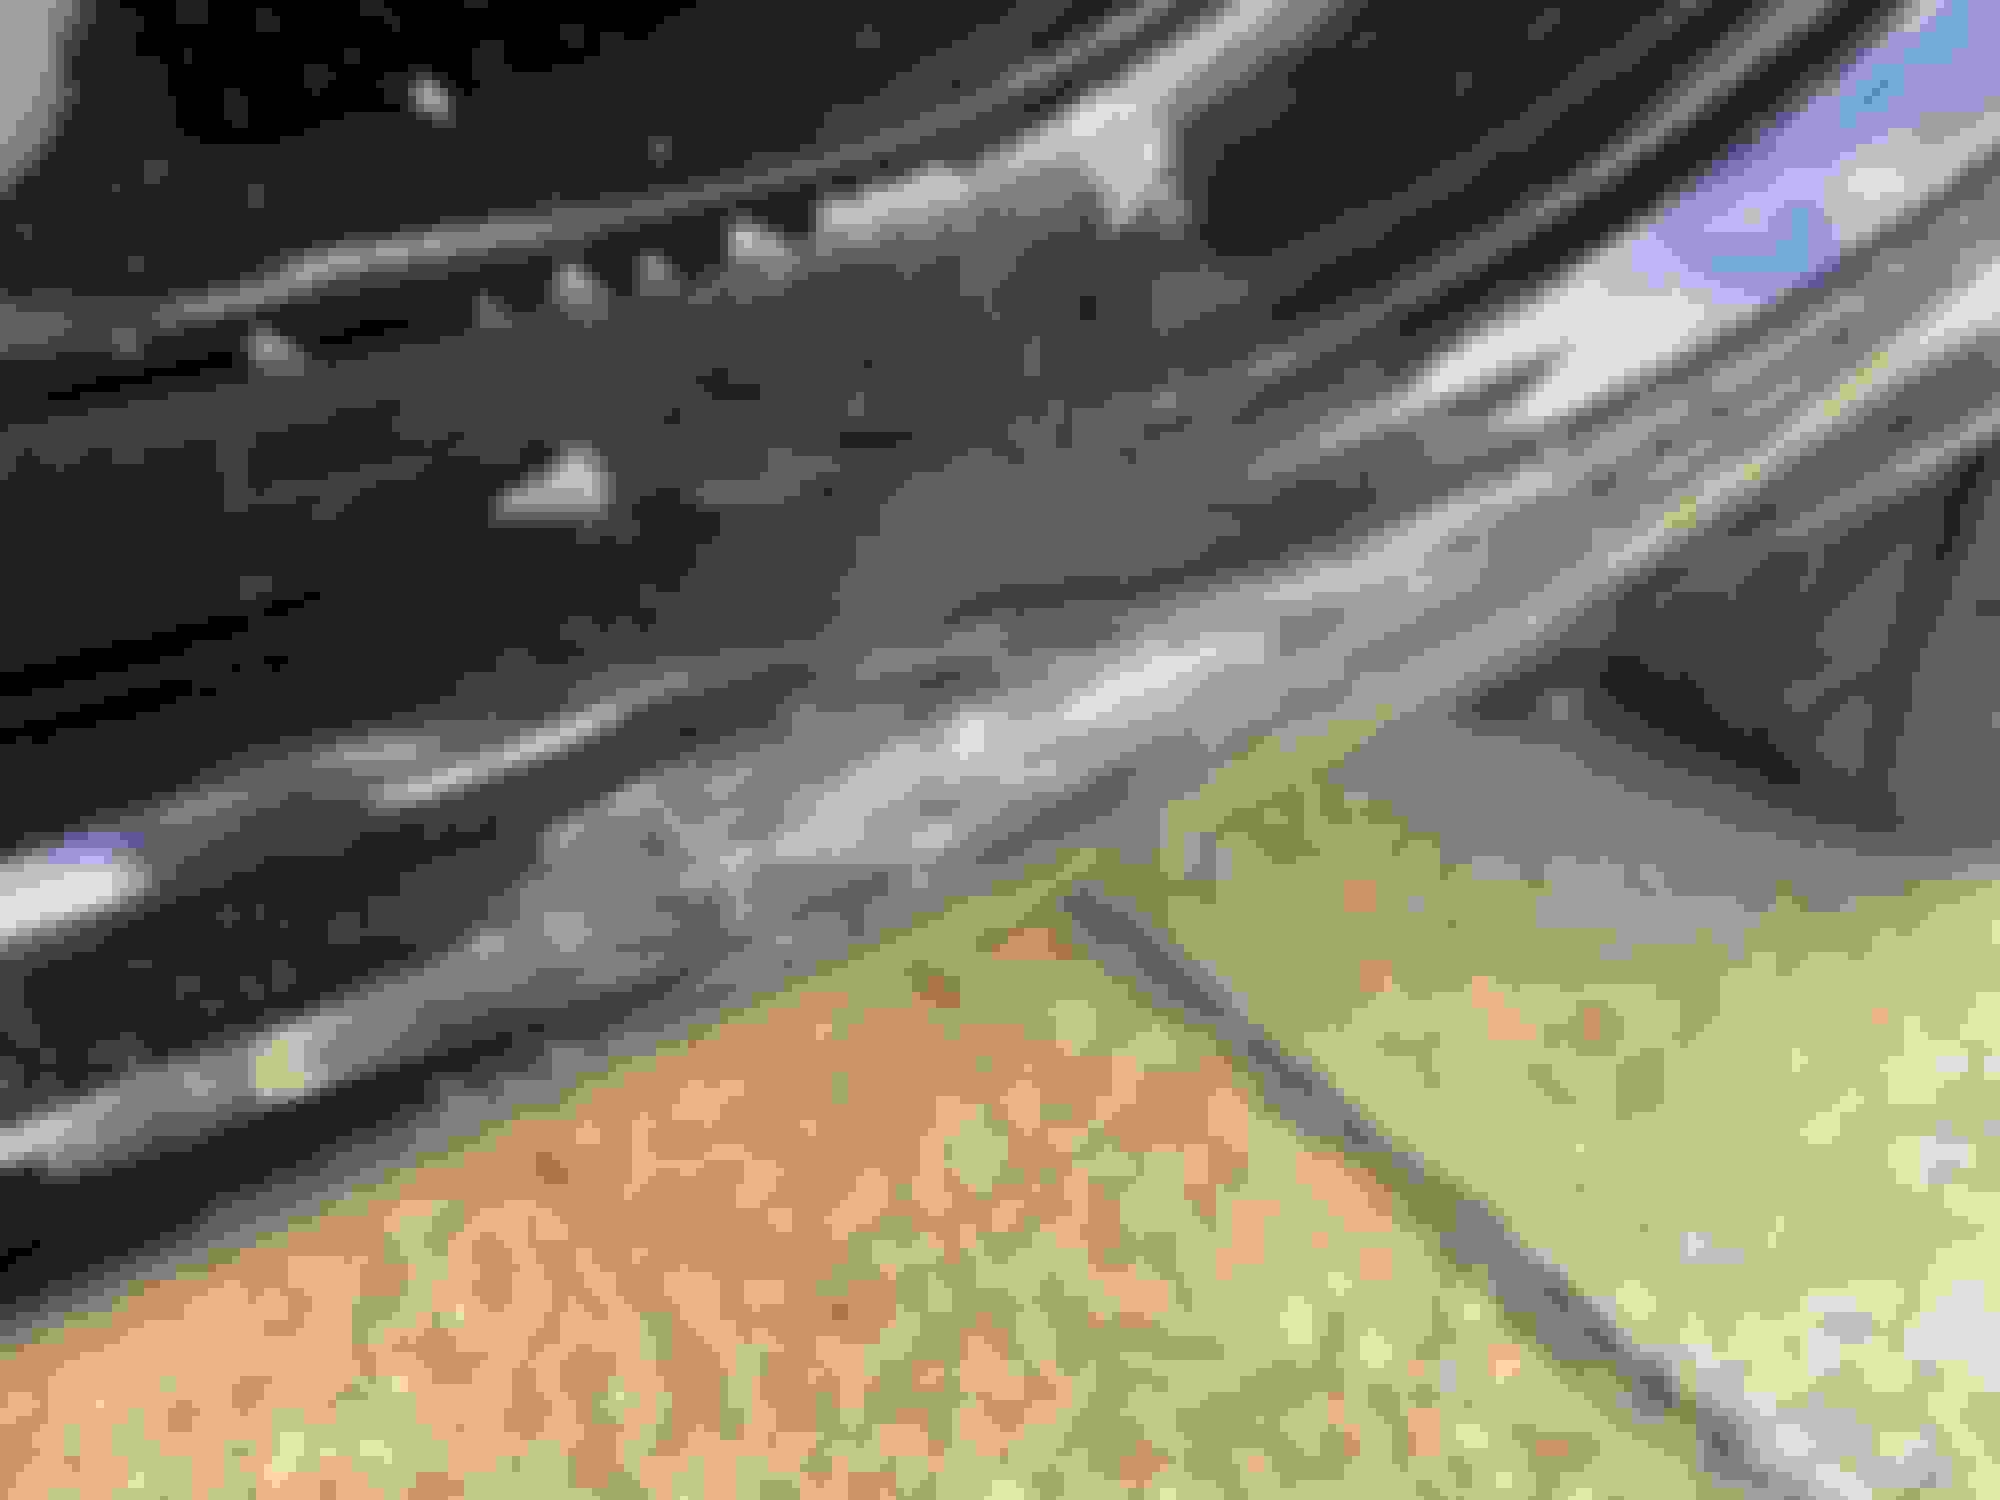
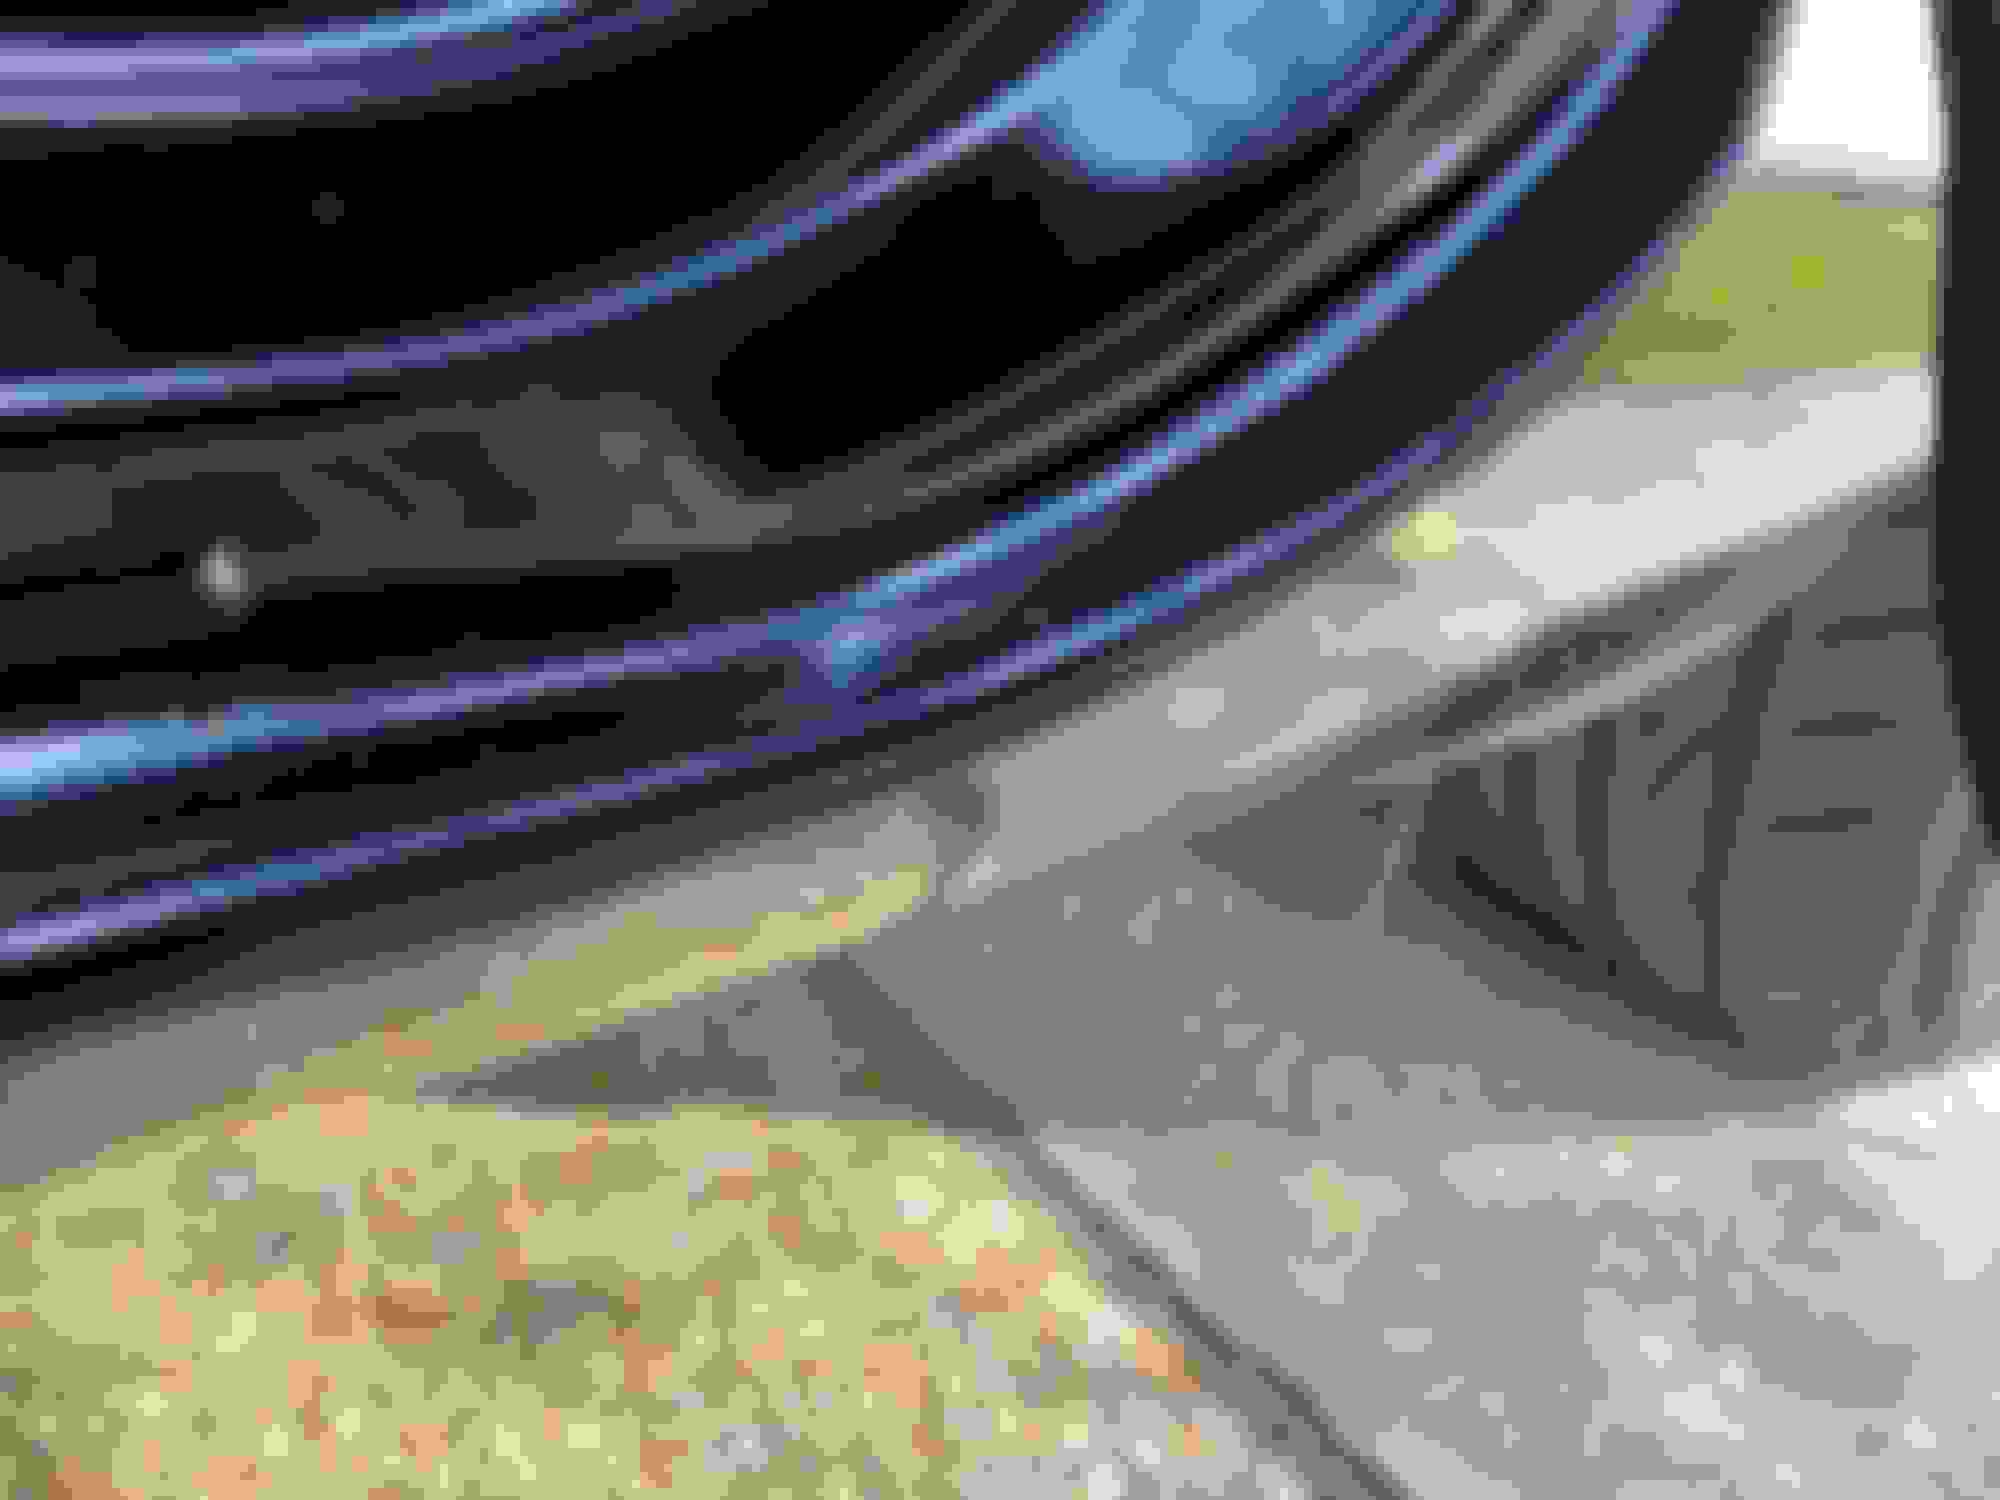
Before:
That's about how all of them looked, badly cracked and terrible.
Get the heat gun, put it on high heat, and start heating it up.
Once you get it good and hot, get your plastic scraper and scrape it off. This is NOT a sticker (it least mine wasn't) - it will just scrape off as goo. Don't think you will have a solid sticker you will peel off, you are just removing hardened goo. Wipe the goo off the scraper onto a paper towel, heat some more, repeat until you get 90% of it off.
Once you get as much as you can off with heat/scraping, let it cool down. Spray with some Goo Gone and hit it with the microfiber towel, you won't get much but you will get some of the sticky knocked down.
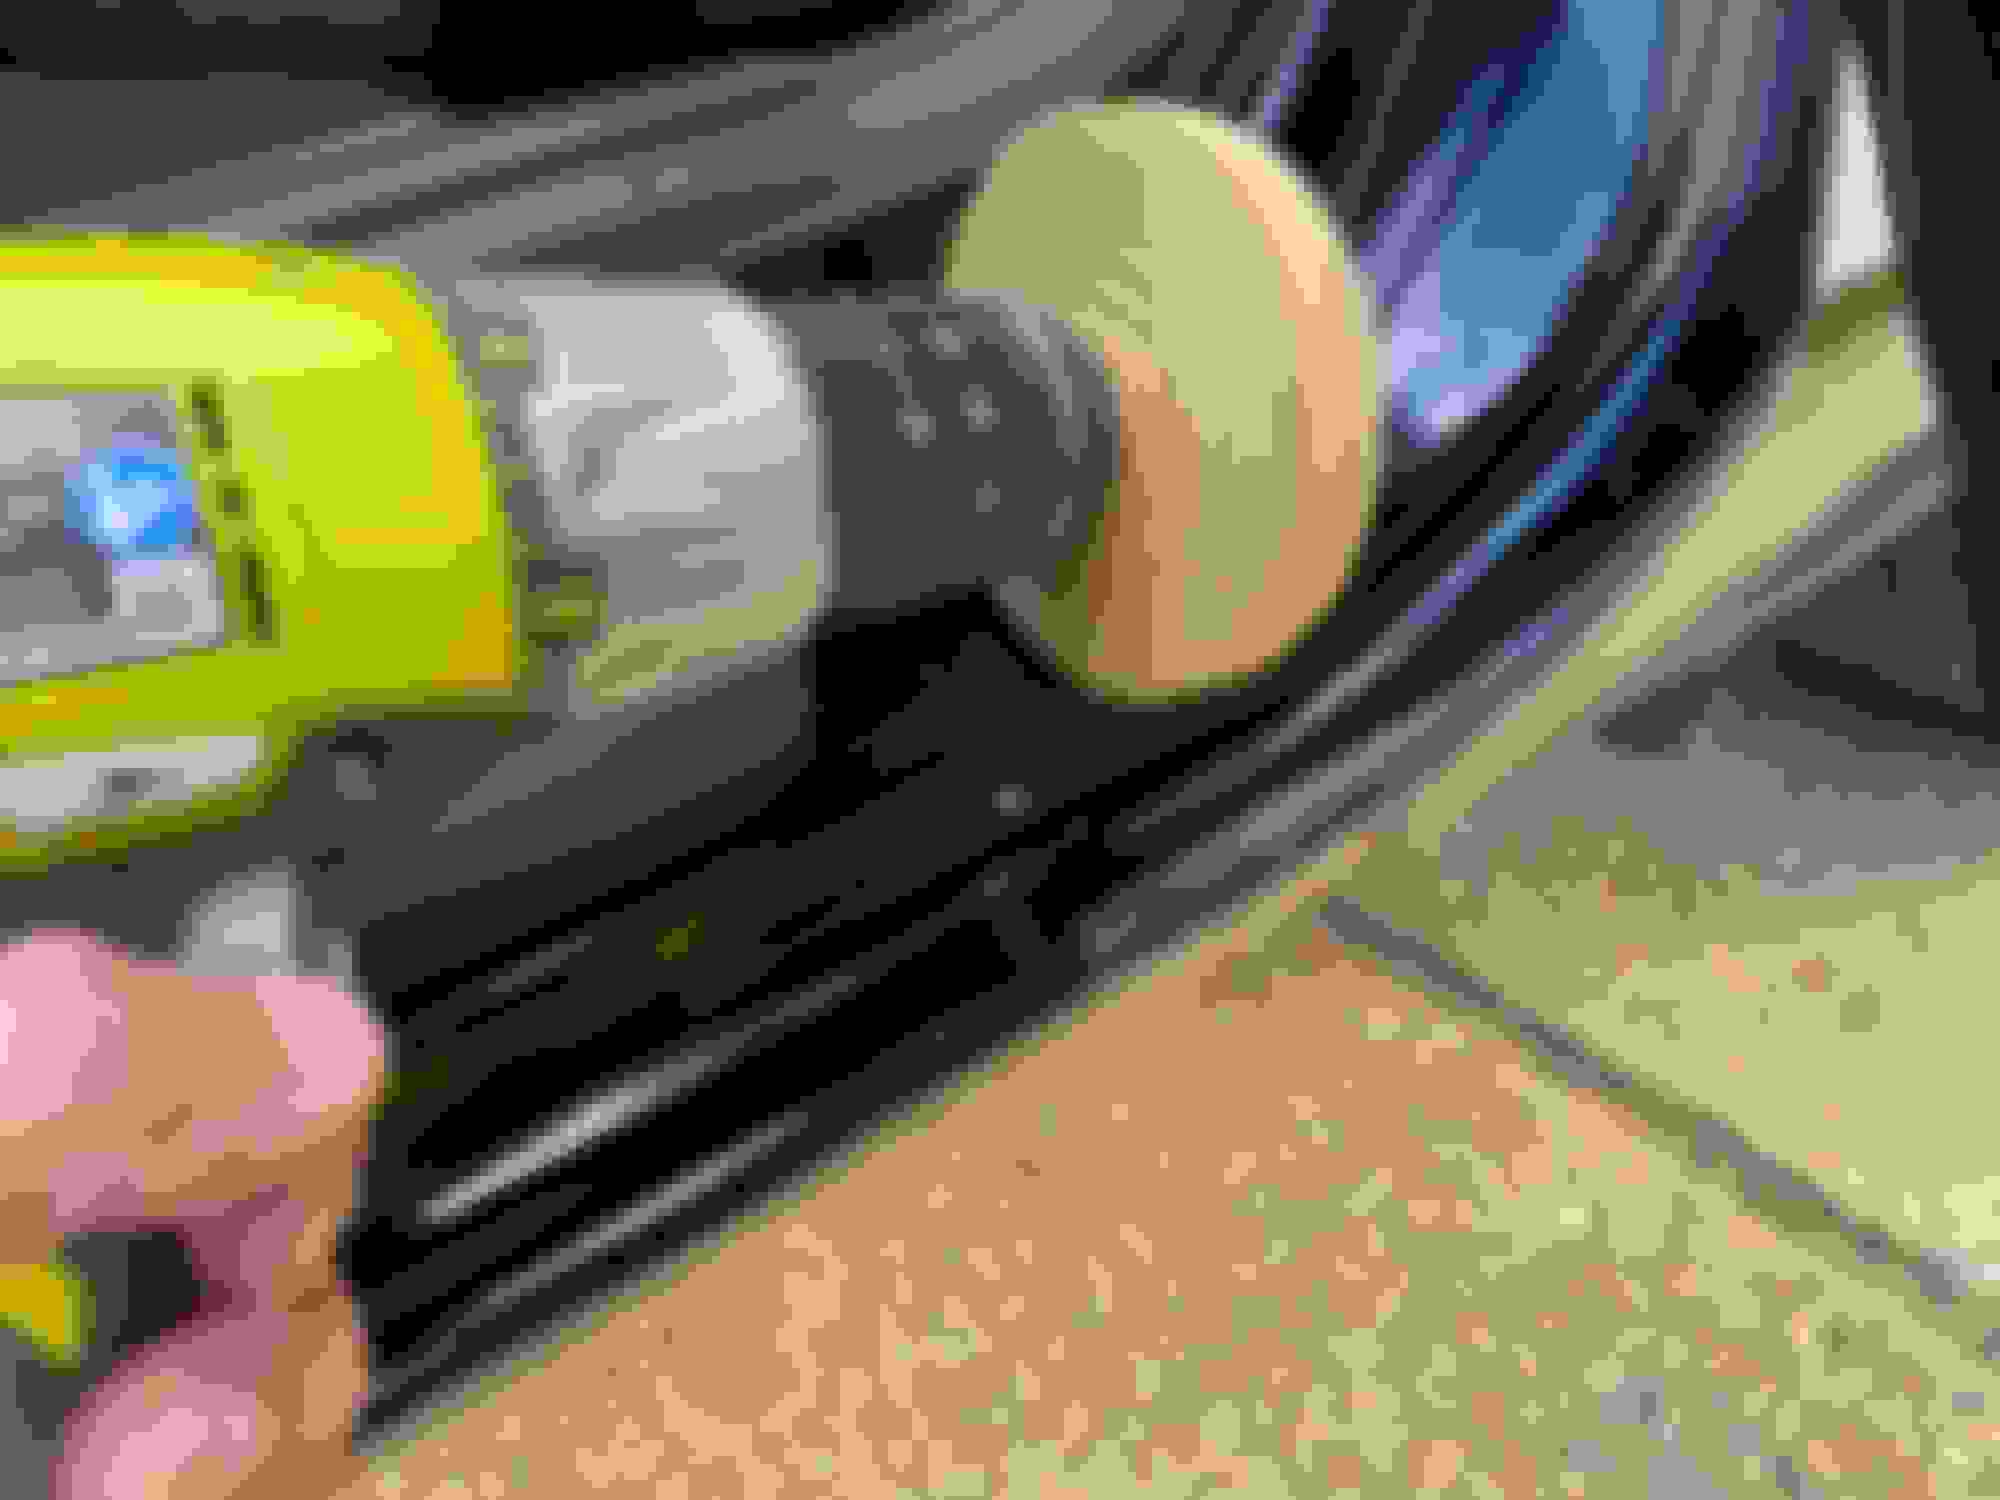
Put the 3M pinstripe remover eraser thing in the drill. Carefully work along the goo, You will want safety glasses at this point for sure, you may have hot goo flying aground. Have a good grip on the drill so it doesn't go flying.
Once you get a good chunk of it worked over, hit it with Goo Gone and the microfiber towel.
Just keep going back and forth - 3M eraser, Goo Gone, scrub down with towel. Eventually it's all gone!
Once it's done, clean any stray bits of rubber/goo and give the area a coat of wax.
On my black RX-8 the areas with the large vinyl stickers had NO problems after removal - no marks, fading, anything. I did hit that area with my Porter Cable buffer with a light compound then wax (I was buffing the whole car during that time) but there was zero sign the vinyl was ever there.
There is some debate as to if the car needs this or not. At this point I'd rather have that cracked, crappy looking stuff off than worry about a future rock chip. If, over time, it becomes a problem with chips, I would either hit it with some touch-up paint or just touch-up then put some clear bra material in that area.
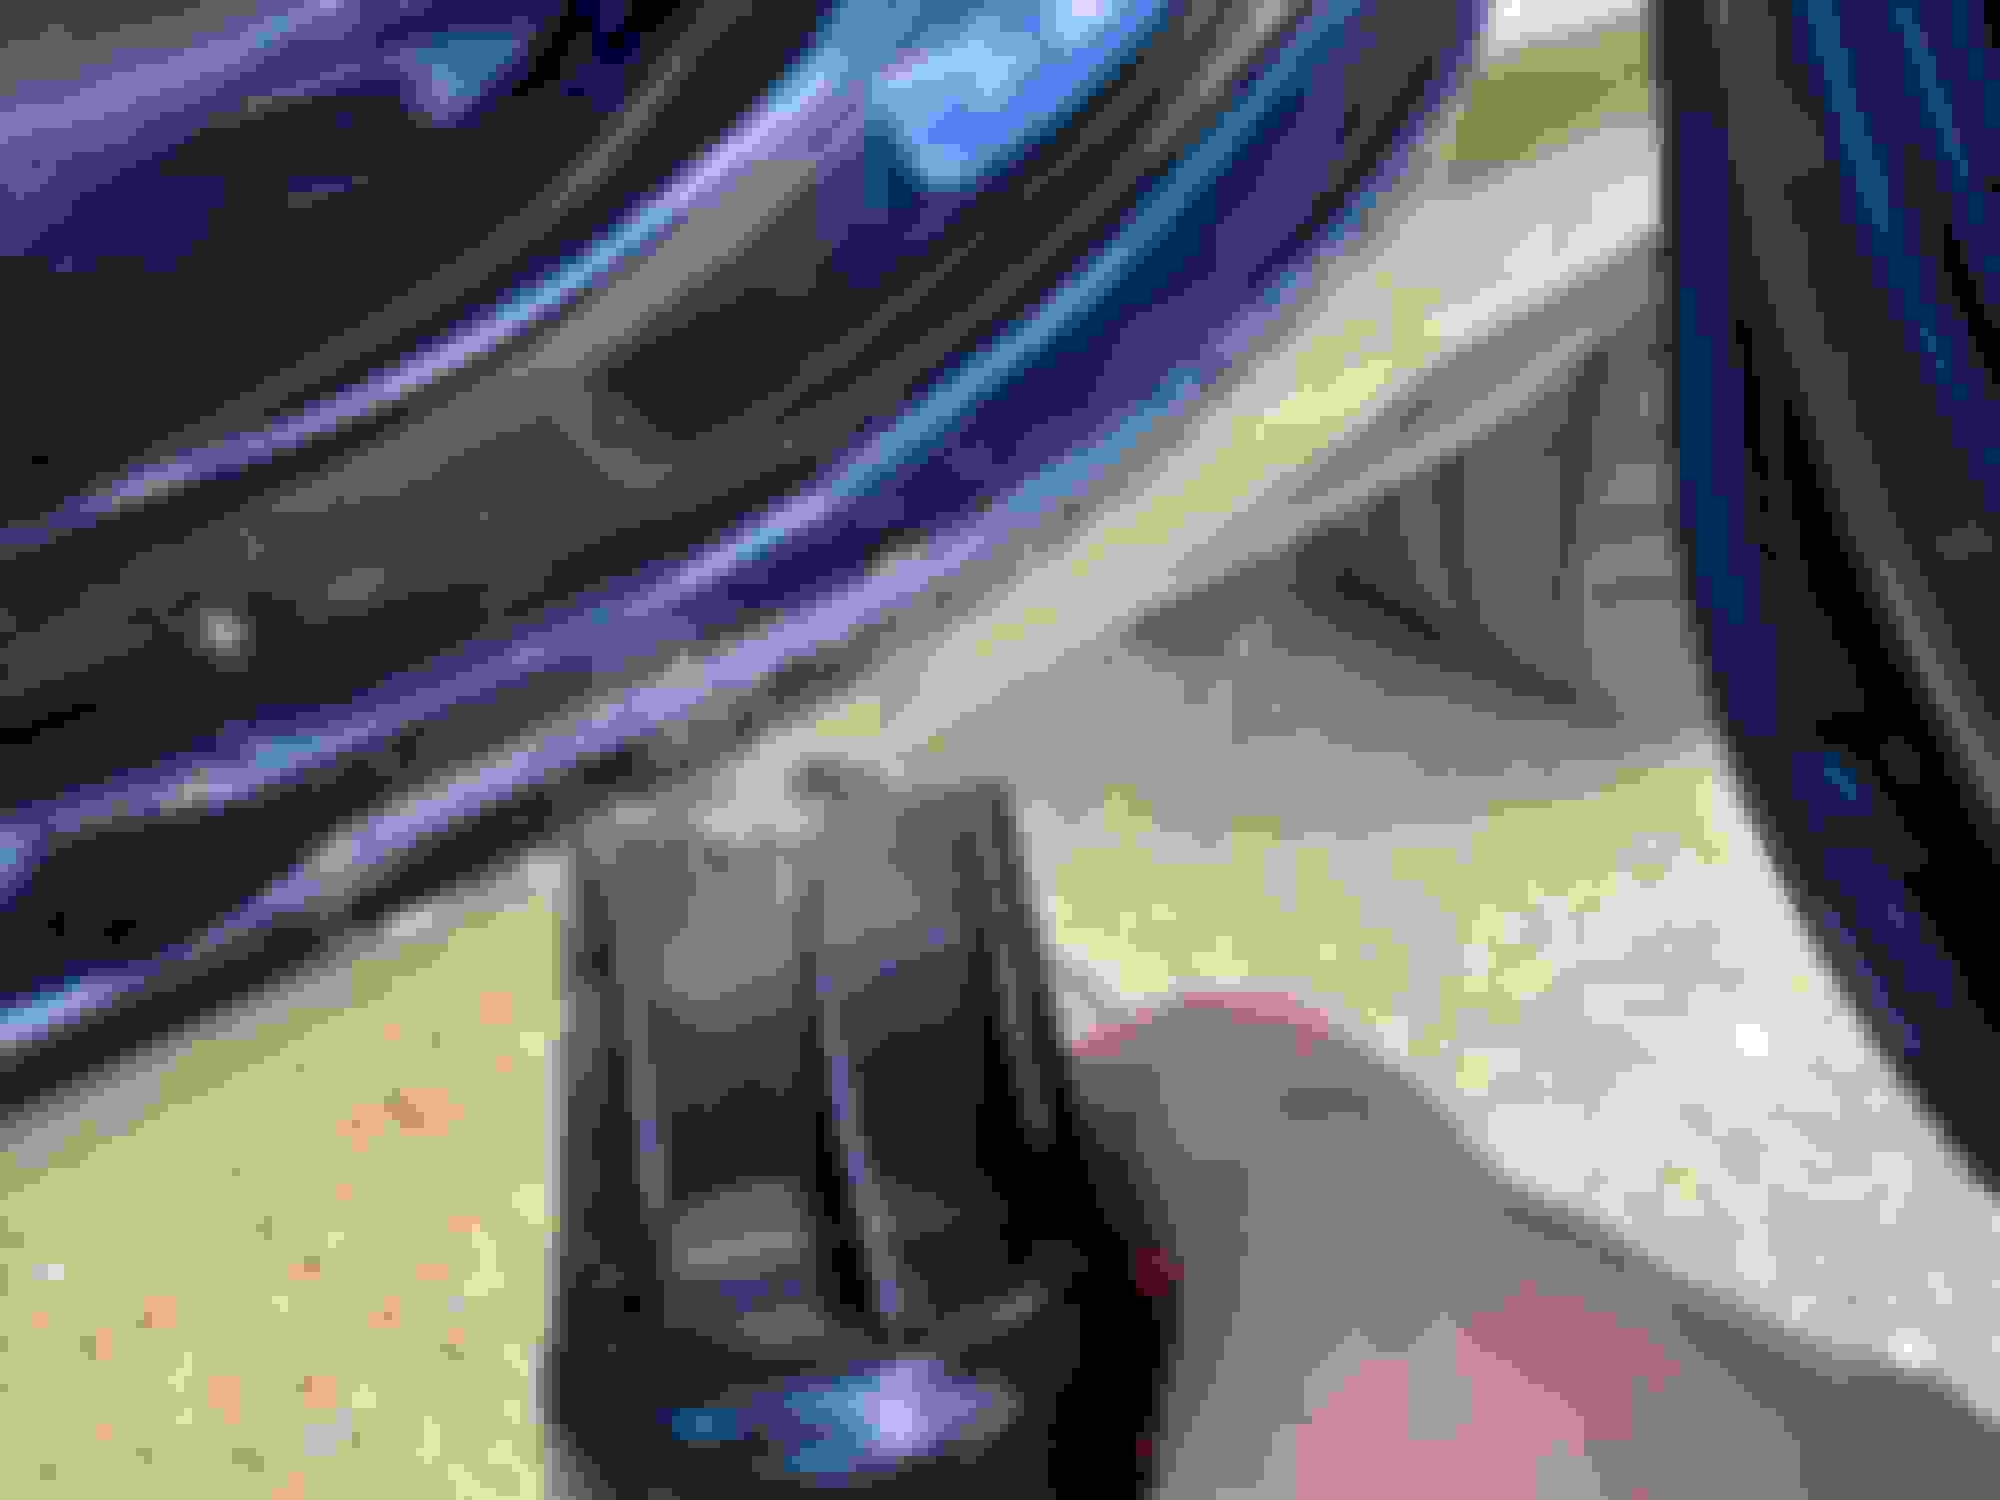
This didn't take too long, probably 20-30 minutes per sticker. The ones like the pictures here were a bit harder with it being partially inside the car and having to work with the door open. But this is an easy fix for not a lot of cost in materials.

 12-21-2020, 10:38 AM